Saturday, September 29, 2012

My Quilt Retreat Show and Tell...


I'm back from my week long quilting retreat....and it was sew fun!
There are 10 of us in our "Fat Quarter Friendly's" group and we get together 3-4 times a month to either sew, shop, take classes or go to lunch.
Each of us worked on our own projects and it was really fun to see all of them come together.
I worked on my Farmers Wife blocks...
(which I will tell you more about on my next post)


And a few other projects that will be revealed when it gets closer to Fall Market.
Sometimes a was pretty good about taking pictures...and sometimes not...but I can't wait to show you the one's that I remembered to take!


But first I want to tell you about where we retreated.
Have you ever loved a quilt shop so much that you just wanted to move right in?
Well...that's pretty much what we did:)
We sewed from early morning till late at night...upstairs in the adorable attic of 
I know!!!...can you believe it? 
Lucky us.


The attic is a private, beautiful and well equipped fun space and we had plenty of room.
During our entire time there, we were treated like special guests by Kris and Mike and the fabulous  staff at the shop.


This is Kris (the owner of My Girlfriend's Quilt Shoppe) and her sister Kim who designs awesome patterns and projects for the shop.
Aren't they just the cutest?...and yes...they are twins:)
The shop is located in Logan, Utah.
 You have to drive through Logan Canyon to get there...and may I just say that the drive was  breathtakingly beautiful! The fall leaves were out in all of their glorious colors.


Anyhoo...back to the quilt shop.
Not only did we sew a lot...but we spent a good amount of time downstairs shopping.
After all...what quilter could resist perusing through a beautiful selection of patterns and fabrics anytime we felt a spree coming on...haha?
The shop kept a running tab for each of us...and we settled up with them on the last day.


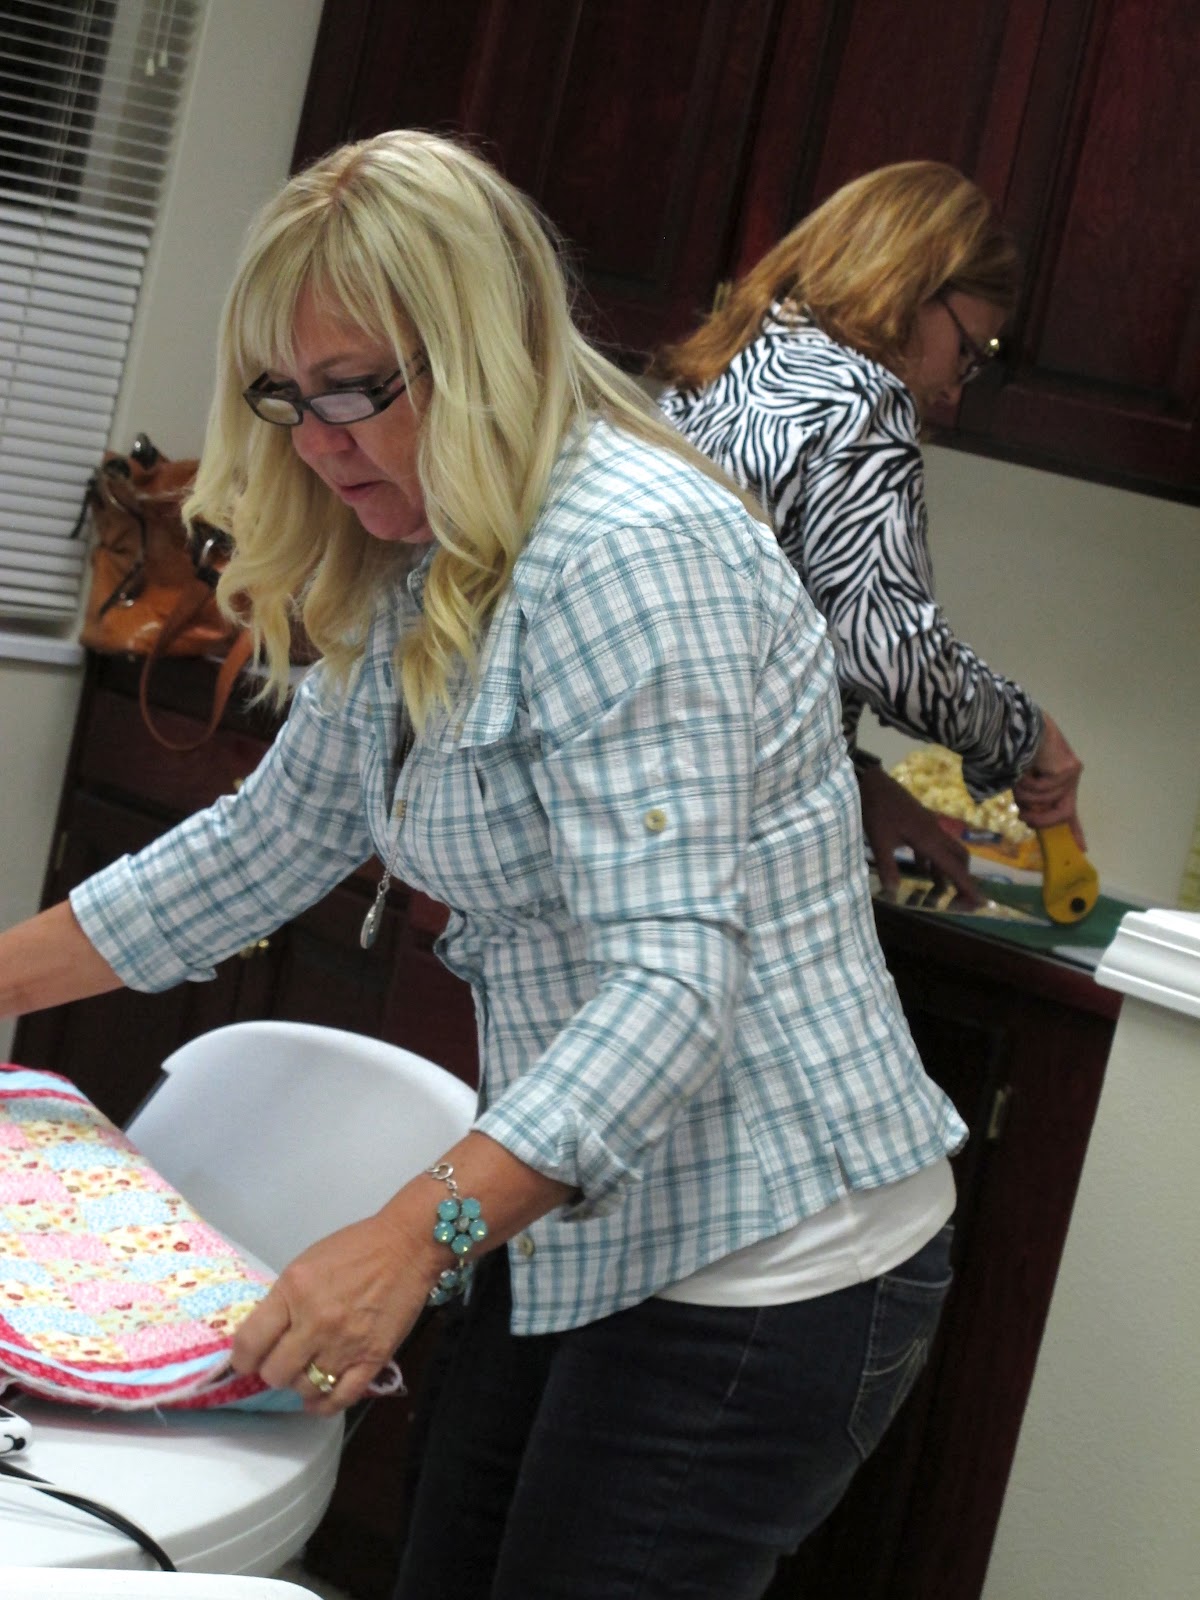
I just had to take a few pics of the "comparing of final receipts"...some of them were longer than others...


But I think Rosanna was the clear winner!!!


Now onto some of the projects that I remembered to get a picture of.
You all know how much I love appliqué...this is a cherries and bluebirds appliqué quilt that Betty has been working on for quite a while and she was able to finish it  there...just gorgeous!


One of the projects that Juli worked on were these cute blocks that are going into a row quilt...with the blocks complete...she is preparing to appliqué the center circles.


Beth put the blocks together on her
 halloween embroidery quilt....I love it ...don't you?!


Judy and Betty made quilt tops that they had bought the fabric for last month while shopping together....double fun!!!


Becky finished several projects but wisked them away before I could take pictures.
However, I was able to snap one of her 1930's dresden quilt:)


Isn't this quilt adorable?
Piecing and applique together...my favorite.


Betty was able to finish the top on this one too.


Geri also worked on 1930's dresden blocks.
She still has more blocks to do because she is making it to go on her antique bed in the guest room and it's a twin size.


She is putting the scrappy sashing on as she goes. 
Such a sweet quilt. I heart dresdens!


She also finished this Shadowbox quilt ...I really like how this one turned out too.


Beth also made a tiny pumpkin pincushion out of a cute little kit that Kris gave each of us.


Perfect for tiny applique pins:)


Look at this gorgeous fall quilt that Shanna made.
She used gorgeous florals and then paper pieced a row of pumpkins to add at the bottom...
I think it's Adorable with a capital "A" just like Shanna is:)


One of the quilts that Lucy finished was from a witches shoe's block exchange.
Everyone made 14 of the same blocks and exchanged them so that all had one of each.


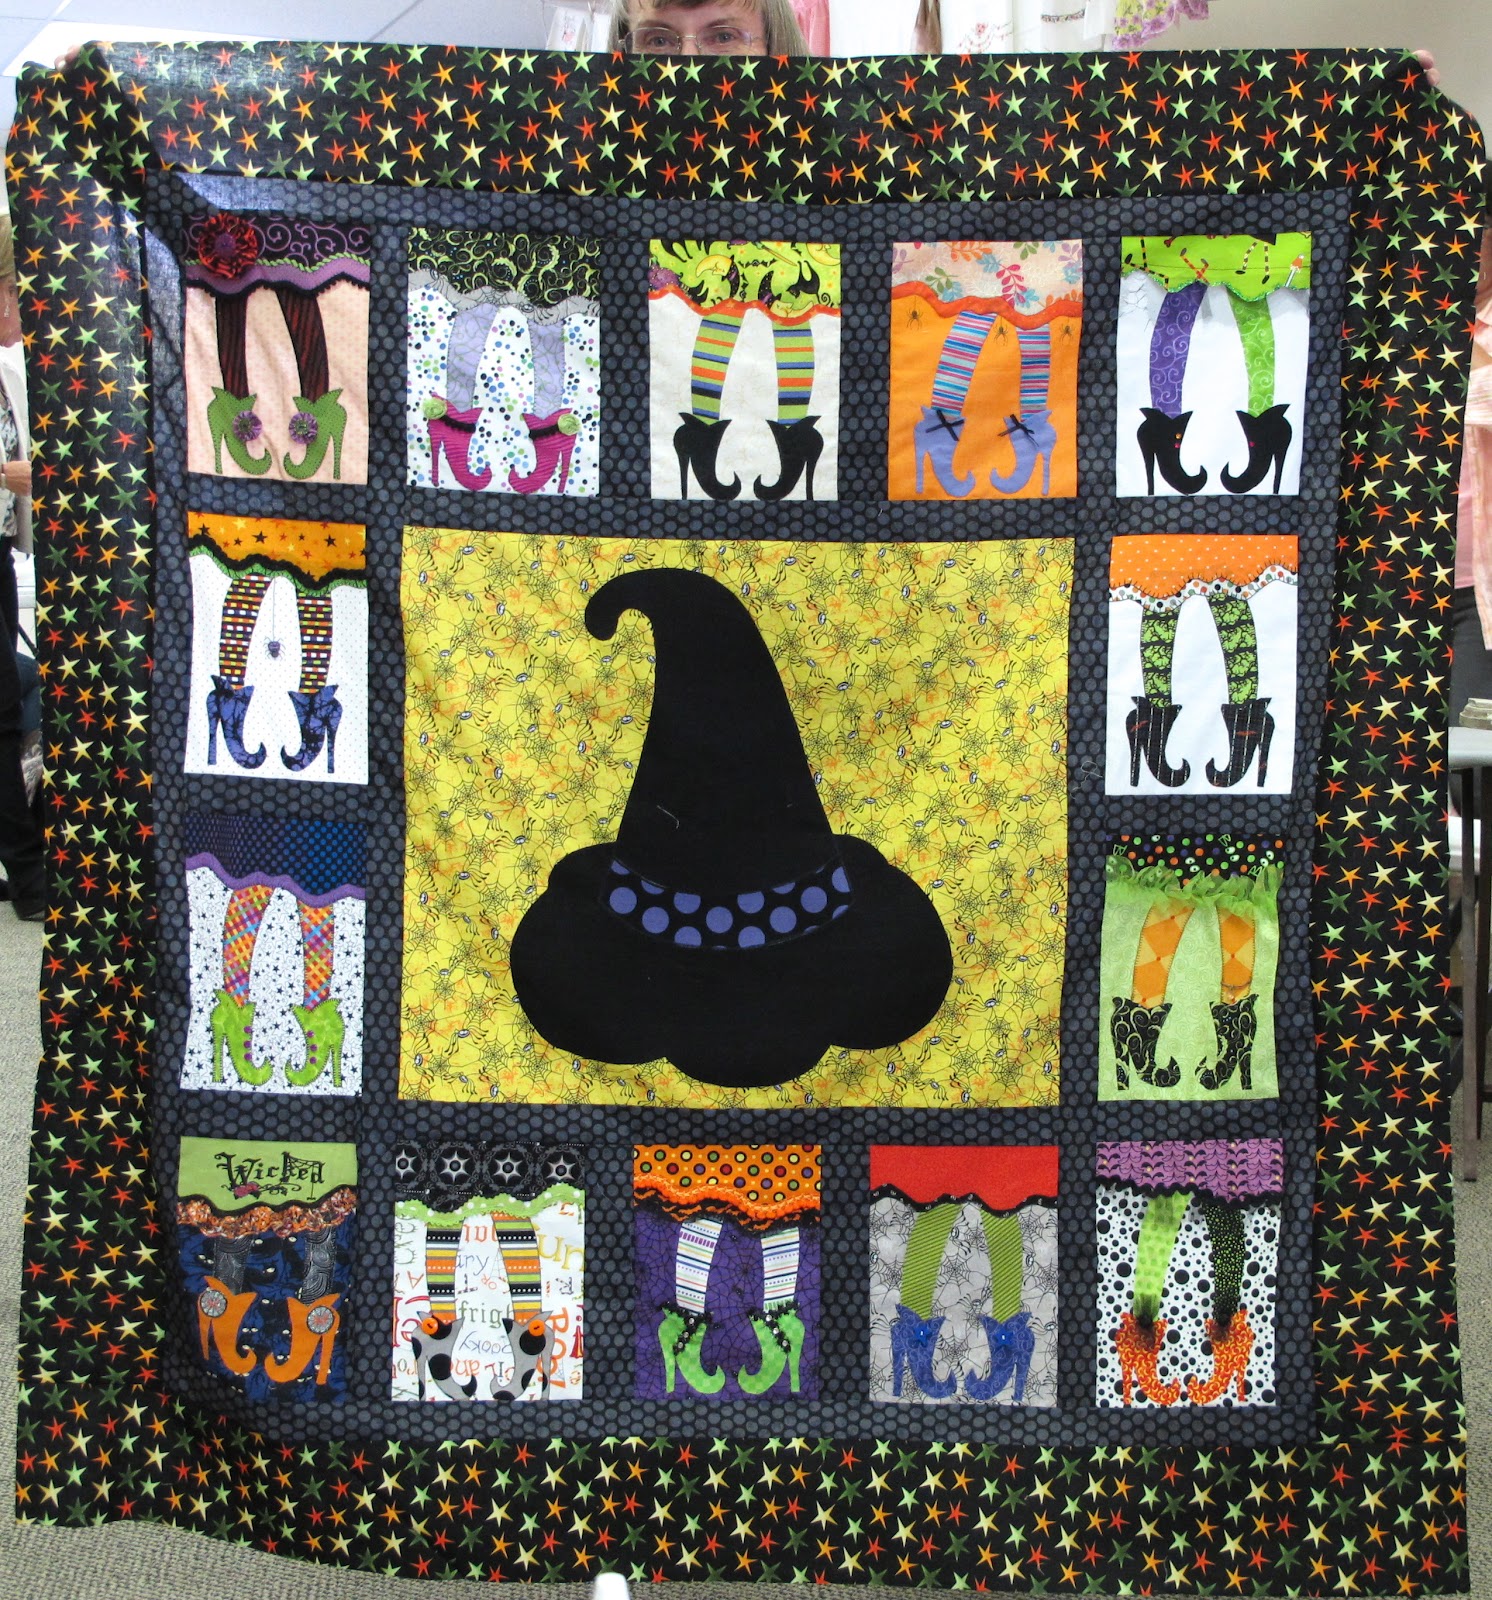
Lucy added the large hat in the center...


all of the blocks are so fun...


I snapped a close up of a few...


Love this spiderweb print!


and the striped socks with polks dot shoes.


Beth used one of my table runner patterns to make this...I love seeing it in fall colors!


Beth's sister Sue lives in Logan so she came for a day and they made matching aprons:)


We have alot of fun together...this is our 5th year on fall retreat.
We have a fun tradition that we follow while we sew together.
When we have finished a block, a quilt top or have gone through a bobbin...we each have a bell that we ring...then we parade our project around for all to see.

This year...a new one was introduced.
Whenever we have to use the seam ripper...we have to wear the "dunce" hat.
In this picture it was Judy's turn...and she posed for me with her best dunce face...haha.

All in all it was another successful retreat. 
We enjoyed it so much that we are going back to 
for next years fall retreat....we have already booked it!
xx
Lori

Saturday, September 22, 2012

The Bee in my Bonnet Row Along - Row 3...


Yep...I've added a new row to the quilt!
Row 3.
I will be out of town all next week...
so...
 I am posting this early so that y'all can be rowing while I'm gone:)

You're welcome!

Row 3 is a cute little "filler" row that will go in-between larger and more detailed blocks.

It's an easy peasy...get it done in an afternoon...
kind of zig-zaggy/chubby chevron if you will kind of a row:)


YAY!
Cute squares.


Okay...Cutting complete!


The stitching of the easy corner triangles is exactly like you did with the butterflies.
Sew from corner to corner of each of the  white squares when it is placed on a printed square.
Make sure you either mark your line with a pencil...
or use the Angler 2 as we have discussed already.
Pay attention to the direction that you are sewing so that you end up with the correct shape:)


These little squares go faster if you chain-stitch them...


and if you do both sides before trimming and pressing.


After stitching all squares...
pair them up...


and go ahead and give them a quick press to set the seams...and then trim an approximate 1/4" seam allowance.


Press the seam allowance towards the triangles.

Each square should still measure 
the same size that you cut it...
except now they have 2 small white triangles on opposite corners.

Don't you just love the Easy Corner Triangle method???


Now flip one square over so that together they will form a zig...or a zag...or whatever you are calling it...and take them to your machine to sew together.


*NOTE -When stitching smaller pieces together... 
it may be helpful for you to use an awl.
(some call it a stiletto)
If you haven't used an awl before...here is a little info.
An awl is basically a tool with a point so that helps you hold two pieces of fabric together nicely when sewing.
It's comes in very handy when working with small blocks like we working with in this quilt.

Sometimes when small pieces get close to the feed dogs...they will try to pull them in crooked, and then that distorts the shape and your seam allowance is off.

Use an awl like a little tiny extra finger that can get in there close for better control.
(just be careful not to get it so close that your needle hits it...I've done that before...yikes)


Also...notice that I am sewing in the same direction that I have pressed the seam allowance.
It's always a good idea to do that whenever possible.


After stitching...press these seams open.
Take note that I do not always press my seams open...only when working with small or bulky blocks.


After pressing open from the back...give the front a quick press so that it will be nice and flat.
*Important...remember to PRESS your blocks.
Don't IRON back and forth.
There is a difference.
Pressing means just that...pressing flat.
Ironing pulls your block back and forth and will distort it.

And while we are on the subject...
I do not use steam in my iron.
Steam is HOT water.
Hot water shrinks cotton...
which equals shrunken and distorted blocks.


Finish up all of the sets.


Sew them together in the order that you like...
and press those seam allowance's open also.


Add the background square onto each end...
 fold it in half and trim just like
And just like row 1...row 3 will need to measure the same to fit into the quilt. 


And your row 3 is complete!
Do you like it???

I laid row 3 over a chair in my front room for a photo...it looks bright and cheerful against the white slip cover don't you think?

These rows are are a little bit challenging to photograph...and I love seeing all of your cute and creative pictures on the


Row 1...
Row 2...
and Row 3.


As I have said before...
don't sew the rows together yet.
This is not the order that they will go in but... I like how they are looking together... don't you?

Also...the rows of course will be horizontal in the quilt but it's easier to photograph them going this direction:)


Are you all having fun with the
I sure am.
I'd sure love to hear your thoughts!

 I have had so much fun seeing all of your progress...
You...
of course...
 all are the very best students.


I hope you have a fun quilty week while I'm away.
As I said...
I will be on a retreat for a whole week...(YAY)...with my 
"Fat Quarter Friendly's"
 quilt group and we will be sewing and laughing and shopping and laughing and eating and laughing and then sewing some more and then laughing again and then maybe sleeping in-between.

I plan to have alot of fun and work on lots of fun projects:)
Of course I will tell you all about it when I get back.

xx
Lori

***edit July 2013
The pattern and instructions for the 
Bee in my Bonnet Row Along quilt 
are in my new book
"Quilty Fun"

You can CLICK HERE 
to reserve a copy of your very own!


Related Posts with Thumbnails