Wednesday, January 23, 2013

The Bee in my Bonnet Row Along - Row 10...Won't You Be My Neighbor?....Houses!!!!


It's a beautiful day in the neighborhood ...
a beautiful day for a neighbor...would you be mine?
Won't you be mine?
Won't you be my neighbor?
Oh pleeeeease won't you be...my neighbor?

Good morning!!!
(compliments of me and Mr. Rodgers:)

It's time for Row 10 of the
Neighborhood Houses!!!

I designed these homes to represent all of us rowers...
YaY!
Now we really can be neighbors!!!


Here is how you make one home.
I used 4 different prints in addition to my background.

The cutting for ONE BLOCK goes as follows...


Roof 
 Cut 1 - 2 1/2" x 9 1/2" strip


House
Cut 4 - 1 1/2" squares
Cut 2 - 1 1/2" x 3 1/2" rectangles
Cut 1 - 1 1/2" x 7 1/2" strip


Windows
Cut 2 - 1 1/2" squares


Door 
Cut 1 - 1 1/2" x 2 1/2" x rectangle
Chimneys
Cut 2 - 1 1/2" squares


Background
Cut 2 - 2 1/2" squares
Cut 4 - 1 1/2" x 3 1/2" rectangles
Cut 1 - 1 1/2" square


Lay out your block on your design board like this and let's build a house!


Start by sewing a square on each side of the windows...
press towards the window.


Now add the 3 1/2" strips to the bottom...
 Press away from the windows.


Lay them back out so that you know what piece goes where:)


Now sew a window section to the sides of the door like this...
Press towards the door.


Now add the top strip and press towards the strip.


This is what the back looks like:)


Sew a white rectangle onto each side of the house.
YaY!!!

Now onto the roof:)


Sew an Easy Corner Triangle onto each corner like this.


Trim and press towards the triangles.


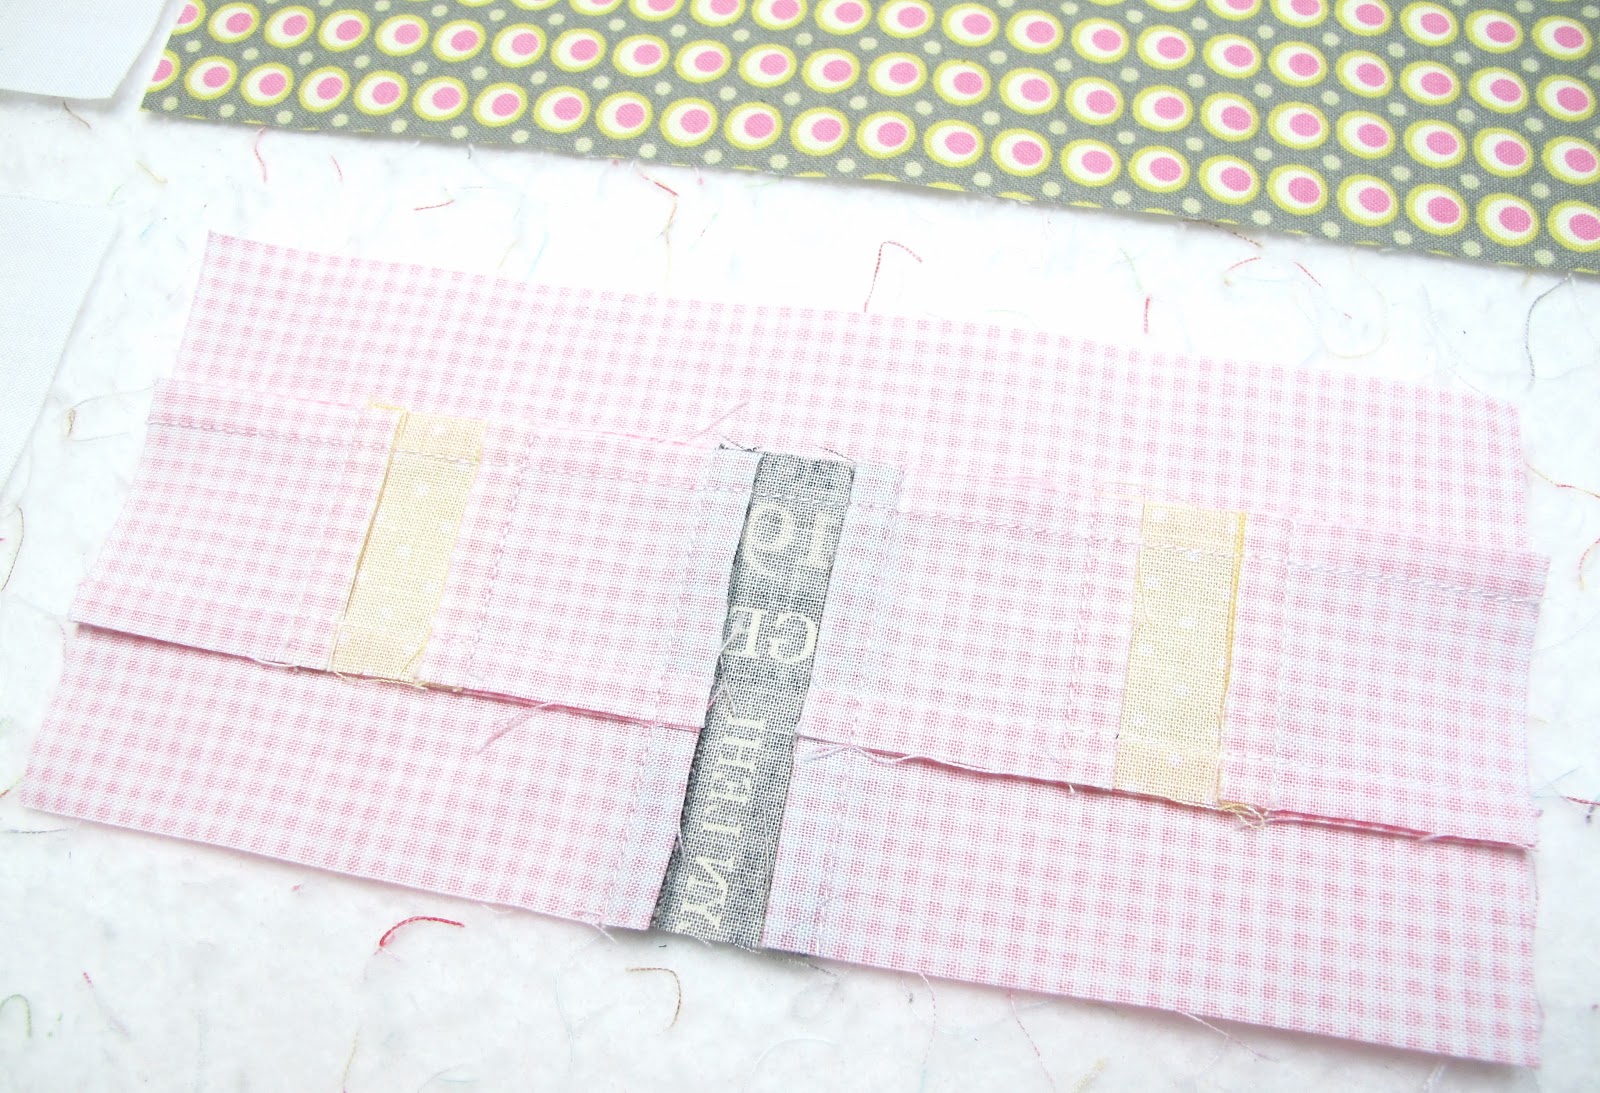
Now sew the chimney strip together like this...
(can you see the block better on my cutting board?...good:)


Press towards the chimneys.


Now sew the chimney section to the top of the roof.


Press towards the roof top.


Sew the roof to the house ...


and press towards the roof again.


YaY!!!
You have built your first house!

It should measure 6 1/2" tall x 9 1/2" wide
at this point.


Now keep on building!!!

I know these happy little houses are addicting...
but you only need 4 more for your row:)


Make 5 cute little houses to live in the 
Bee in my Bonnet neighborhood:)


Decide the order to sew them in and prepare your sashing.

Sashing
Cut 4 - 1 1/2"x 6 1/2" and sew in between the houses.
as per usual...
Cut 2 - 2 1/2" x 6 1/2" strips for the end of each row
 to fold in half and trim your row to measure 50 1/2" wide.


Cut 2 - 1 1/2' x 50 1/2" strips 
and sew to the top and the bottom of your row.


Press seams towards the sashings...


And the background strips.


Which house do you want to live in?
(can I borrow a cup of sugar...or maybe a few eggs?)

Sew...
what do you think of row 10?
Do these houses make you happy too?


As a reminder...
to join the row along flickr group
  to keep track of each row tutorial.
 Also if you want to share your own photos...
and you can always find all kinds of row along inspiration there!


Have fun building your own houses to become my neighbor...
I can't wait to see them!
Have a quilty kind of day:)
xx
Lori


Pin It!

Thursday, January 17, 2013

A Scrappy Trip Around the World...Awesome Tutorial!!!...


January is the month when we are always deep into 
changing things up a bit in our little cottage.... 
Which is why you haven't heard much from me!

This year is Kassidy's room...
a total and complete redo.
It's been so fun and
I'll show you when it's complete!

But as you know...
I can't go too long without sewing:)
 So when I havn't been at the home improvement store...
 or had paint on my elbows... (hehe)...

I have found a few spare minutes here and there to 
have a quilty kind of day:)


I have made 4 blocks so far in the
"Scrappy Trip Around the World"

It's an awesome tutorial and easy peasy!
Tutorial can be found HERE


I have been using 2 1/2" strips from
 all of my fabric lines so far...
Sew Cherry
Daisy Cottage
Millie's Closet
Polka Dot Stitches


I still have quite a little pile 
leftover from the


 and when I saw the tutorial...
I knew it would be a perfect and
 quick little project to use them all up.


There's not much planning or color coordinating in this scrappy quilt.
It's my favorite kind of sewing to do when I don't have to think much
 and I just want to relax and unwind a bit while watching 
and wearing my fuzzy socks and trying to keep warm.
The temperature here has been below freezing for the last 3 weeks:(


4 blocks are on my design wall now...
what's on yours?
Are you keeping warm?
I hope sew:)
xx
Lori

Pin It!

Wednesday, January 9, 2013

The Bee in my Bonnet Row Along Continues... Row 9 - Twinkly Winter Stars!!!...


YaY!!!
It's time for a new row in the


Row 9...
Twinkly Winter Stars:)


Okay...let's get rowing girls!
Grab 16 scrappylicious fabrics...
 to make 16 scrappylicious stars:)


Grab your background too...
and get them all cut and ready to row!

As per usual...
I will give cutting and sewing 
instructions for one block...
then you can sew the rest after you make one:)

Here we go!!!


What you need cut for ONE twinkly star -

From the star fabric...
Cut 1 - 1 1/2" x 3 1/2" rectangle
Cut 2 - 1 1/2" x 1 1/2" squares

From the background fabric...
Cut 2 - 1 1/2" x 2 1/2" rectangles
Cut 4 - 1 1/2" x 1 1/2" squares


Use 2 of the background squares and
 sew an easy corner triangle 
onto each end of the star fabric rectangle...
like this.


Trim....


And press towards the background.
Set aside.


Use the star fabric squares and sew an easy corner triangle
 onto the top of each background rectangle ...
like this.


Trim.


And press towards the star fabric.


Sew the two remaining background squares on the top like this....


And press towards the squares.


Now lay one on each side of the center rectangle...
make sure that you flip one over so that it looks like this.


Sew together and press towards the center.


YaY!!!
One cute little twinkly winter star.

Your star should measure 3 1/2" square at this point:)


Now that you've made one...
make 15 more the speedy way:)


YaY again!
NO sashing in between the blocks.
Just sew them together ...
but make sure that the center rectangle in the center 
goes up and down and not across.

Press the seams BOTH ways like this!
I normally don't do that...
but it seems to work better for this row:)


Just a reminder about the background fabric on the ends of each row.
Each row (including this one) 
will need to measure 50 1/2" wide for when you sew them together.

We all try to sew an accurate 1/4" seam...
but of course...
no row is ever perfect....
so if you need a reminder on how to add the fabric on the ends so that your rows are 50 1/2" wide.
to read the row 2 tutorial ...
when I show you all the details close up and personal:)

Another reminder...
 there is a link to each row 
(in the order that I have posted them) 
on the home page of the 
 row along flickr group.

I have posted the links there for 
your convenience 
so that you can go to any row you want to at anytime.
YaY!
to join the group!!! 


And row 9 is complete:)
In just 2 short weeks...
 it will be time for row 10!

For those of you possibly wondering...
we have ABOUT 6 more rows to go...
(give or take a few...haha)

I sure hope you're all having fun with it...
I would sew love to hear from you if you are!!!

Have a twinkly kind of day my friends:)
xx
Lori


Pin It!
Related Posts with Thumbnails