

Welcome to week 23 in the

I picked another vintage block pattern
from my grandma's pattern basket
to share with you:)


I'm using Farm Girl Vintage fabric
for all of my blocks:)

This vintage block is traditionally called Single Irish Chain.
It's the perfect scrappy quilt block
and especially perfect
for leftover squares:)
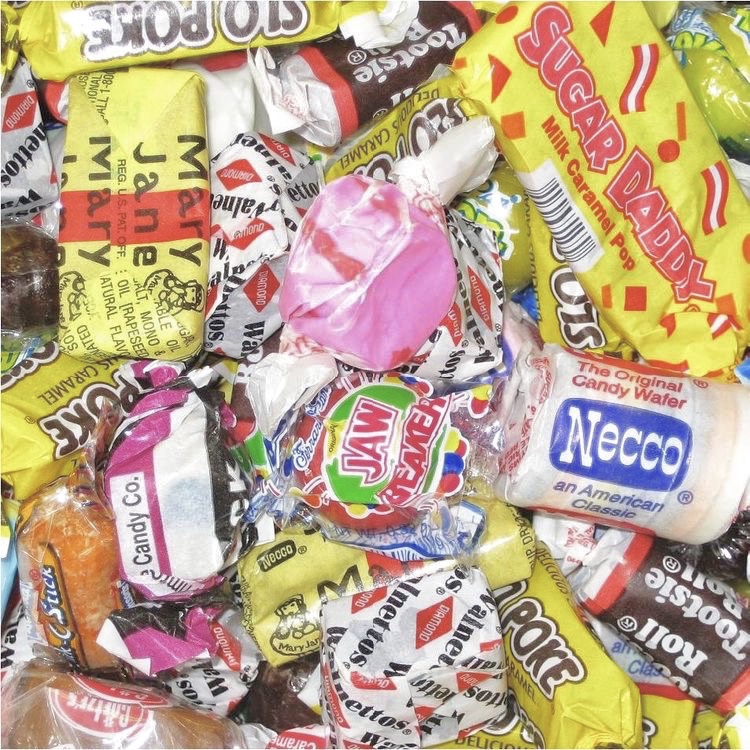
I chose to name this block
PENNY CANDY
and here's why!
Last week I told you that
Grandma owned and ran the
only store in our small town.
The official name was
Herriman Mercantile but
everyone just called The Merc.
Every week after we were finished
with our Saturday chores...
Mom would give us each a dime
and we all would head over
to The Merc to see Grandma
and get a little brown paper sack
full of penny candy.
Some of the candy was even
2 or 3 for a penny!

Candy bars were a nickel:)

I usually chose one candy bar
and then used the remaining
5 cents on penny candy.
It took us FOREVER to decide
and then we would walk home
(it was in the center of town on Main Street) and our farm was on
the outskirts of town.
We would eat our chosen candy bar
on the way home and then
save our penny candy and try to
make it last as many days
as possible until the next Saturday lol
Sometimes instead of walking
we would ride our bikes...
or roller skate.

I chose the single irish chain block
because I could just see the squares
in colorful scrappy prints...
each representing a piece of candy:)
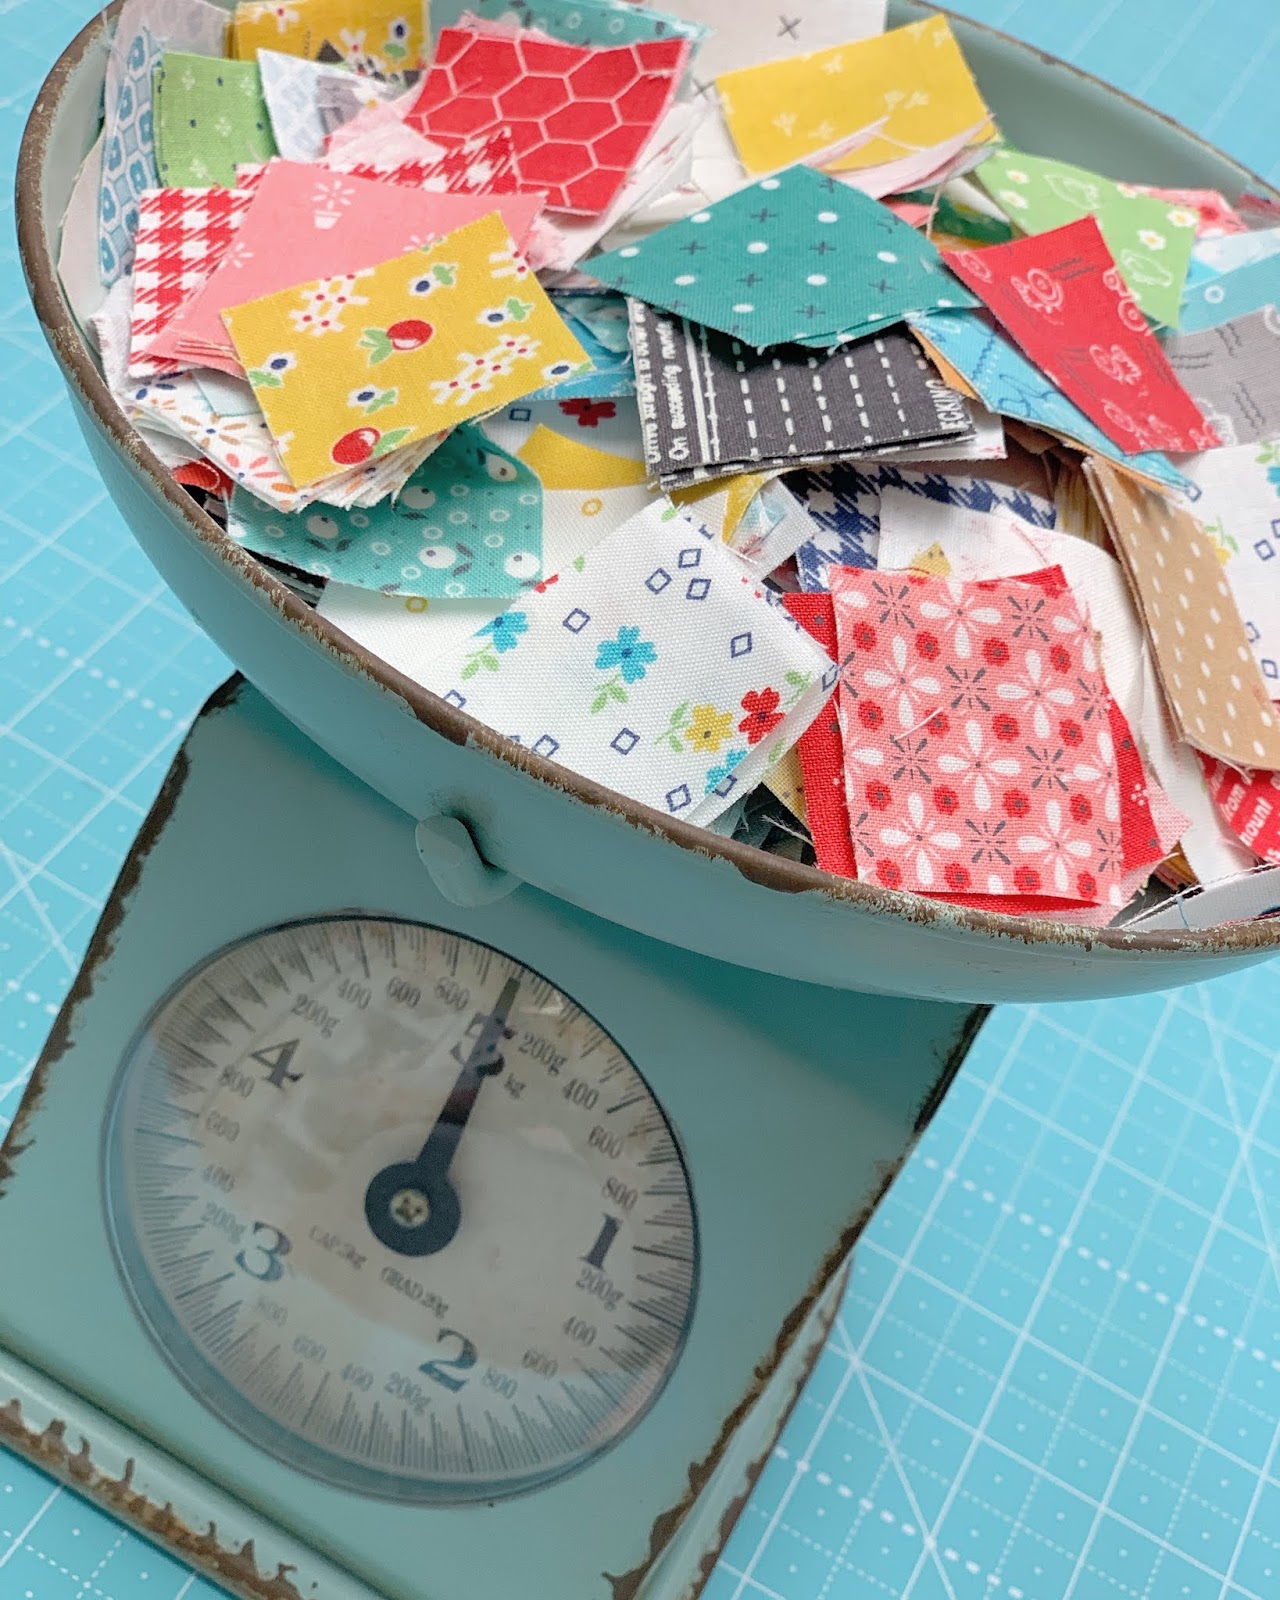
You will need 45 - pieces of candy
for this block..
Also known as 1 1/2" squares lol
I used leftover squares from my stash.
Remember in the beginning
of this sew along
I told you that I always
cut the trimmings from
easy corner triangles
into usable square sizes?
I am using mine for this block.
Waste not...want not
Grandma would be so proud!
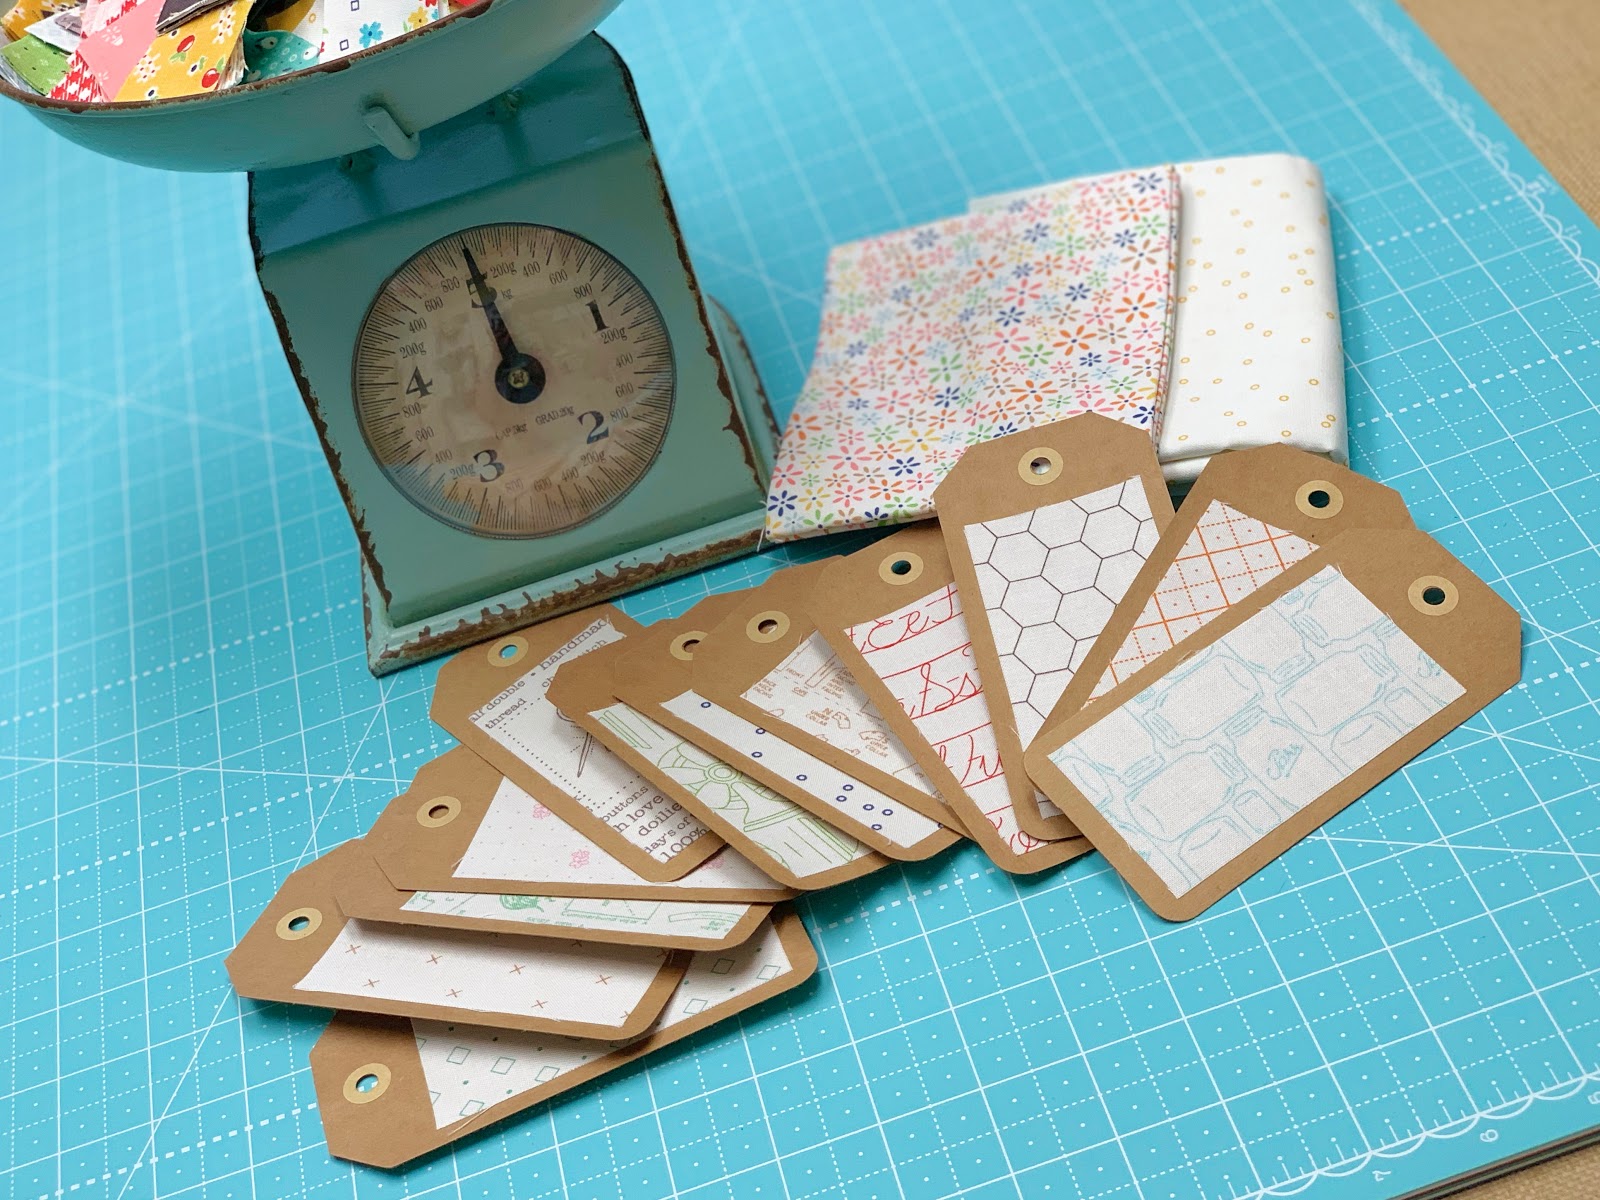
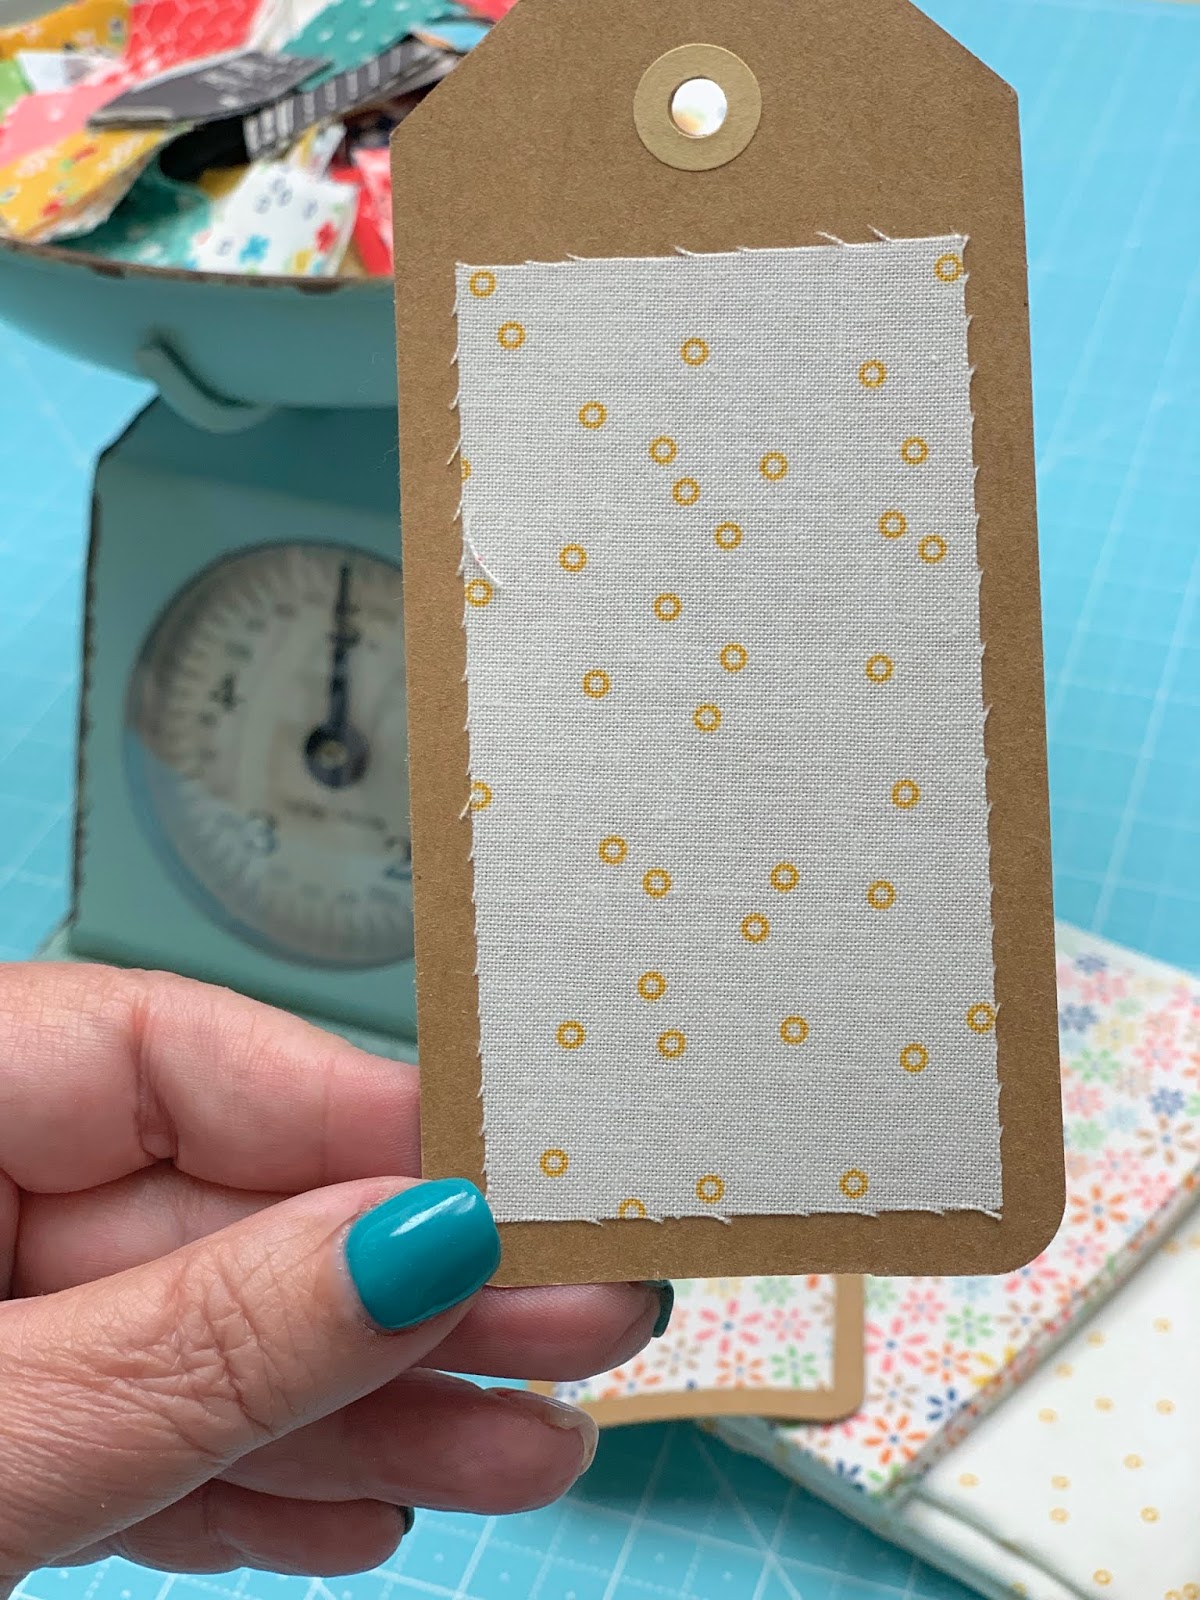
I also have several 1 1/2" squares
from my Bee Backgrounds
and I used them as well.
You will need 40 of these:)
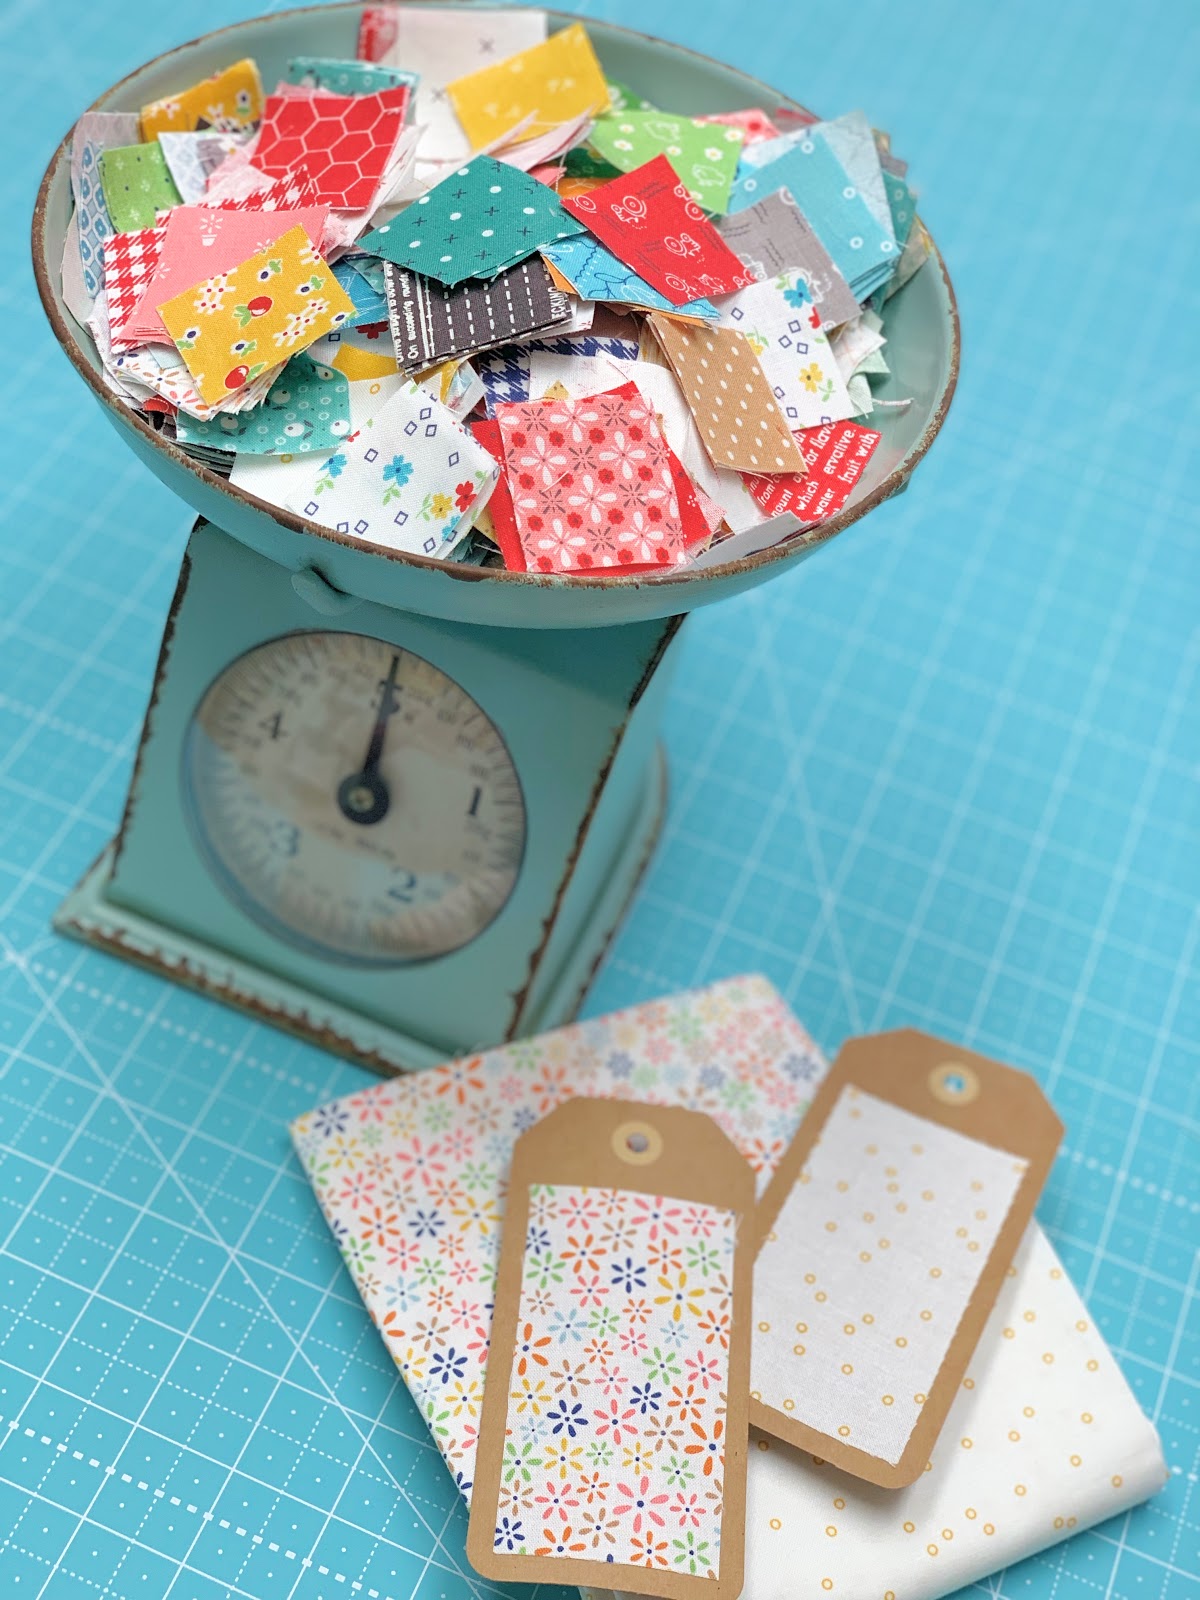
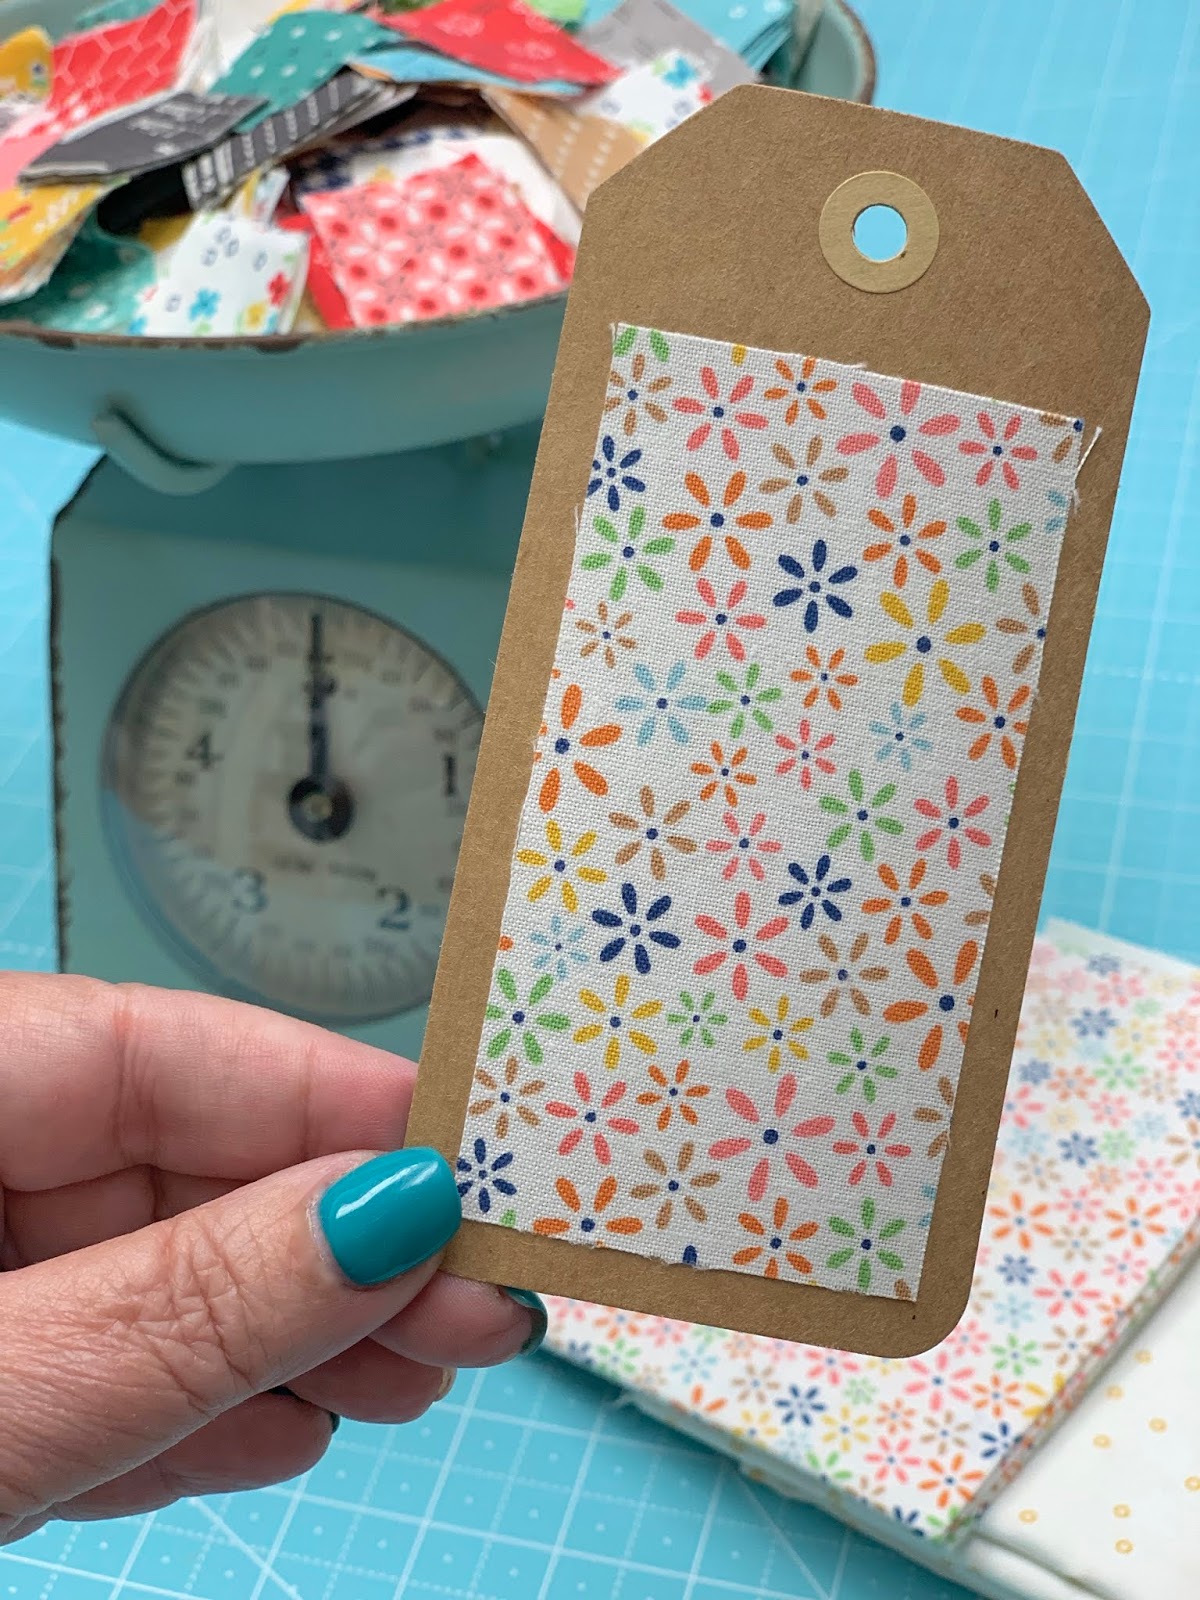
I chose this sweet little daisy print
from Farm Girl Vintage
and the yellow circles print
from my Bee Backgrounds
to use in my block.
From this print I cut
20 - 1 1/2" x 2 1/2" rectangles
And from this one I cut
4 - 5 1/2" squares

You will need to make a total of
20 - 4 patch blocks.
For each one you will need
2 colors and 2 backgrounds...

Like this.
Each 4 patch should measure
2 1/2" square at this point.
I pressed my seams open.

I just grabbed a bunch and randomly
matched them up while chain sewing...
I didn't do a lot of planning
other than tried to use
a few of each color and
not to repeat prints
if I could help it.
I think I repeated a few though
and that's okay and totally fine with me.

20 cute little 4 patch blocks!

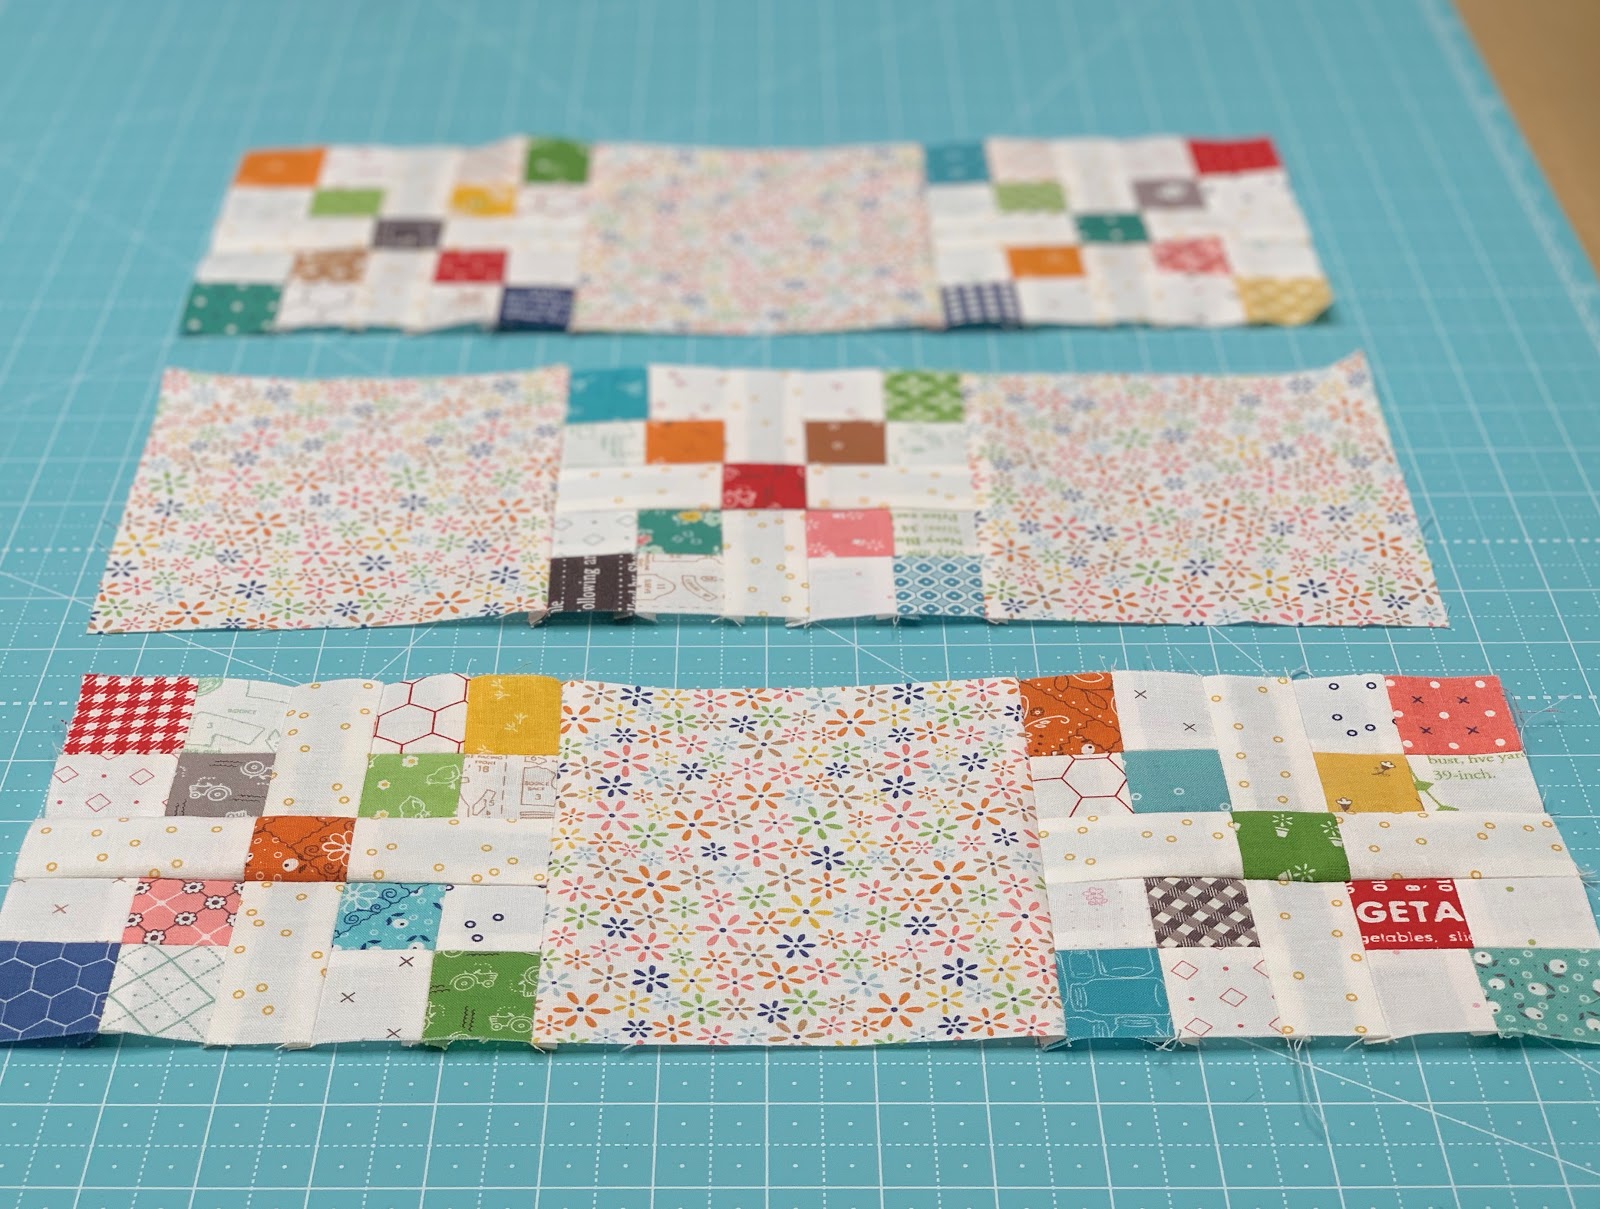
Now lay 4 of them out onto your
design board like this and add
the background rectangles
and one more penny candy square
in the center.
Sew them together into a block

Sew five of these blocks...
each should measure
5 1/2" square at this point.

This is how I pressed mine.

After you have 5 blocks
lay them out like this...

Add the 5 1/2" squares...
And sew into three rows...

And sew the rows together
to finish your block!

This is how I pressed mine.

Oh my goodness I LOVE this block!
It turned out just like I imagined...
sweet as candy!
PENNY CANDY
should measure 15 1/2" square
before we sew it into our quilt.

I hope you love making your block
as much as I did making mine!
Join me back here next week
for another vintage block
from grandma.
This time I'm telling you
what it's called...
MERCANTILE
See you then!
xx
Lori
If you are just joining us...
click on each block that we have
done so far to go to the tutorial:
5. Rhinestone
6. Vintage Lily
7. Star Shine
8. Humble
9. Egg Money
10. Quilting Bee
11. Sunday Star
12. Sweet as Honey
13. Bear Hug Block
15. Memory
16. Farmers Daughter
19. Picnic
20. Sparklers
21. 4th of July Flag
22. Playing Card


