
Well hello there!
Welcome to the
Did you have a nice vacation?
I sure hope so:)

I sure did...and now I'm back
and ready to share
another block with you from
grandma's pattern basket.
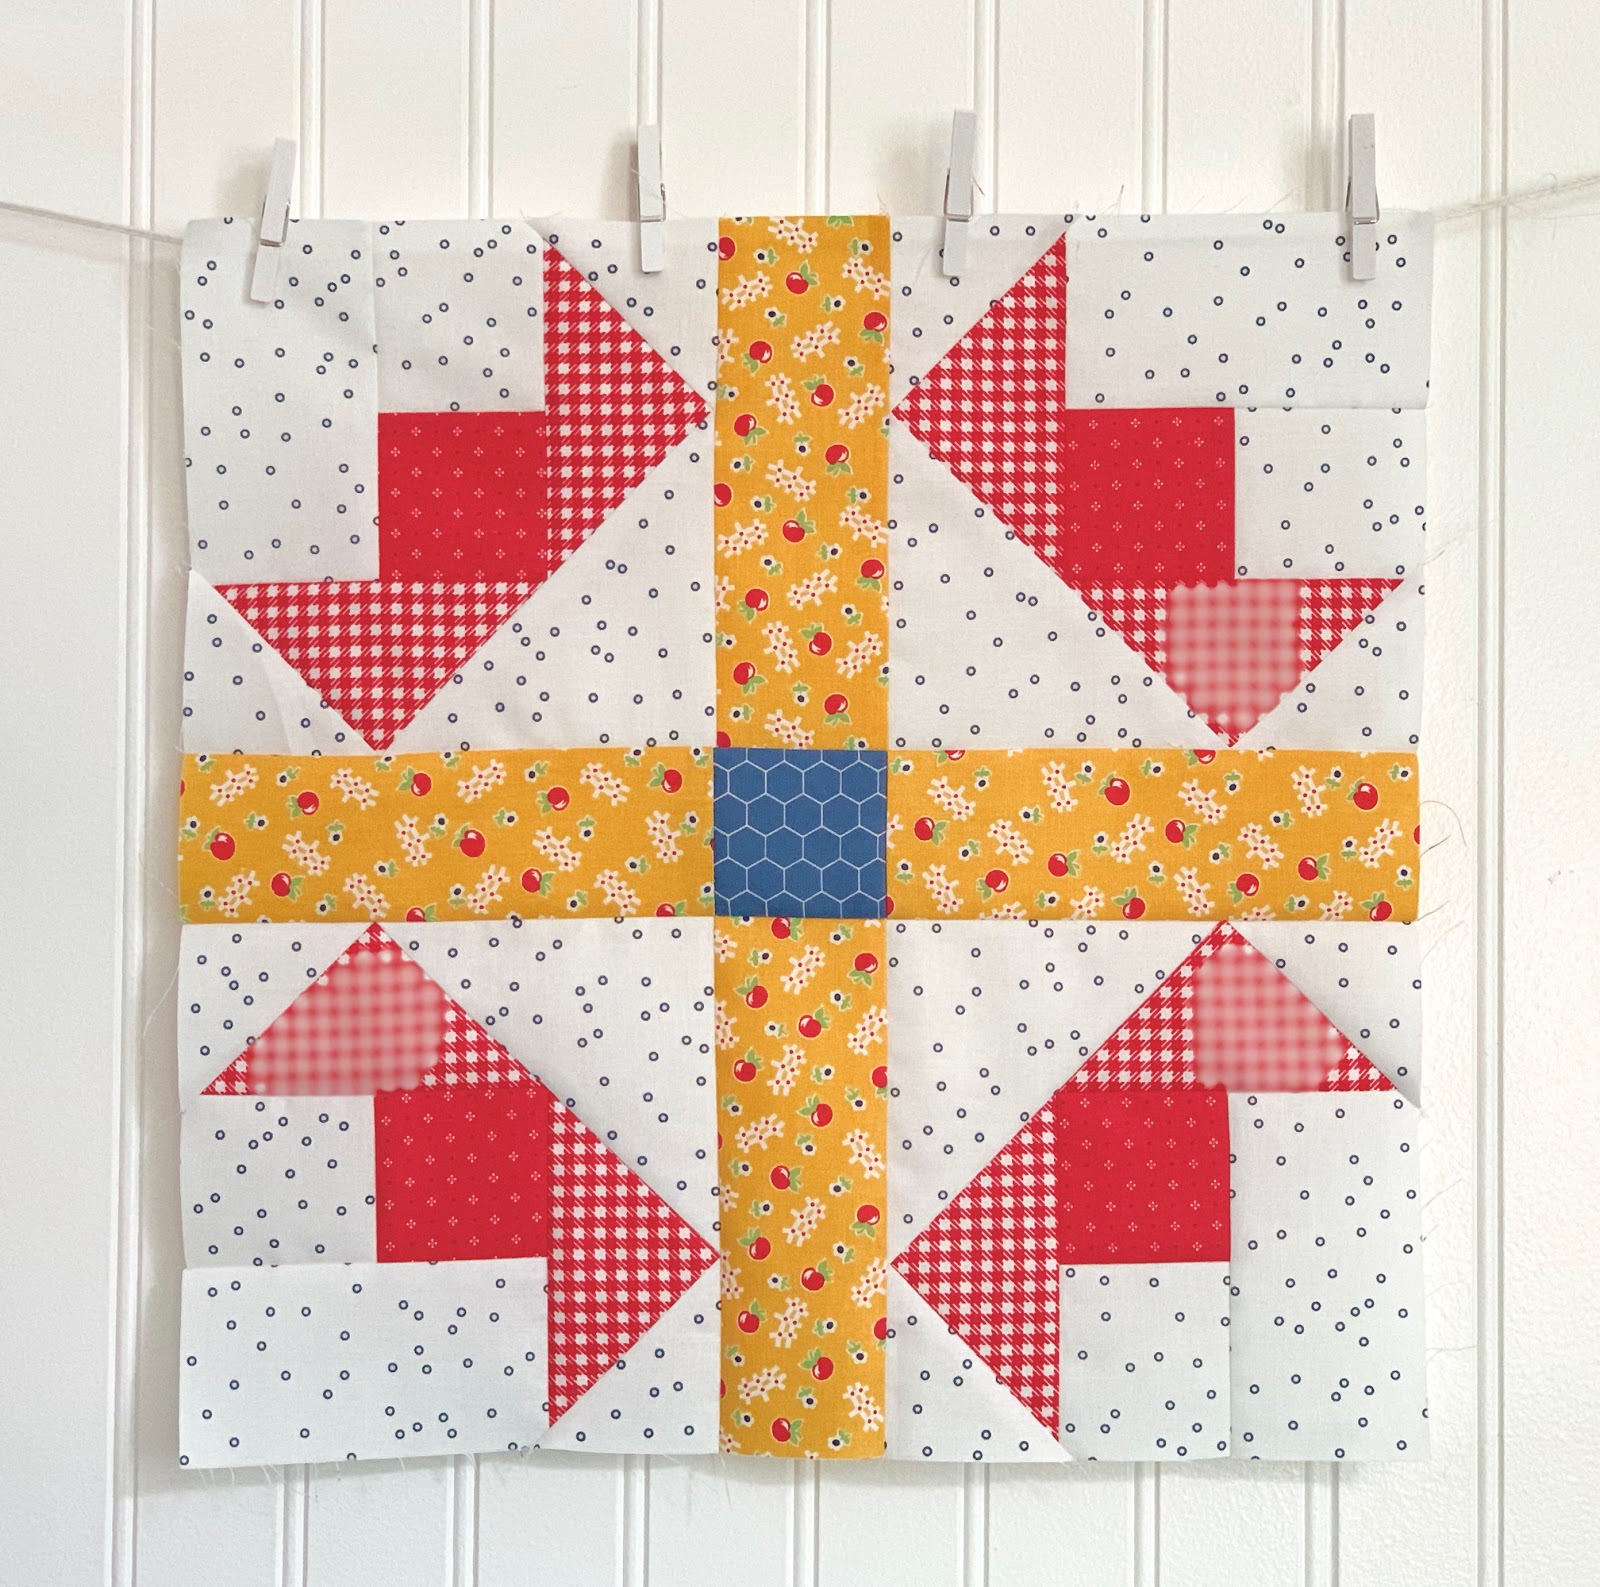
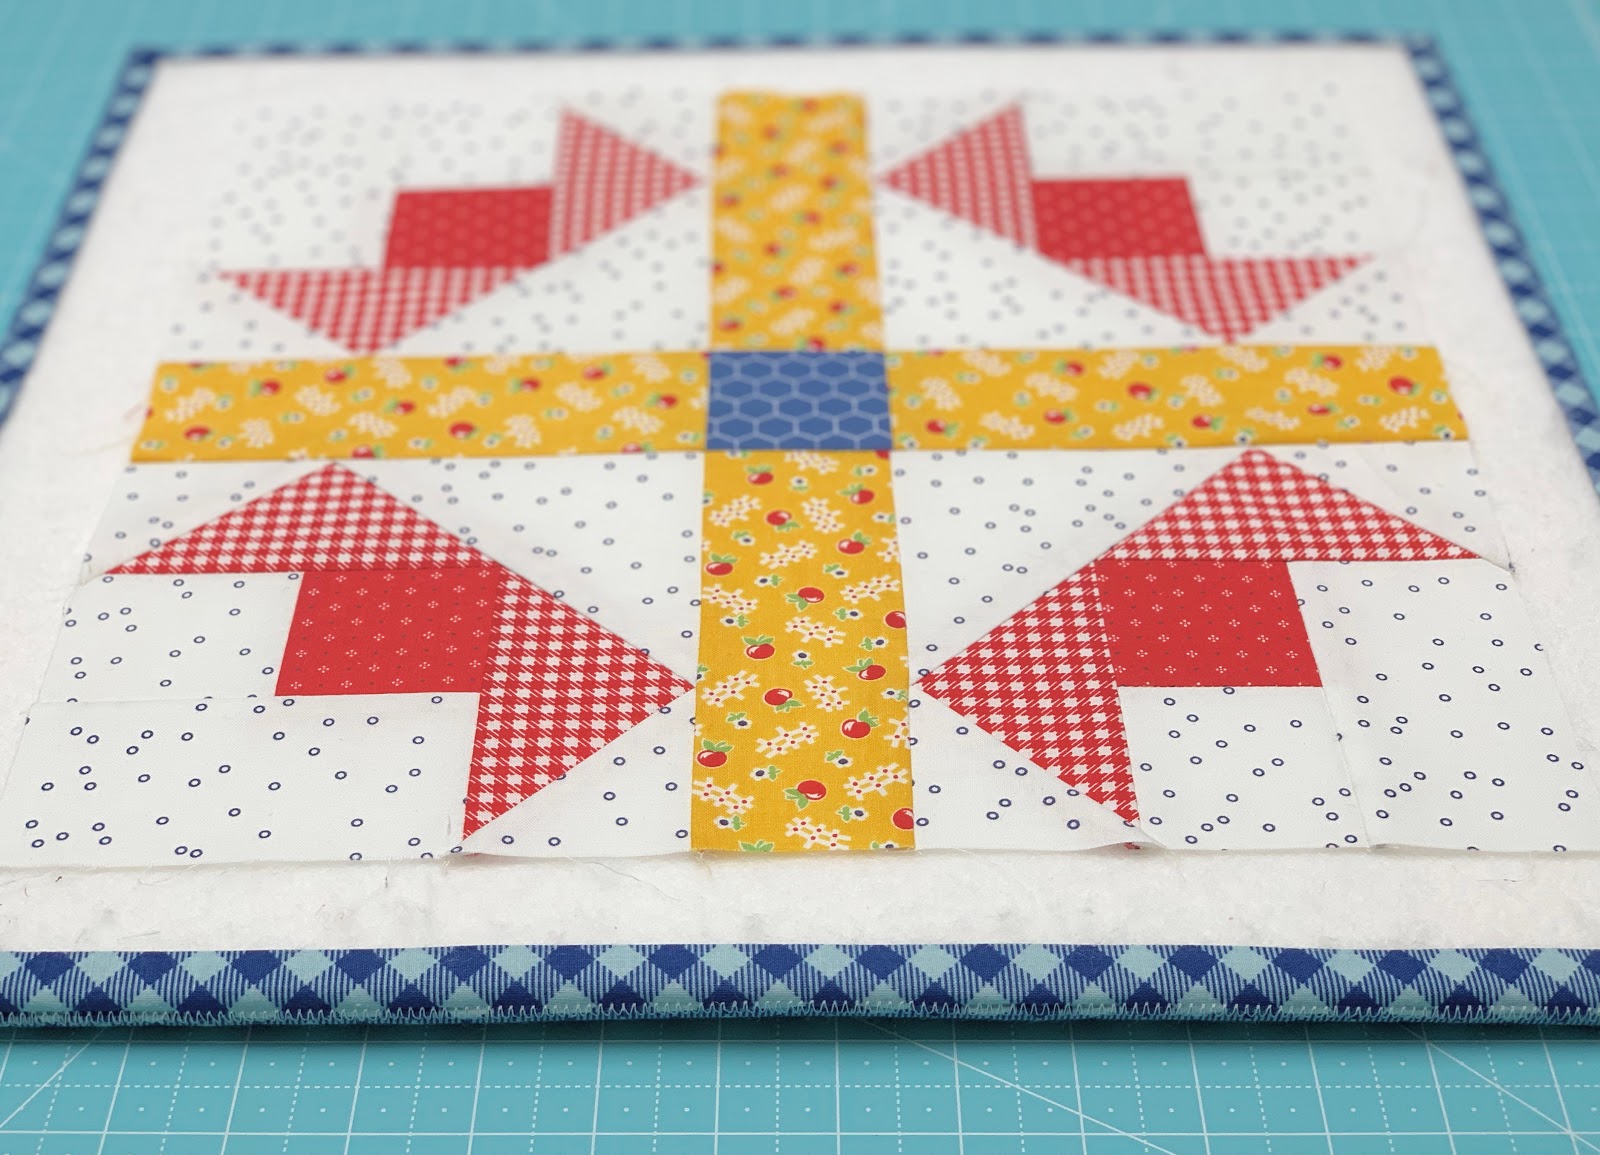
This vintage block is traditionally called Cross and Crown
I'm calling it PARADE
and here is why:)
Grandma was born on the 24th of July and as I've said that is our UTAH holiday...
we call it Pioneer Days or the Days of '47.
It commemorates the year that our pioneer ancestors came across the plains from the east and made this their home:)
Originally Utah was called Deseret (definition from the Bible is Honey Bee)
but eventually it was called Utah
when we officially became a state ...
named after the Ute Indian Territories.
Anyhoo...
there are always lots of
parades in towns big and small...
and one big one in downtown Salt Lake City
on the 24th of July.
Grandma always told us that she
was born during the parade and
that her mother
(my great grandma Martha
who was a beautiful quilter and gardener)
asked for the bed to be moved
and the window to be opened
while she was in labor
so that she could watch the parade
and the fireworks.
Grandma came into this world with a bang... while everyone celebrated
family and our heritage.
I have always loved that
and grandma always loved parades.

Every year in our small town
we also had a parade...
it was part of the
Herriman Town Days celebration:)
Pretty much everybody in town
made a float and our family did every year.
The planning usually started in March.
Grandma always helped us plan
our float and helped us to make it.
Dad would make the base of the float...
using different things every year...
depending on how large
of a platform we needed.
The floats were never big because
they were always pulled
by hand and by two people:)
Mom would decide who would ride
on the float for the year
and this year in above photo
was my turn.
I think I was 4 years old.
What I remember about this float
was the endless flower making
out of white tissue paper.
I remember all of us helping
to make them and Mom saying
we still need more!
I also remember Mom making
my dress and crown.
What I remember about riding on
this float in the parade was
wanting to go faster...
my oldest sister Debbie and my
cousin Renee pulled the float
and I kept saying
go faster!!!
LOL I was too young to understand
that you are supposed to go slow.

This is a year that Mom put me
and my brother Morgan on the float
because earlier that year I had
taken a pair of scissors
and gave him quite a nice a haircut....
or so I thought haha
I remember thinking that I
wanted to use the scissors
but I didn't want to cut my own hair
so I asked Morgan if he wanted
a haircut and then we both
got into trouble and Dad had to
give him a super short buzz cut
with the clippers to
even it all out.
LOL
Of course being in a small town
everybody knew everything
so they knew all about it.
I remember as the float went down
Main Street in the parade
they all snickered as we went by!
Ah...good times:)

Here's a pic of another year
after the parade was just over.
This is me in the pink and
2 of my sisters and two of my brothers.
Debbie is also in pink and she
has her arms around Brian.
She was always a little mother:)
Carolyn is in green and Morgan is
in the red pants.
Notice both of my brothers
have buzz cuts again...
but through no fault of mine lol.
You can also see a few of my
aunts and uncles and cousins
in the background...
and also on the top right
lots of decorated bikes.
If you weren't riding on a float
you would often decorate your bike
and ride it in the parade.
We would put streamers and flags
on the handle bars and balloons
on the back of the seat...
along with streamers in the spokes.
We also put playing cards
in the spokes so it created
noise as we pedaled by:)


Okay...now that I've gone down
memory lane and told you about
this week's vintage block...
let's make it!
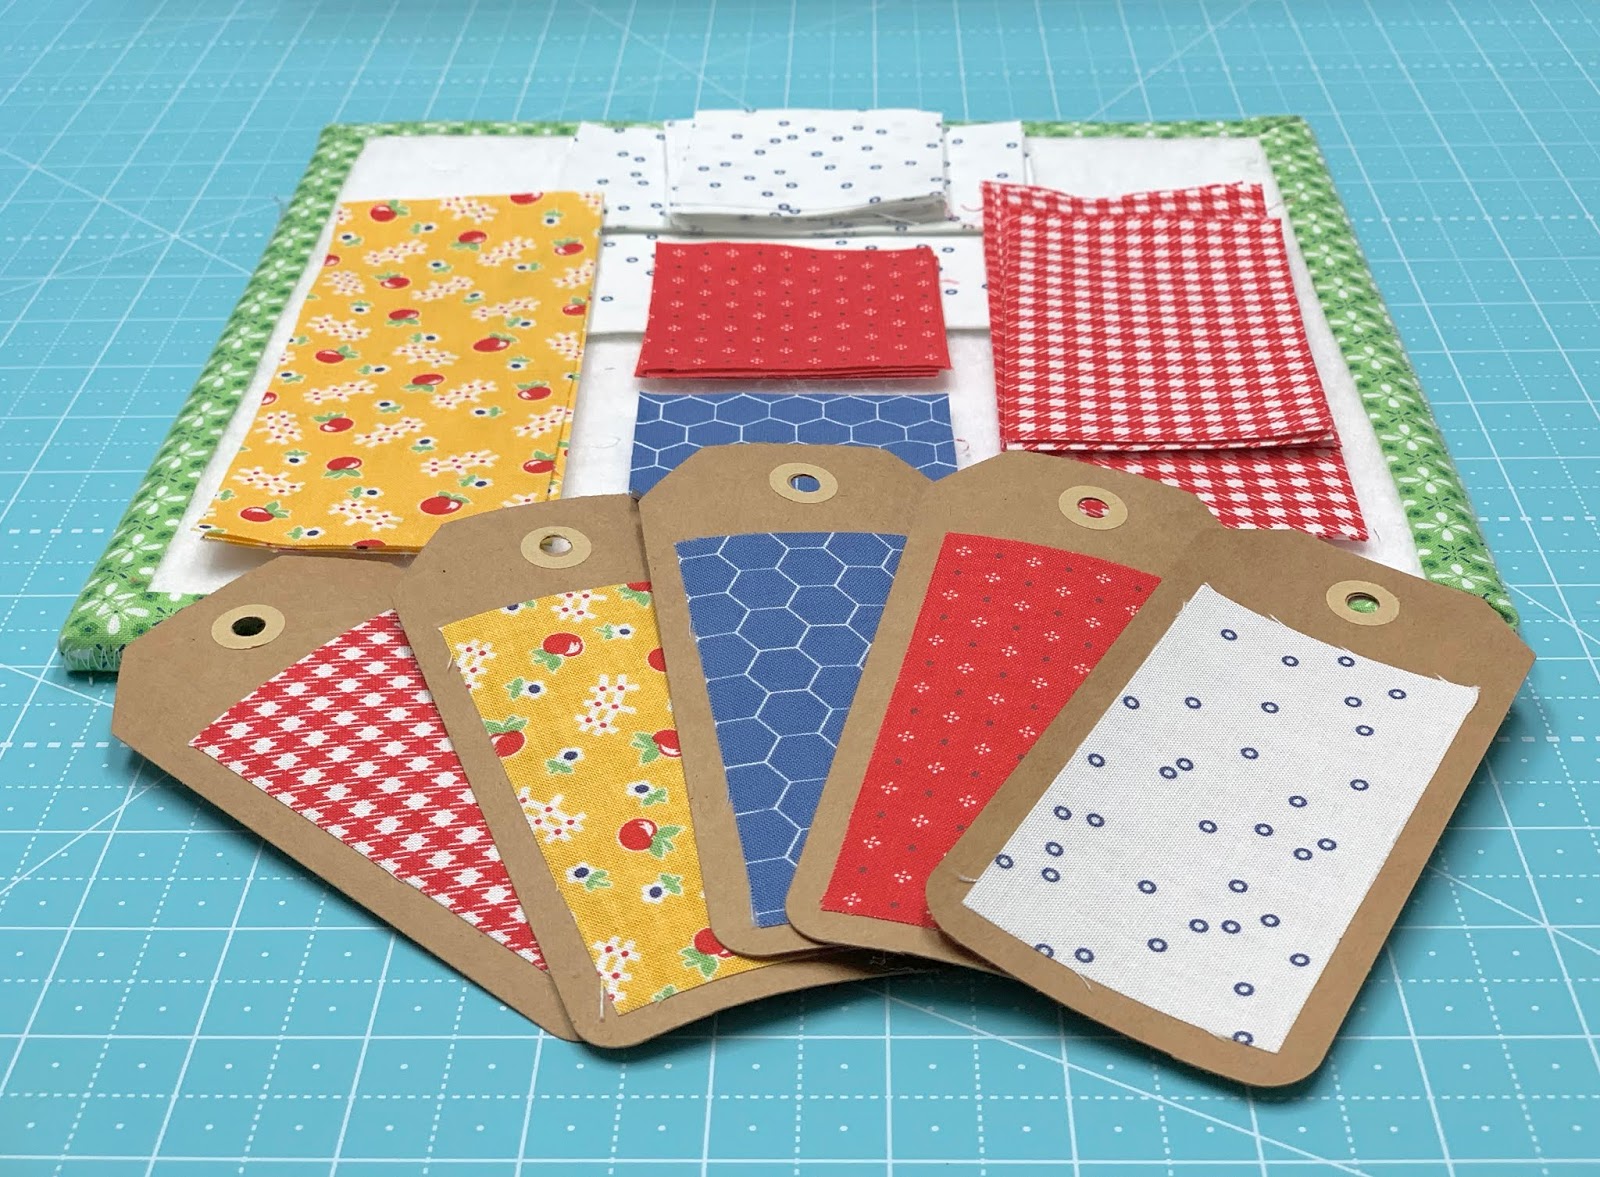
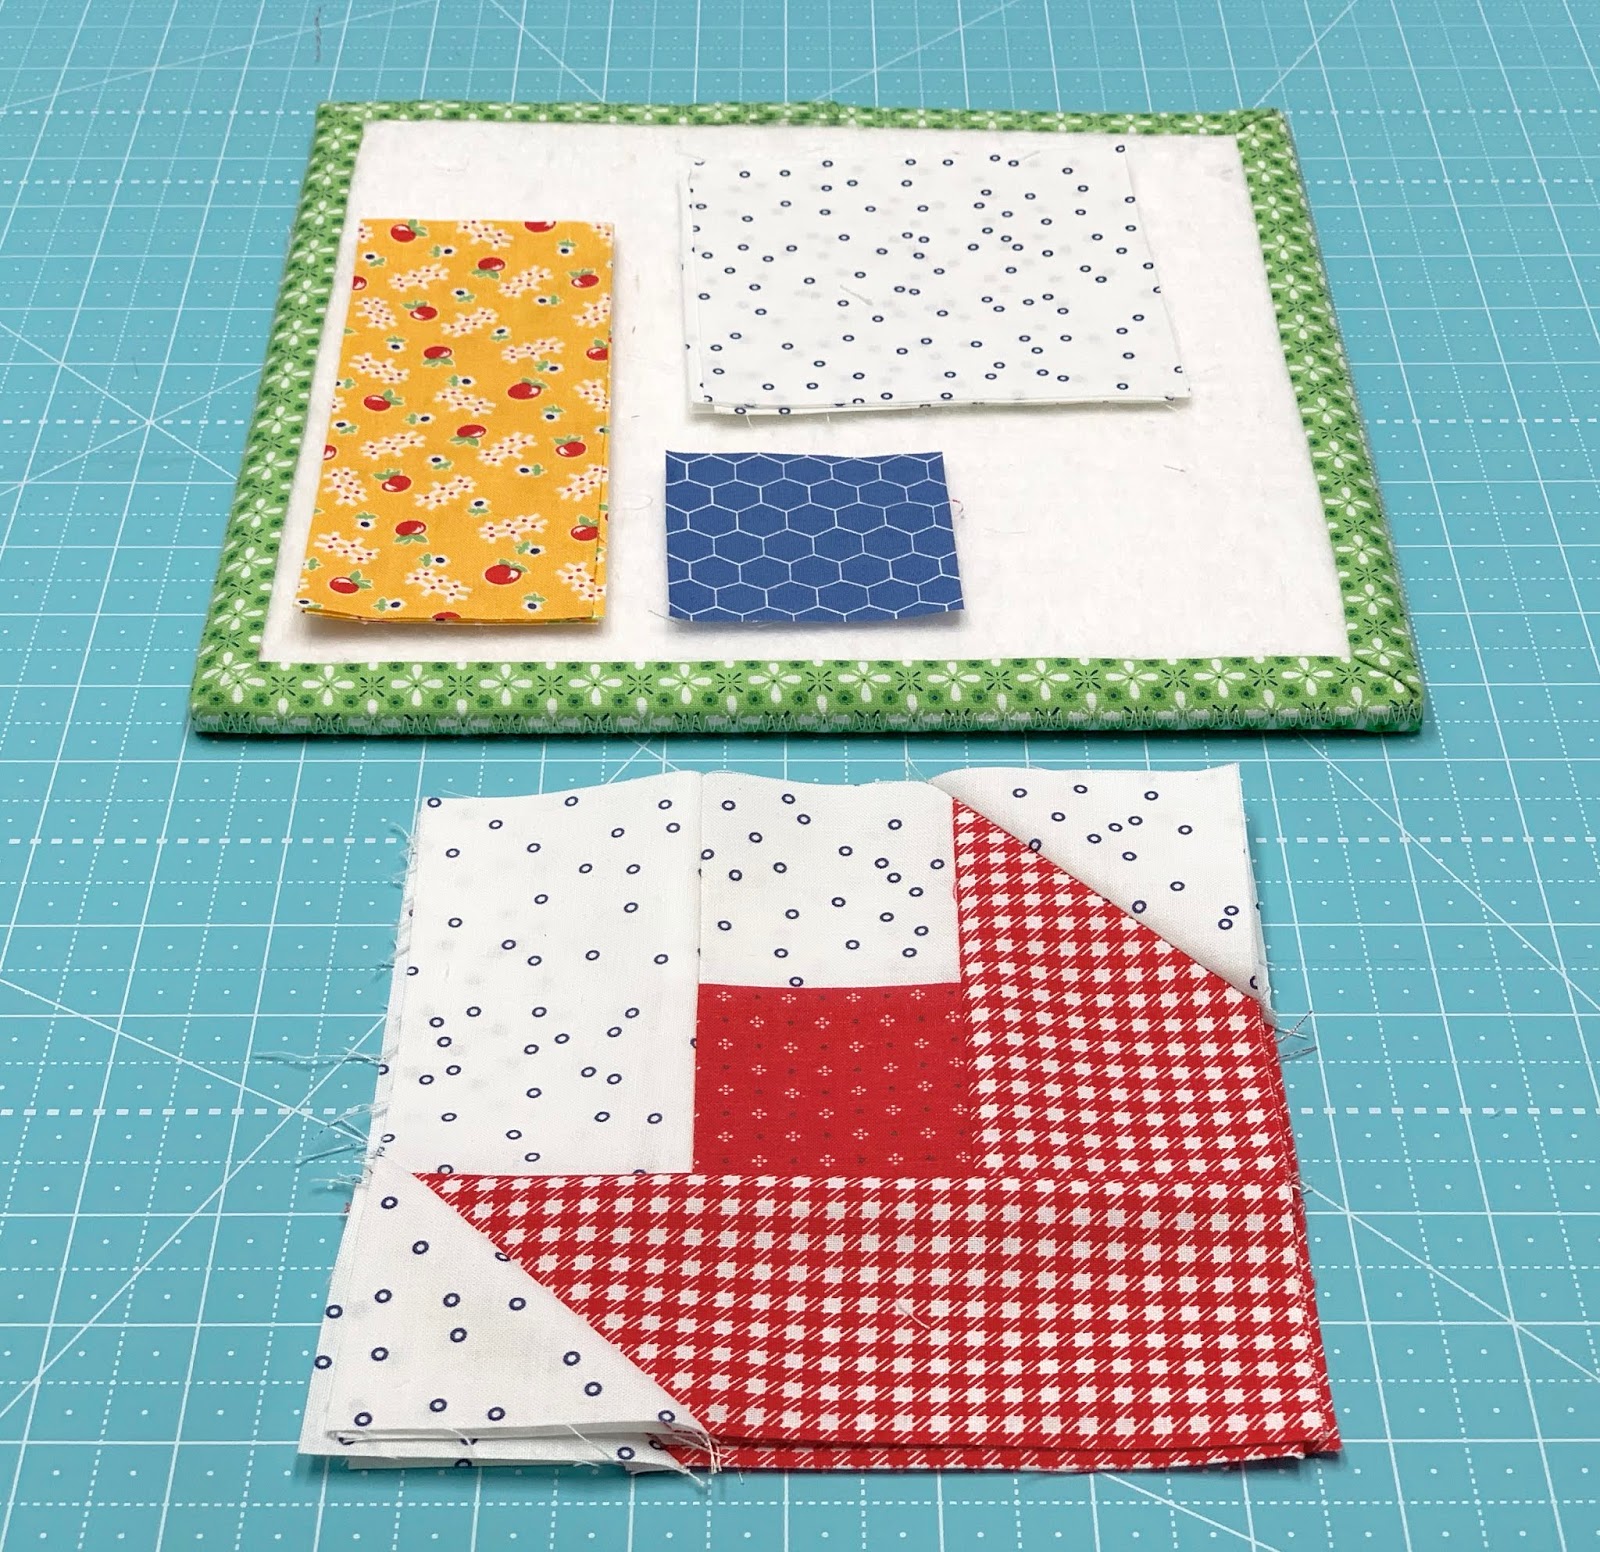
I used four prints from
Farm Girl Vintage
and the blue circles
from my Bee Backgrounds.
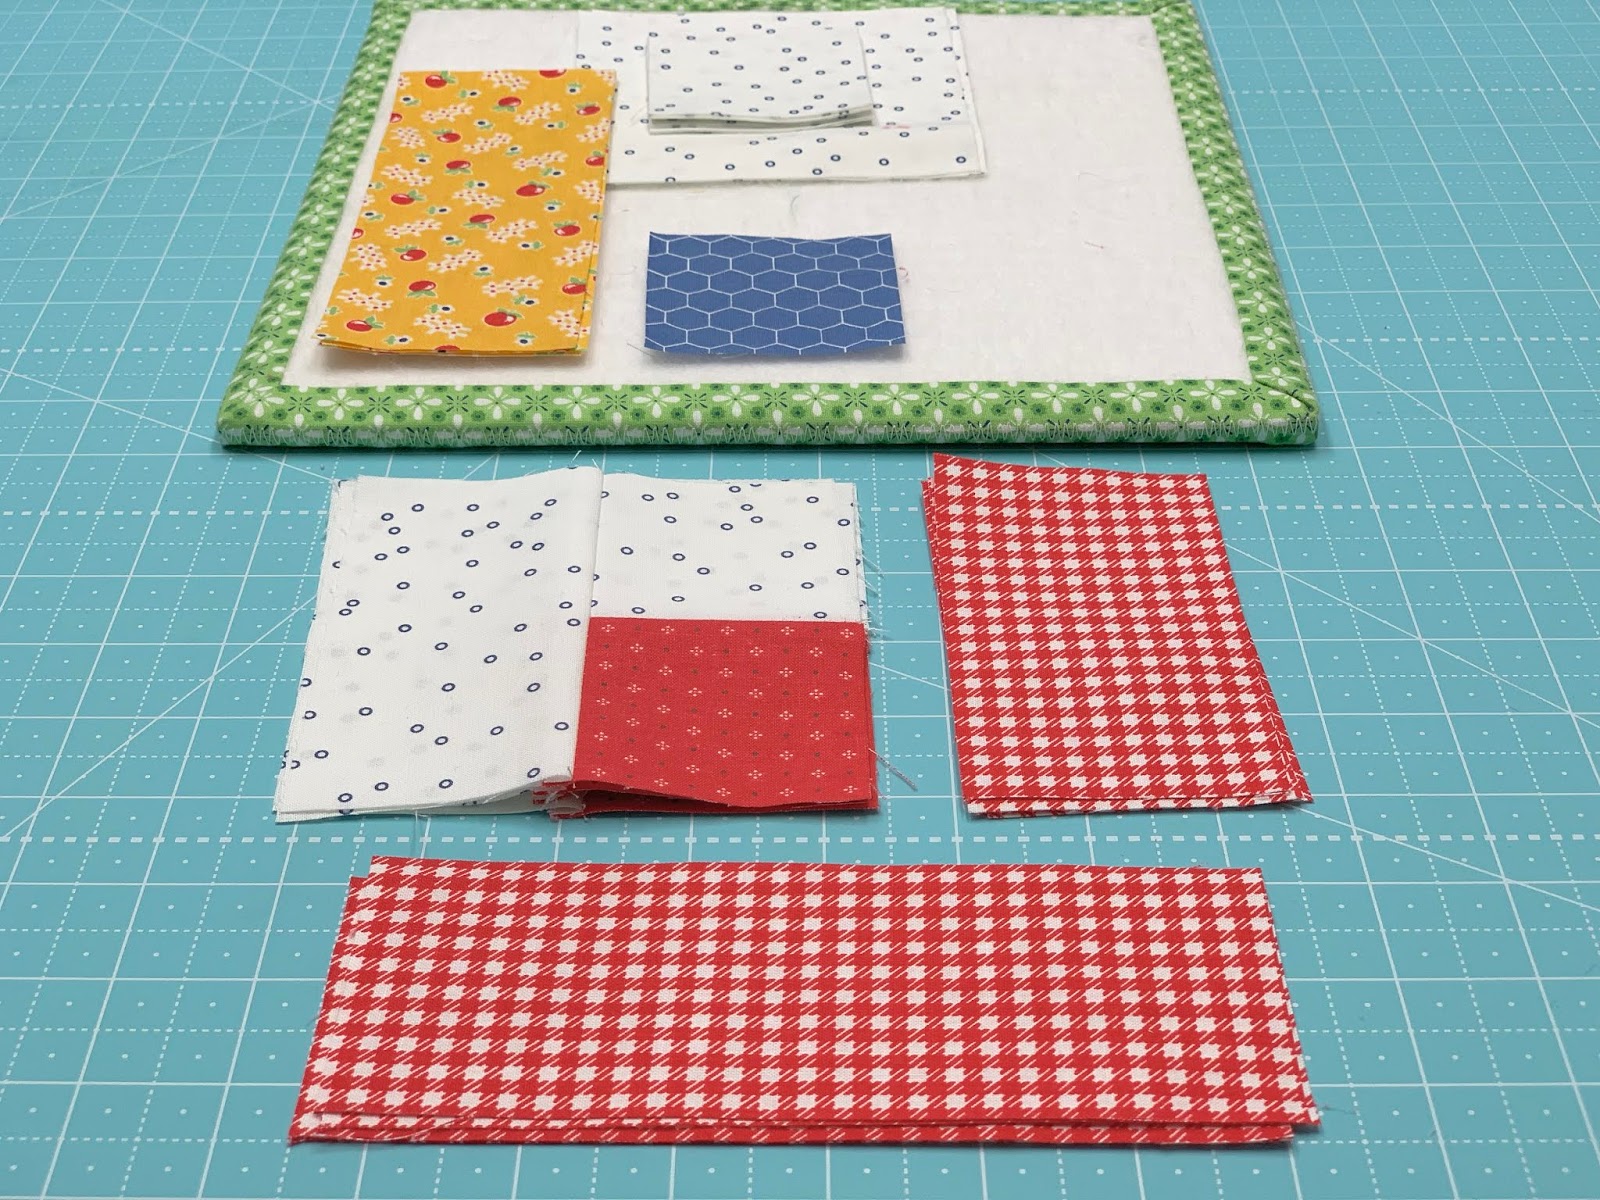
From the background you
will need to cut:
4 - 4 1/2" squares
12 - 2 1/2" squares
4 - 2 1/2" x 4 1/2" rectangles
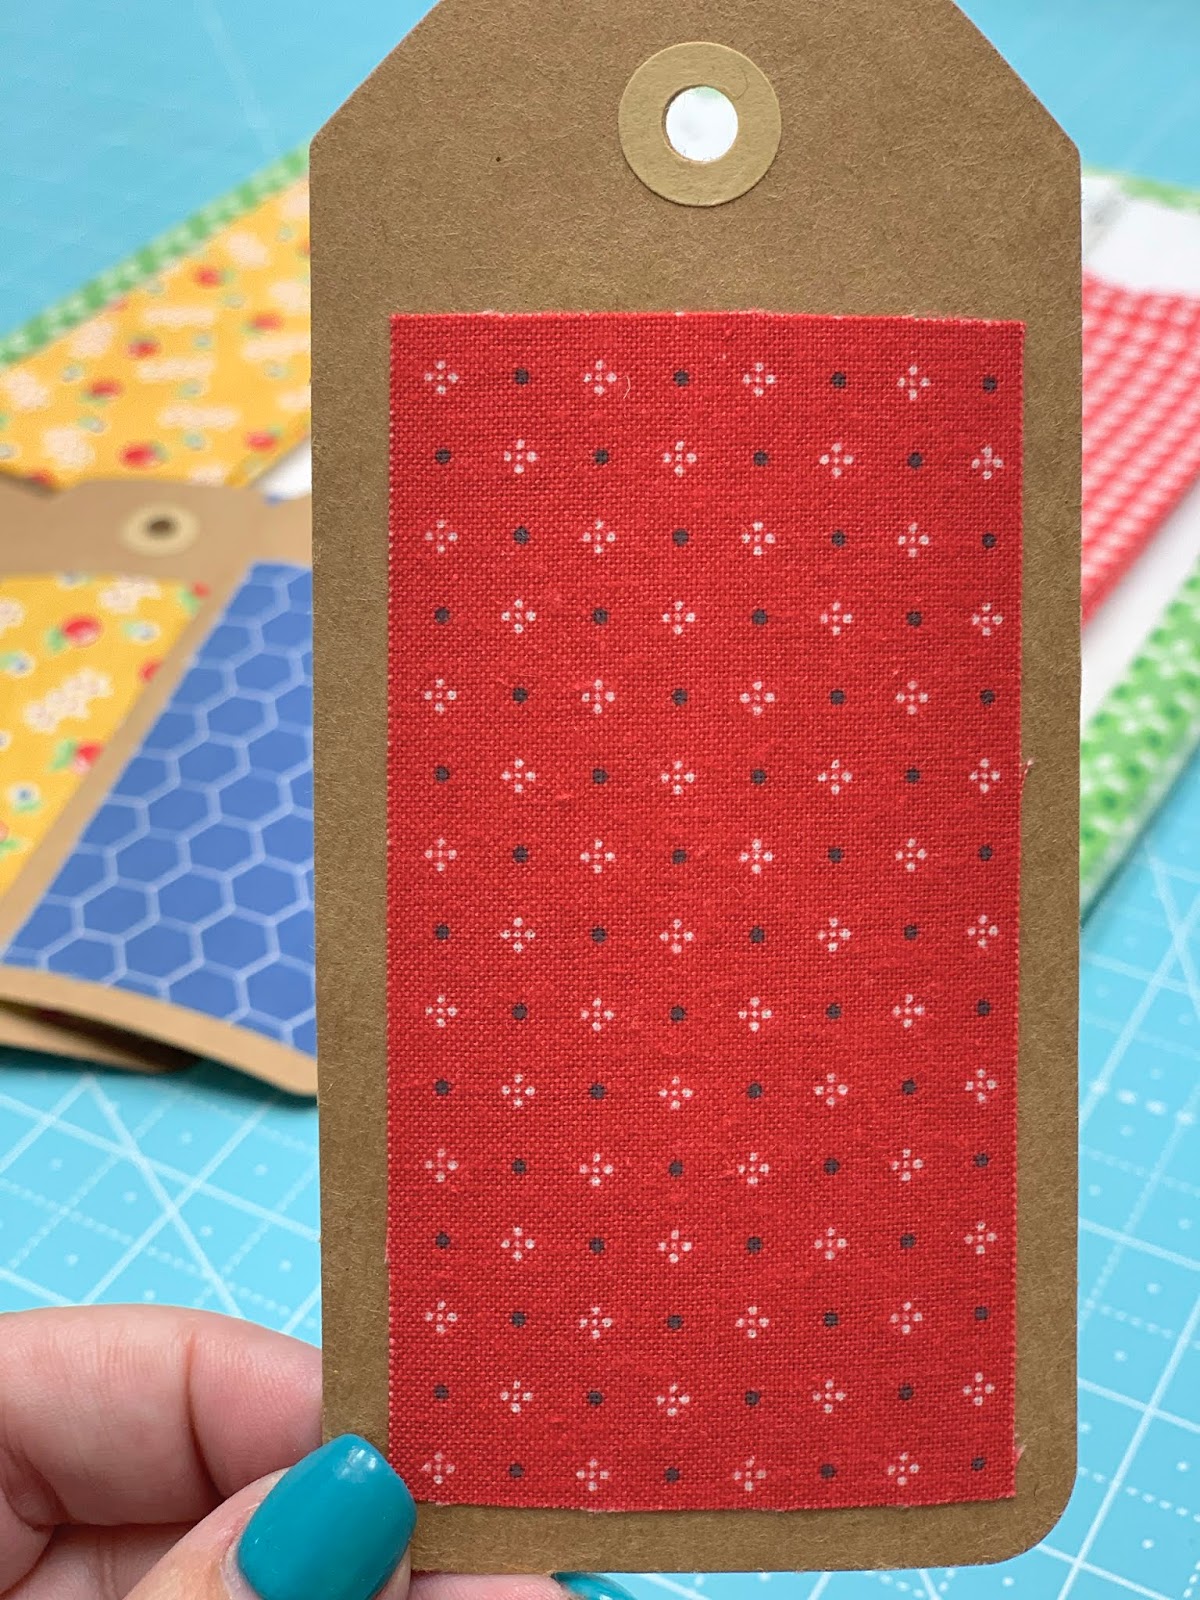
From the red cut:
4 - 2 1/2" squares
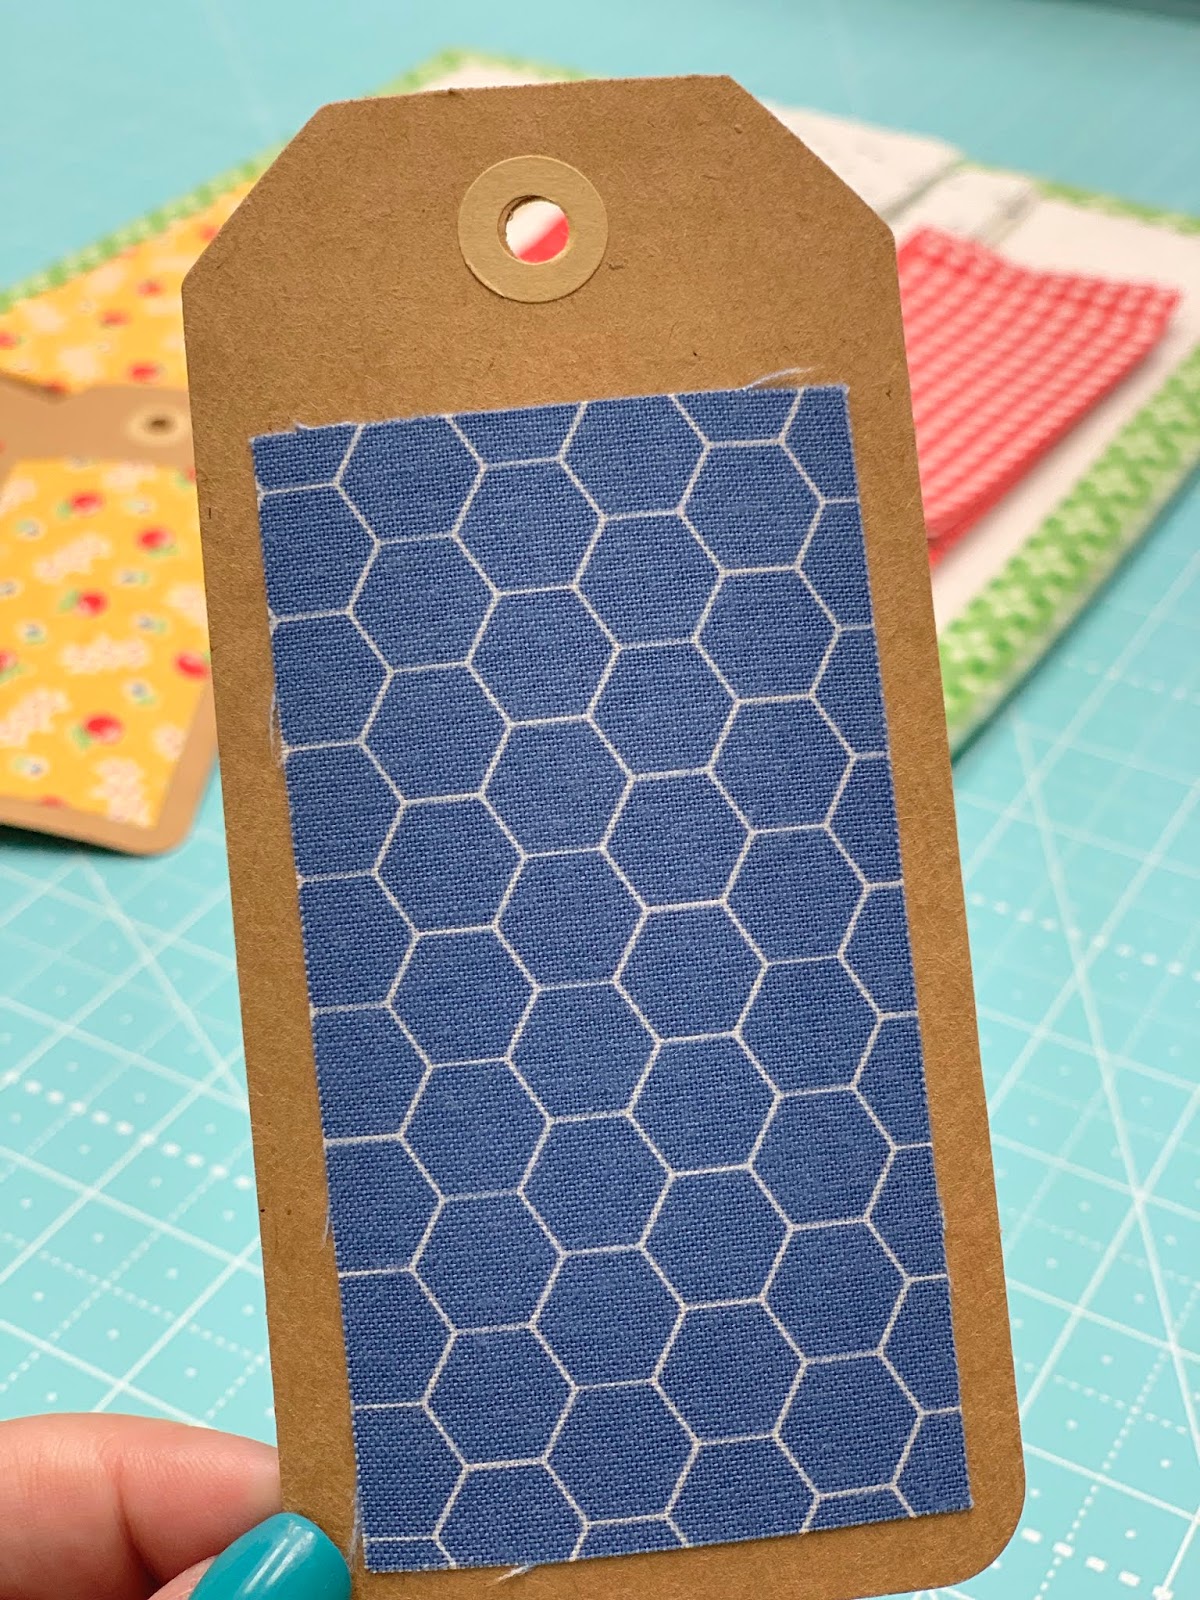
From the denim cut:
1 - 2 1/2" square

From the yellow cut:
4 - 2 1/2" x 6 1/2"

From the gingham cut:
4 - 2 1/2" x 4 1/2"
4 - 2 1/2" x 6 1/2"

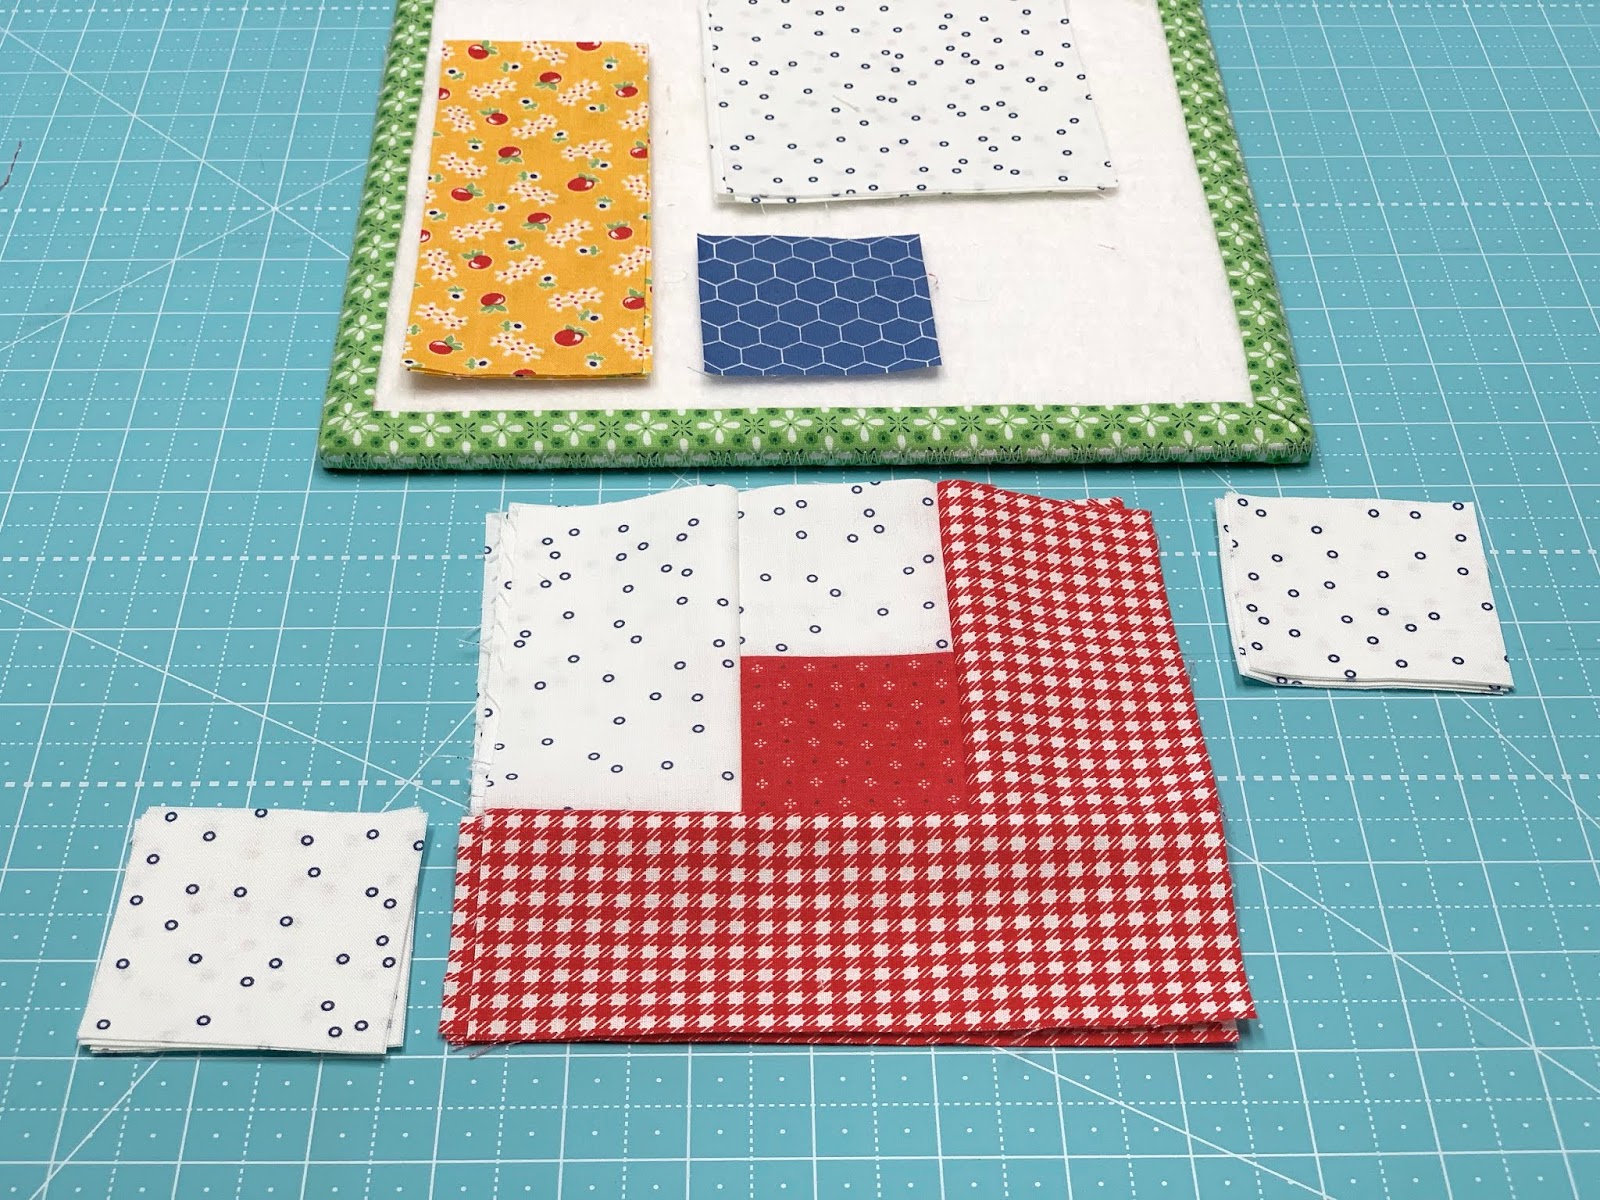
First step is to make 4 segments
using 4 each of the
background rectangles and squares...
and also the 4 red squares.

Sew them together like this.
Your segments should
measure 4 1/2" square.
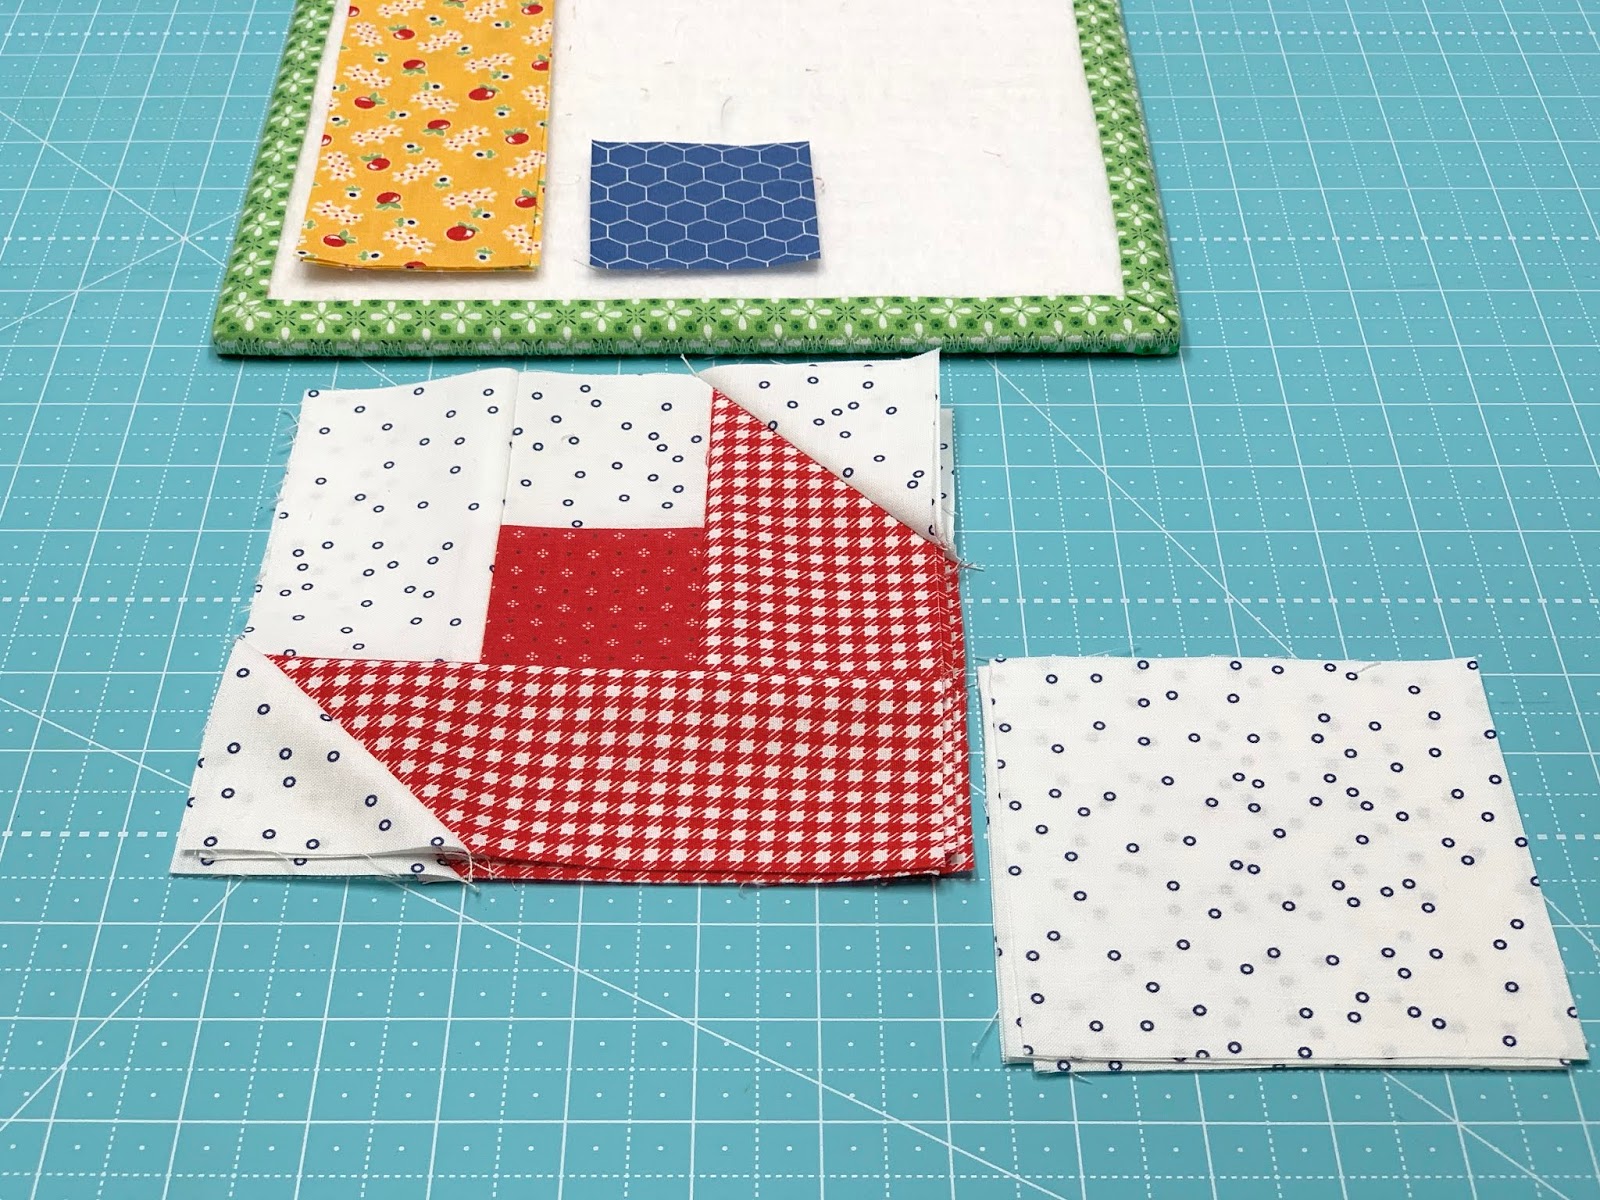
Now grab the gingham rectangles
and sew them to the segments...

Like this:)
Each of the segments
should now measure 6 1/2" square.
Now add an easy corner triangle
onto these opposite gingham corners
using 8 of the 2 1/2" background squares.

Mark a line or use the
Cute!
Trim and press:)
They should still measure
6 1/2" square.
Now you will need to add a
larger easy corner triangle
onto the bottom of each segment
using the 4 1/2" background squares.

Don't forget to place a pin
right where the point underneath
is so that you sew it
right where you should.
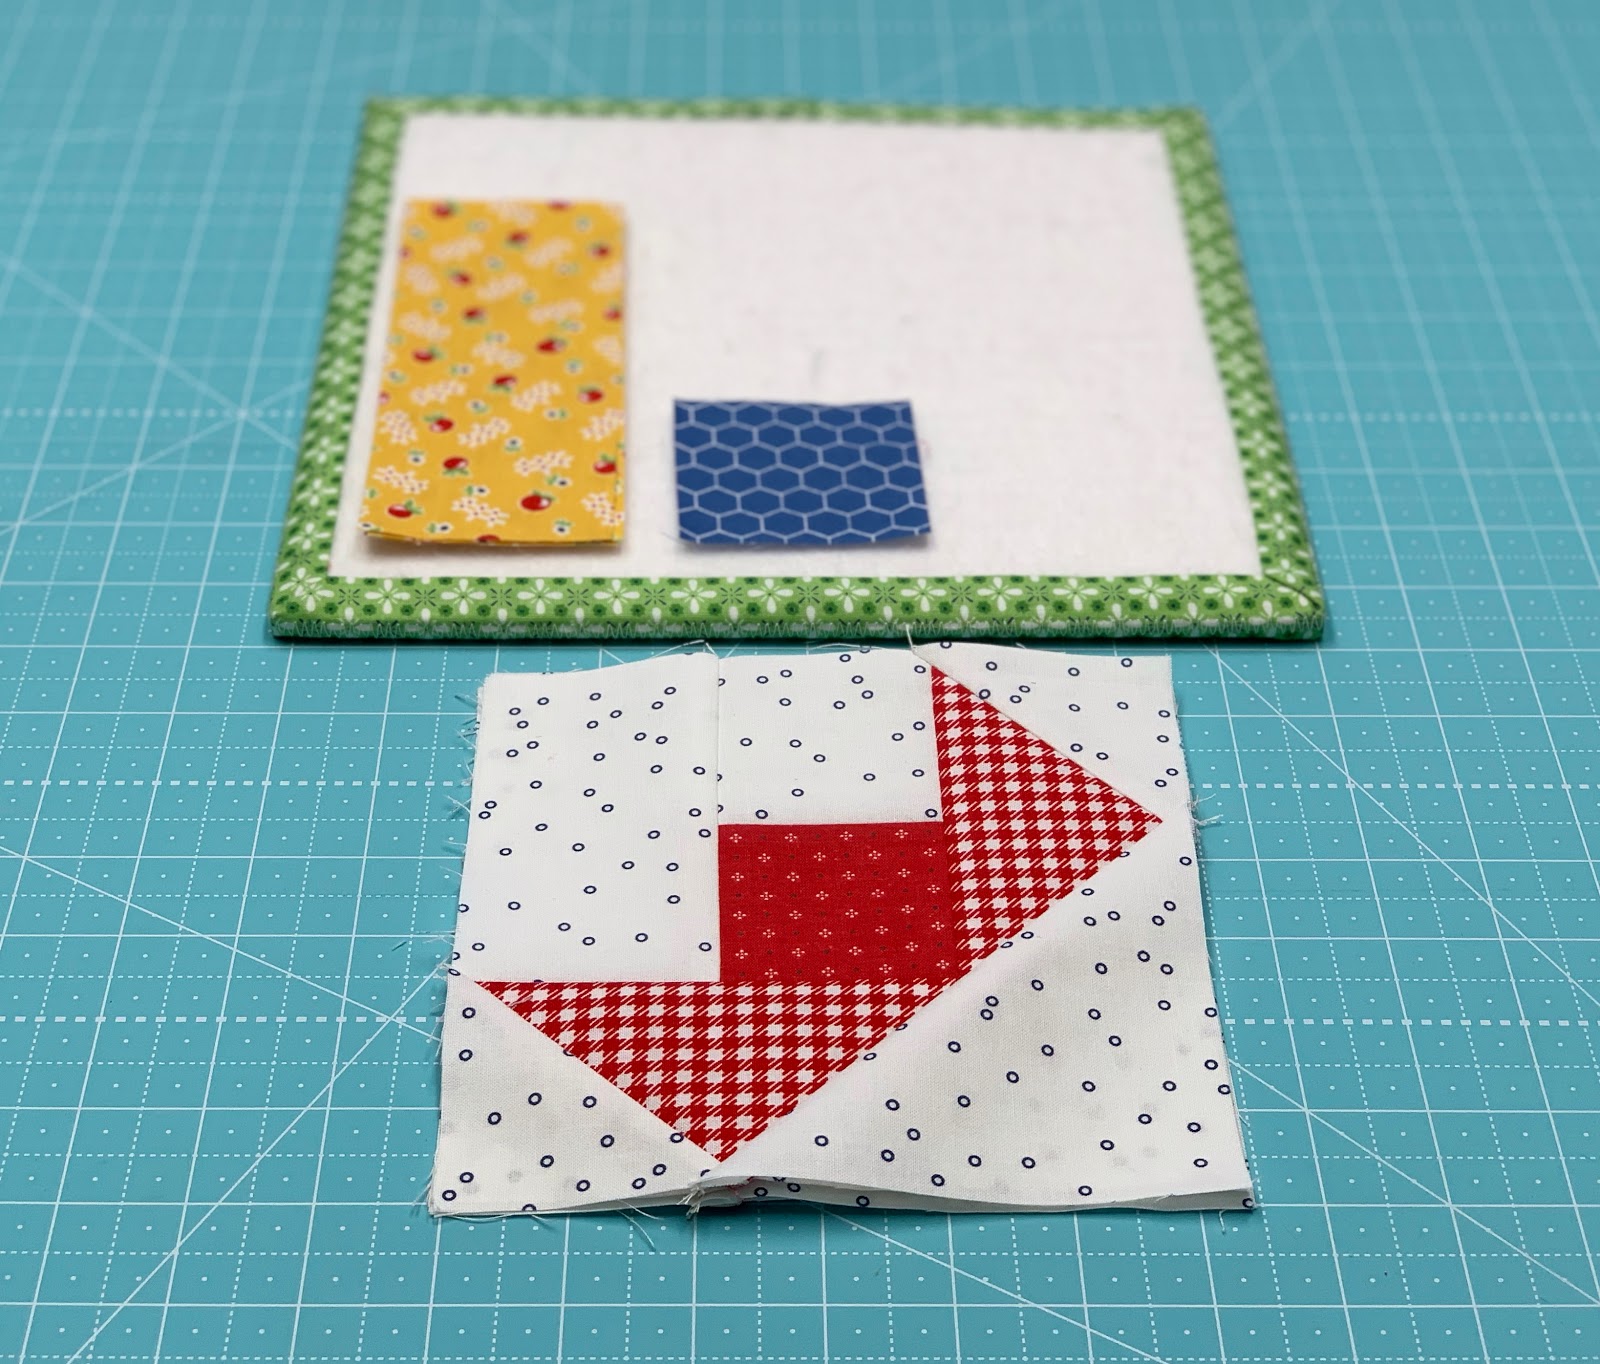
Trim and press:)

Now that the four outside segments
are completed...
you can lay all of the pieces
for your block out...
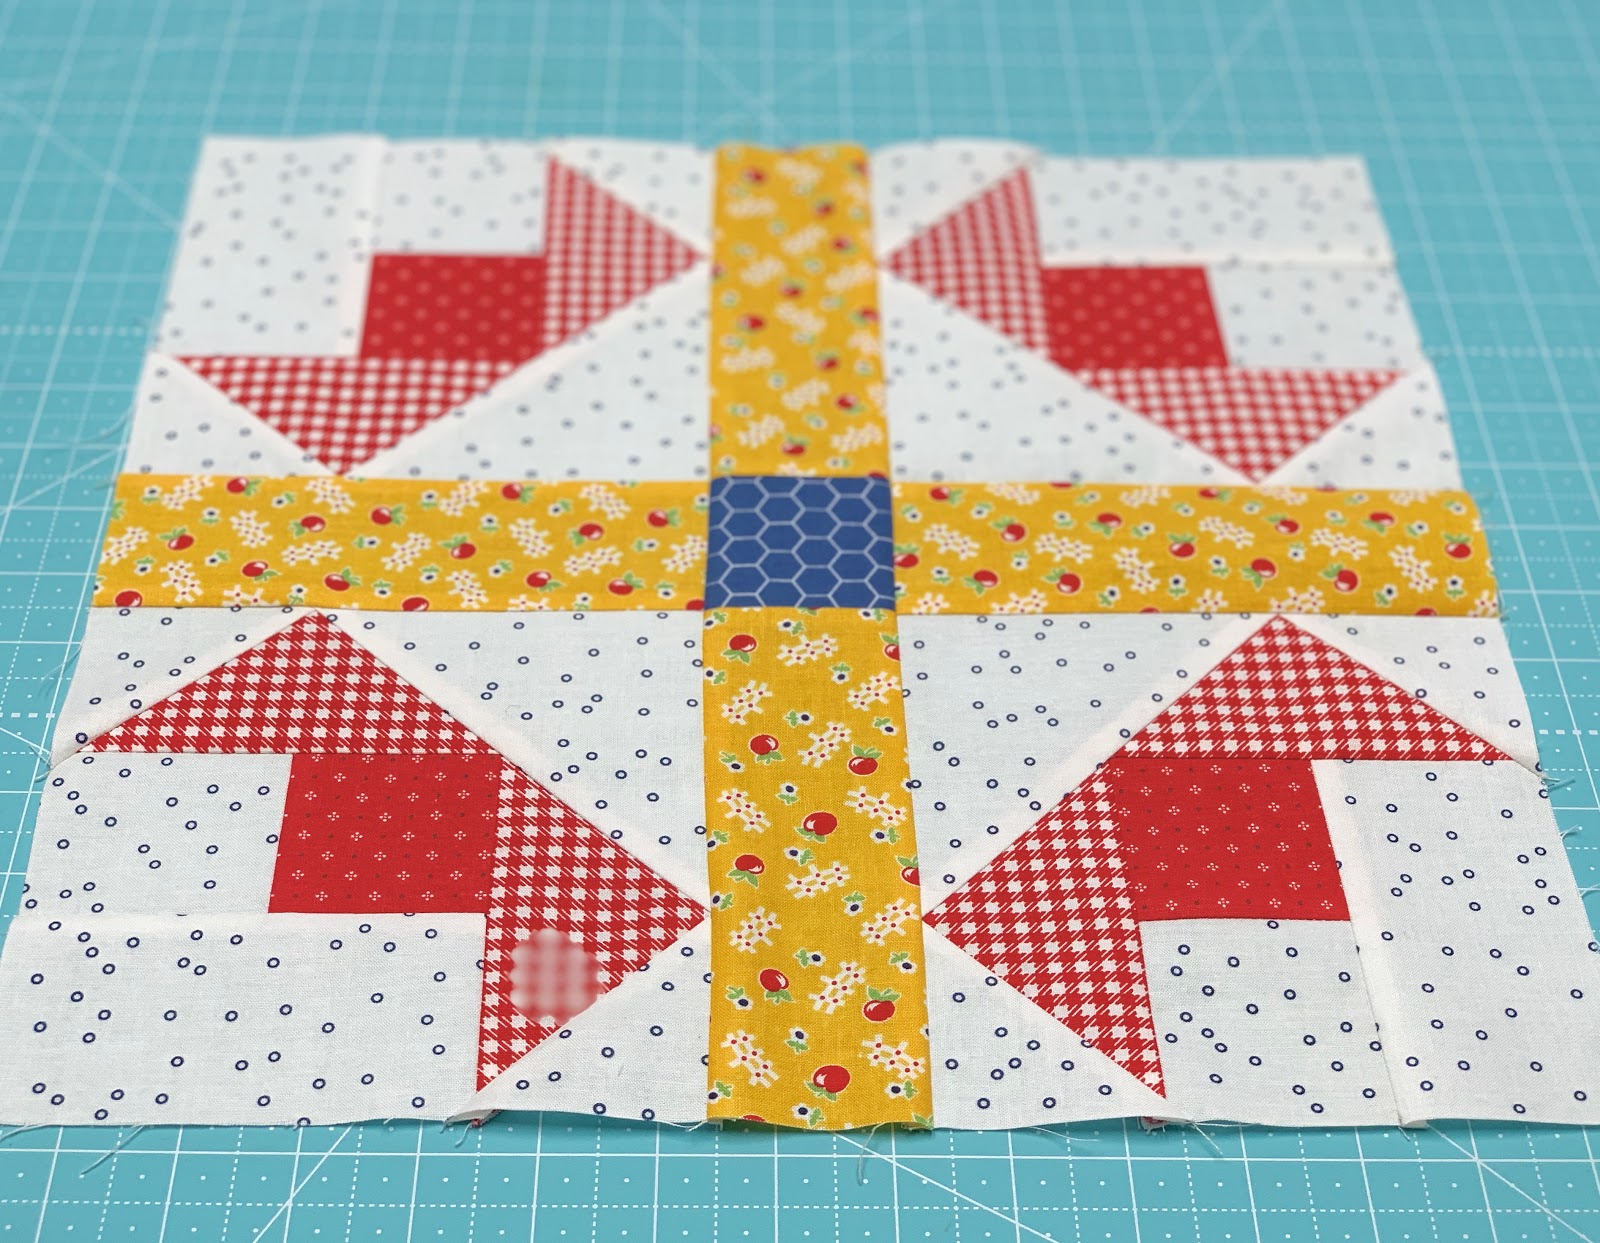
And sew it together like this:)
This block is really easy to
put together and I love it!
I used Americana colors because
I wanted it to represent
our parade colors.
What colors will you use
for your Parade block?

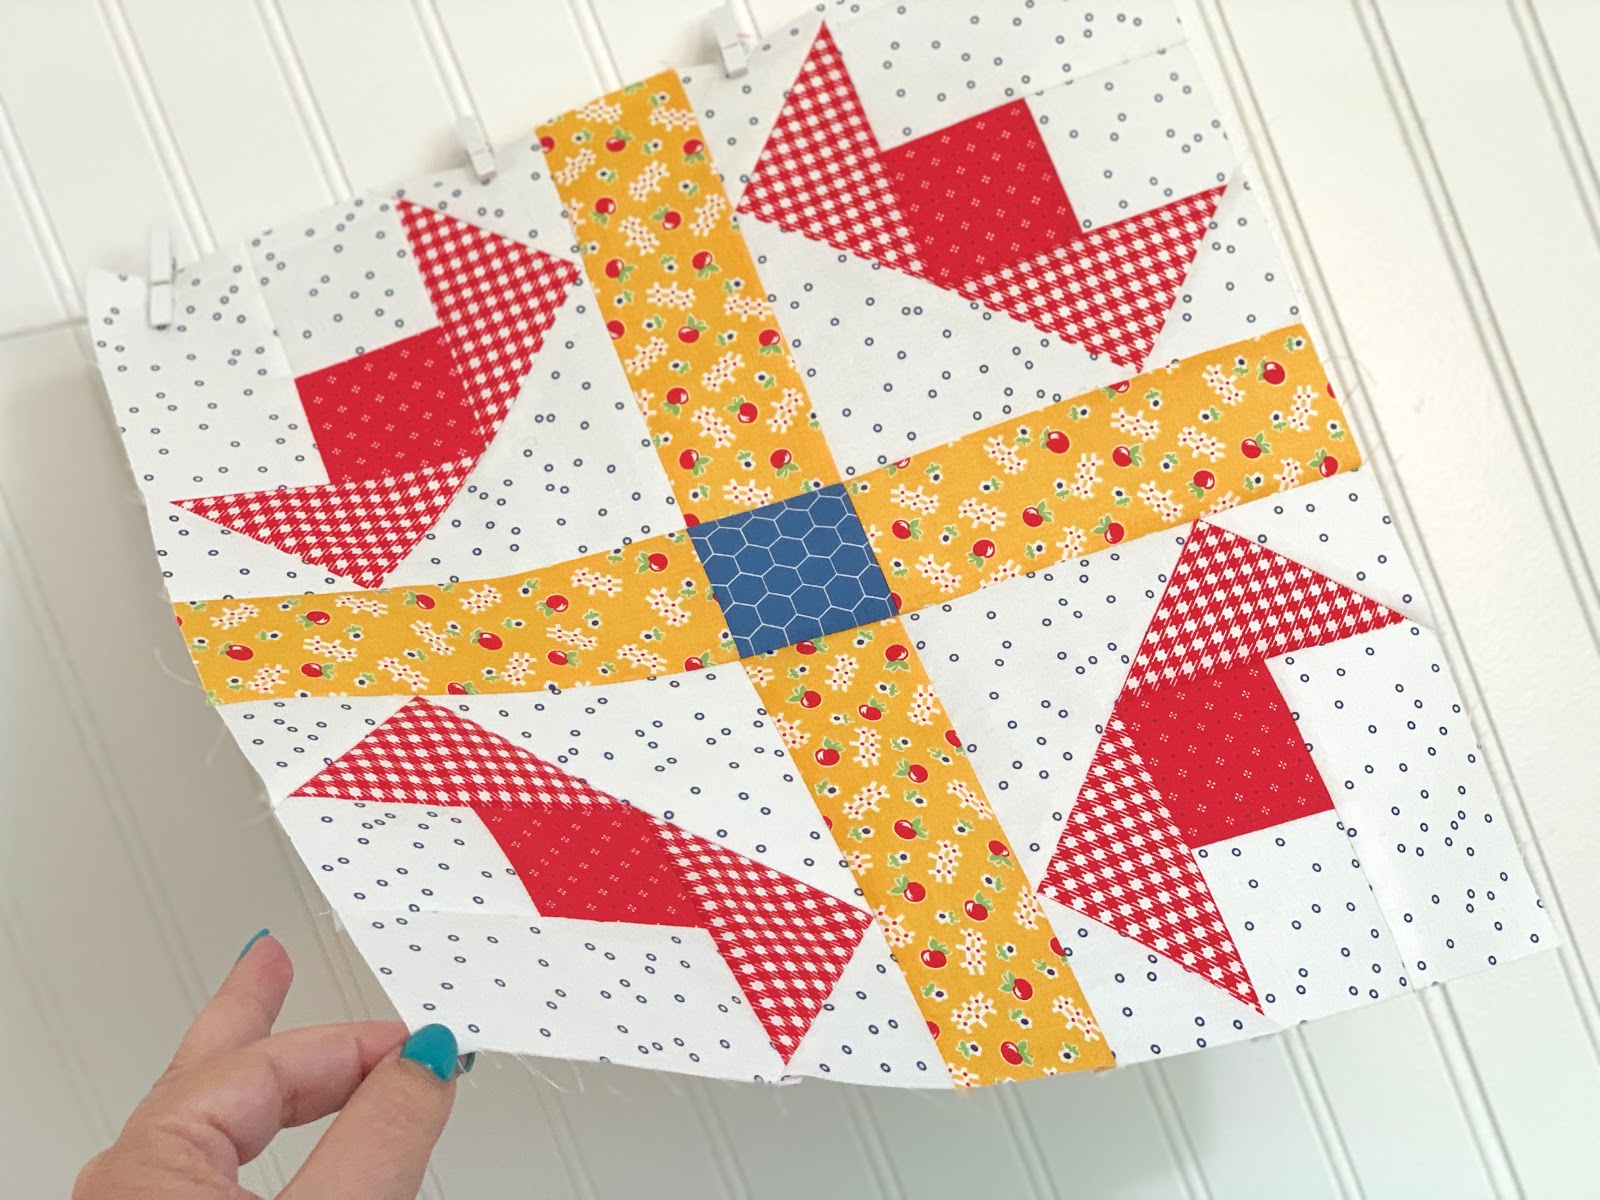
Here's the back of my block.
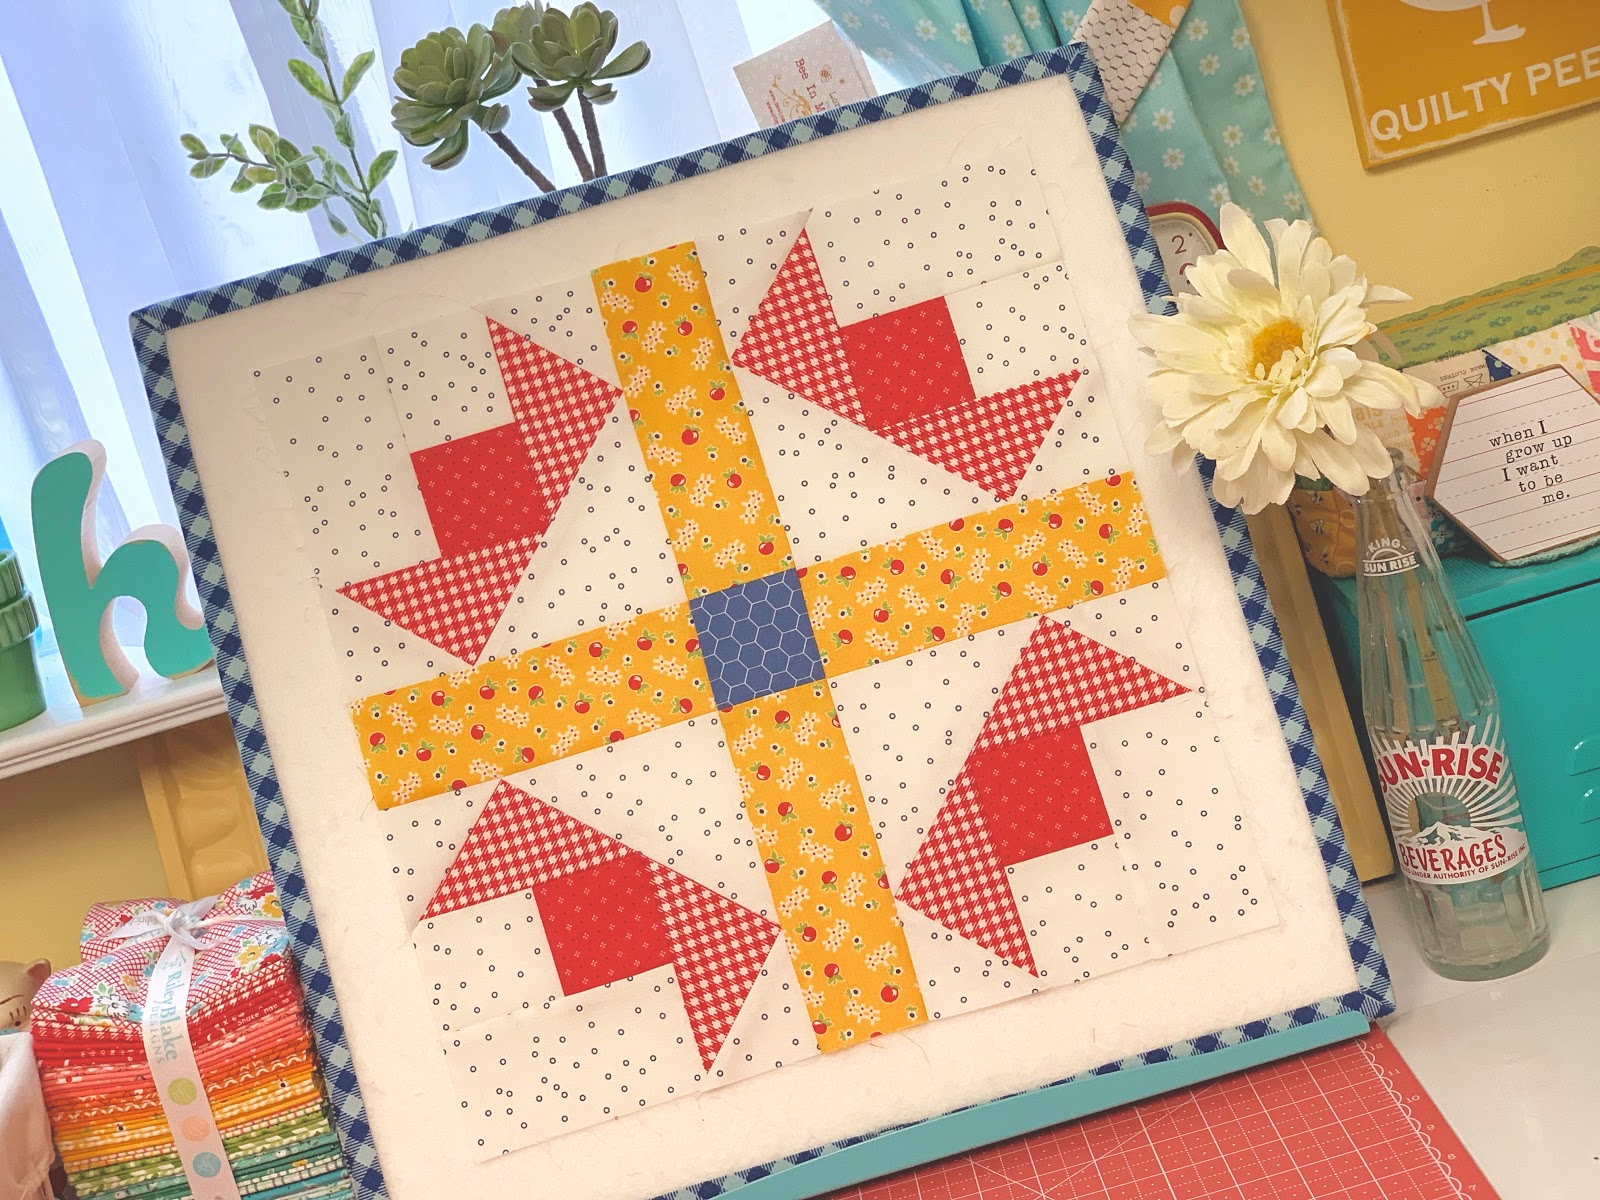
And another shot of the front!
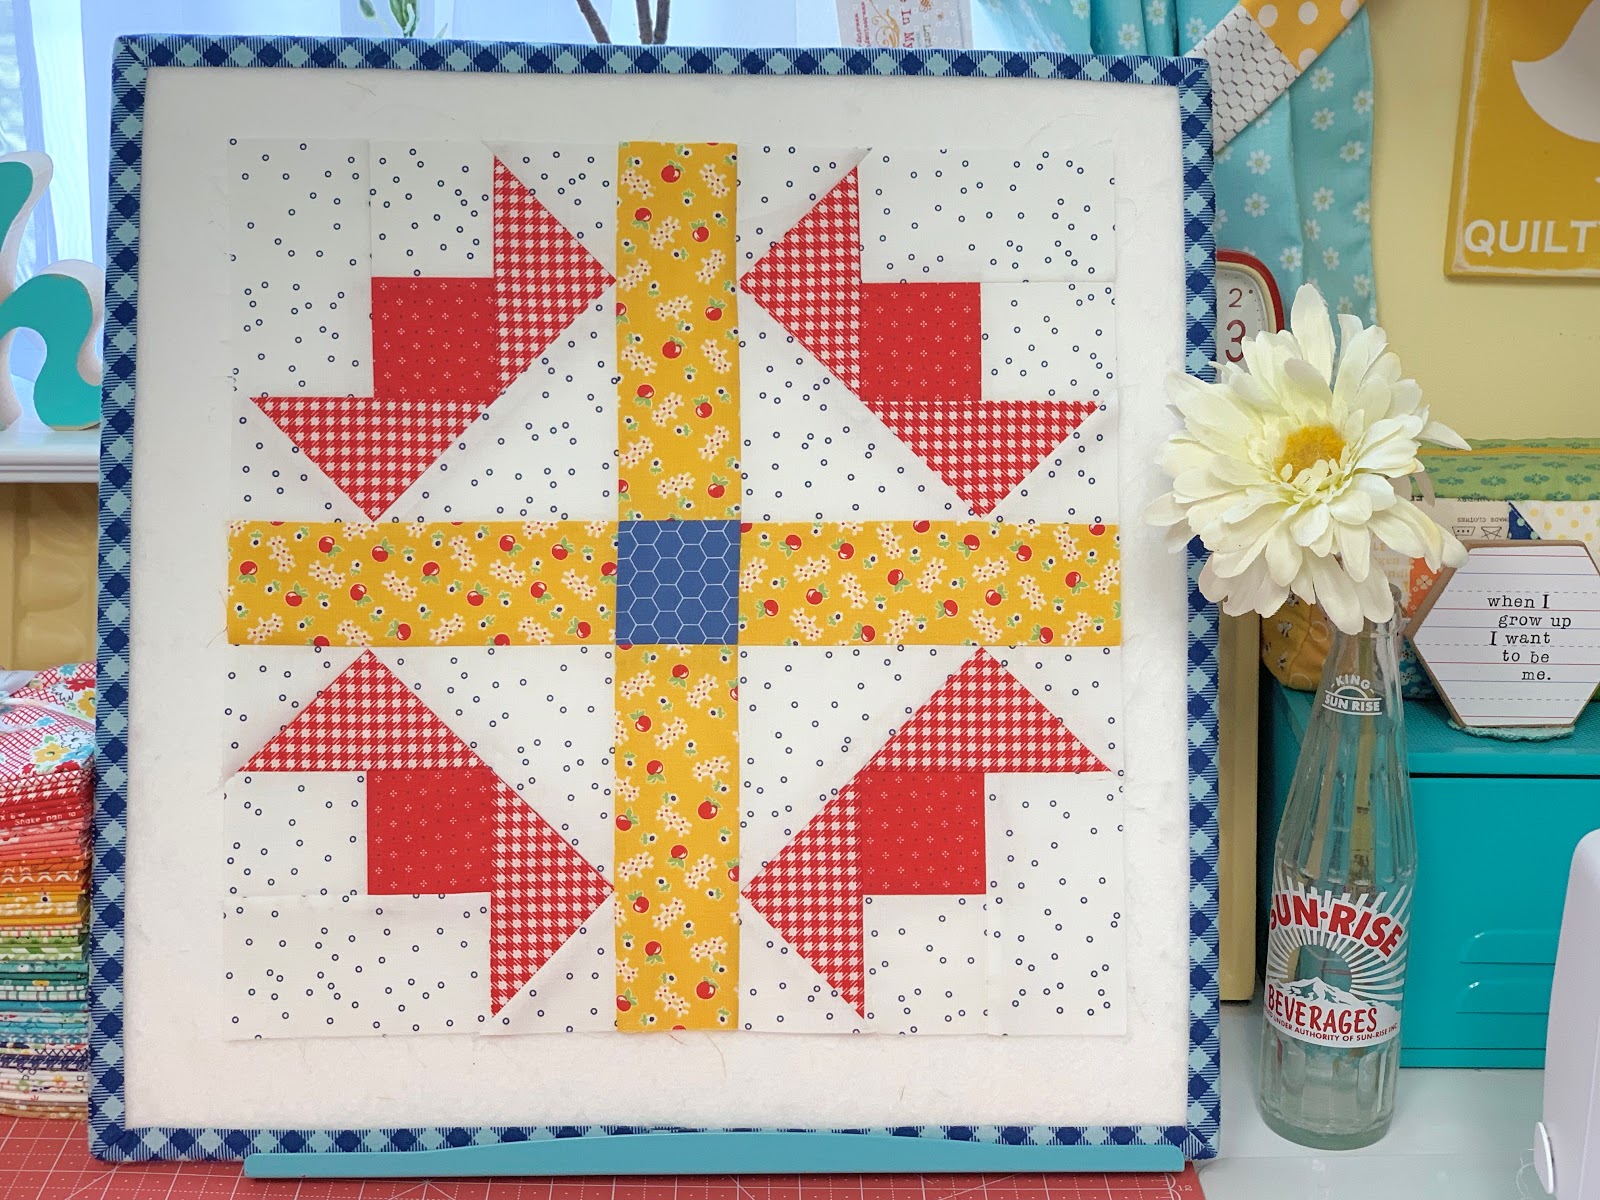
PARADE
should measure 14 1/2" square
before we sew it into our quilt.

Thanks so much for joining me
on this trip down memory lane today:)
Join me back here next week
for another vintage block
and more vintage memories:)
xx
Lori
If you are just joining us...
click on each block that we have
done so far to go to the tutorial:
5. Rhinestone
6. Vintage Lily
7. Star Shine
8. Humble
9. Egg Money
10. Quilting Bee
11. Sunday Star
12. Sweet as Honey
13. Bear Hug Block
15. Memory
16. Farmers Daughter
19. Picnic
20. Sparklers
21. 4th of July Flag
22. Playing Card
23. Penny Candy
24. Mercantile
25. Family Reunion


