

Hello.
It's me again:)
You can see here that my
top is complete...
and soon yours will be too:)
The row along is over!
***(edit)
YaY!
My book is now ready for pre-order!
The book includes the pattern for the row along quilt
plus new blocks and 10 "spin off" projects!

Now that your inner borders are finished...
It's time for the final outside border:)
I have showed you about a bajilloion times
the fabrics that I have chosen for the borders of my quilt!!!

But as I have said...if you want it scappy...
you can easily make it scrappy and it will look something
like the outside border in my
Now that you have an idea of what
the scrappy verses one fabric looks like...
you can decide!
Both will be pieced exactly the same...easy peasy:)

Cut Width of Fabric strips.

From each strip cut squares.
If you are making a scrappy border...
Cut a bunch of different fabric squares:)

Cut your background fabric.

These are the squares for the easy corner triangles.

Now cut strips and join together like you did for the inner borders.
Set them aside for later:)

You will need 4 squares for the corners.
Sew an Easy Corner Triangle onto opposite sides of all four squares.

Trim and press towards the triangles.
Set them aside for later.

Now sew easy corner triangles onto the
top 2 corners of your remaining squares.
You know the drill...
do I even have to say it?
(okay...trim and press towards the triangles)

Sew them together in a row like this.
Press the seams open:)
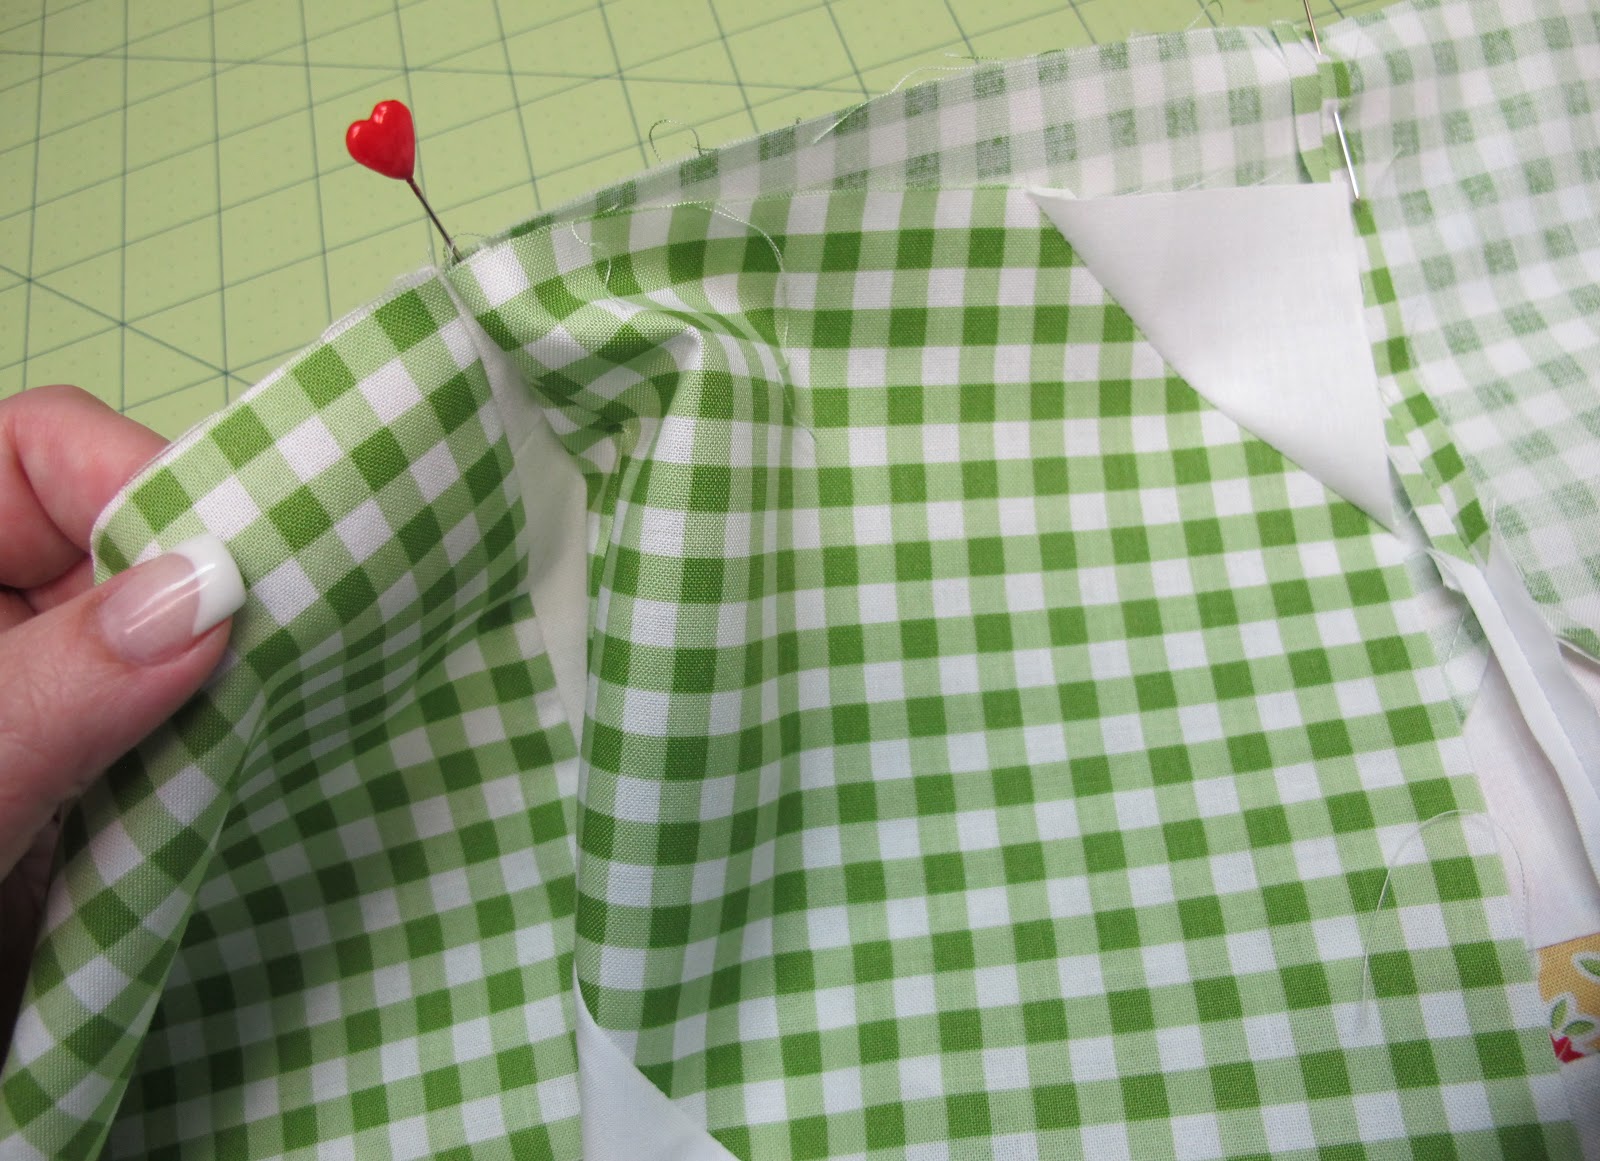
Pinning...
You know the drill for that too...from the inner border tutorial
so I really won't repeat it all again.
Just do it the same way!

Sew to the side of your quilt starting at the top ...

and ending at the bottom like this.
Press the seams towards the outer border.
Repeat for the other side.

Now join squares together in a row and
then sew a corner piece on each end.

Then sew one of your previously cut
background strips to the top like this.
Press towards the background.

Now pin and sew it to the top of your quilt.
Make sure to line up and pin the seams right at the intersection
where the top and side of the outside borders meet
so that you will have a nice crisp corner:)

Press seams towards the outer border and
repeat process for the bottom of the quilt.

Pin and sew one of the background strips
to the side of your quilt.
Press seam towards the background.
Repeat for the other side.

Give yourself a big pat on the back because
you now have your row quilt top completed:)
YaY!!!
I'm so proud of you!!!
Stay tuned...
because tomorrow I have a
"preparing the back
and the
scrappy binding tutorial"
Have a finishing up your row quilt top kind of day...
xx
Lori
Just a shame I have to spend 8 hours at work, I would rather be at home sewing borders! You have completed a fantastic quilt top!
ReplyDeleteLori I cannot even express my excitement each and every post for this quilt over the past few months. Thank you for sharing your gift of instruction and quilt expertise. I have completed the top and with giddy anticipation will do my borders this week...thank you
ReplyDeleteMary
The border is just perfect for the quilt. Thank you Lori for a wonderful quilt along. It has been fun all the way, and every one of the quilts that everyone has made is lovely .
ReplyDeleteIt turned out so cute! As always...Your patterns always turn out darling! And I love the Bee for the back.
ReplyDeleteLori - your quilt is adorable, thank you so much for your helpful hints and tips, I am just learning quilting and having your blog on my computer is like having a tutor in my home. I just love this border. Thanks Sharon
ReplyDeleteThat is the most adorable border!! I am aching to get that far along. :0) Thank you so much for showing us how to create our very own scallop border. :0)
ReplyDeleteHave a nice day. Trish xo
Love your quilt! Thanks for having
ReplyDeletethe row along. I am still working on mine. Hope to be finsihed soon.
Your tutorials have been very helpful!!!
Get the heck out! This is so cute and so easy that it is possible that even I could do it! This is so going on my next quilt. Thank you for showing us how to do this Lori:>)
ReplyDeleteBeautiful quilt! I've had to complete some other projects, so I couldn't join in, but I love following your progress. I hope others will finish theirs and share pictures too.
ReplyDeleteOh my goodness that is just the BESTEST! Will you be leaving all the tutorials for tis quilt on your blog?
ReplyDeleteThis is so cute. I am still putting my tulip row together (I am a little behind). Struggling with every row being 50.5 but I will work on that after I finish this row. Just wanted to say a big thank you for doing this for us. I have enjoyed this quilt-along more than any other I have ever done.
ReplyDeleteThanks Lori - the entire quilt is just adorable. I'll probably go for the scrapy border - we'll see if I can narrow it down to one print Probably not since the entire quilt is from my 20 year stash collection and I've loved every piece I unearthed to do this. I'm almost finished and when I am I will post a picture.
ReplyDeleteI cant wait to get there. I just started mine yesterday. I have the 4 patches done and the butterflies and today I am going away so it has to wait until tommorrow. I am also going to do the barn blocks. Love your tutorials They are so informative .
ReplyDeleteI love the border. Mine is gonna be scrappy and I can't wait to get started. Thanks again for providing all these tutorials and detailed photos to us for free.
ReplyDeleteLori, I'm just in awe. That border is better than any old plain border I'd think up. It matches the quilt perfectly! So glad I found your blog! :)
ReplyDeleteI REALLY love that border! And can hardly wait to get started! My quilt is sewn together, and I've been working on the label. I wish I could just stay home and sew all day.
ReplyDeleteI hope you keep the instructions up this row along quilt for some time. I love this quilt and did not get started when you all did. I ave a long way to go. You know Life keeps getting in the way. I will finish this one, I dearly love this quilt and the finish of yours just made me love it more.
ReplyDeleteThank you Thank you for such lovely quilts
AMAZING ~ This is just too cute ~ I really need to be at home working on this instead of being at work. This quilt is just totally amazing. Thanks again for this tutorial ~ Just love it!
ReplyDeleteThis is just so beautiful! I'm wishing I had jumped in to sew along with you, because this row quilt is amazing. Love it!
ReplyDeleteWhat a perfect frame!! I love the whole top! Now to get mine done.....
ReplyDeleteSo, so beautiful!
ReplyDeleteI'm so glad I joined the row along! Everything you do is so much fun!!! The quilt is beautiful and so is Kassidy :)
ReplyDeleteSuper cute!
ReplyDeleteAll I can say is WOW! So beautiful. Thanks for all of your wonderful tuts and inspiration.
ReplyDeleteOh my! That final border is just perfect! Brings the whole thing together. Love! I finally gave in and cut out blocks for the first row. Always behind!
ReplyDeleteSuch a great border and quilt! I love it! Thank you so much for this row along!
ReplyDeleteOk. I'm not going to do the stop border. I have a little bit of situation on my edges. So I'm just going to sew my background fabric in a strip (not exactly the same size as your quilt) so what are the dimentions of your quilt after the stop border. I'm telling you. I'm struggling.
ReplyDeleteYou are killing me with this quilt, it is beyond cute!
ReplyDeleteLove how this border frames the quilt perfectly! Cuteness to a T!
ReplyDeleteHoping to get back to this and catch up this weekend.
I have had the best time making this quilt. It is going to be a favorite of mine, already family are eyeing it as theirs.Thank you so much for this wonderful row along...hope there will be another.
ReplyDeleteI love the simplicity of all the blocks. I've really enjoyed seeing the interpretations via flicker. Lots of ideas for when I start my own!
ReplyDeleteOuttanding job... you can tell you love doing this- so maybe not a "job"! Thanks for sharing your refreshingly new ideas. Great border and finish with strip binding!
ReplyDeleteBarbara
What a wonderful project. The border and binding are perfect for the finished look. Thank you for sharing your talent with the rest of us quilters.
ReplyDeleteMary Ann
I can't stop with cute but unique. I love all of it, the apples with some eaten on, I adore houses, the entire country look with the fabric. Needless to say, I do love thi quilt.
ReplyDeleteVickie
What can I say but adore your quilt. The sassy fabric, the half-eaten applees, of course the houses and all the rest set in a unique border. What a wonderful job.
ReplyDeleteVickie
I love this quilt. It's bright and fanciful. My favourite part is actually the outer border. I just love the way the green gingham brings all the colours together. Thank you, Lori
ReplyDeleteI loved waiting for you to post a new row. They are all so cute. I have a layer cake of your polka dot stitches and would love to have fat quarters to match. Your row quilt is just adorable.
ReplyDeleteYour row quilt is just adorable. I already have a layer cake of polka dot stitches and would love some fat quarters to match. I can't pick a favorite row because I love them all.
ReplyDeleteYour row along is adorable. I love both the design and fabric.
ReplyDeleteThe quilt is darling but I love those apples. My 10 year old grand daughter has fallen in love with doing hexies, made a really cute flower this weekend. The apples would be so much fun to do and she could do them as a valance in her mother's kitchen. Wouldn't that be just too much fun. I can't wait to show her. I loved the dresses. TOO Darling, reminds e of my grandmother. Always wore dresses.
ReplyDelete