"BLOCK SEVEN"
Welcome to week seven of the
"PRAIRIE MEADOW"
Sew Along!
Join me here each week
when I will be doing tutorials
on the blocks for the quilt.
Of course because we are all sewing
from all around the world
we all have different time zones...
But I will be posting each Monday
right here on my blog
and you can follow my tutorials
any time each week that
is convenient for you.
We are making the
Prairie Meadow Quilt
68" x 85"
The quilt is made with my newest fabric
collection called Prairie...
I hope that you all have all
received your
fabric kits by now...
and that we are all ready to begin!!
If you still need one ...
just do a quick google search for
"Prairie Meadow Quilt Kit"
to find shops who still have some left.
We are also using the
Prairie Meadow
Sew Simple Shapes
I have already posted the
post which details all of the supplies
for the sew along and how it works.
I have also given the link there
for the free PDF Download
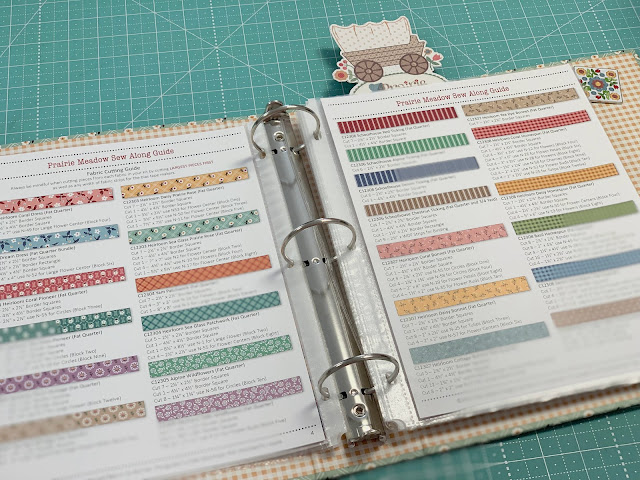
of the Sew Along Guide
to download the sew along guide.
It's important to watch my
Week One/Block One video tutorial
because everything I show you in
block one pertains to all
the rest of the blocks.
Things such as tips on sewing...
shaping and turning all of your
appliqués as well as the entire
process of laying out the block.
I also explain about sewing
the scrappy background.
If you have not watched it please
to read my blog tutorial for
BLOCK TWO
to read my tutorial for
BLOCK THREE
to read my tutorial for
BLOCK FOUR
to read my tutorial for
BLOCK FIVE
to read my tutorial for
BLOCK SIX
As per the sew along guide
cutting instructions
you should have everything for your
Block Seven
all cut and ready to go!
Everything is all cut...
all traced and ready:)
You can also see above the squares
and rectangles that
I used for the background.
Here is a list of the
Prairie Meadow
Sew Simple Shapes
needed for
Block Seven:
4 - N-3
12 - N-36
8 - N-46
1 - N-53
12 - N-58
You will need to cut
4 - 7 1/2" long
and
8 - 2 1/2" long
of prepared 1/4" straight
bias strips for the stems
Block Seven shapes
sewn...trimmed and clipped.
Before turning...
you will need to clip the four
cleavage areas in-between
each of the flower petals.
Remember to clip ALL the way
to your stitched line but not into it.
If you do not clip far enough it will
be hard for it to lie flat.
Use the seam roller in these kind of
areas just as I showed you in the
week one video.
The other shapes
do not need any clipping:)
All turned...shaped...pressed and ready:)
I pre-glued the center circles
onto the 12 flowers
before pinning onto the background.
I pinned the circle and the
four N-3 shapes onto the
center of the background first.
Measure 1 1/2" from the edge of
your background to the tip of the
N-3 shapes and pin.
I did not glue the circle until
after the stems were tucked underneath.
First I pinned a flower by measuring
3 1/2" in diagonally from the corner
to the edge of the center
circle in the flower.
Don't glue yet...just pin into place.
I glued down the long stems (7 1/2")
on the diagonal and tucked ends
under the circle about 1/2"...
but only glued to about 1/4" away
from the intersection of the
sewn seams of the background.
Before I finish glueing them
I will need to tuck
the short stems underneath.
I worked with one corner at a
time from this point on.
I pinned the two side flowers
by measuring in 1 1/2"
from edge of background
and lining up the centers
with the background seams.
I cut two short stems (2 1/2")
on the diagonal at the bottom
going opposite ways...
And glued them centered on the
sewn seams and tucked under
side flower like this.
Using these sewn sewn seams
from the background
for placement makes it sew easy!
Now repeat for the
short stem on the other side.
Now you can go ahead and
glue down the rest of the
long stem and all 3 flowers.
I then pinned and glued the
leaves into place.
I measured 2 1/2" up from the
center circle
and pinned the bottom leaf points
and then
I placed them 1/2" away from
N-3 shapes on each side.
One corner is completed
and I continued in the same way
for the remaining three.
After a few minutes I removed my
pins and let my block lie flat
to continue drying the glue:)
That is my BLOCK SEVEN tutorial:)
It's one of my favorites...
of course I say that about
every one of these blocks
lol
but I really love these
sweet little triple flowers
in each corner:)
BLOCK SEVEN
all ready for applique:)
Afterwards I will
press from the back and then
I will use my
16 1/2" Trim-It Ruler
to trim down the block.
Thanks for joining me
again this week for the
Prairie Meadow Sew Along...
we are over halfway
through our Prairie journey!!
I'll meet you right back here
next Monday for the
Block Eight tutorial...
happy sewing!!
xx
Lori
Other Places to find me:


Thank you so much for your archived blog posts! As a novice quilter it gives me great tutorials to reference for many projects and ideas! May the Lord continue to bless you in your endeavors! 😁😊😇🙏
ReplyDelete