Welcome to week one of the
I'm super excited to make my
Autumn Love Quilt with you...
and to play
with my Autumn Love fabric!
Today's block tutorial is the
Crow and Pumpkin Block
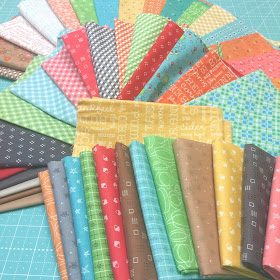
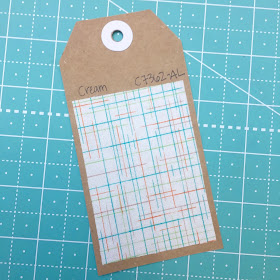
This print from the fabric kit
is what we will be using
for the background for this block
(as well as all of
the other applique blocks)
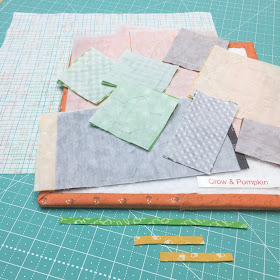
And here are all of the prints
used for the shapes in this block.
Of course ALL of the cutting for
each one is in the
Sew Along Guide
if you have not downloaded it yet:)
As always...
I have done a video tutorial for you.
But before you watch it...
I wanted to list here
all of the cutting and
Sew Simple Shapes
used in this block
so that you make sure
that you have them all traced and cut.
1 - 1"x 4" yellow acorn print-crows beak
1 - F-1
2 - F-6
1 - F-7
1 - F-10
1 - F-18
3 - F-22
1 - F-23
1 - F-29
Cut your background square 12" x 12"
You will need to clip the cleavage areas
on the leaves and the
sunflower before turning.
There are also two cleavage
in the crow shape
as well as inner curves.
There are also inner curves
on both sides of the stem.
The other shapes do not need
to be clipped before turning:)
The stem is
1/4" wide and 7" long
The crows legs are
1/4" wide and 2 1/2"
No need to press the ends under
as top ends will be under
the crow and sunflower a little and
the bottom ends will be sewn into
the seam allowance at the bottom
when the block is sewn into the quilt.
Okay...now for the tutorial!
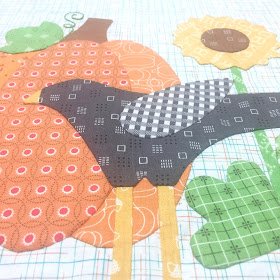
This is what my
Crow and Pumpkin Block
looks like right after applique...
but not trimmed up yet.
closer look:)
I also wanted to show you that
you can trim a small strip off of
one or both side sections
of the pumpkin...
to reduce bulk when
laying out your block:)
Close up of the embroidery:)
Here is a close up look of a
corner of the block back
so that you can see what the
applique stitch from behind looks like:)
I hope these close ups
during each step will help and
that together with the
instructions on the video...
you are good to go!
After all applique and
embroidery is completed...
press from the back only and use your
10 1/2" Trim-It Ruler to
trim it down to 10 1/2" square.
I can't wait to see all of your
Crow and Pumpkin Blocks:)
Please post them on social media
using the hashtag
because we All want to see them
and it's a super fun thing
to sew together!
I will meet you here next week
for another block tutorial:)
xx
Lori


So cute. I wish I had joined this quilt along. I may still make this block anyway.
ReplyDeleteI'm just finding this sew along on YouTube. I've downloaded the guide and am ordering the applique templates to work on this in my free time. Thanks, Lori! I love all of your quilts!
ReplyDelete