

Hello Autumn Lovers!!
Today is the "Bee Prepared"
post before the
sew along begins next Monday:)
Yippee!!
If you haven't done so yet...
to download your free copy of the
Autumn Love Sew Along Guide.
I talked a little about it last week.
If you missed that post...
to read it:)

By now hopefully you have
your fabric kit and are
ready to start cutting!
I have found through experience
that if you cut your kit
right from the start
it makes the sew along even more fun!
Play your favorite tunes or
watch your latest Netflix binge and cut:)
It's all about enjoying each step
of our sew along journey.
Working your way through the guide
is easy ...just go in the order
that I have outlined for you
and check off each cut as it's completed.
I love to check things off
my to do list...don't you?

I have detailed the cutting
so that you can cut
every piece of fabric AND also
know which block that it belongs to:)

Before I began cutting...
I decided to use my
DYMO Label Maker and
print out the name of each block.

You can just use a sharpie and
label plastic bags with
each block name and add all of the
pieces as you cut them...
or you can simply add all of the
pieces to each block on a
separate design board and
stack them up after cutting.

*Just a note about cutting strips
for the bias tape makers.
Some of them need to be
cut on the bias (meaning diagonal)
because those strips will need to curve.
The others I just cut what I call
"Straight Bias"...
because these strips still
need to be run through the
bias tape makers...
but do not need to curve
so I do not cut them on the diagonal.
It really would not matter if you did cut them diagonally for other projects
but it does take more fabric...
so for my sew along quilts
with fabric kits I just cut them straight
if they do NOT need to curve.
The photo above details one of the
prints that includes both bias cuts and "Straight Bias" cuts.
We will be using those bias strips
for different blocks here and there throughout the quilt:)
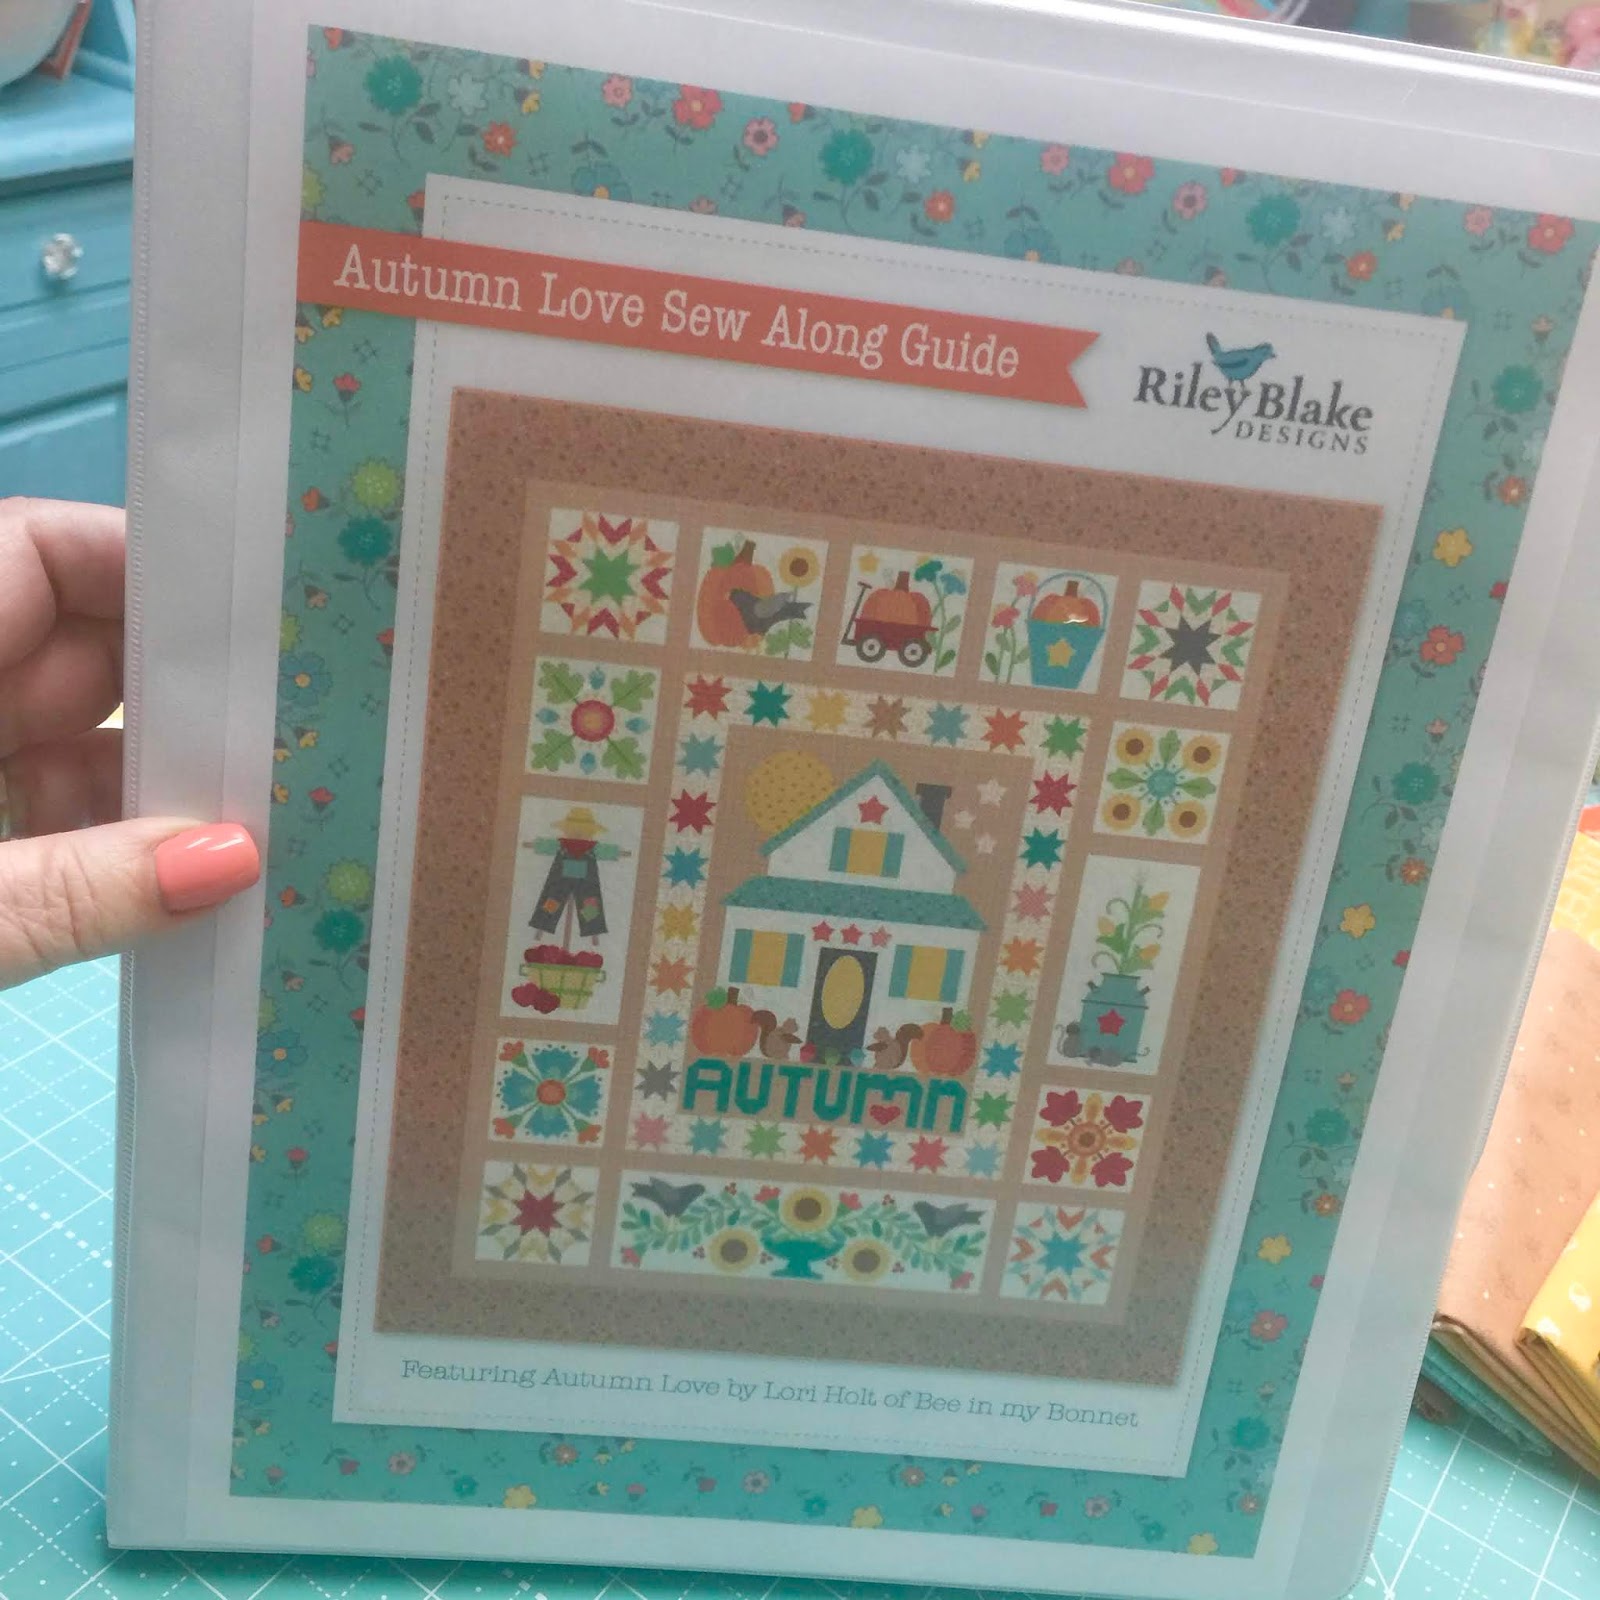
I put my guide in a binder like this.
I like to use the kind that
you can slip the
first page on the cover...

And also if it has a pocket inside
it could come in handy for
holding the Sew Simple Shapes.

I have also listed how many
of each shape
that you will need to
trace for the quilt...
EASY PEASY!

I designed and included
this page for notes.
You can print as many of
this page as you would like:)
I am a list maker and a note taker
and so I thought y'all might be as well:)
You may want to take a few notes
about each block as I do the tutorials
so you have them with you in the binder if you are taking it to a sew day with friends!

Besides the fabric requirements
for the quilt...
there is a list of
all supplies needed.
Here are photos of each
in order that they
are listed in the guide:

Autumn Love
Sew Simple Shapes

4 1/2" and 10 1/2" Trim-It Rulers

1/4" - 3/8" - 1/2" - 1"
Bias Tape Makers

Clover Point to Point Turner

Bee in my Bonnet
Sew-In Interfacing
This is a special weave and thickness/thinness that I developed especially to use with my
Sew Simple Shapes
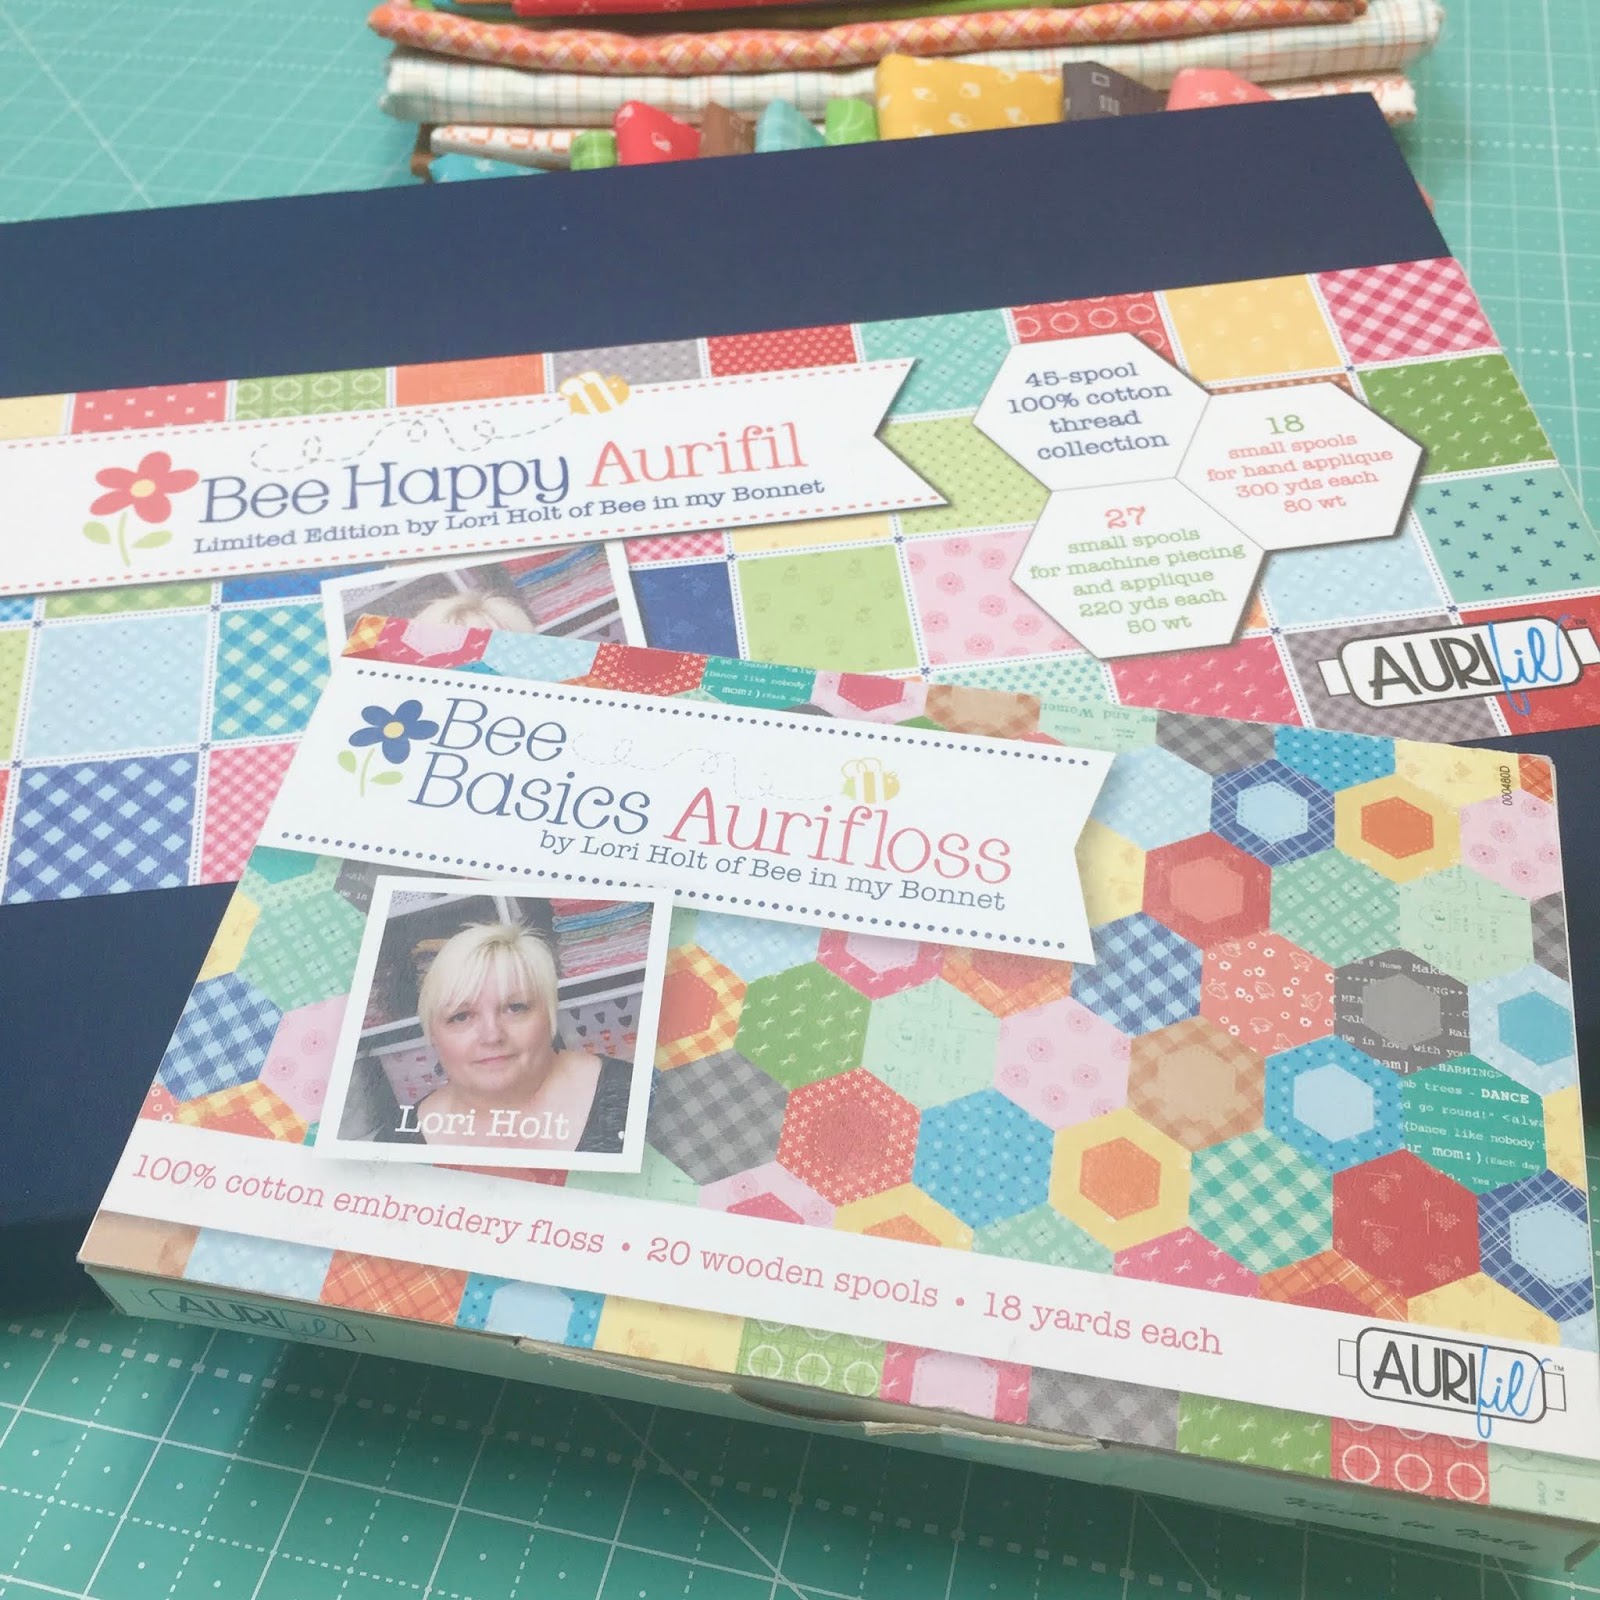
Bee Happy Aurifil 45 set
has all of my happy colors to use
when appliquéing your shapes.
You will of course need matching
thread for each shape.

There is 50 wt thread for
machine applique and
80 wt for hand applique.
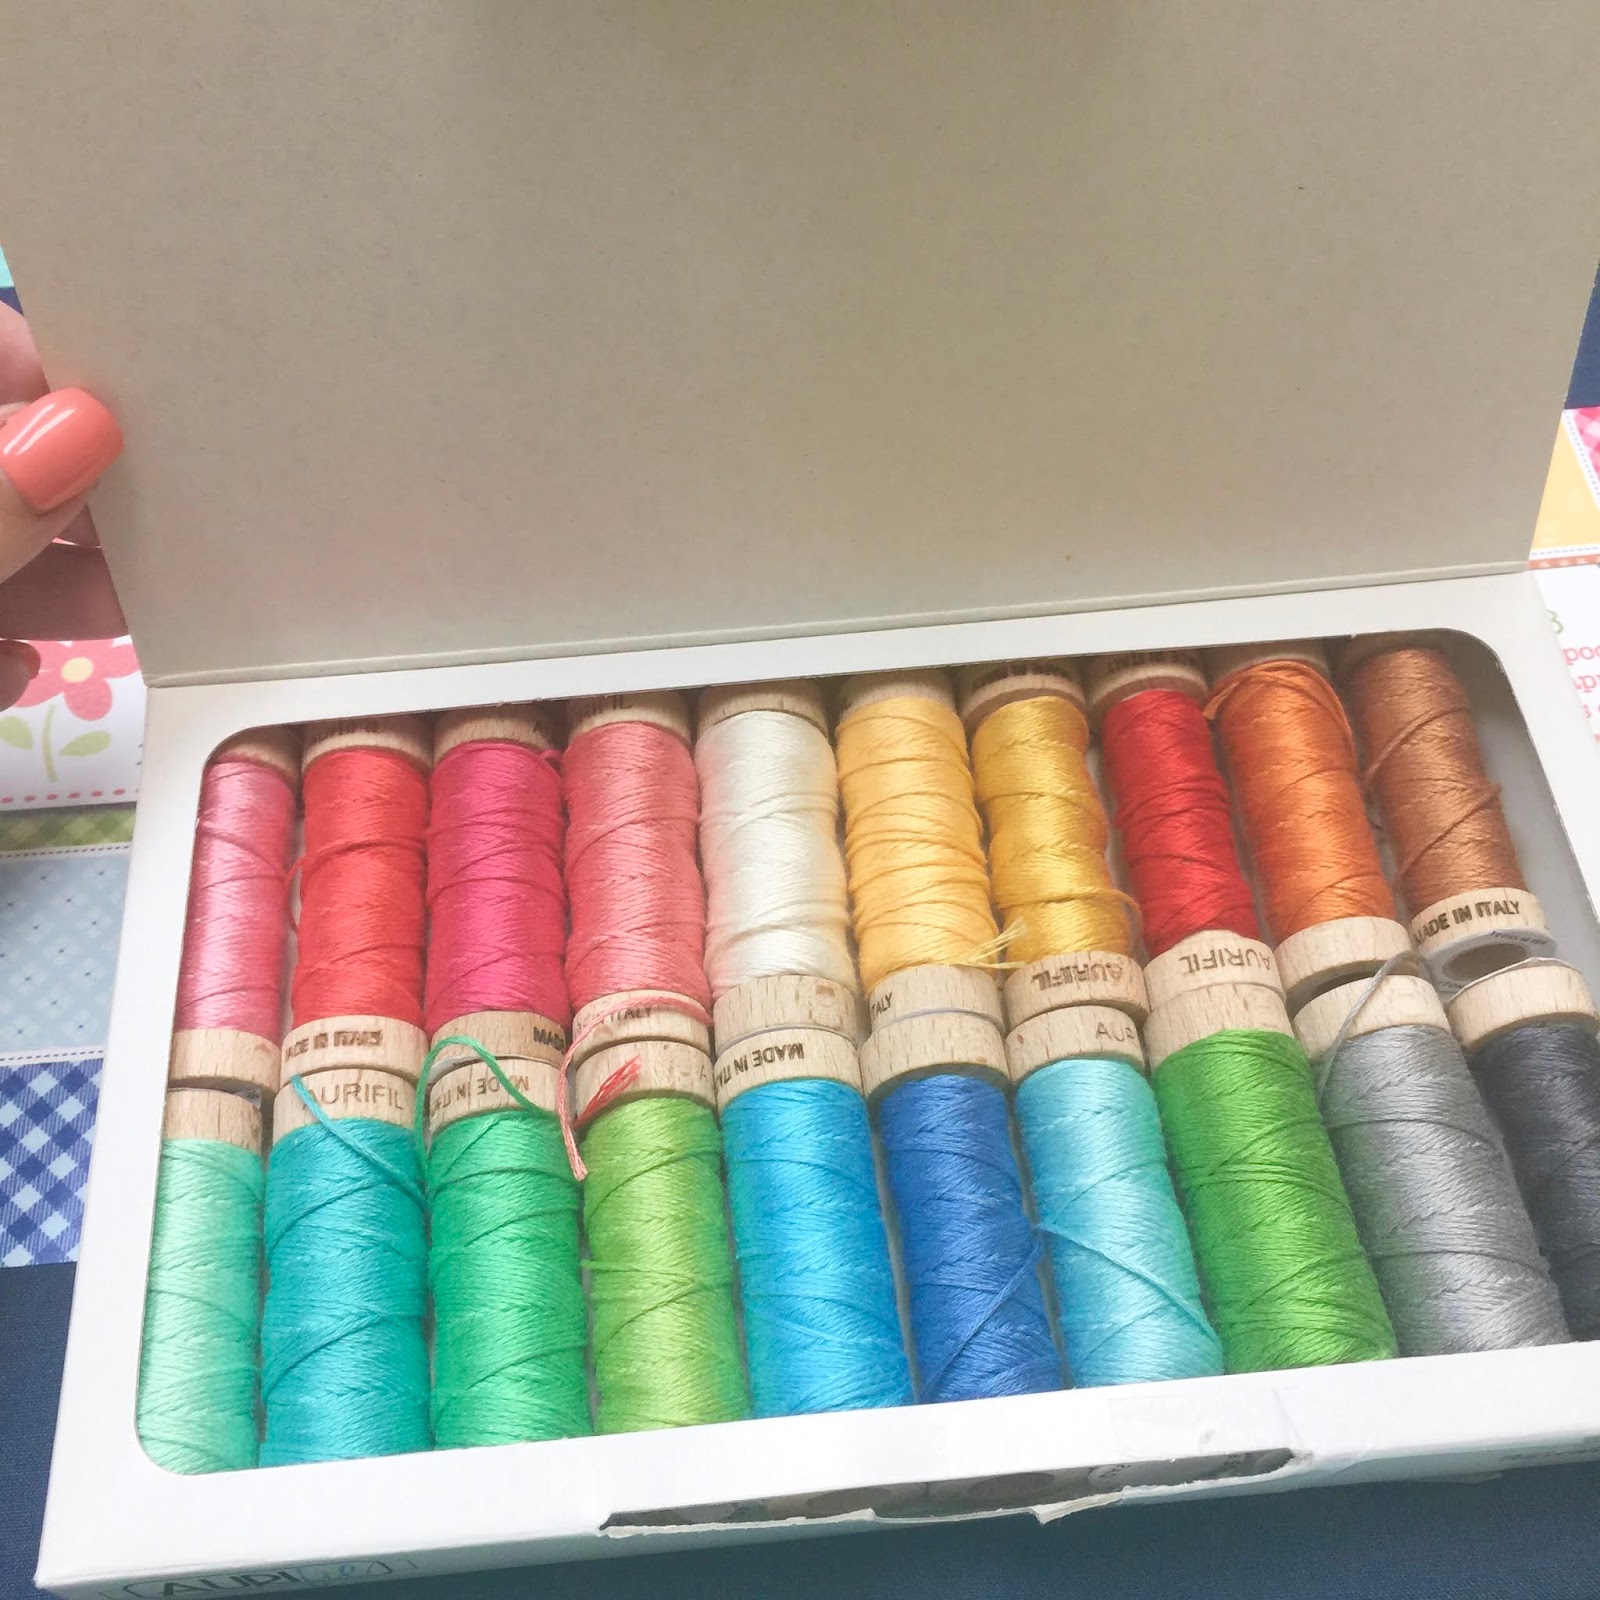
The Bee Basics 20 set of Aurifloss
is for embroidery only.
It matches all of
my fabric colors as well:)
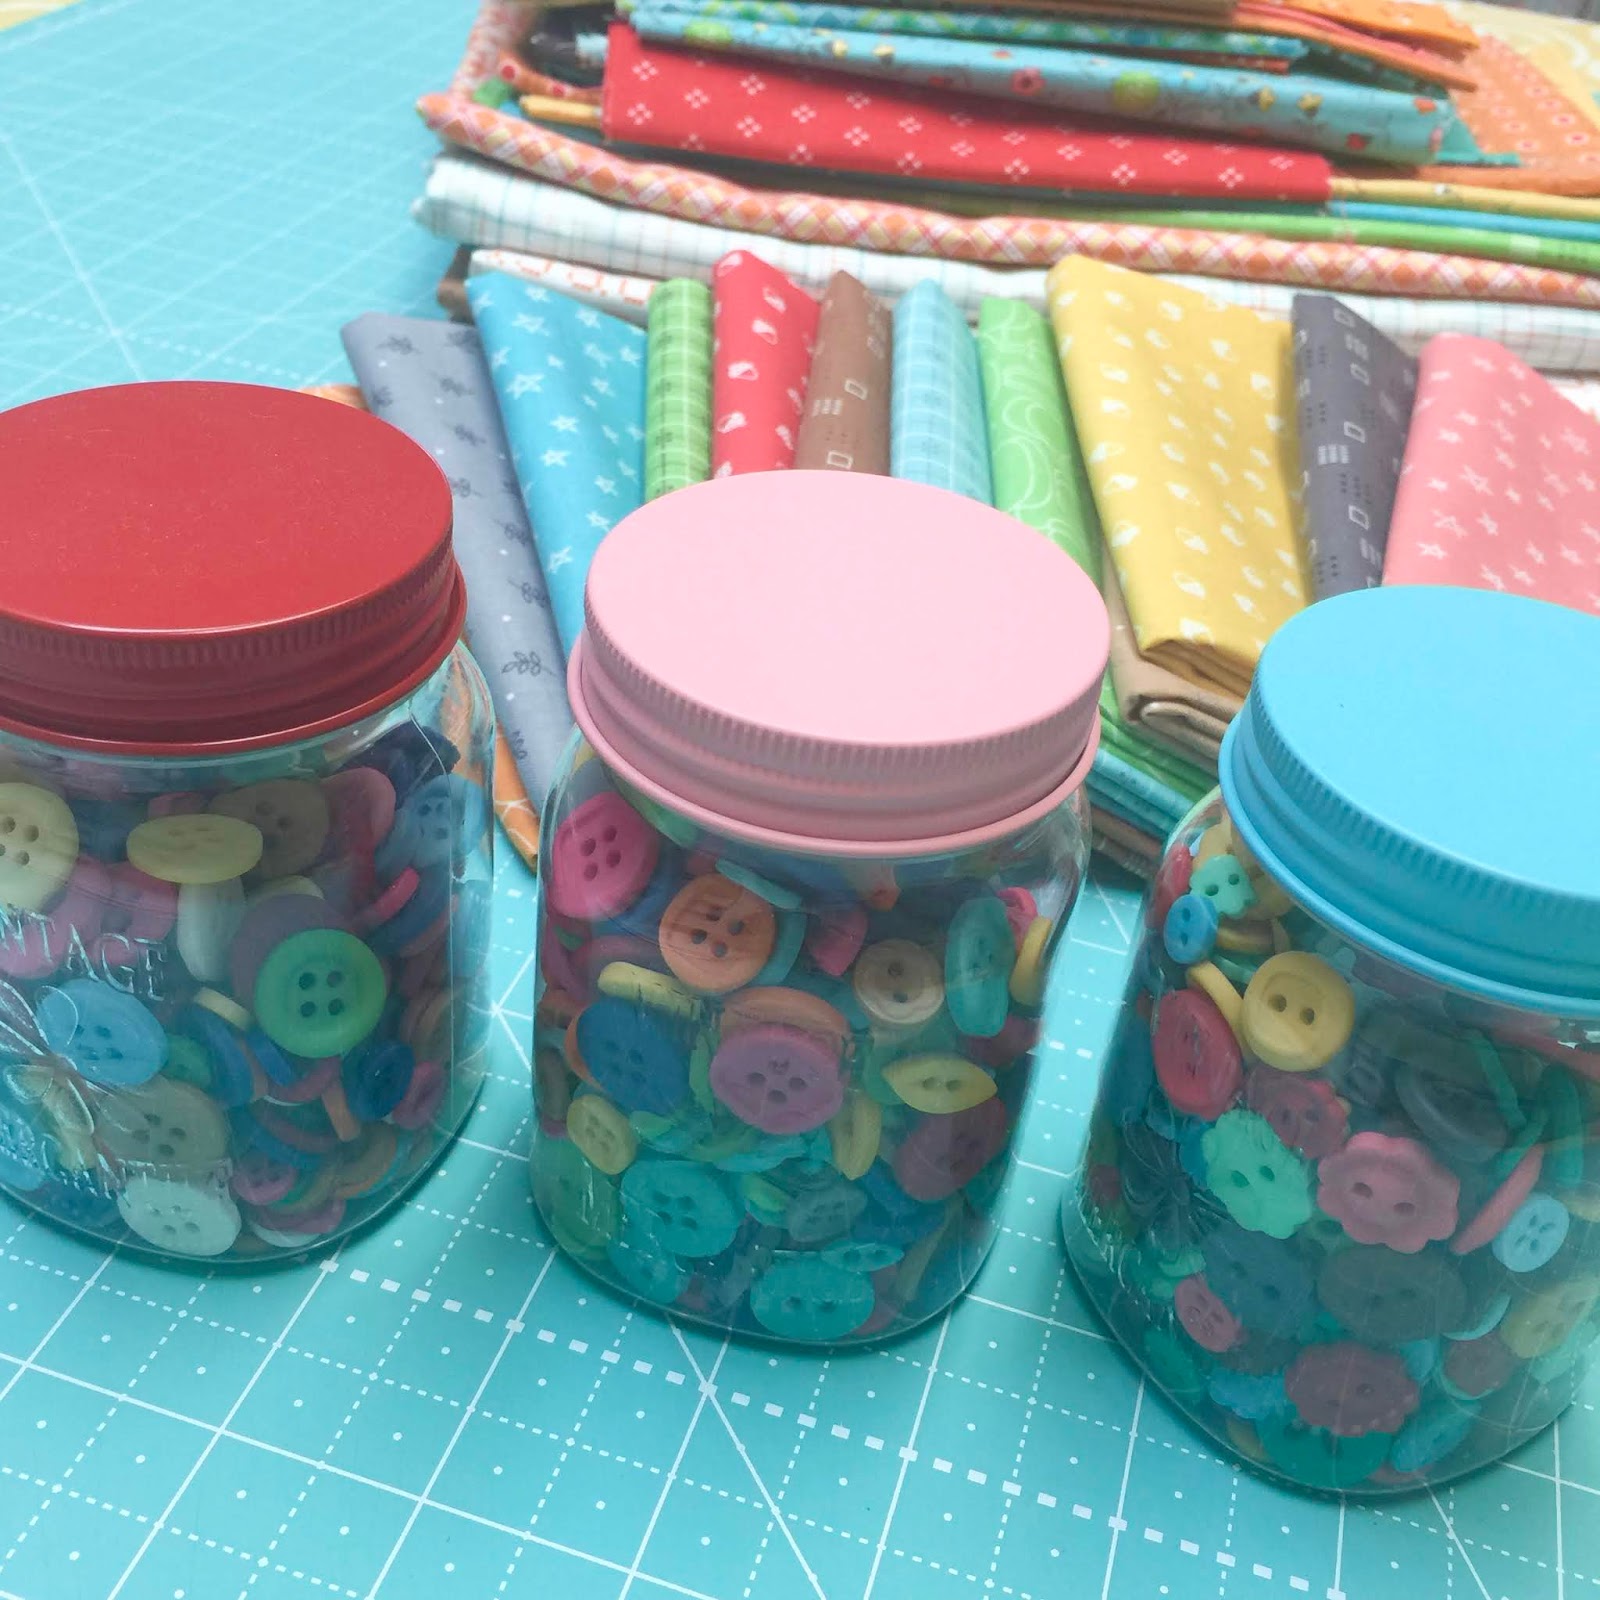
I have used all three of my
Cute Little Button
jars here and there
throughout the quilt.

This is my absolute favorite glue
to use for basting.
It's by Sue Daley and I
affectionately call it my "SUE GLUE!"

Sorry that this picture is
not good but it's super hard
to photograph rulers:)
These are my Cute Cuts
rectangle and square rulers
that I use to cut all of my
fabric and interfacing:)
I also use my Cute Cuts mats
for rotary cutting
and my mini mat when tracing the
shapes onto the interfacing.
It has just the right amount of
"non-slip" surface and
it's smooth for tracing
and not bumpy like
fine sandpaper can be.

I use Bee in my Bonnet Design Boards
for literally every project
that I cut and sew.
Yes...I know I have a lot
but I use every one of them!
I always have more than
one project going at a time:)
I love to cut my blocks and
place them individually
on a small design board...
and then stack them up
where they stay safe and sound
until I'm ready to sew them.
Pictured is my stack of 10" size
which I have the most of.
However!...
I do use several larger size
for this quilt as well...
for laying out the blocks
and more importantly...
for pin and glue basting.

I use my Nifty Needles for
all of my hand sewing needs.
My applique needles are
very long and very thin which I love.
This is how I get
nice tiny applique stitches.
If you have a hard time
threading and using long thin needles
you may want to use the
binding or sewing needles instead.
The choice is up to you!
There are plenty of sizes
in the set to choose from so choose the one best to suit your needs.
For instance...
the embroidery needles are
thicker and have a bigger eye and
are shaped to allow the
6 strands of Aurifloss to
glide through fabric smoothly.

I use all of my
Pretty Pins
and I use the ones labeled
"APPLIQUE"
when I glue baste my shapes.

I am using this print from my
108" wide
Bee Backing and Borders Collection
for the back of my quilt.

I just wanted to show you my
Seams Sew Easy seam guide
in case you have not used it.
It comes in handy when
sewing both the 4" Stars
and the Harvest Star blocks.

I use my Easy Trace Light Box
for all of the embroidery patterns.
I love how bright the LED light is
and how lightweight and thin it is:)
It's a great size too!
Most of the quilt shops that purchase
my fabric to cut the kits...
also stock these supplies needed
which makes it very handy to
purchase in one place!
Please check with them to
purchase these needed supplies.
If you cannot get them there
I do have most of them in my

Okay then cute people!!
Now that we have gone over
everything...
you can Bee Prepared and
I'm sew excited for next week:)
Join me right here
first thing Monday morning!
xx
Lori

1 comment:
Hello Lori, thank you so much for your beautiful and creative quilt ideas. I discovered your Autumn Love quilt design a few years ago and just had to make one. I combined blocks from Autumn Love and Farm Sweet Farm to make a king sized quilt with mushroom themed fabric for the home health care giver for my sweet cousin. She loves the quilt very much. The warm fall colors and happy design turned our so beautiful. Thank you for all of your beautiful creating. Keep up the great sewing fun., with love, Carla from East Texas.
Post a Comment