

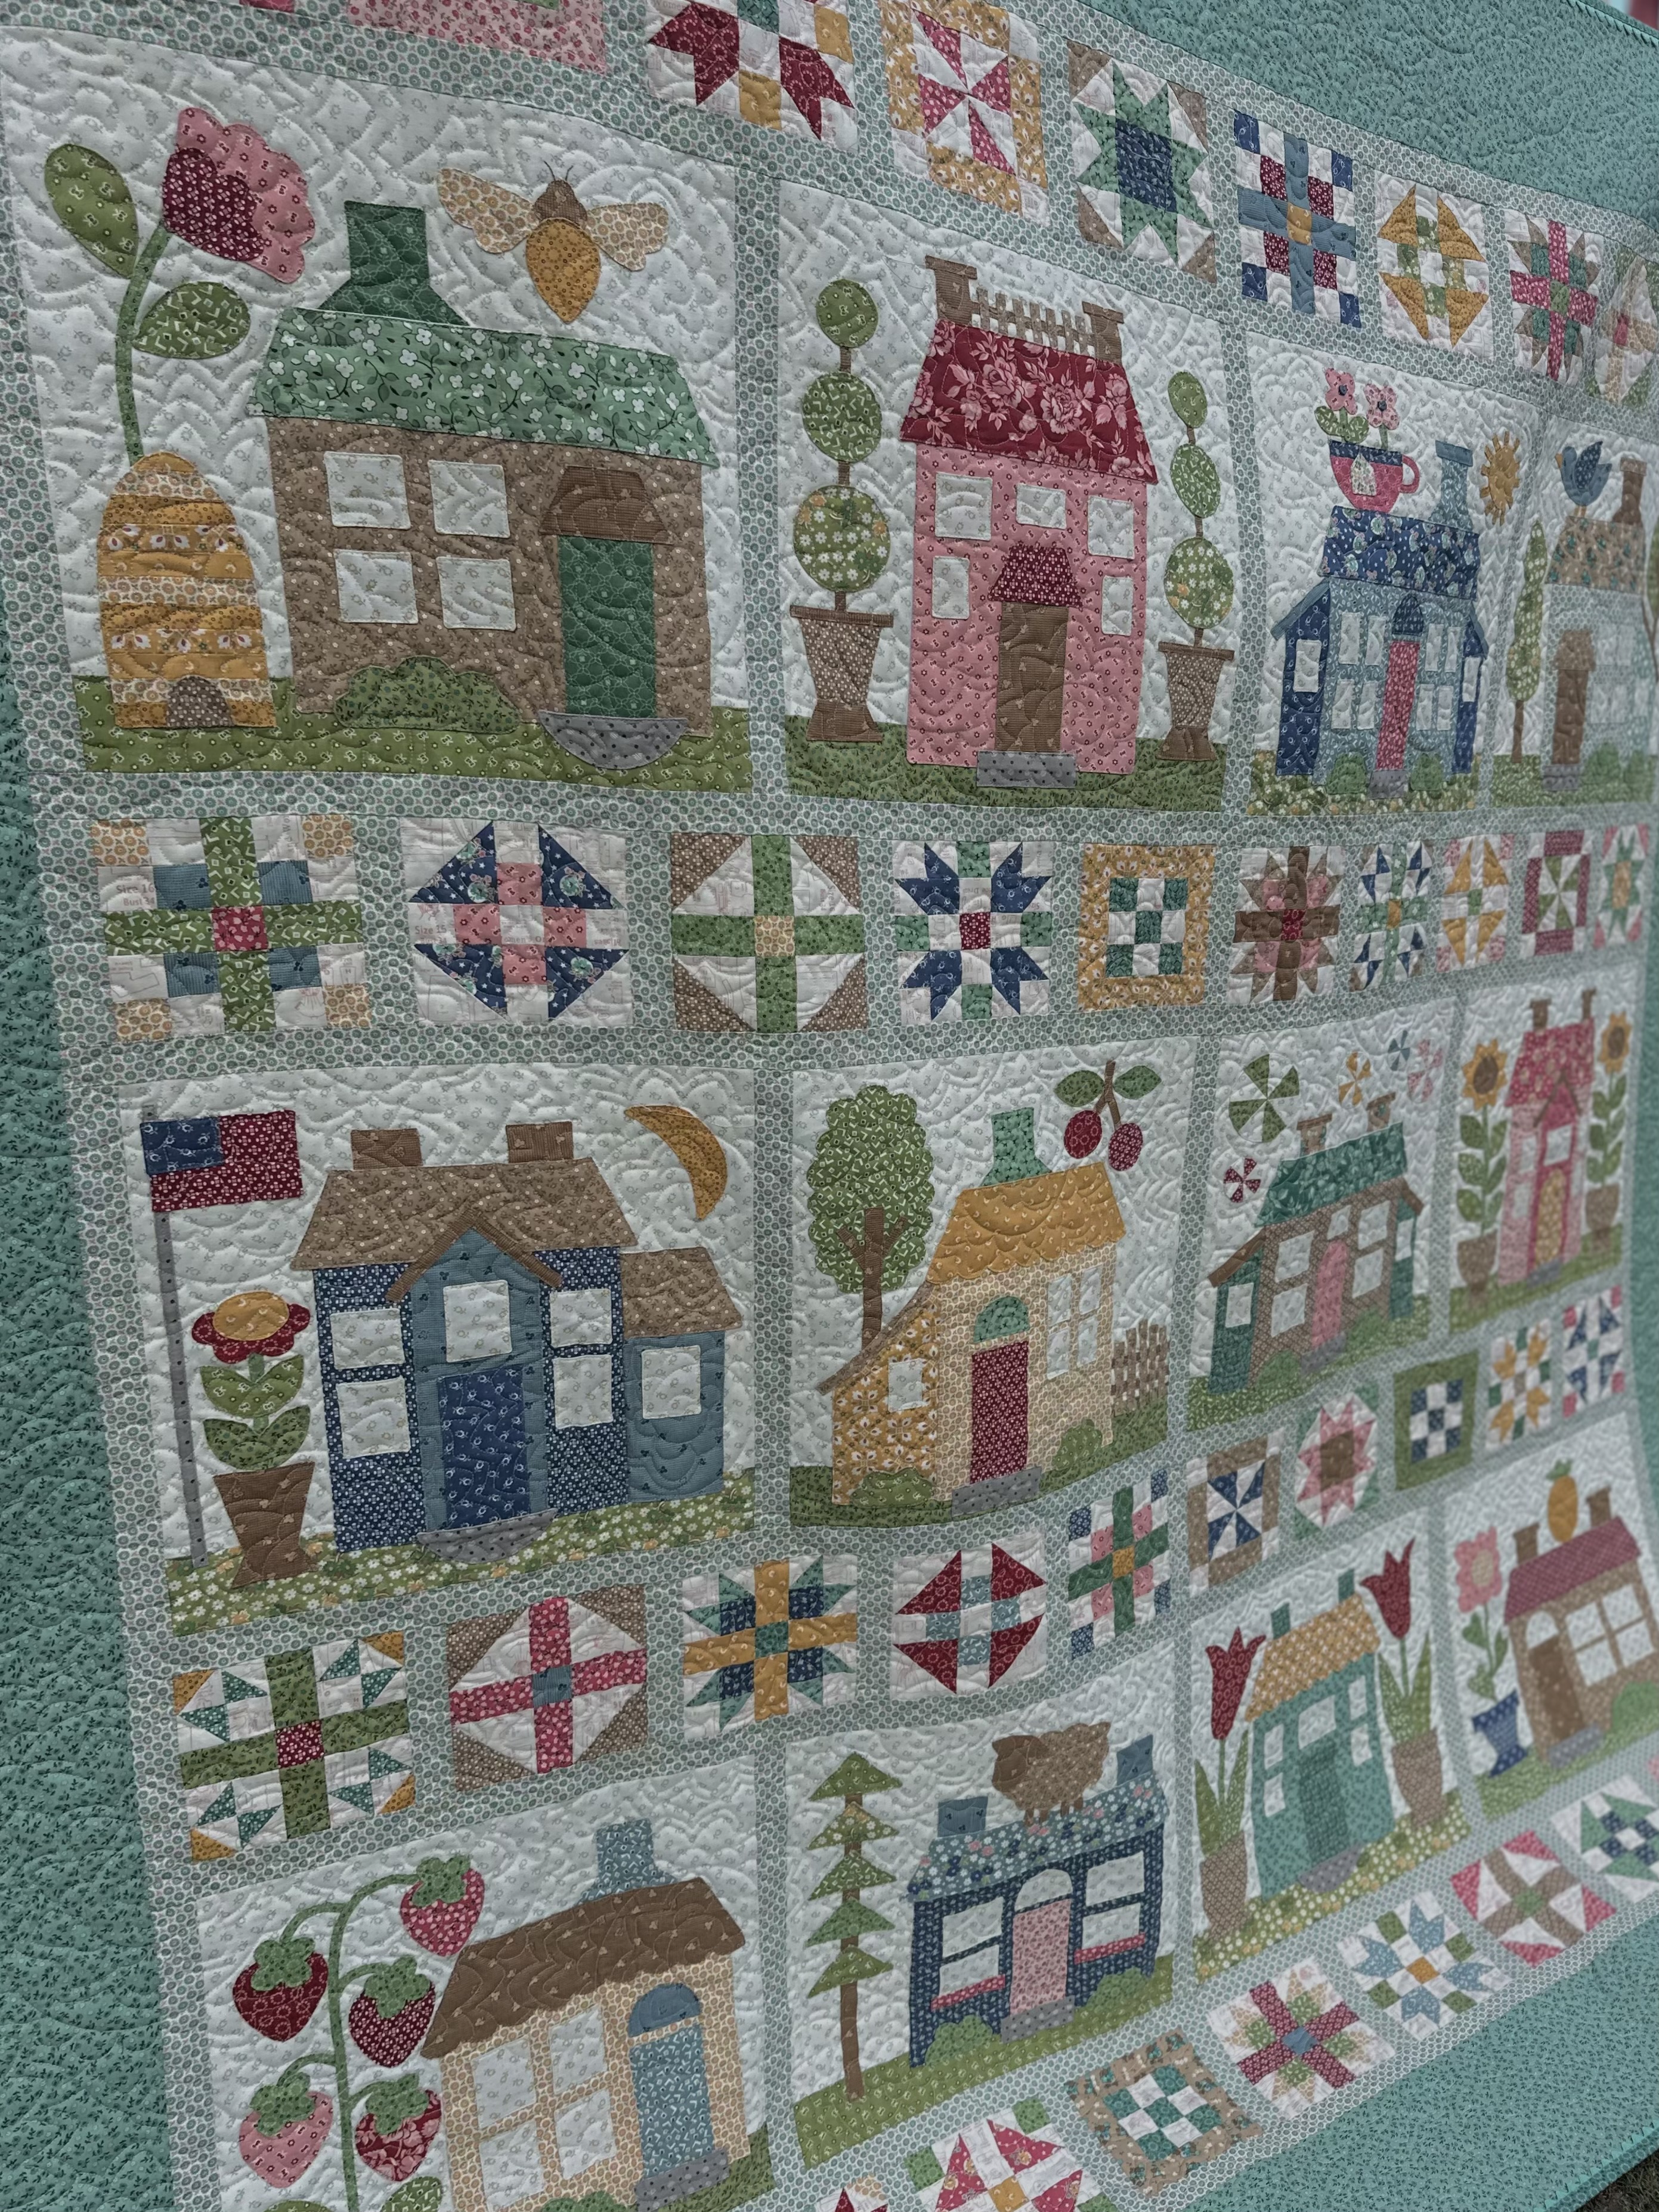
Home Town Quilt

Welcome to the BIG FINISH of the
"HOME TOWN"
Sew Along...
get ready for the photo bombing!!

Together we made the
Home Town Quilt
75" x 84"

The quilt is made with my fabric
collection called Home Town:)
If you are just beginning
and you still need a kit ...
just do a quick google search for
"Home Town Quilt Kit"
to find shops who still have some left.
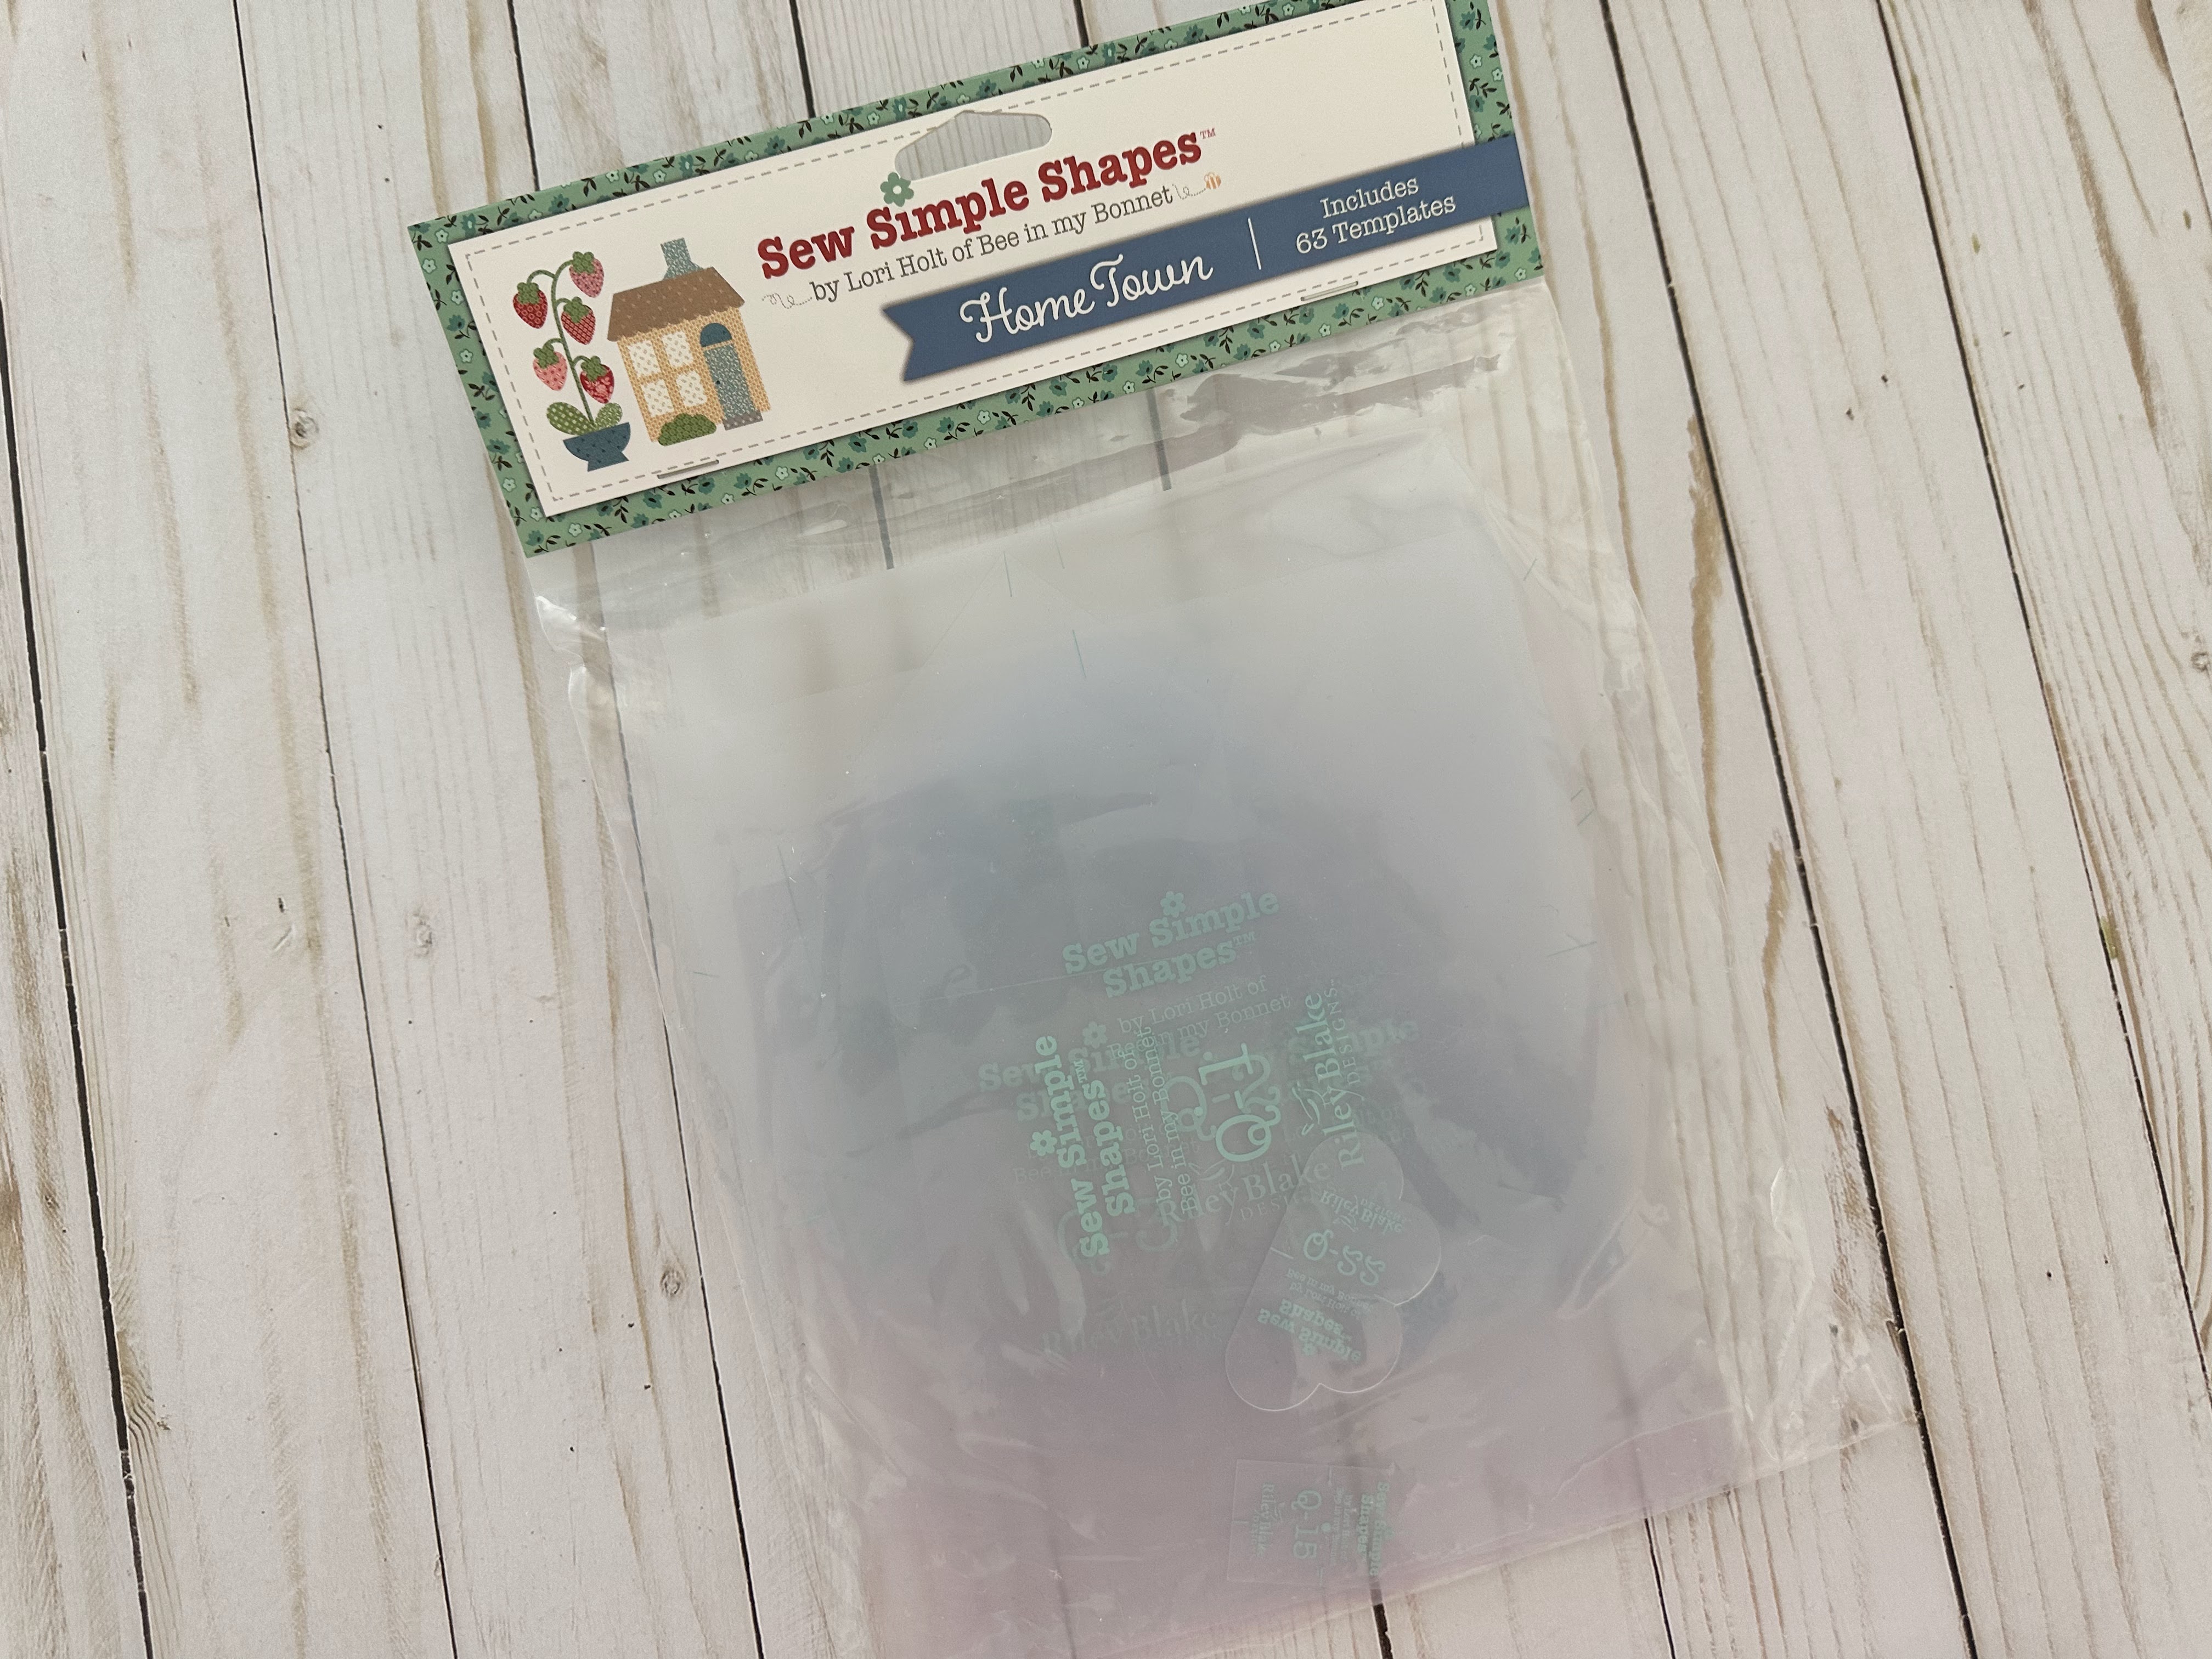

We used the
Home Town
Sew Simple Shapes
I posted the
post which details all of the supplies
for the sew along and how it works.
I have also given the link there
for the free PDF Download
of the Sew Along Guide
to download the sew along guide
if you have not downloaded yet.
Even though the sew along is now
over it doesn't mean that
you cannot make this quilt.
All of my tutorials are here on
my blog and on my YouTube channel
and will remain for your convenience.
Just come back to this post
because it's the BIG FINISH
post where you will find a link
to everything that you need
to follow my instruction
for making the Home Town Quilt.
That goes for all of my other
Sew Simple Shape sew along quilts too!
You will always find them here on my blog.
Just look at the right sidebar
and scroll down and click
onto what quilt you would like to make.

As per usual for the first block in my
Sew Simple Shape Sew Alongs
that FIRST tutorial is a video.
Because I now have my own
I have posted the
Flag House Block
Tutorial there.
to visit my channel and watch the
tutorial and I hope that you love it!
Pretty please leave me a comment
over there and let me know:)
If you like what you see
and my other videos there...
click on subscribe and click on the bell
to be notified whenever
I post another tutorial:)

for the tutorial!


Tulip House Block
for that tutorial


Tea House Block
for that tutorial

Strawberry House Block
for that tutorial


Now that my tutorials are
finished and my blocks are done
I'm going to walk you through the
steps I do to finish up my quilt.
First of all above you will see
a few close up photos
of what the machine applique
on my Flag House looks like.
I have already given you the
link to my applique video tutorial
so refer to that if you need it
to help decide if you will
do yours by hand or by machine.

As I explained in my week one video
make sure that when you
trim up your blocks after applique
you place your grass line on the 2" line
of the 14 1/2" Trim-It Ruler.
I trimmed up all of my house blocks
at the same time and then ...


I put them on my design wall
and took a BUNCH of photos for you!!
Now my houses are all ready to sew
into my quilt:)

Next...
I used my 5 1/2" Trim-It Ruler
to trim up the 40 pieced blocks:)
I laid them out on a design board
into 4 stacks of the four rows
in order that they will be sewn together.

Next up is the fabric...
sashing...border and binding.
All of the cutting is of course
in the sew along guide.

And don't forget the large
Sea Glass Vintage Trim to tuck
into the binding!
I did a tutorial years ago here on
my blog showing how I
bind a quilt and add trim.
I still do it exactly the same way...
if you want to read it!

Next I cut and pressed my
wideback print for the quilt back.

I think these four fabrics
look so pretty together!

I used this label from my
latest label panel
(this is my second one)
and wrote my information directly onto
the fabric using a fabric pen.
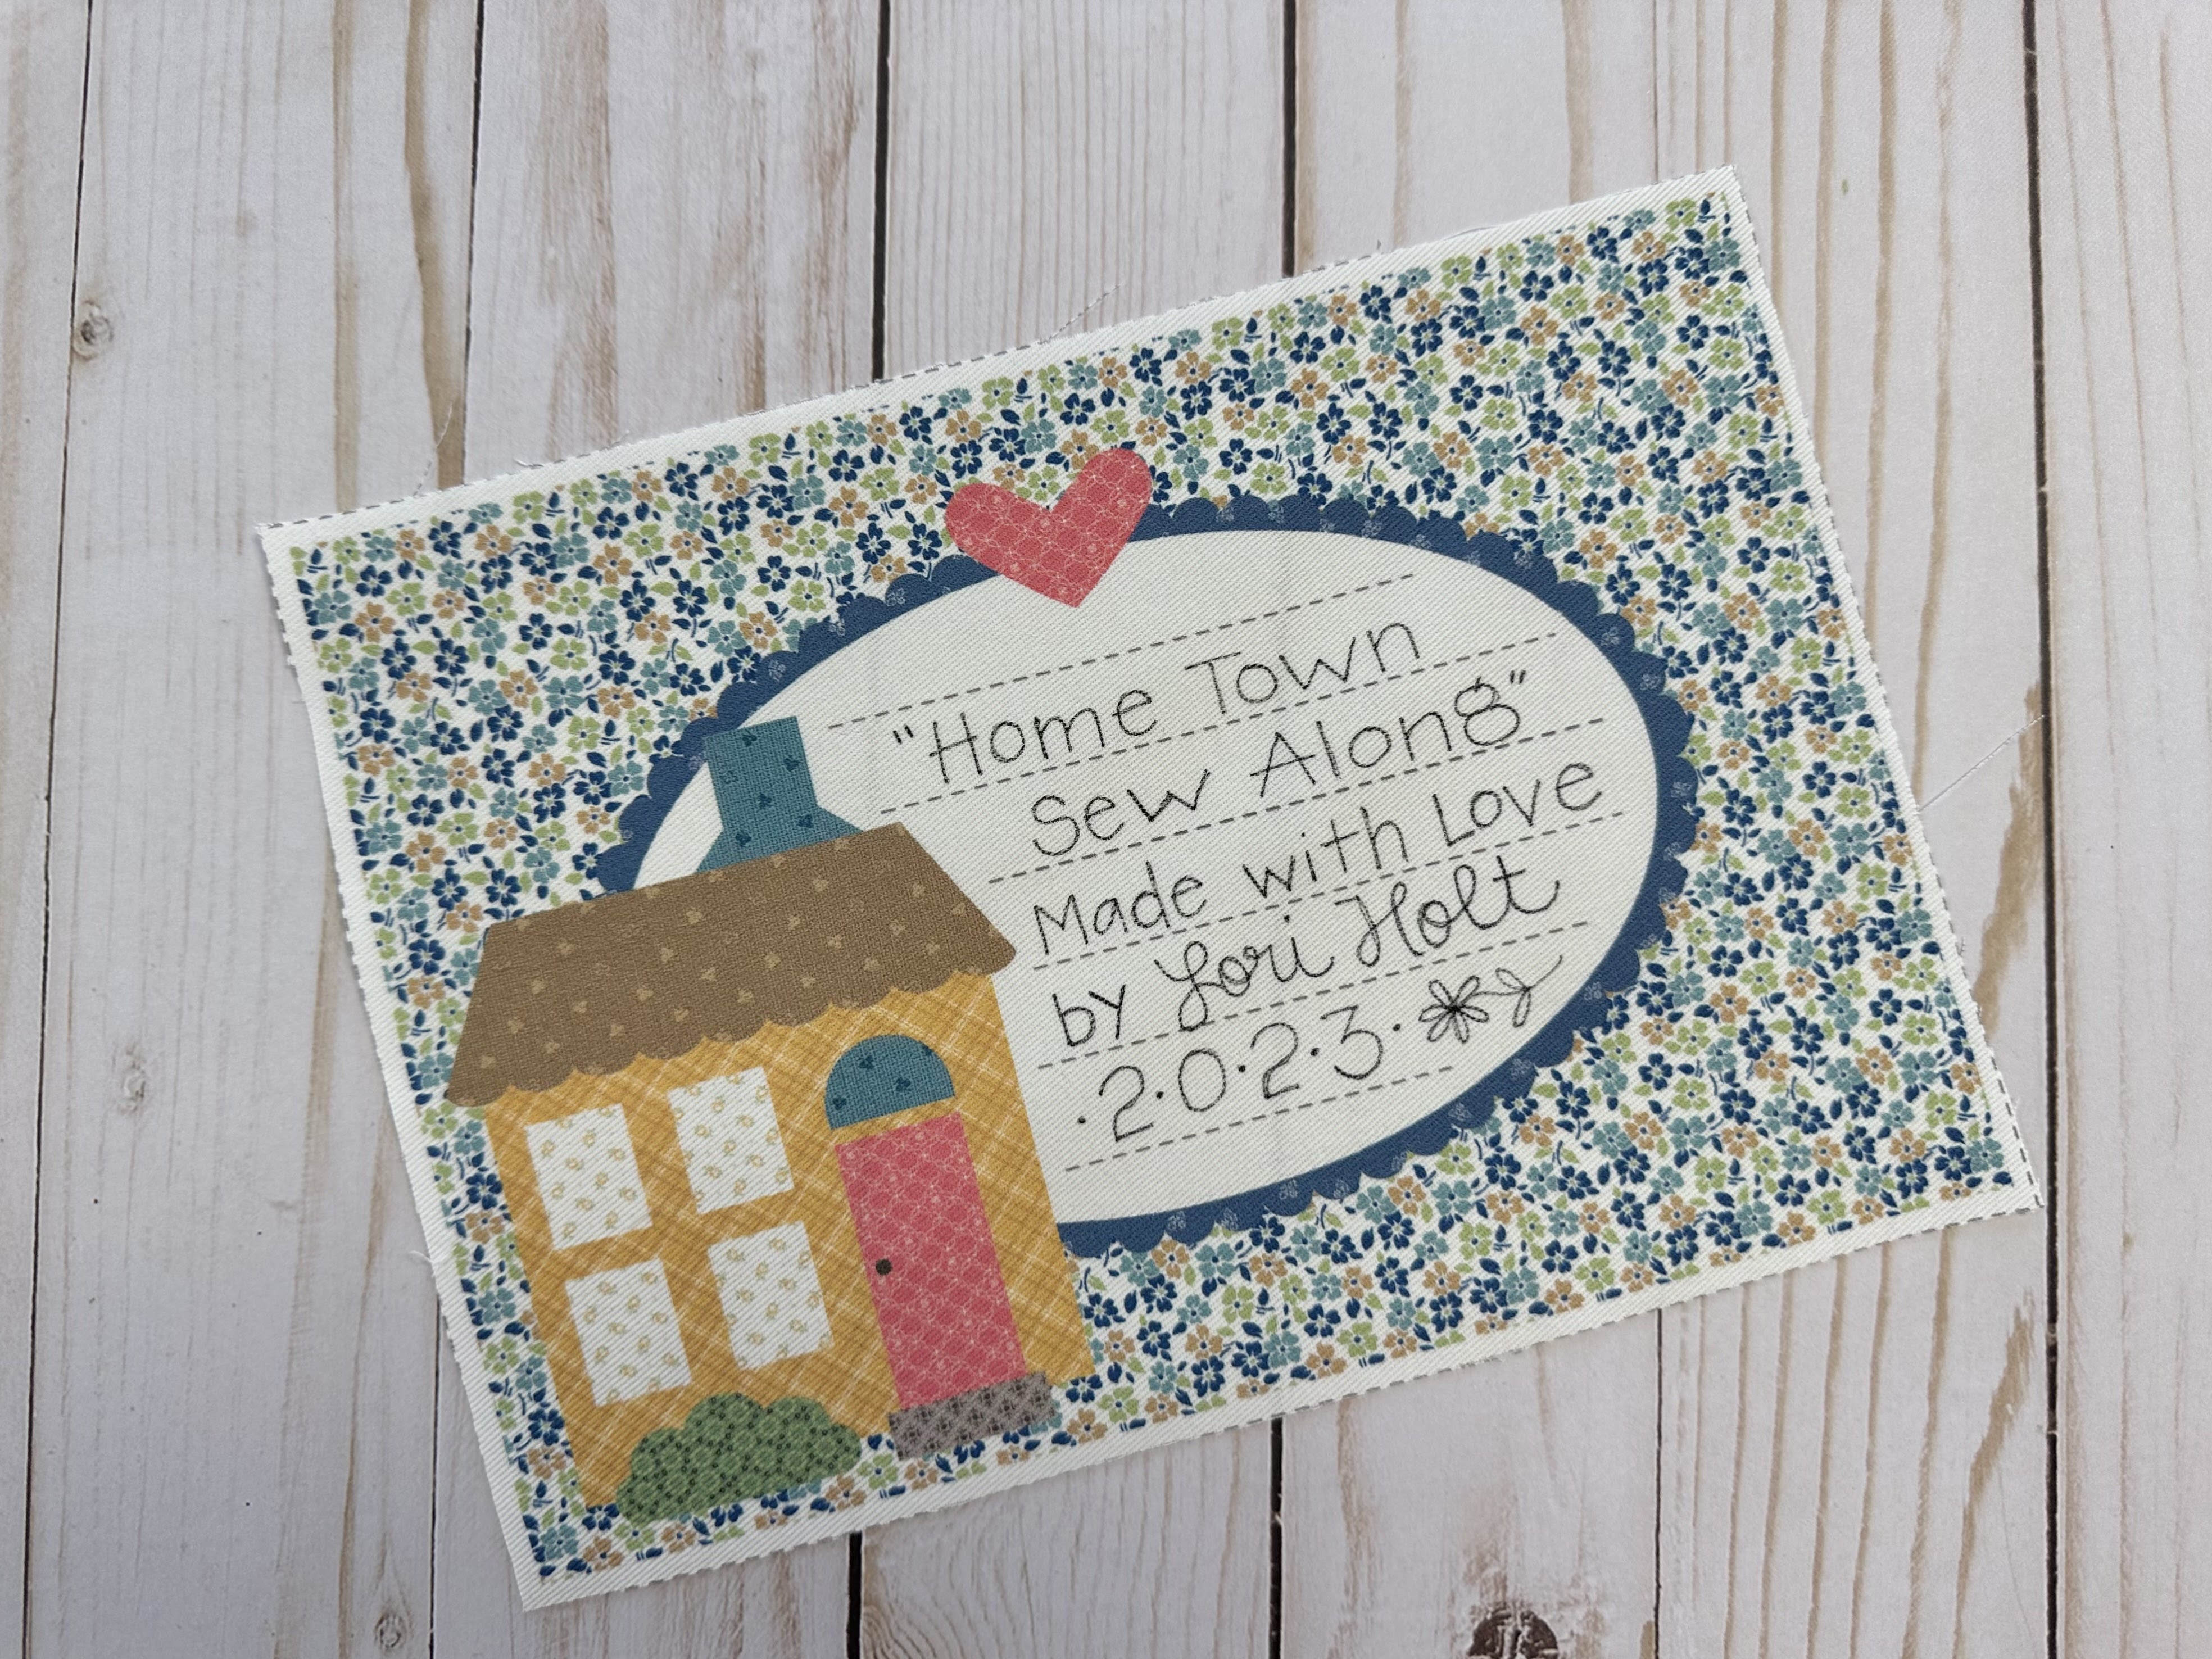
I cut it out on the dotted lines.
I press the seam allowances under
to the print which is about 1/4"
and applique it by hand or
by machine to the back of my quilt.
You can leave your writing as is
or you can do embroidery over
the lines if you want to!
I have done it both ways.

that I always use and
I have done so for years.
Pigma MICRON .05
And that's how I
prepare to finish my quilt:)
Follow the instructions and diagram
in the sew along guide to sew
your blocks, sashings and borders!
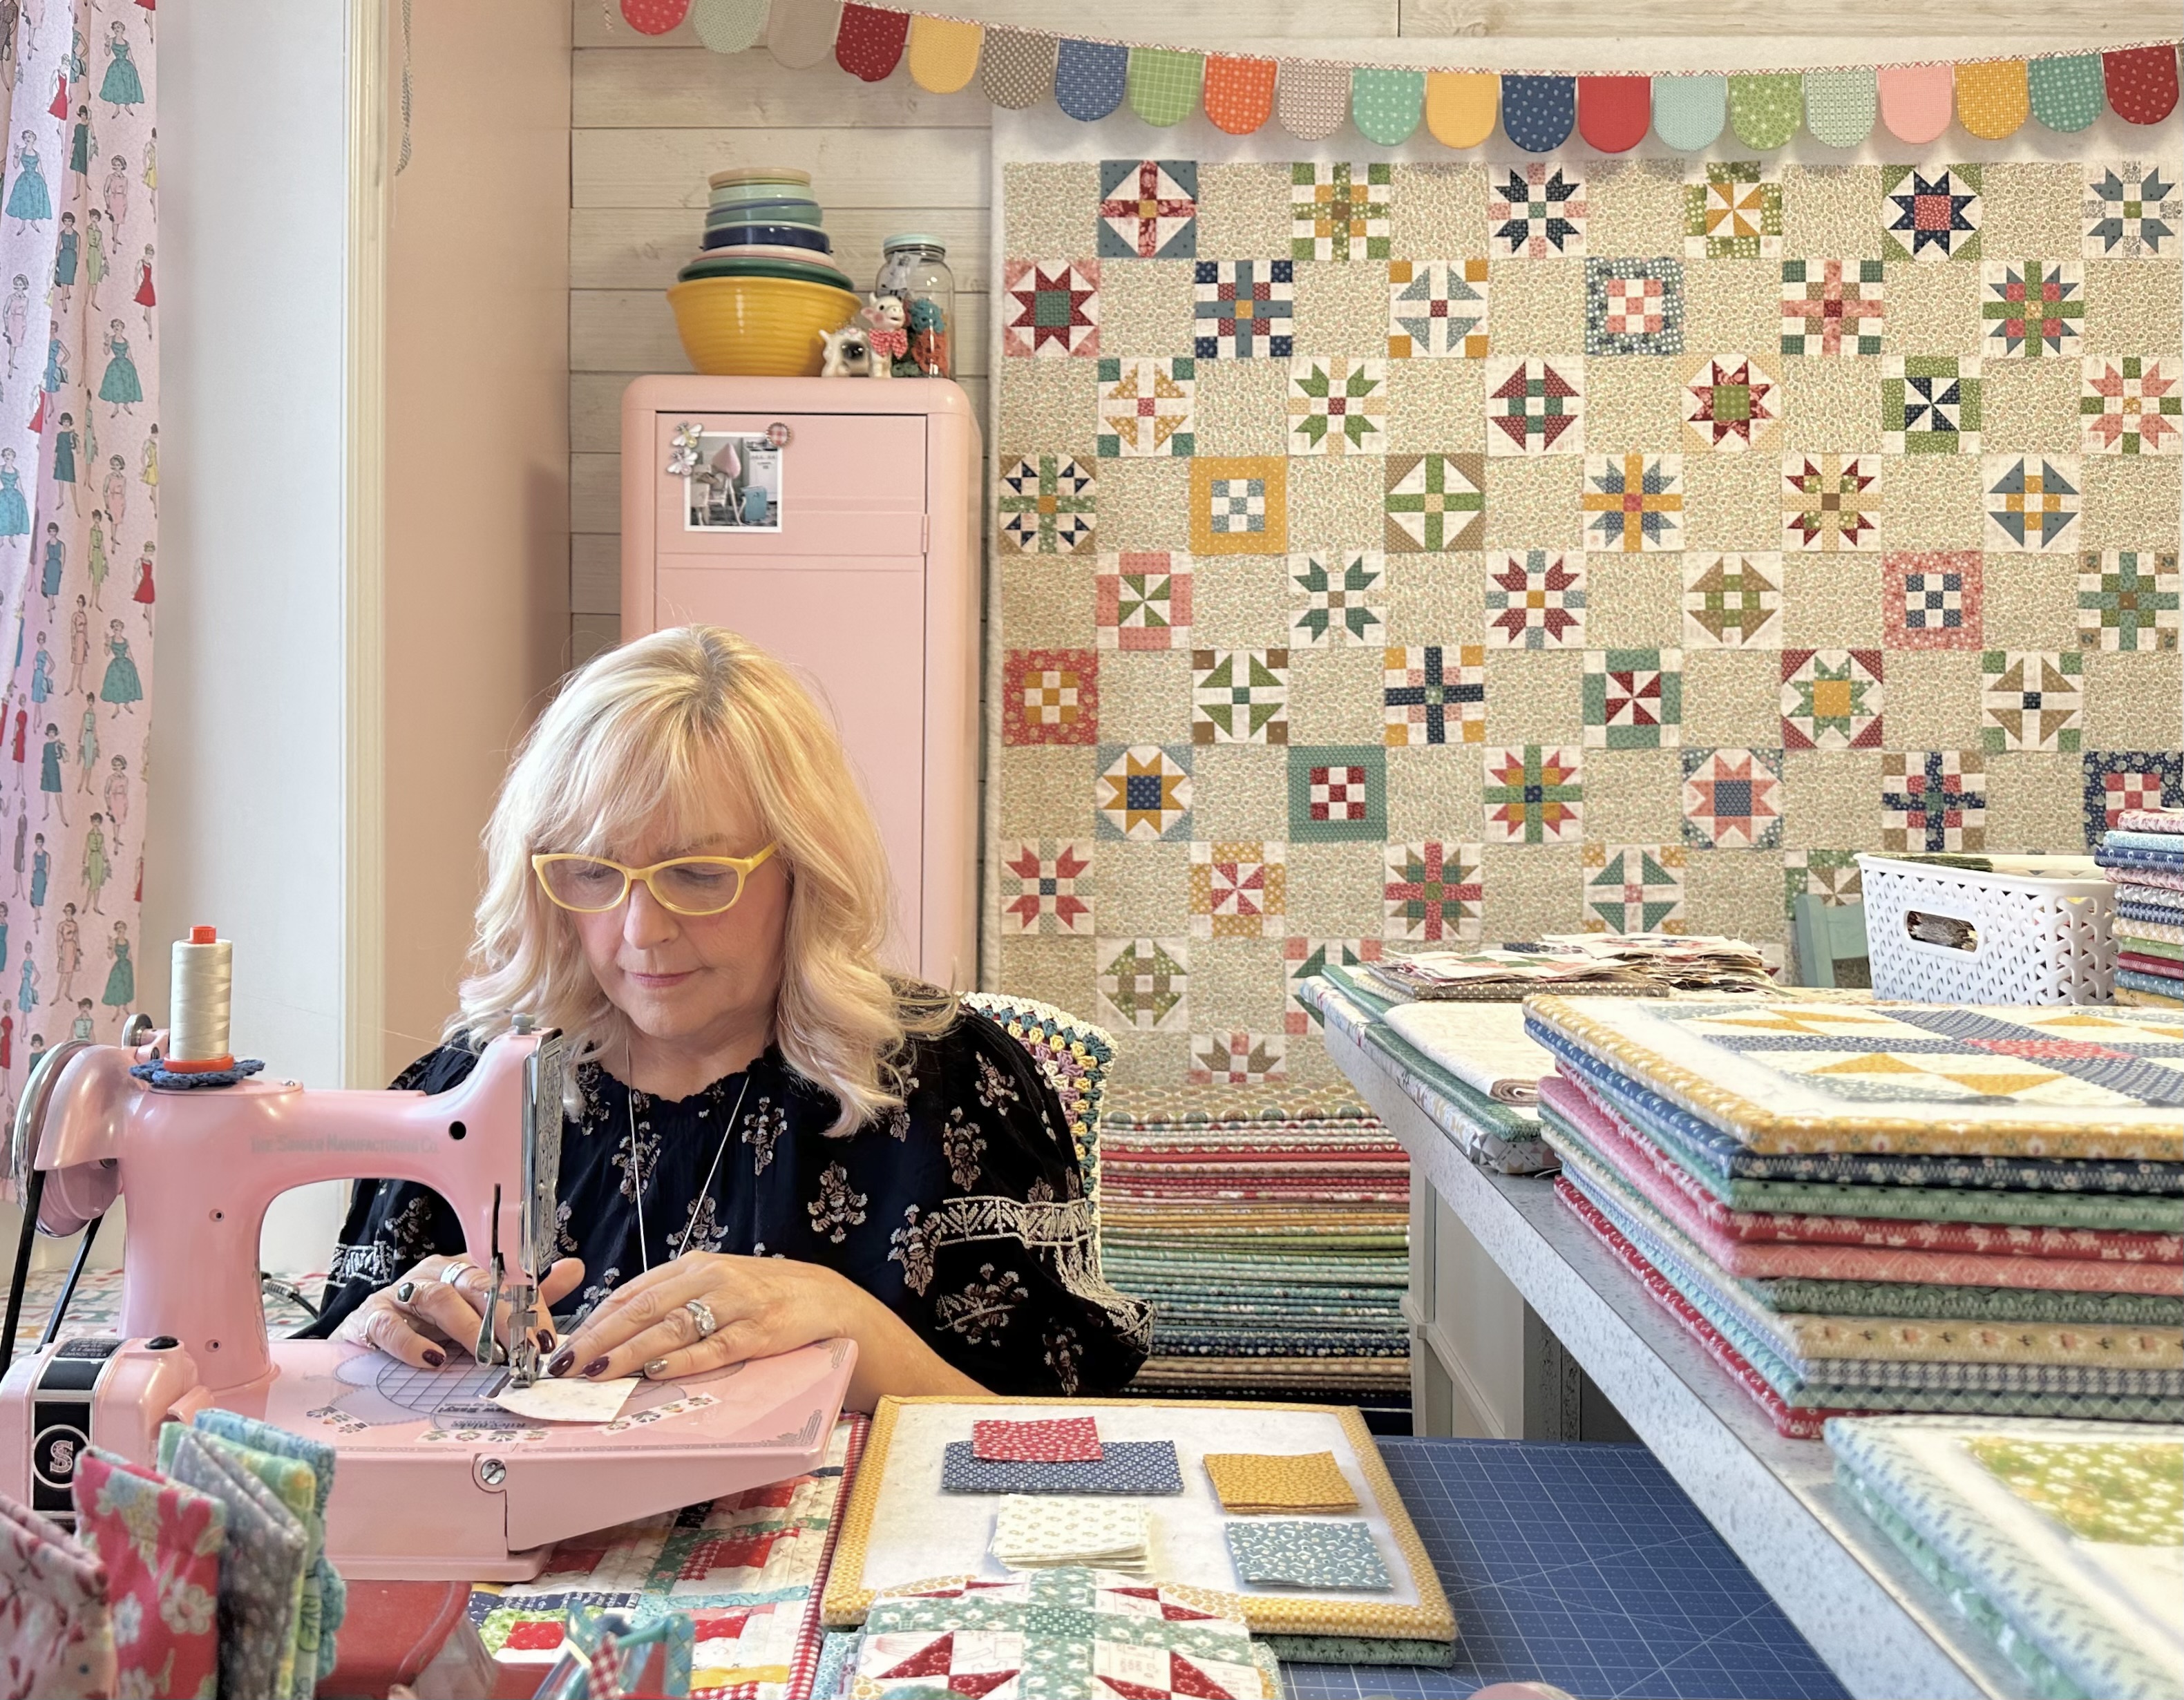
My quilt is currently at quilt market
in Houston and here are
a plethora of photos for you!


edge to edge quilting works
just as well as custom quilting
and right over the appliqués.
I always get questions about that
and my answer is always the same...
you are the boss of your own quilt
and so you get to choose what you love!
I know that I sure love how my quilt
turned out and I sure loved making each
and every block along the way with you!

Riley Blake Designs booth at market.
It's hanging with some of the
projects from MERCANTILE that will
be here in December...

MERCANTILE SAMPLER QUILT
will begin the end of January.
In this quilt all of the blocks
(and the borders) are pieced
and then you use my 12" Circle Ruler
to make them into a circle...
then appliqué onto the
pieced 4-Patch background.
This is going to be a fun one
and I hope you will join me
for this one as well!
Thanks so much
for joining me for the big finish post while I
show and tell about my quilt for my
Home Town Sew Along
And don't worry I haven't forgotten
about pieced block #10:)

5" Home Town Pieced Blocks
#10 - #21 - #33 - #17


I did the tenth tutorial
for the 5" Home Town Pieced Blocks
on my YouTube channel as per usual.
These are the four blocks made with the
called for prints in the guide
that you will need to make
to finish up your quilt.
Remember that the directions
for all of the pieced blocks
are on my YouTube channel
to view all of my videos and
click on the one that you need!


And of course I also did another
10" bonus block as well
for my table runner project:)
As I have said in these videos...
I am going to continue to film four
more tutorials with four new block designs
and I'll be making a king sized quilt
for my bed from the 5" blocks...
and a table runner from the 10" blocks.
Hopefully you have been
enjoying the tutorials and will
continue to follow along
that series with me!

If you are subscribed to my channel
and have hit the notification bell
you will be notified immediately
as soon as each new video tutorial is
published and on my way from my
sewing room to yours!!

Again...thank you sew much
from the bottom of my heart
and I'll chat with you next time:)
xx
Lori
