

Hello again!
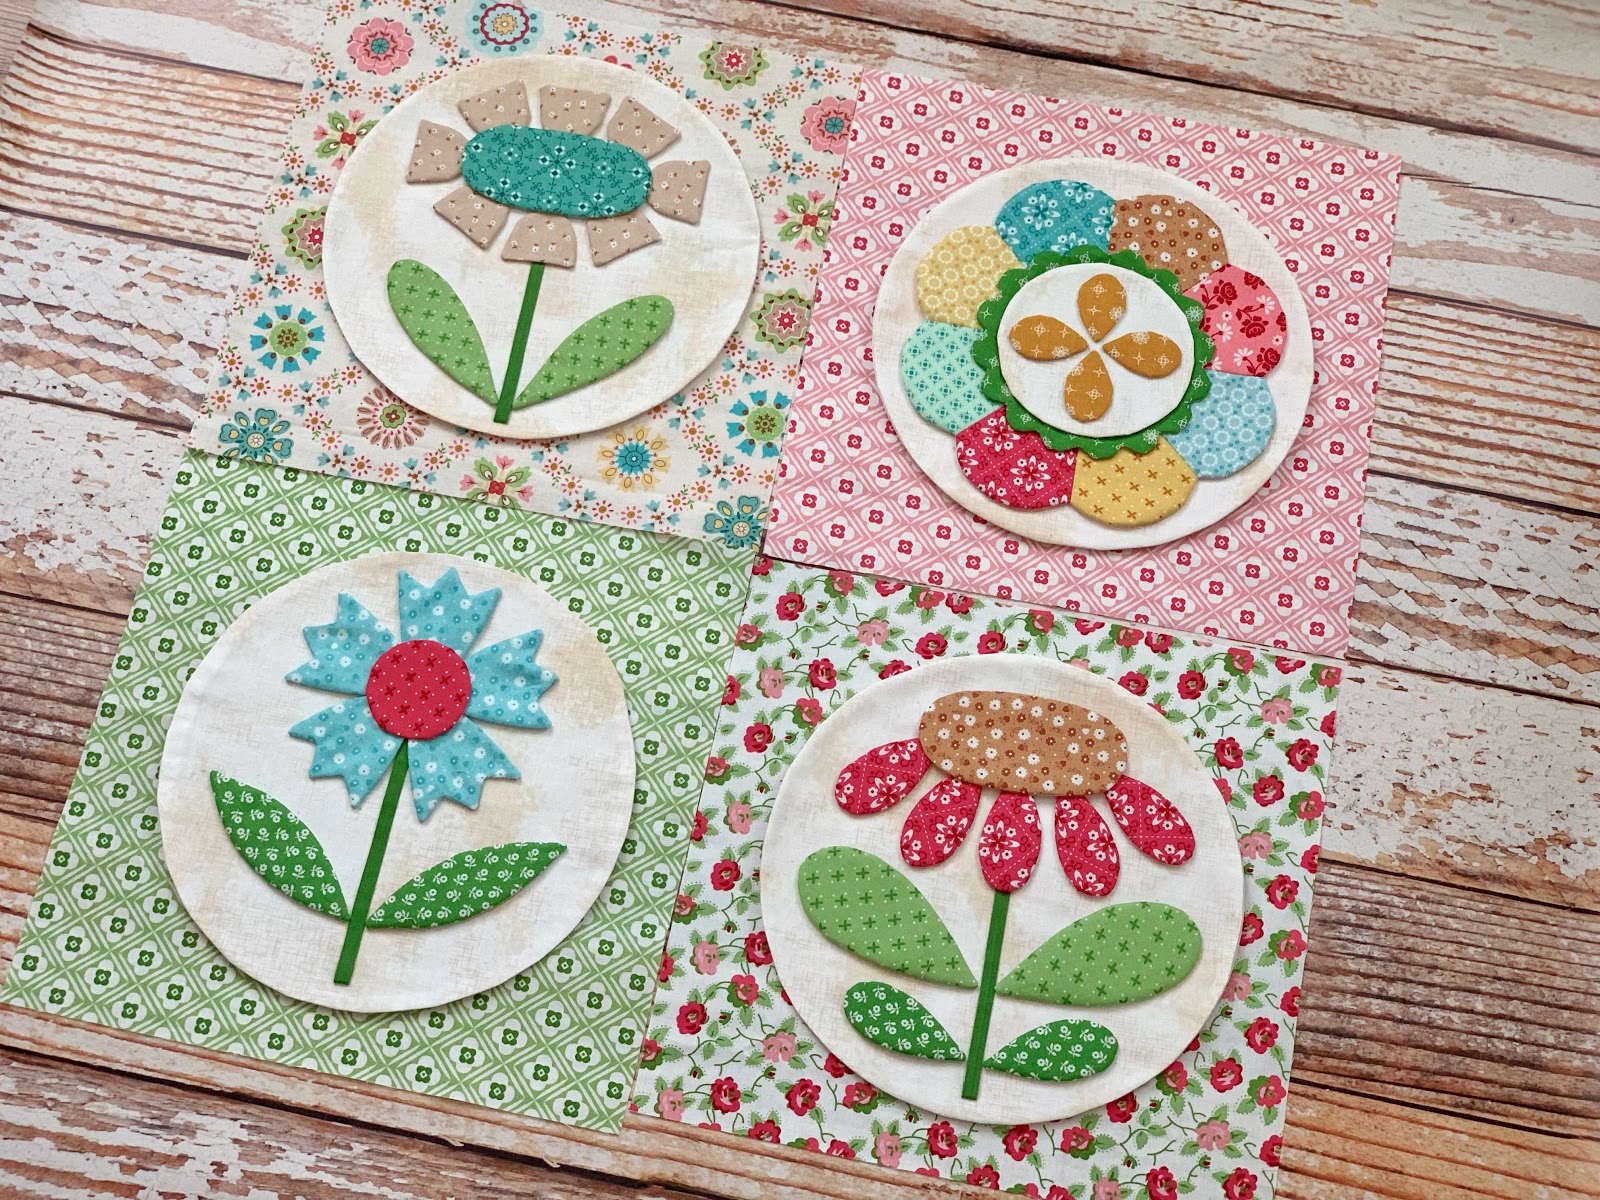
It's time to make more flower blocks:)
YaY!

It's Week Four in the

76" x 86"

Today's tutorials are for blocks
Thirteen - Fourteen - Fifteen and Sixteen
Here is a link to the
week one video
if you would like to reveiw.

We are using Granny Chic Fabric...

And Granny's Garden Sew Simple Shapes:)

Okay...Let's get planting!!

Sew Simple Shapes for Block Thirteen:
2 - I 5
4 - I 19
1 - I 20
Cut your stem 5" long
and press one end under.

After tracing the I 19 shapes...
mark the center using the
center marks on the shape.
Draw a line 1/4" away from the
center mark on both sides...
or in other words mark two lines
1/2" apart in the center.
These will be your petals for the flowers...

And you will need to sew
on your newly marked lines too:)

After sewing...
trim...and cut an "X"
in the interfacing for turning.
No clipping needed on any of these shapes.

Turn...shape and press.
All ready for pinning and glue basting!


I used the 10 1/2" Trim-It Ruler
to check all of my basting placements.

Block Thirteen is ready for applique:)

Sew Simple Shapes for Block Fourteen:
4 - I 1
1 - I 25
1 - I 27
Besides the 9" Shabby Cloud circle
you will need a 4" Shabby Cloud circle...
both using the Circle Ruler set.

You should have 8 - 4 1/2" squares
cut for this block.
We are going to make another dresden
just like I showed you last week...
except each square is scrappy:)

After marking your line on the back
of four of the squares...
match them up like this
to make 4 half square triangles.
They should each measure 4 1/2" square.

Make your pinwheel block like this.
It should measure 8 1/2" square.

Now to sew all of the shapes for the block!

Sewn and ready for trimming and clipping.
Make sure that the cleavage points
on the dresden match up right on the seam.

Clip each cleavage on the dresden
and the scalloped circle.
Cut your "X's" and turn.

Look how sweet this scrappy dresden is!!
I love it:)
Shaped and ready for
pinning and glue basting.

I started out with the center first.

And added that onto the green
scallop circle and finally the
dresden and onto the large circle.
Once again I used all of the lines
on the ruler for placement.

I'll add buttons to this block at the end.
Block Fourteen is ready to applique:)

Sew Simple Shapes for Block Fifteen:
2 - I 10
5 - I 15
Use the 2" ruler from the set
to make the flower center.
Cut your stem 6" long
and press one end under.

Sew your shapes and after trimming
clip both cleavage in each tulip shape.
Cut your interfacing and turn.

Just a reminder of how important
this Point to Point Turner is.
This is what my shapes
look like after turning.
There is no way that
I could shape it without this tool.
I have tried many...
but this is by far my favorite
and the only one that works for me.

I know I've told you this before
but this is a close up of
when I turn it sideways while
GENTLY pushing out the points.

All shaped up...
lined up and ready to go!
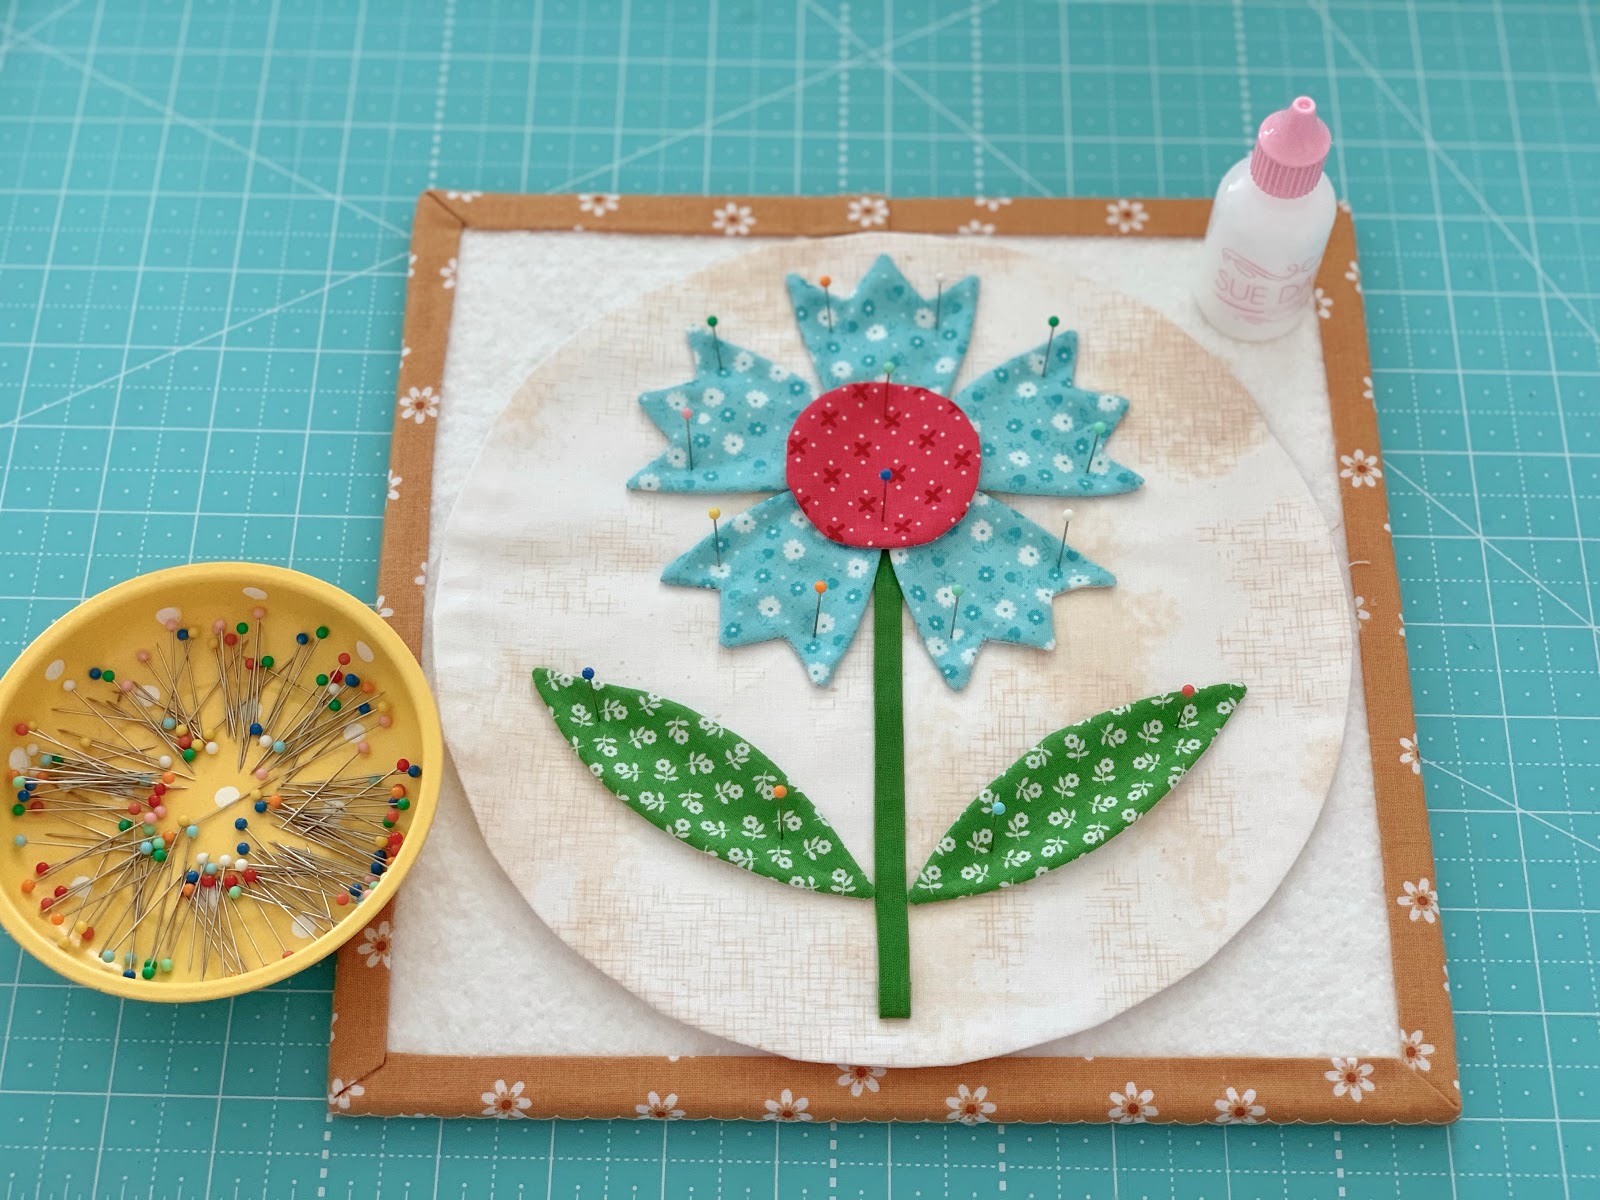
Stick in your pins...

And glue:)

Use your ruler for placement...of course!
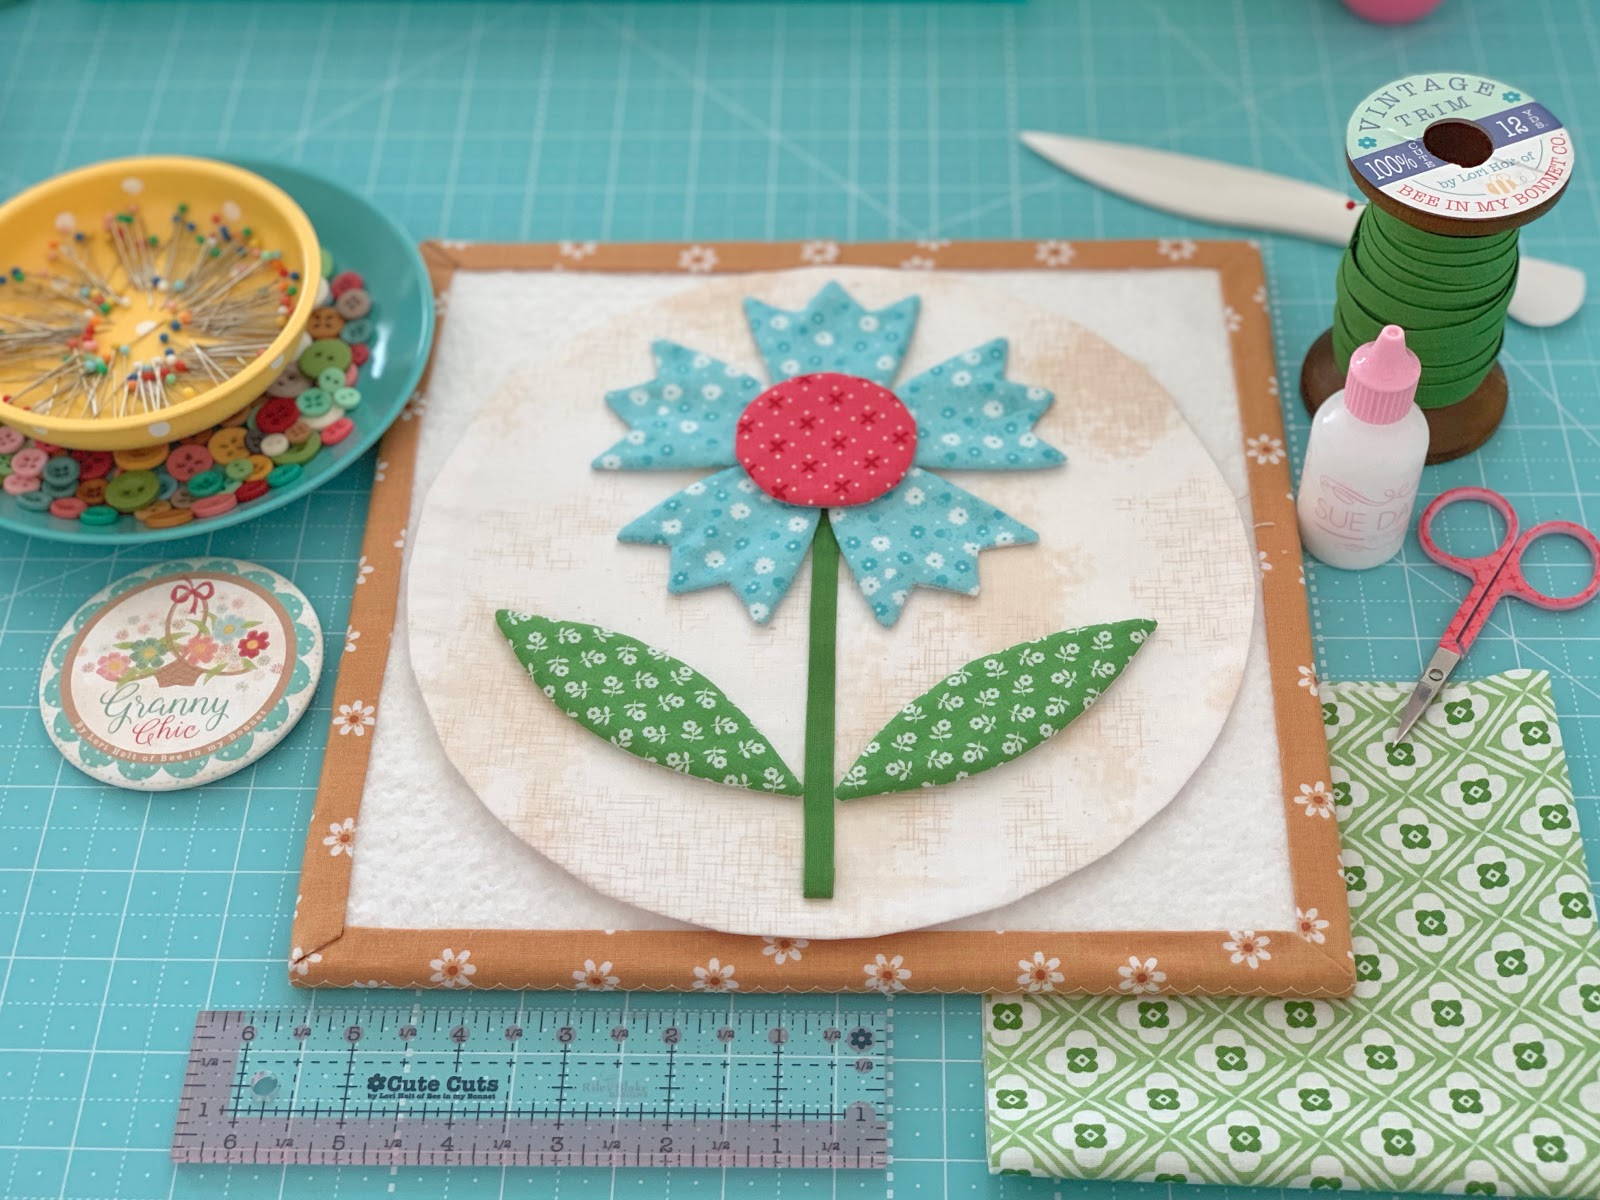
And just like that...
this cute little aqua flower is
ready for planting/applique.

Sew Simple Shapes for Block Sixteen:
7 - I 3
2 - I 6
1 - I 20
Cut your stem 5" long
and press one end under.

Sew...

Trim...
(no clipping needed)

Turn and shape!!
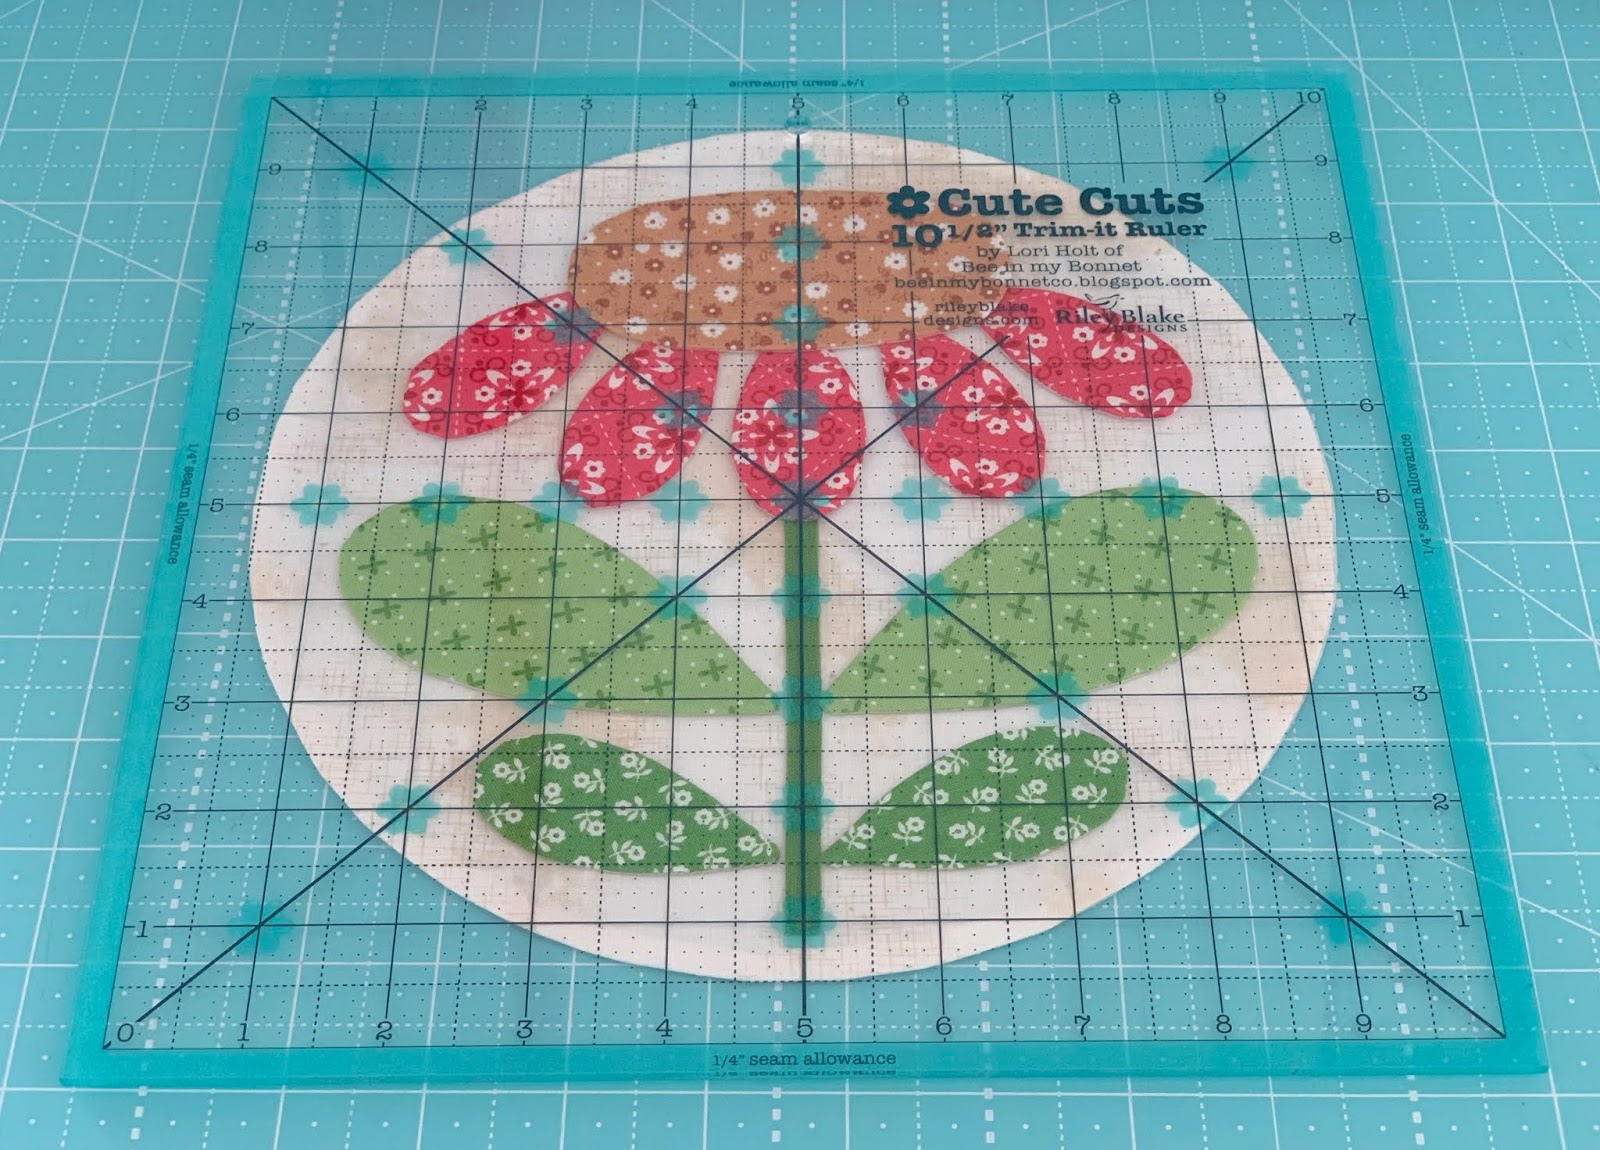
Under the ruler:)

Block Sixteen ready for applique:)

Please share your progress with us!
Oh my goodness!!!
I just can't tell you how much
I am loving this sew along!!
I could make flower blocks FOREVER

Thanks so much for
gardening with me this week:)
I'll meet you right back here
next week
to plant more flowers:)
xx
Lori
P.S. If you are just joining us
be sure to click on the links below
for the previous Granny's Garden
posts and tutorials.
1. Bee Prepared
2. Week One
3. Week Two
4. Week Three

3 comments:
Love it, have what I need to get started, just have to start. The fabric is beautiful.
Lori I am so enjoying this sew along. I never really thought I could do applique this way, I always did raw edge with heat and bond. I am not hand sewing the appliqué this time, but if I do another one I just might try the hand applique.n Thanks so much for this lovely quilt!!
Wow, it`s abaolutely beautiful.Great tutorial.Thanks!!
Post a Comment