

Welcome back!
It's week two of the

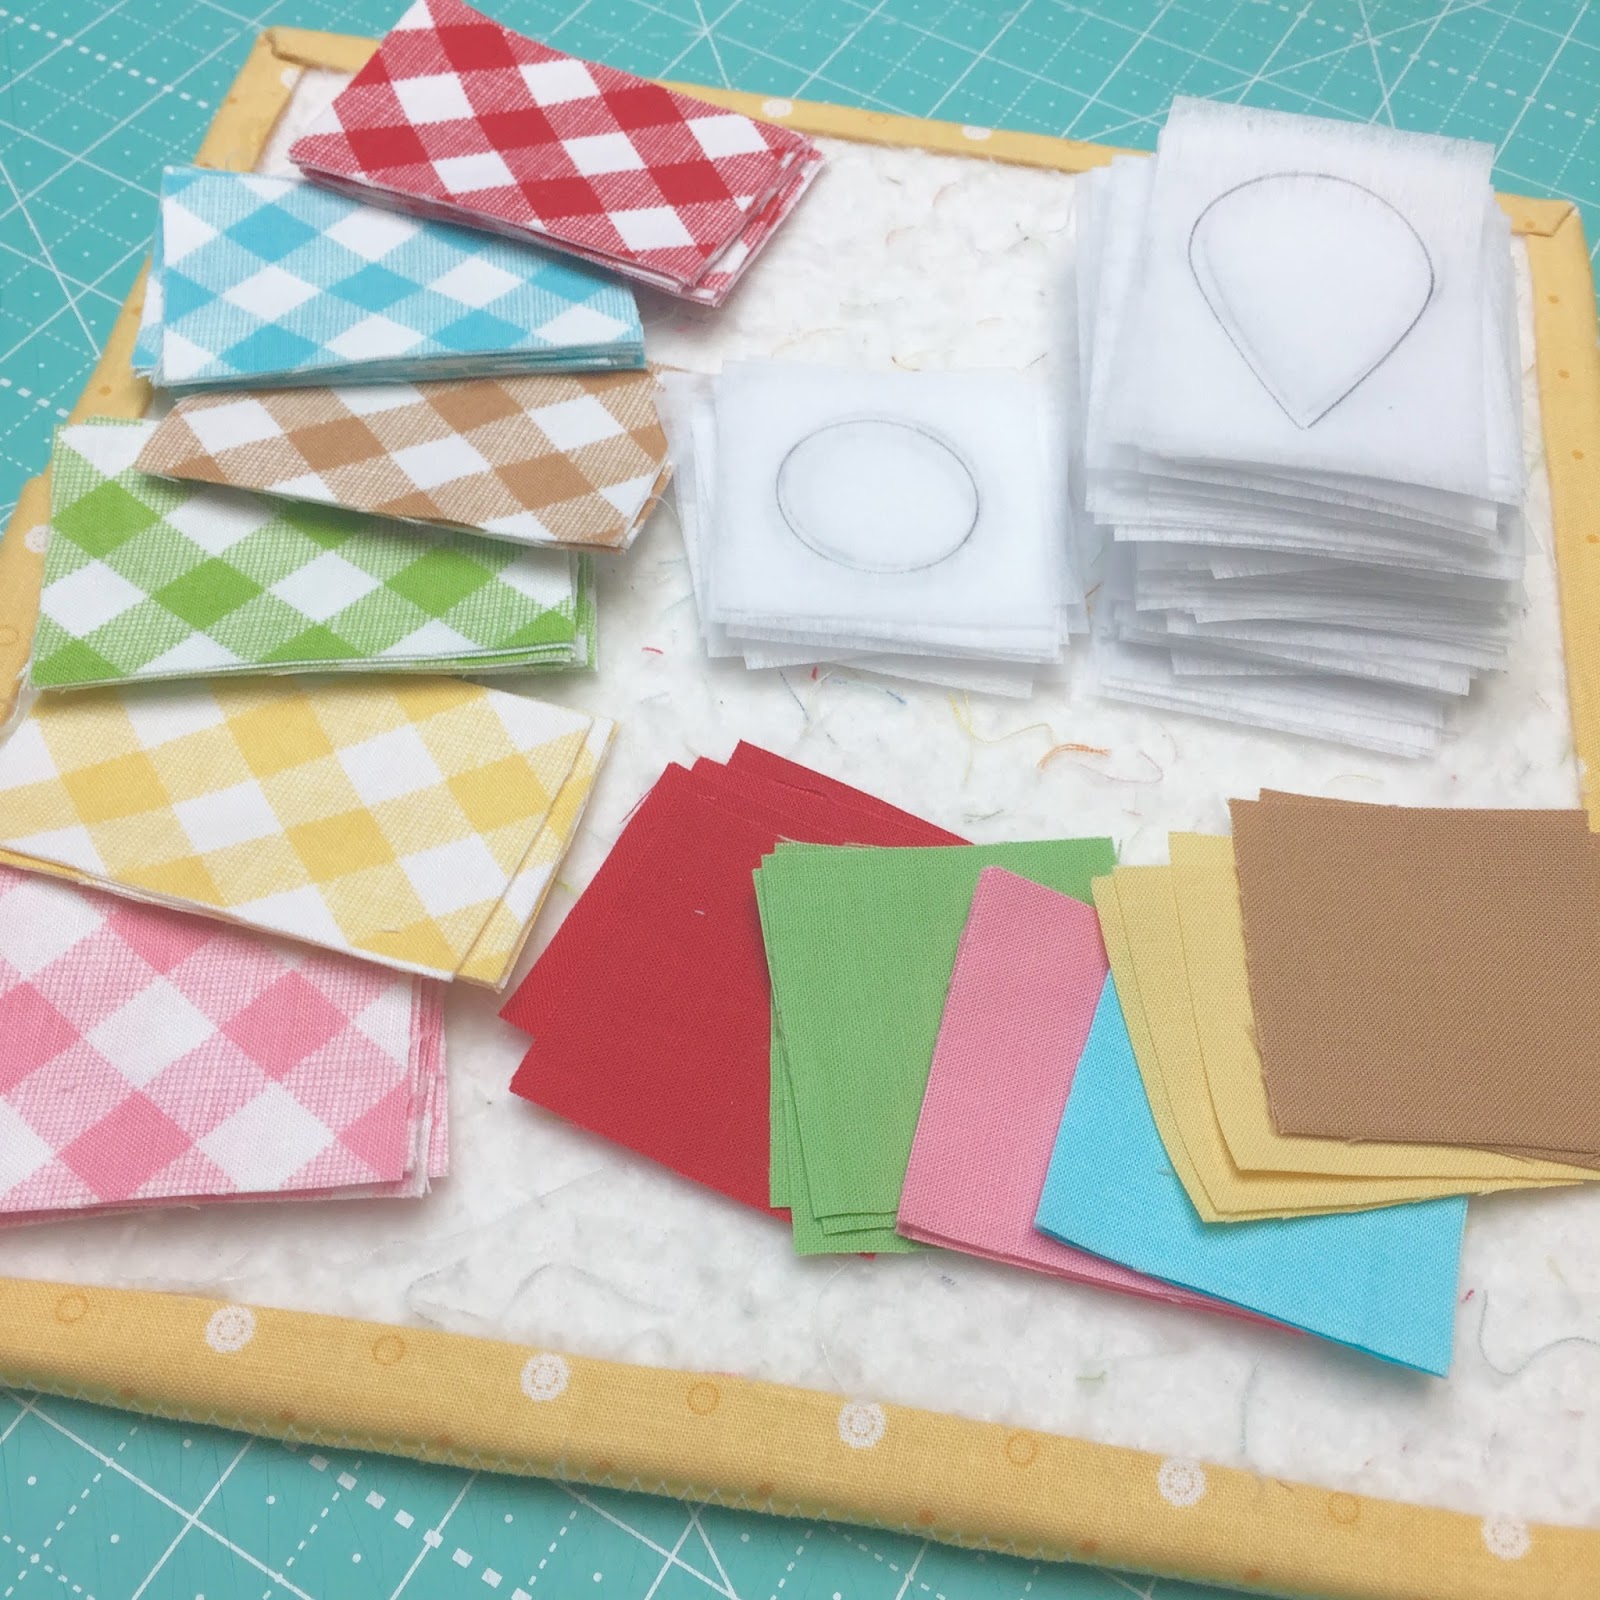
We are making the Sweetie Pie Quilt
to download the free pattern

The fabric collection that
we are using is

And we are using the new
to cut the slices
for each pie block...

And the
for the appliqués:)
If you are just joining us...
Look on the right sidebar
of my blog here
to see all of the
Sweetie Pie Sew Along
blog posts and tutorials.

Last week I showed you
how to make your
Pie Blocks
and get them ready to fill
with the fruit appliqués.

This week we will make
Cherry Pies!

to view part two...
where I show you how to
prepare your appliqué shapes.

Here are a few close up
photos of the process.
Tracing...

Sewing and trimming...

And shaping.
is a great tool for
helping when getting
your shapes smooth.
to review the
super duper close up
of me using it during the
last sew along as well!

This is the
that I use for my appliqués.

Trace your embroidery
onto your background square first
so that you know where to
place the cherries and leaves.
Your embroidery guide
is in the pattern:)
Use a light box or a sunny window
when tracing all embroidery patterns.

See how easy they are to place?

If you are still worried
about placement...
simply put the
C-15 Sew Simple Shape
on top to make sure it will
fit nicely inside
the size circle that it
will eventually become:)

Before glue basting or
pin basting your leaves...
make sure to trace your
embroidery lines onto them.
Now you're all ready for
appliqué!

I use the new
to match all of the appliqués.
You can use it for
machine appliqué as
well as hand appliqué.

After your appliqué and
embroidery is complete...
Use the C-15 Sew Simple Shape
to make your cherry block into a circle
just how I showed you in the video...
and fill your pie!
Take a photo and use the hashtag
#CherryPieBlock
when posting on
*NOTE*
There are 2 Cherry Pie Blocks
in the quilt
so you can make both
of them this week:)

I use the Bee in my Bonnet
for the embroidery.

I use a backstitch and
all 6 strands of the brown
for the stem and also
the green for the leaves:)
If you are a beginner...
I have a four part
Beginning Embroidery Tutorial
on You Tube that is very detailed.
Click on each to view them:)

I also talked about the daisies in the video.
You can do these appliqués anytime you want during the sew along.

I traced all of mine at the same time...
So that I can do them
as time allows each week.

For the video I prepared
2 daisies to show you...

One with 6 petals just like the pattern...
and also in the finished quilt hanging behind Cindy and I during filming...

And one with 5 petals.
You choose which one that
you want to do for your quilt:)

I'm going to have
so much fun making
gingham daisies
each week!!!
These first two weeks
have been a lot of prep and
YaY!
to you for all that you have done.
It makes me so happy
that we are all doing this together:)
!
Once your pies are all ready...
it will just be a matter of
filling them with fruit each week.
The sew along will go for
8 weeks so don't stress...
we have plenty of time.
Just have fun
making pies with me:)
Next week we will be making
Lemon and Lime Pies!
xx
Lori

1 comment:
This is my favorite SAL thus far! Adding applique changes it up a bit, so portable and fun. I do needle turn so it takes me an extra couple minutes but I'm keeping up just fine :) Oh!! And I owe you a big thank you for taking time to make your hand embroidery videos! They are just what I needed to move into another quilt-y skill. Hugs!! Amie :)
Post a Comment