"HOME and HEARTH"

Welcome to week six of the
PRIM SEW ALONG!

We are making the
PRIM QUILT
72" x 90"


And my newest fabric collection
PRIM
to make the quilt:)
I have already posted the
post which details all of the supplies
for the sew along and how it works.
I have also given the link there
for the free PDF Download
of the Sew Along Guide
to read that post.

So far we have made
"PATRIOTISM and INDUSTRY"
for the first week blog post

"JOY and CONTENTMENT"
for that blog post

"PEACE and PLENTY"
for that blog post

KINDNESS and GENEROSITY
for that blog post

And last week we made the block
"BEAUTY and SIMPLICITY"
for last week's post
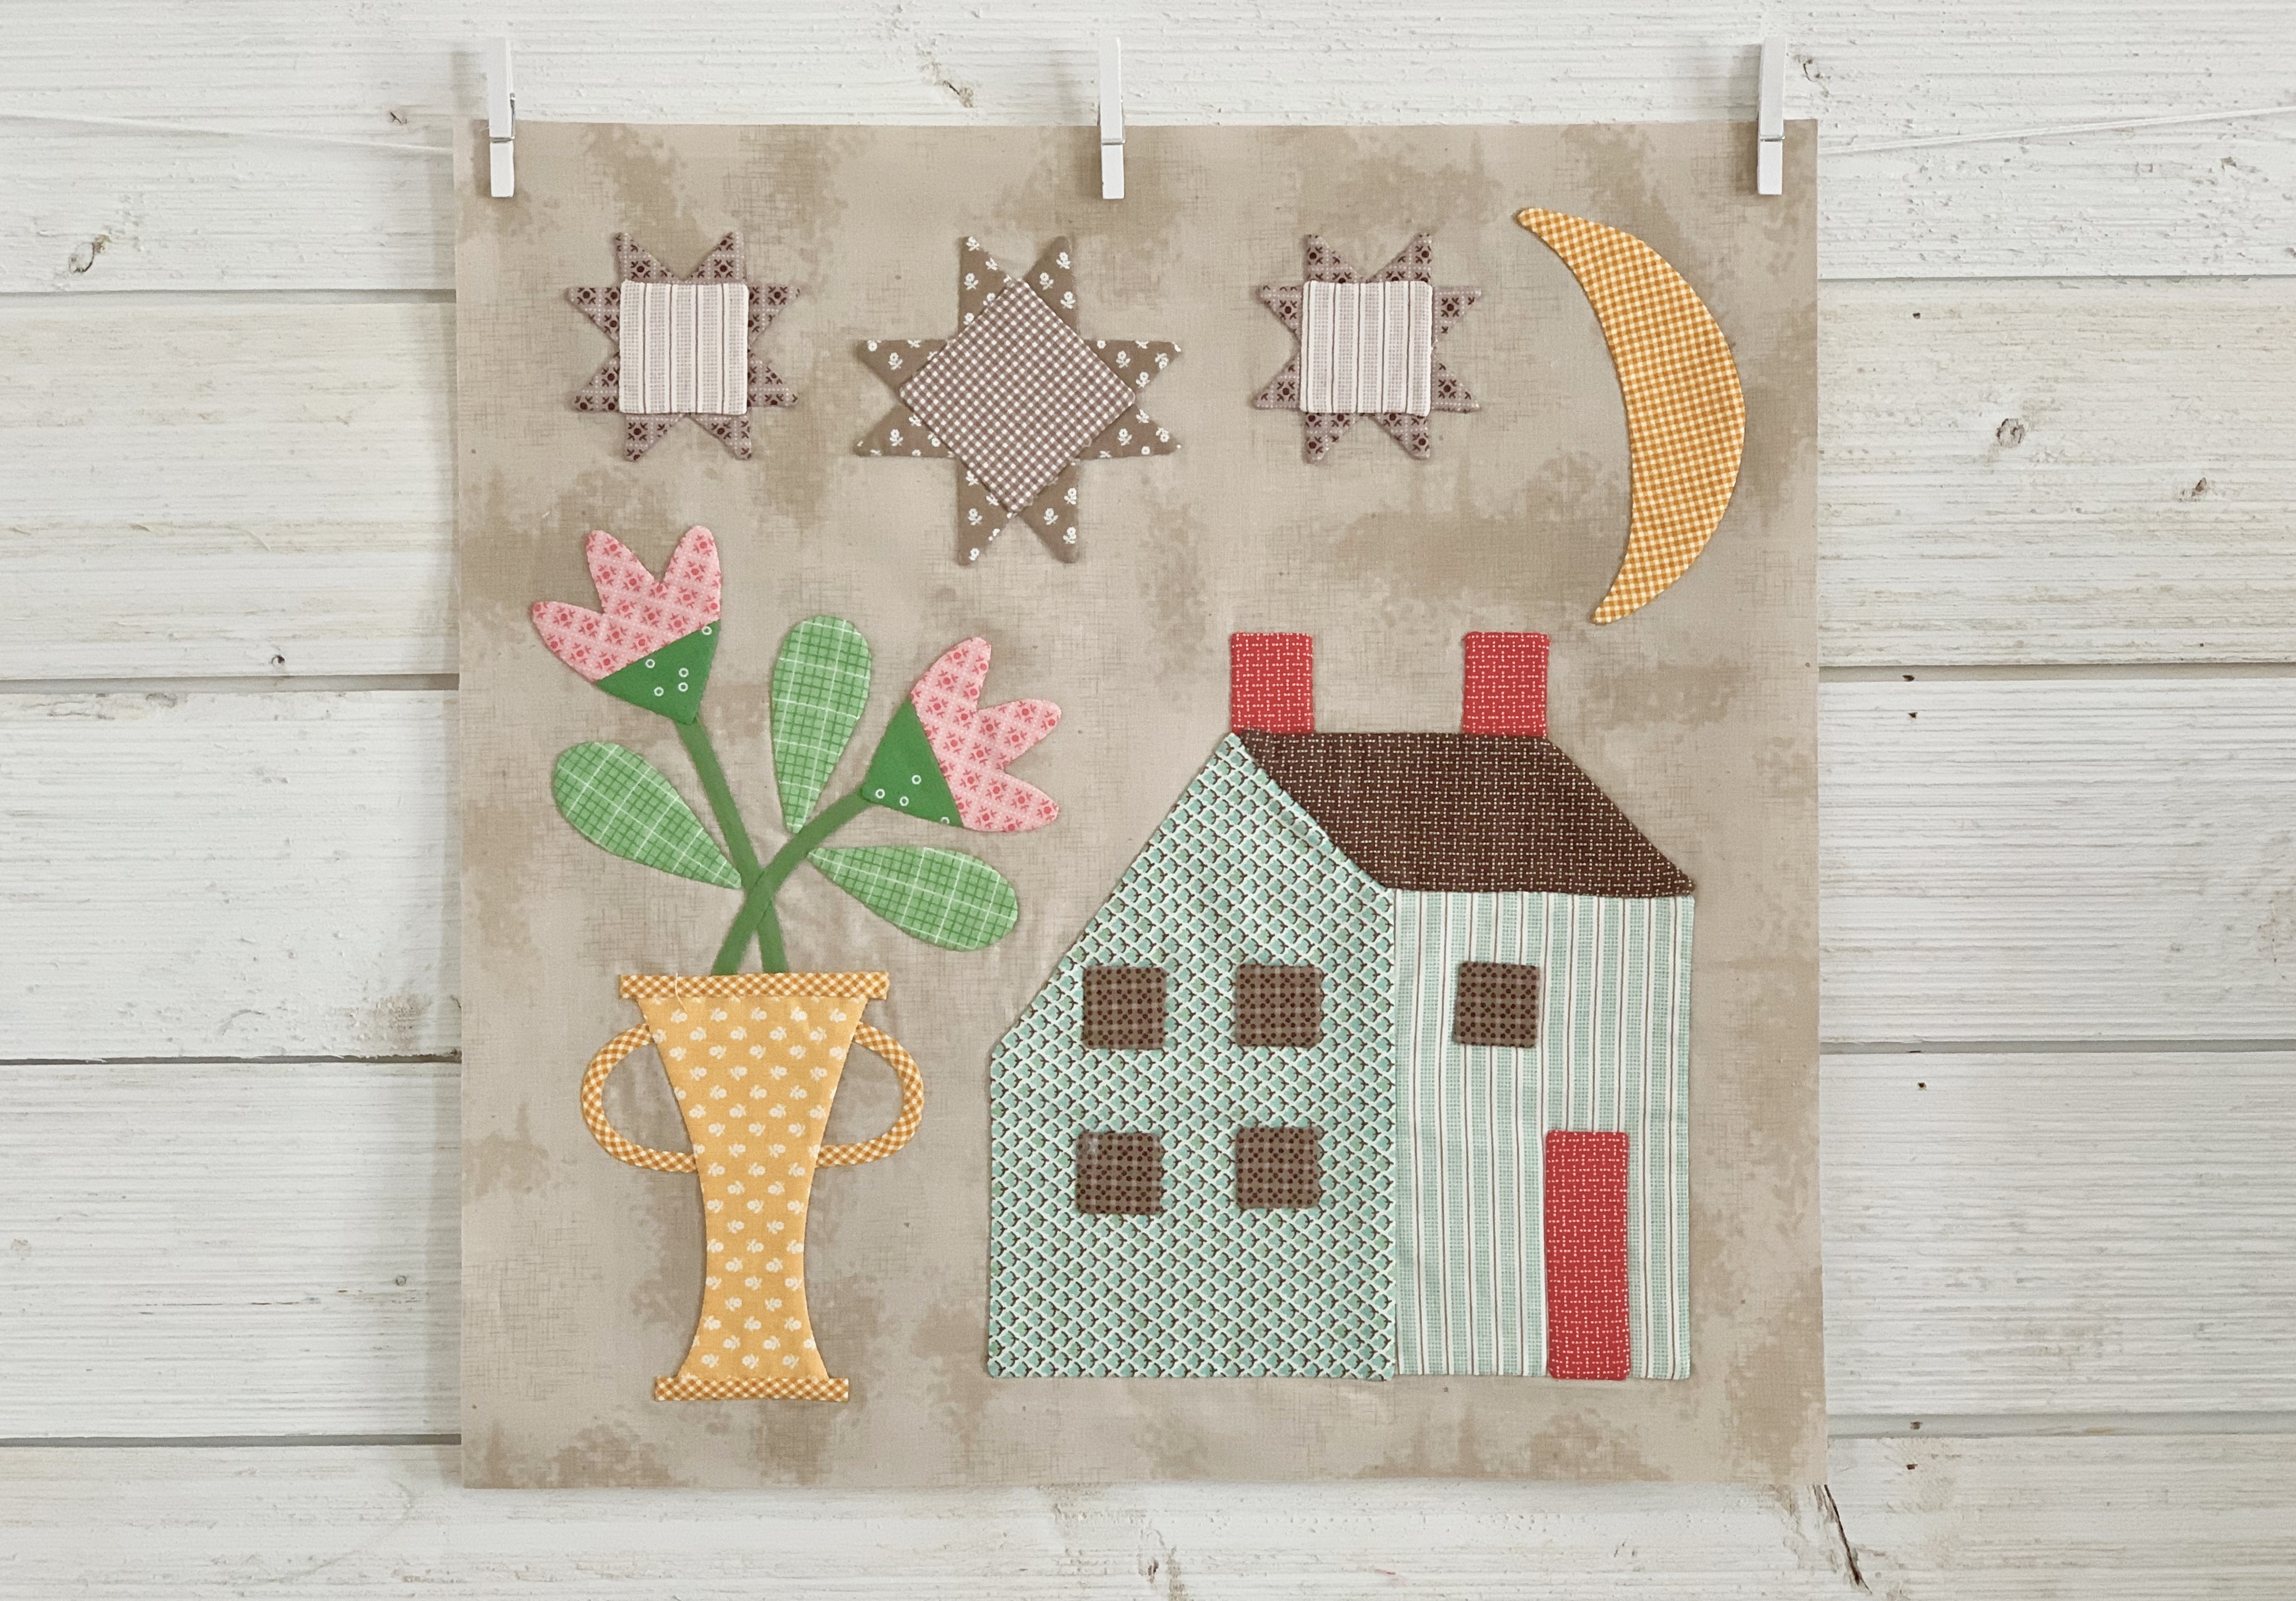
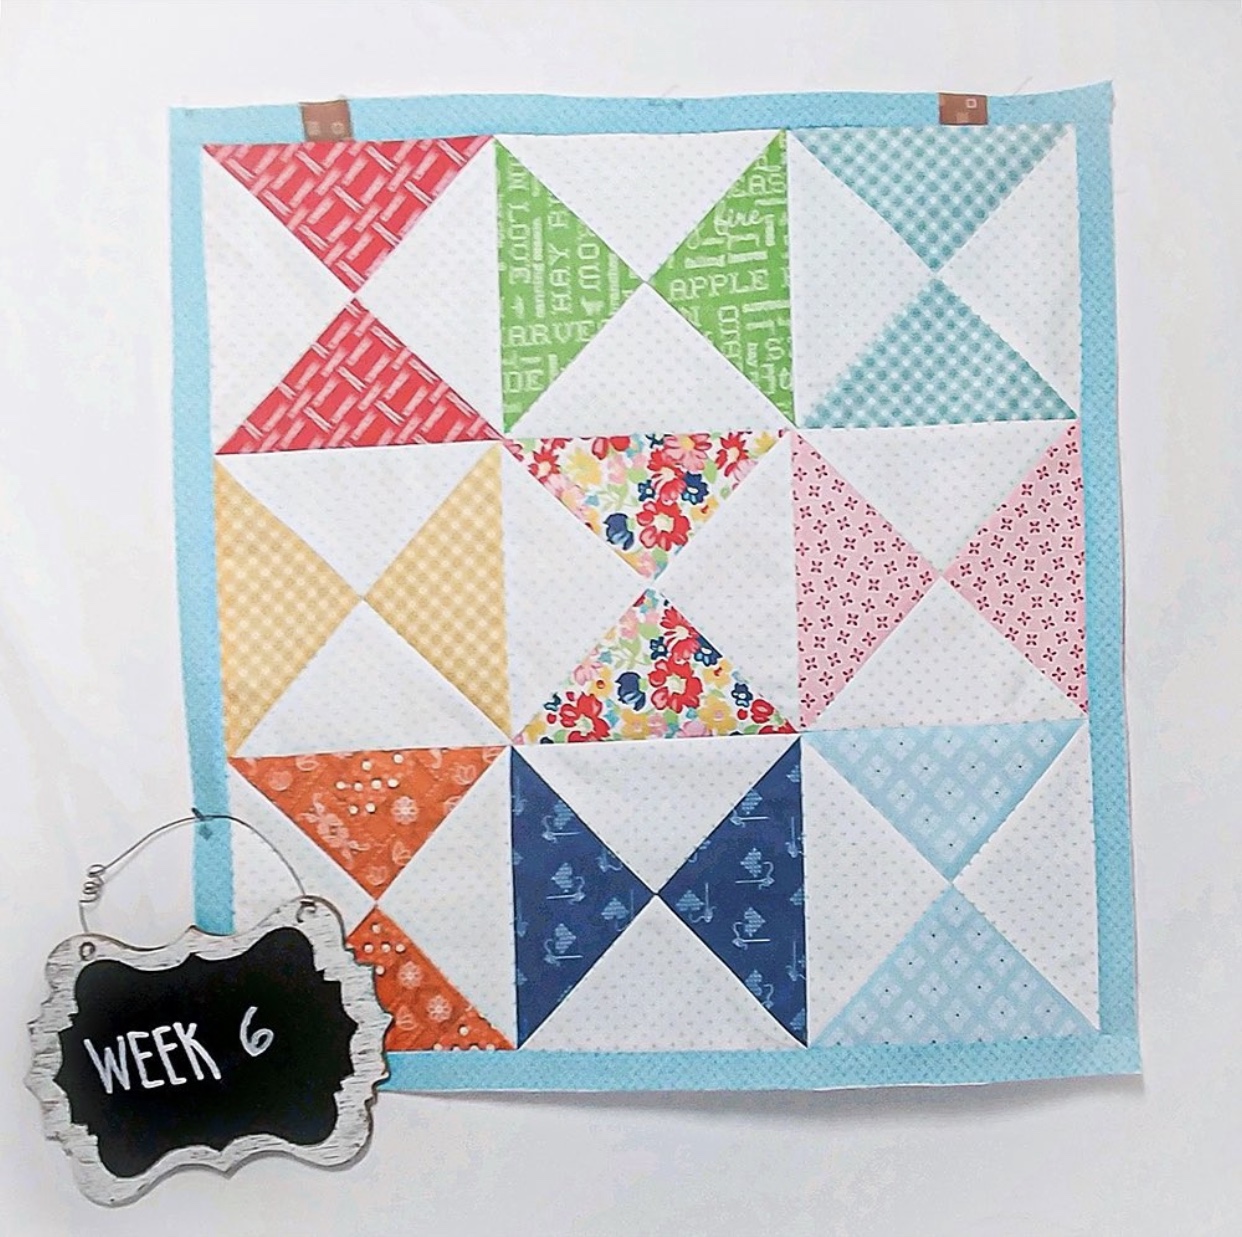
This week we are making block 6
"HOME and HEARTH"

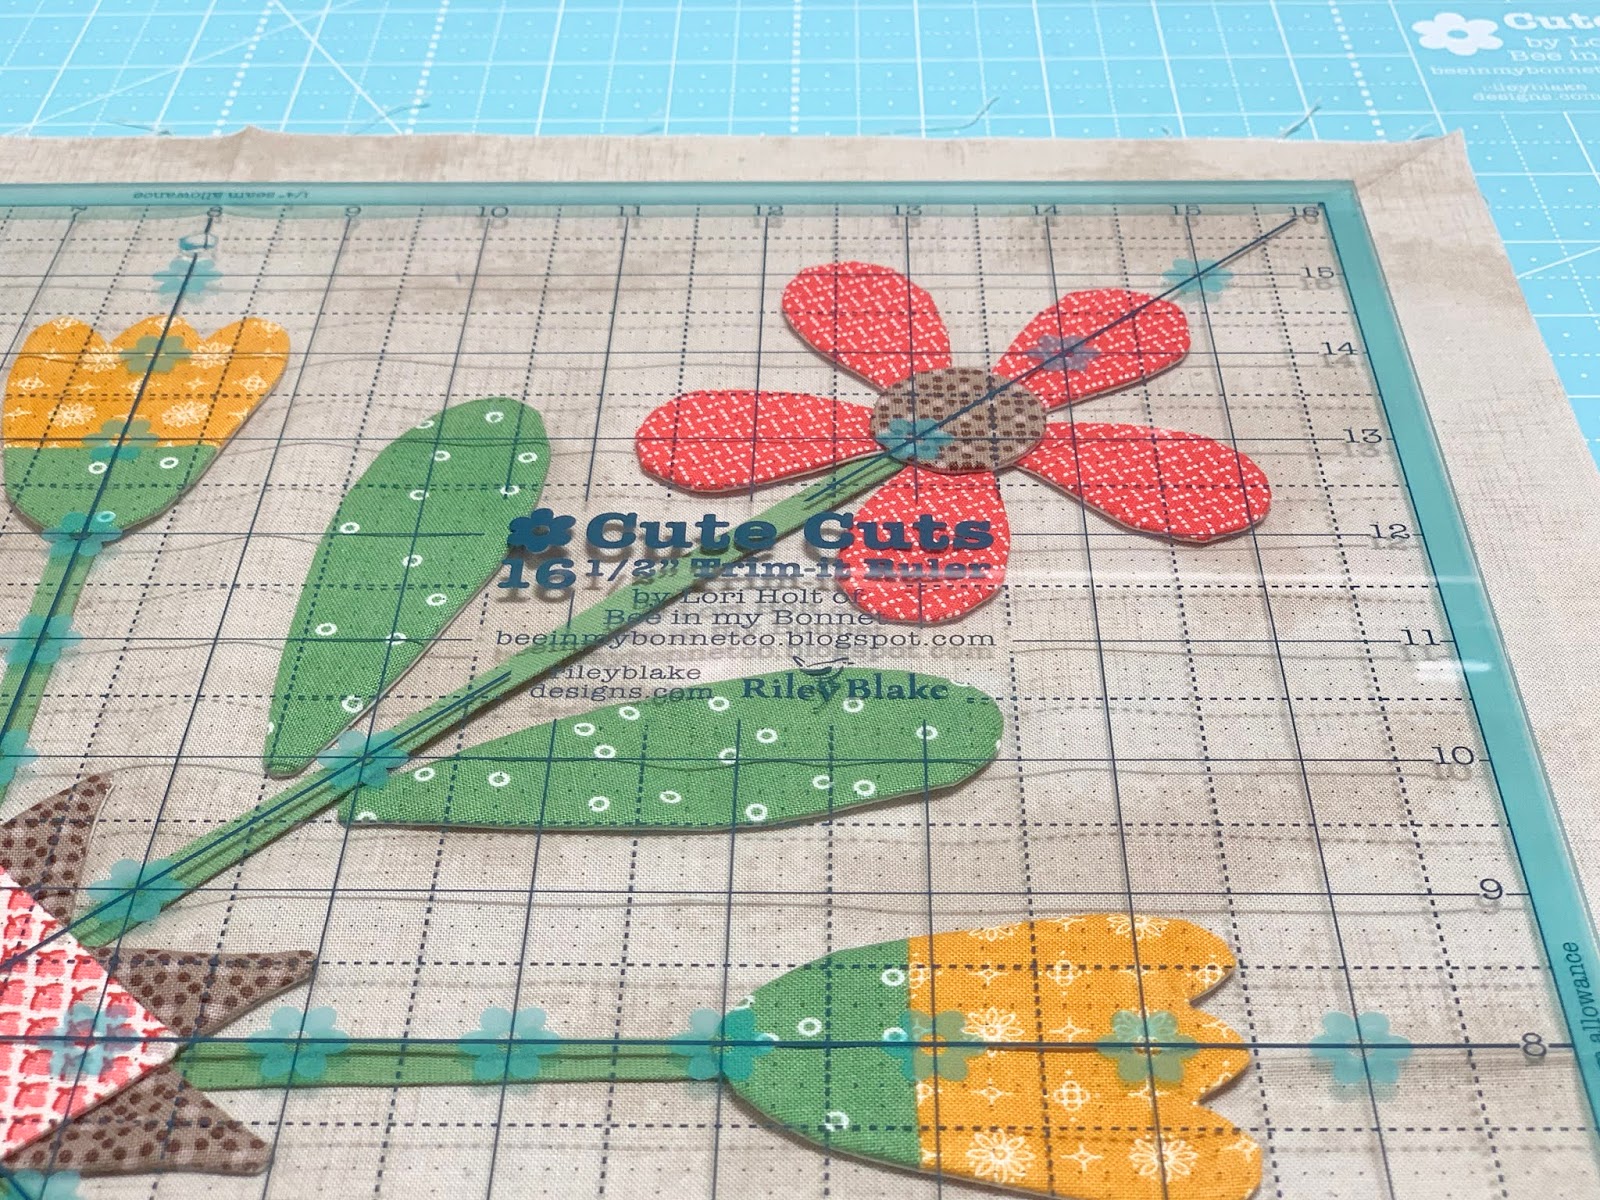
Prim Sew Simple Shapes
needed for this week are:
1 - K3
1 - K4
1 - K5
8 - K8
1 - K12
1 - K13
2 - K14
2 - K15
1 - K36
3 - K43
1 - K49
2 - K54
1/4" strips needed:
Flower stems - cut two 4 1/2" long
and press slightly curved
1/4" Vase Handles - cut two 3 1/2" long
and press them super curvy
1/4"Basket Trim (Bottom) -
should measure 2 1/4" long
after pressing both ends under.
*Following is Optional...
(I decided to add this just now!)
1/4" Basket Trim (top)-
should measure 3 1/4" long
after pressing both ends under.
*NOTE*
you will need to trace the roof in reverse
for NEXT week's block not this one:)

door...2 chimney and 5 windows.
Use the dashed lines on K8
to mark your stitching lines.

You will need to sew these to fabrics together for the flowers before you sew the K54 SSShape.
Don't forget to press your seams open:)
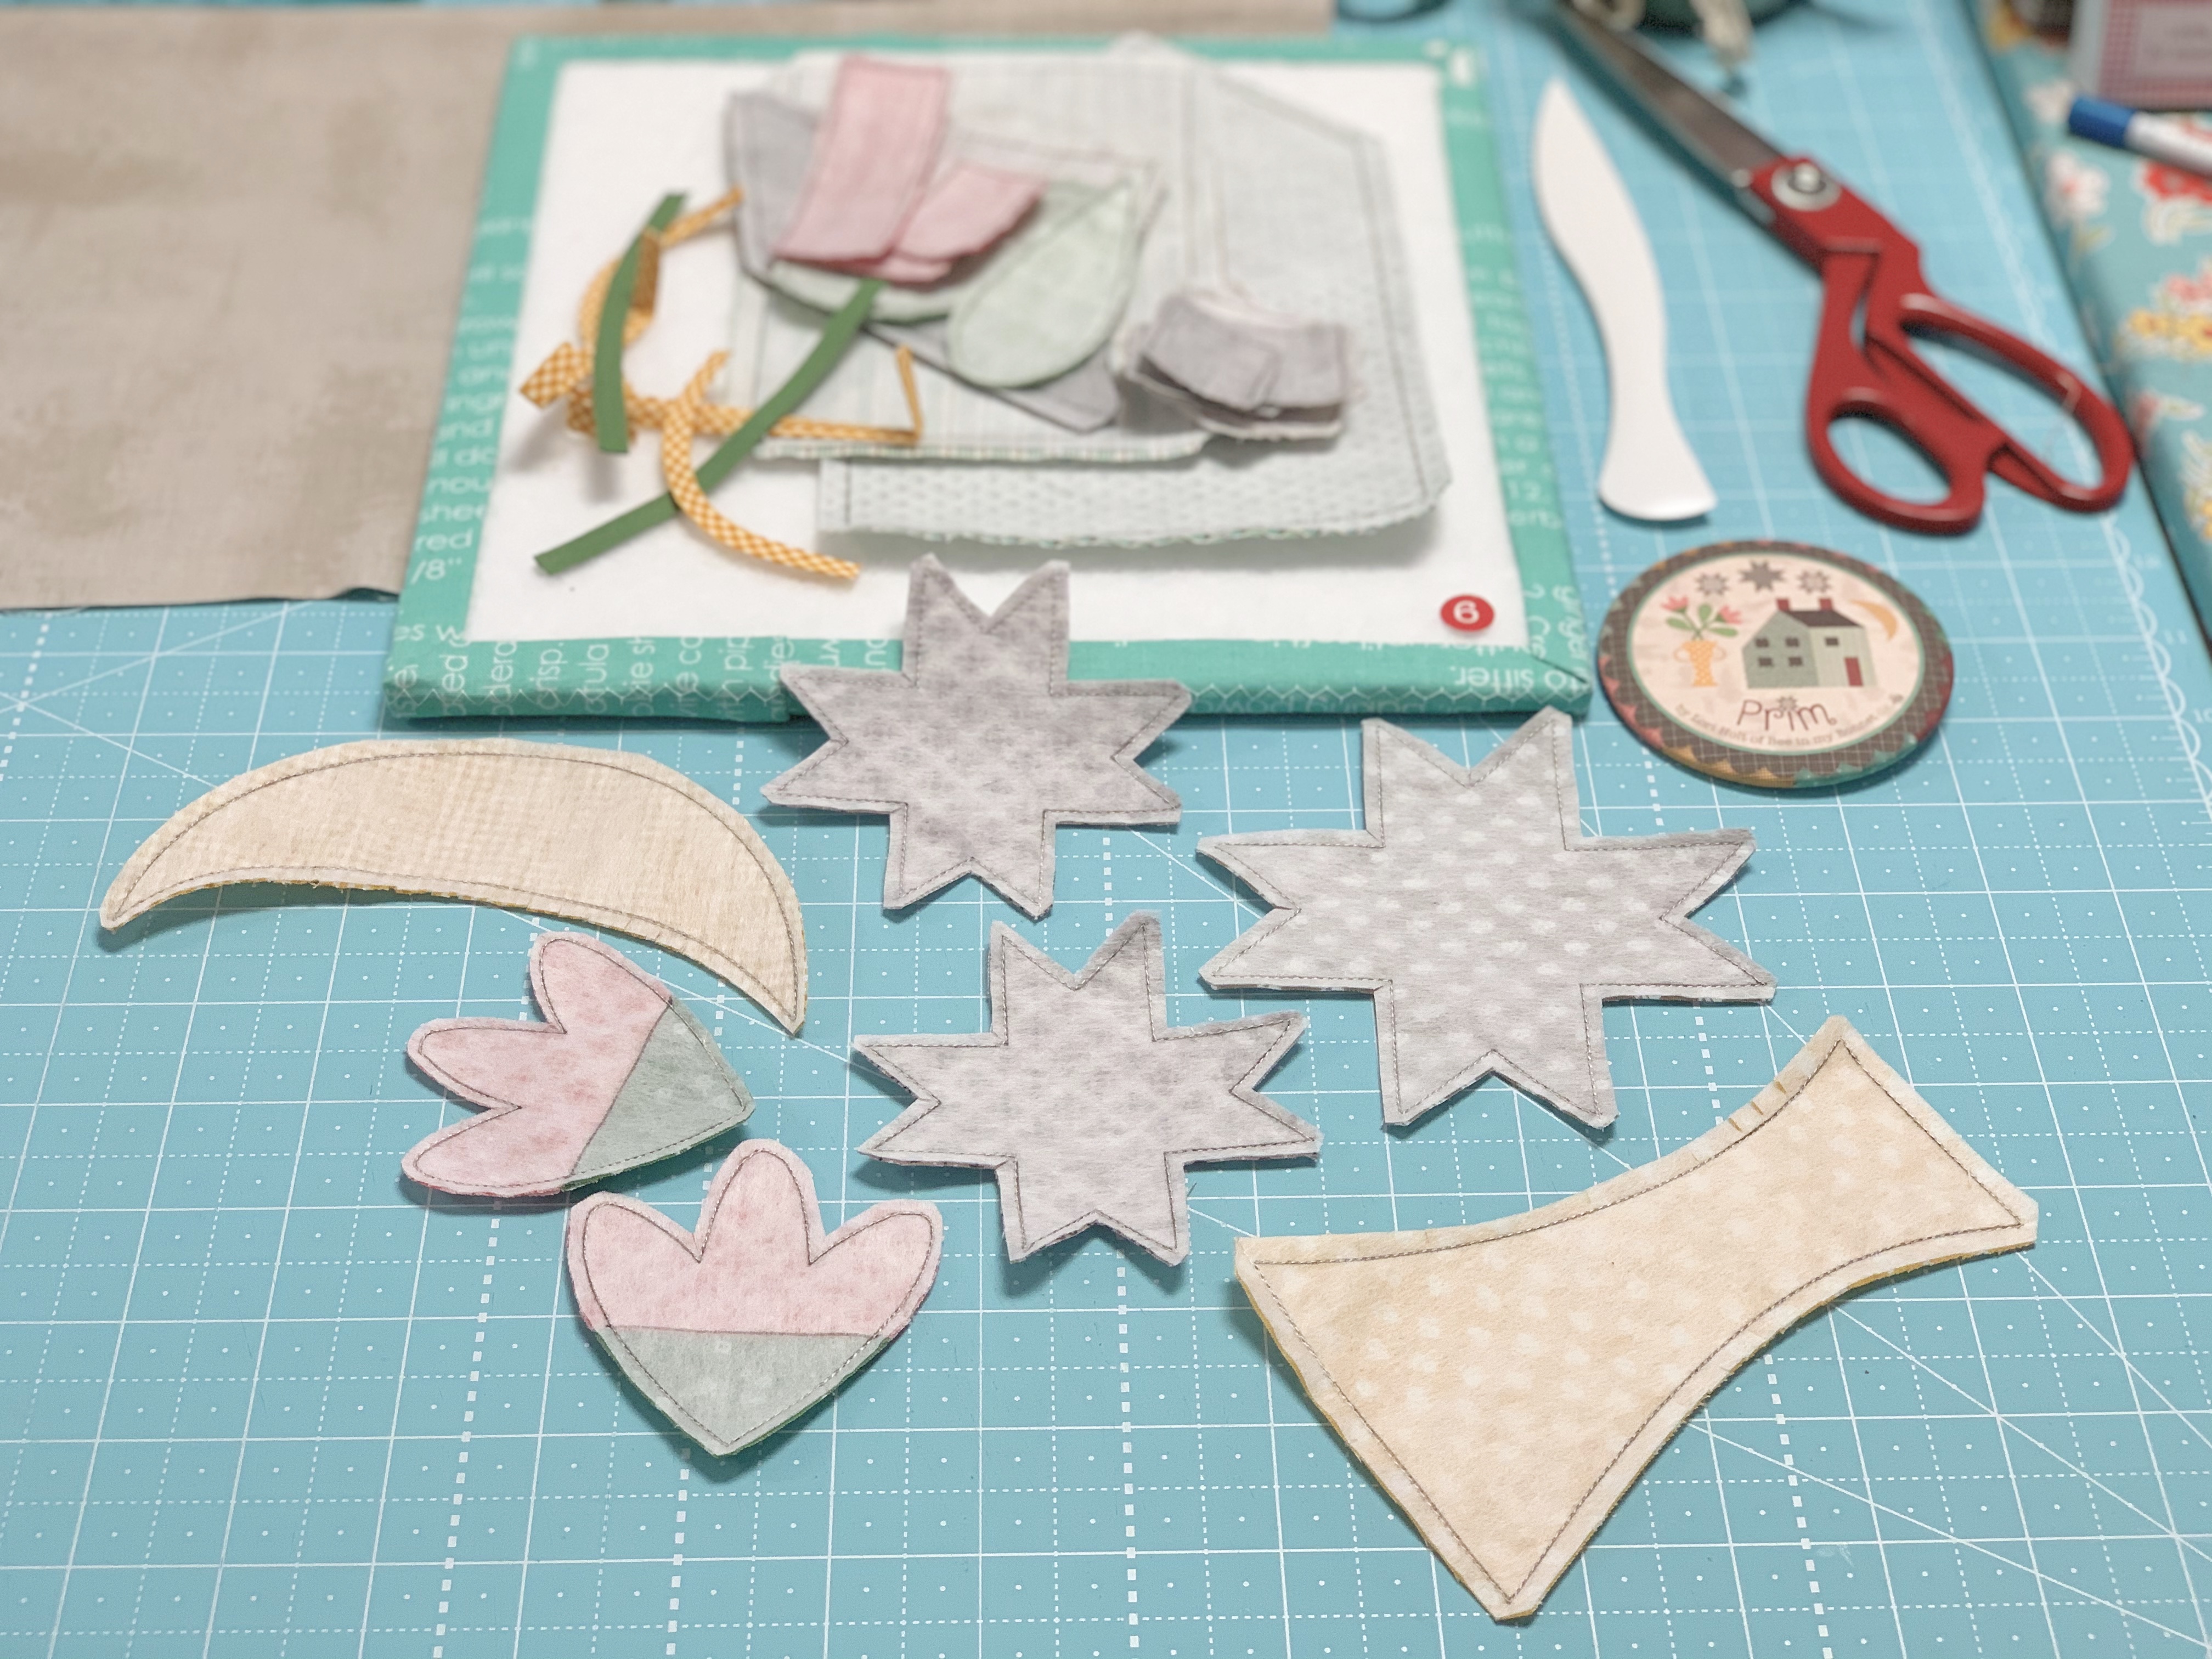
After sewing you will need to clip the inner curves and cleavage areas in these appliqués before turning.

All shaped up and ready for pinning!


I pinned the ticking print shape first...then overlapped the side with the windows a bit and then added the roof over top.

Use your ruler and my photos for placement:)


All ready for applique!!

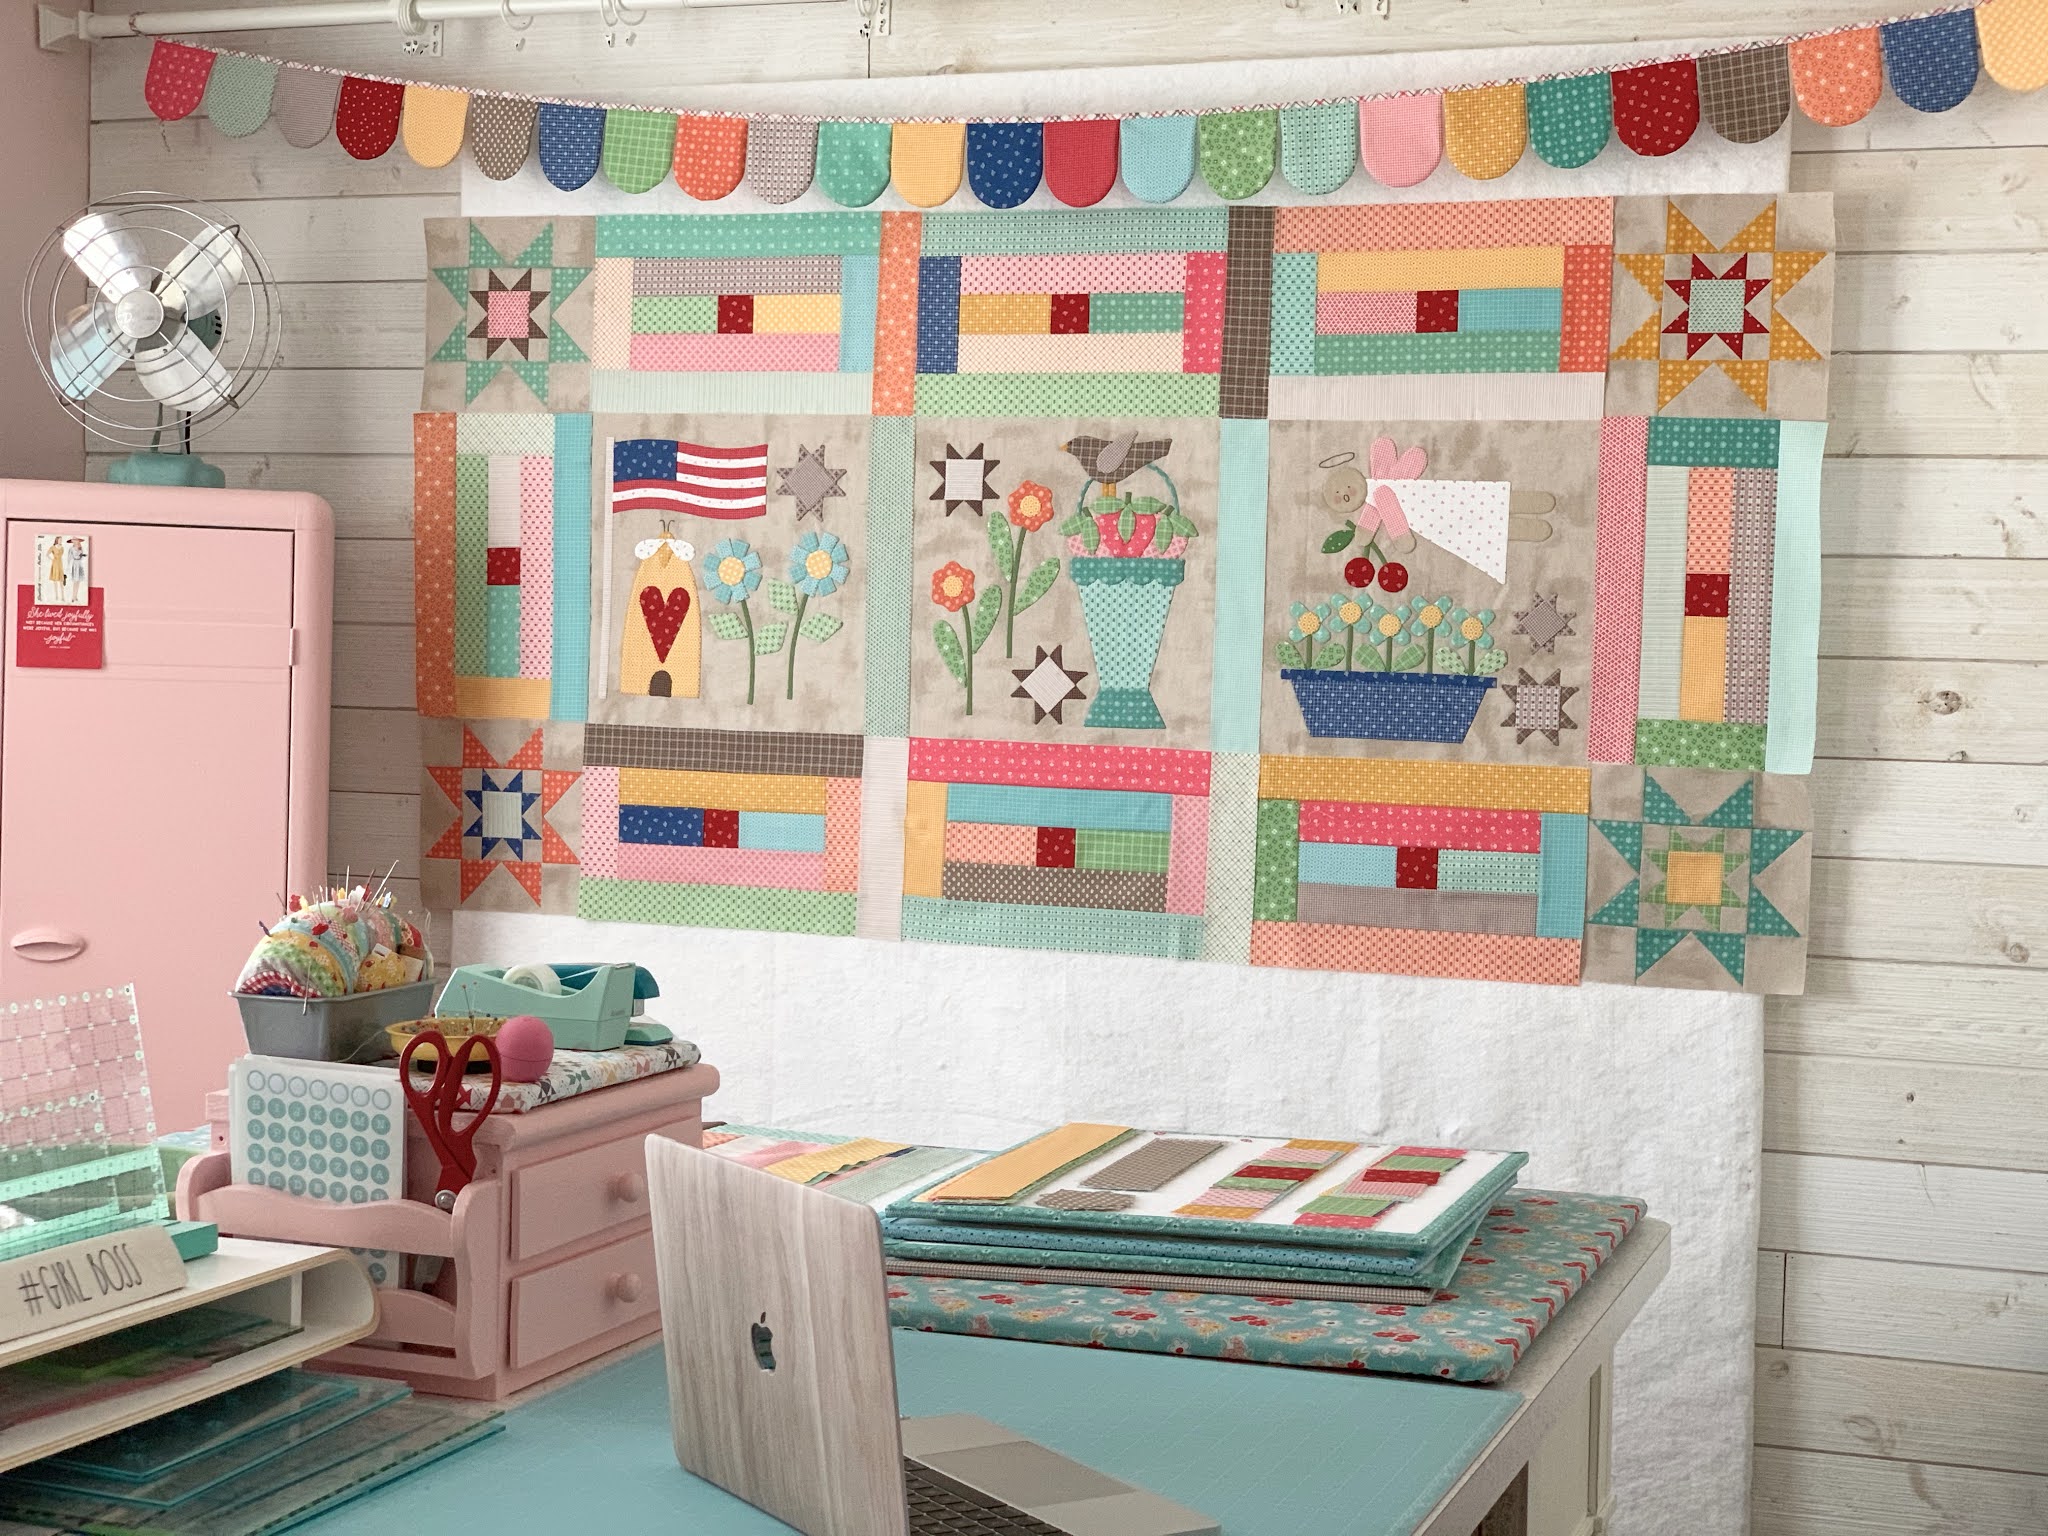
This is one of my favorite
blocks in the quilt...
I even used it in my PRIM fabric logo.
It's probably because
I'm partial to house blocks:)

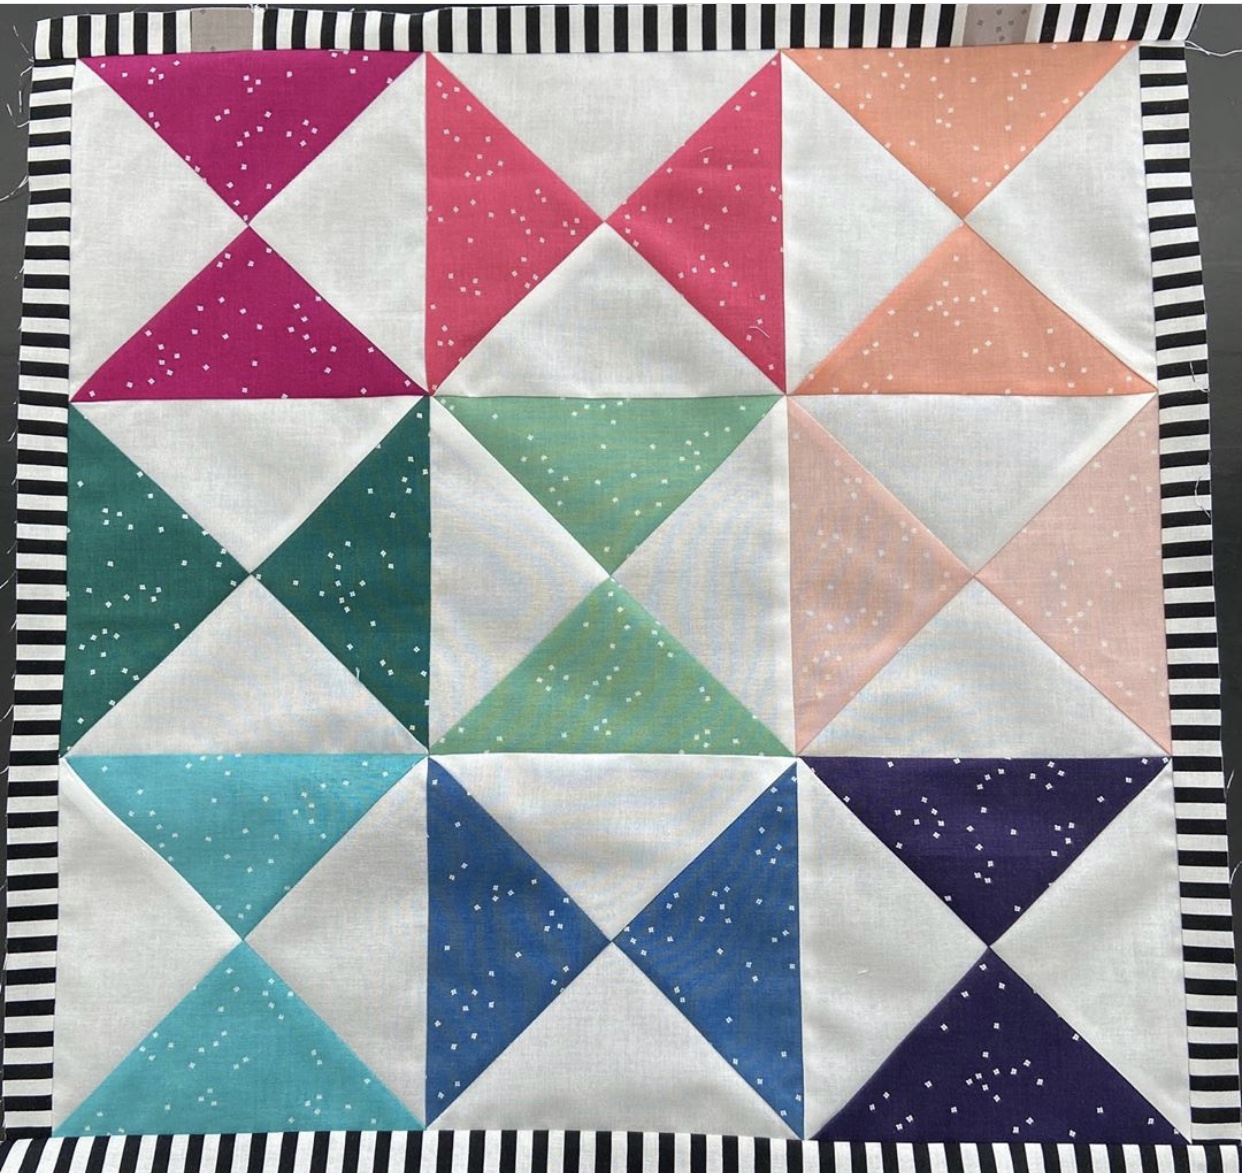
When you have 6 blocks completed
you can go ahead and sew your
second row together and then
add it to the first row!
Don't forget that the
Prim Quilt layout and how
it all goes together is on
page 14 of the sew along guide:)

Keep the photos coming on your social media...we all love them!!!
I'll chat with you next week
during the next tutorial:)
xx
Lori