

Hello and welcome to the


Grab your book


And your Farm Girl Vintage Fabric...

And let's make some Farm Girl Blocks!

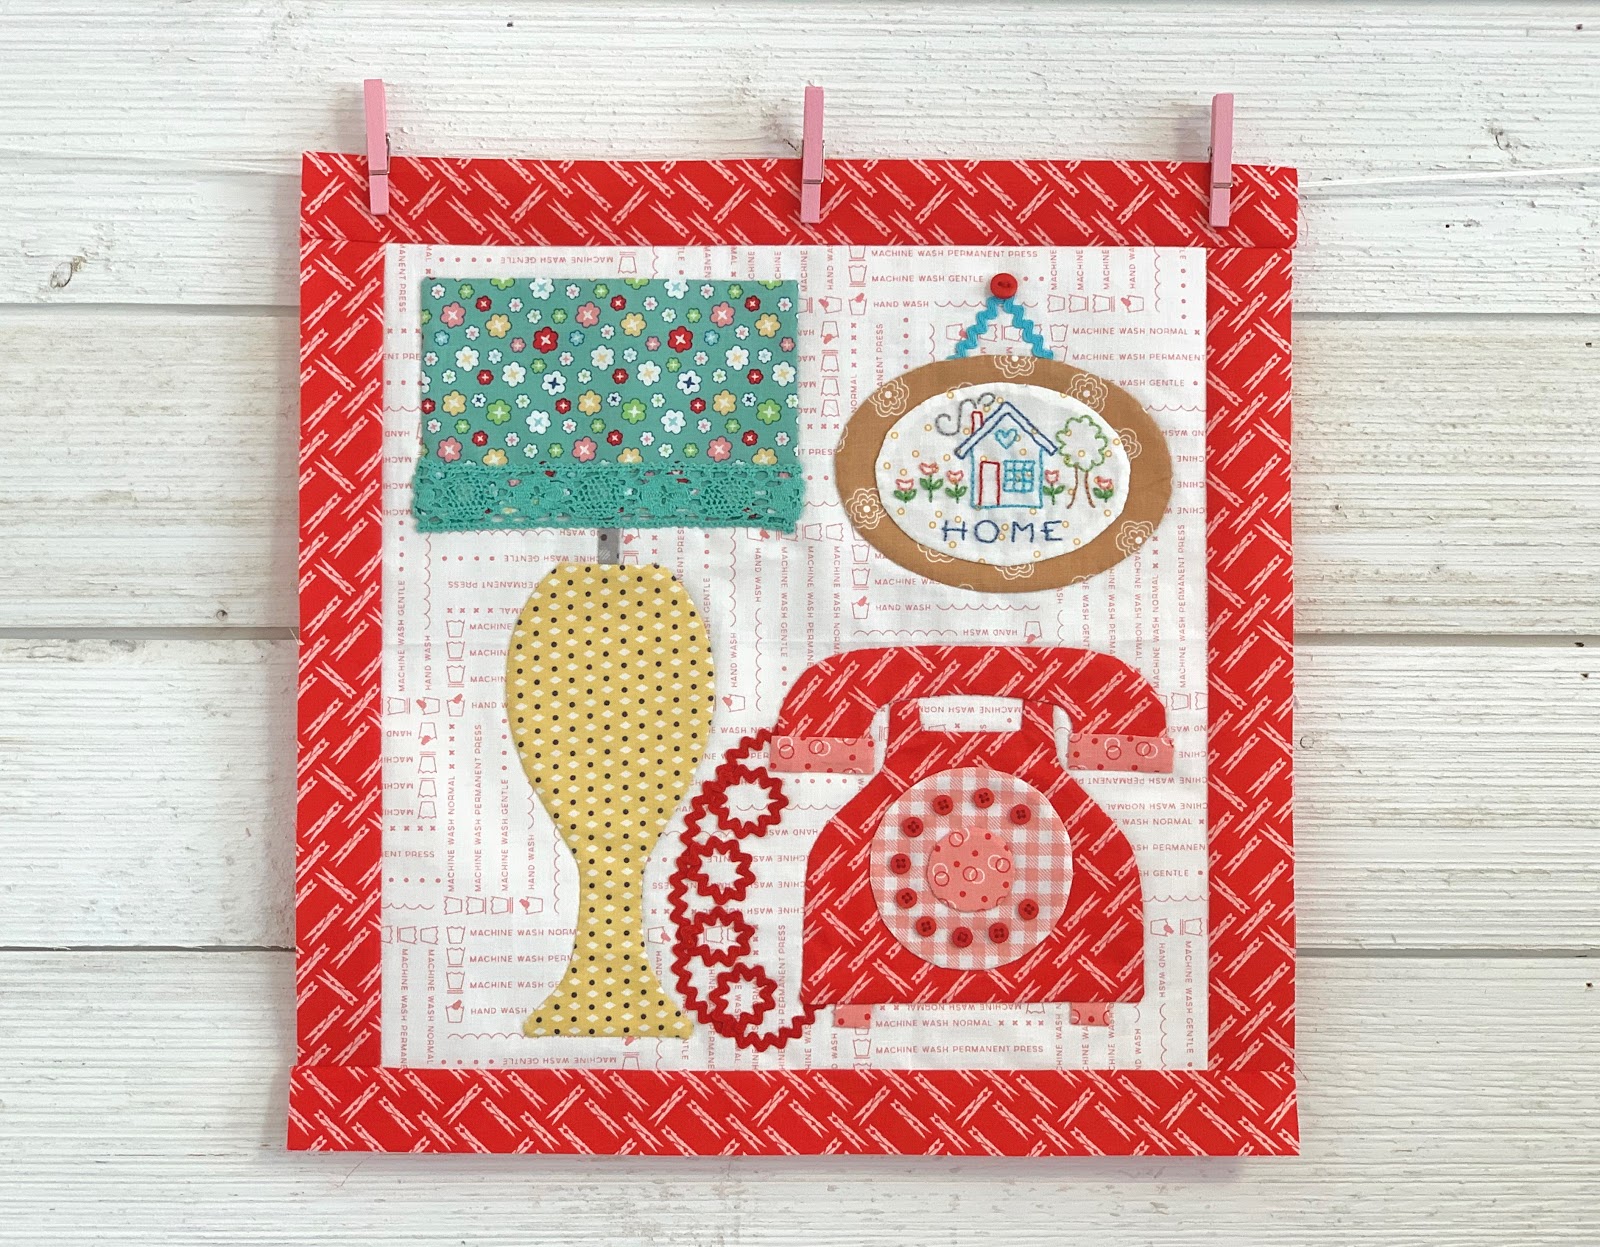
Our first Farm Girl Block
for this week is
QUILTING DAY
on page 112 of the book.

I love this scrappy happy block ...
it has so many possibilities!
I used it for several projects in the book:)

I made a pin pillow using the
6" block size...

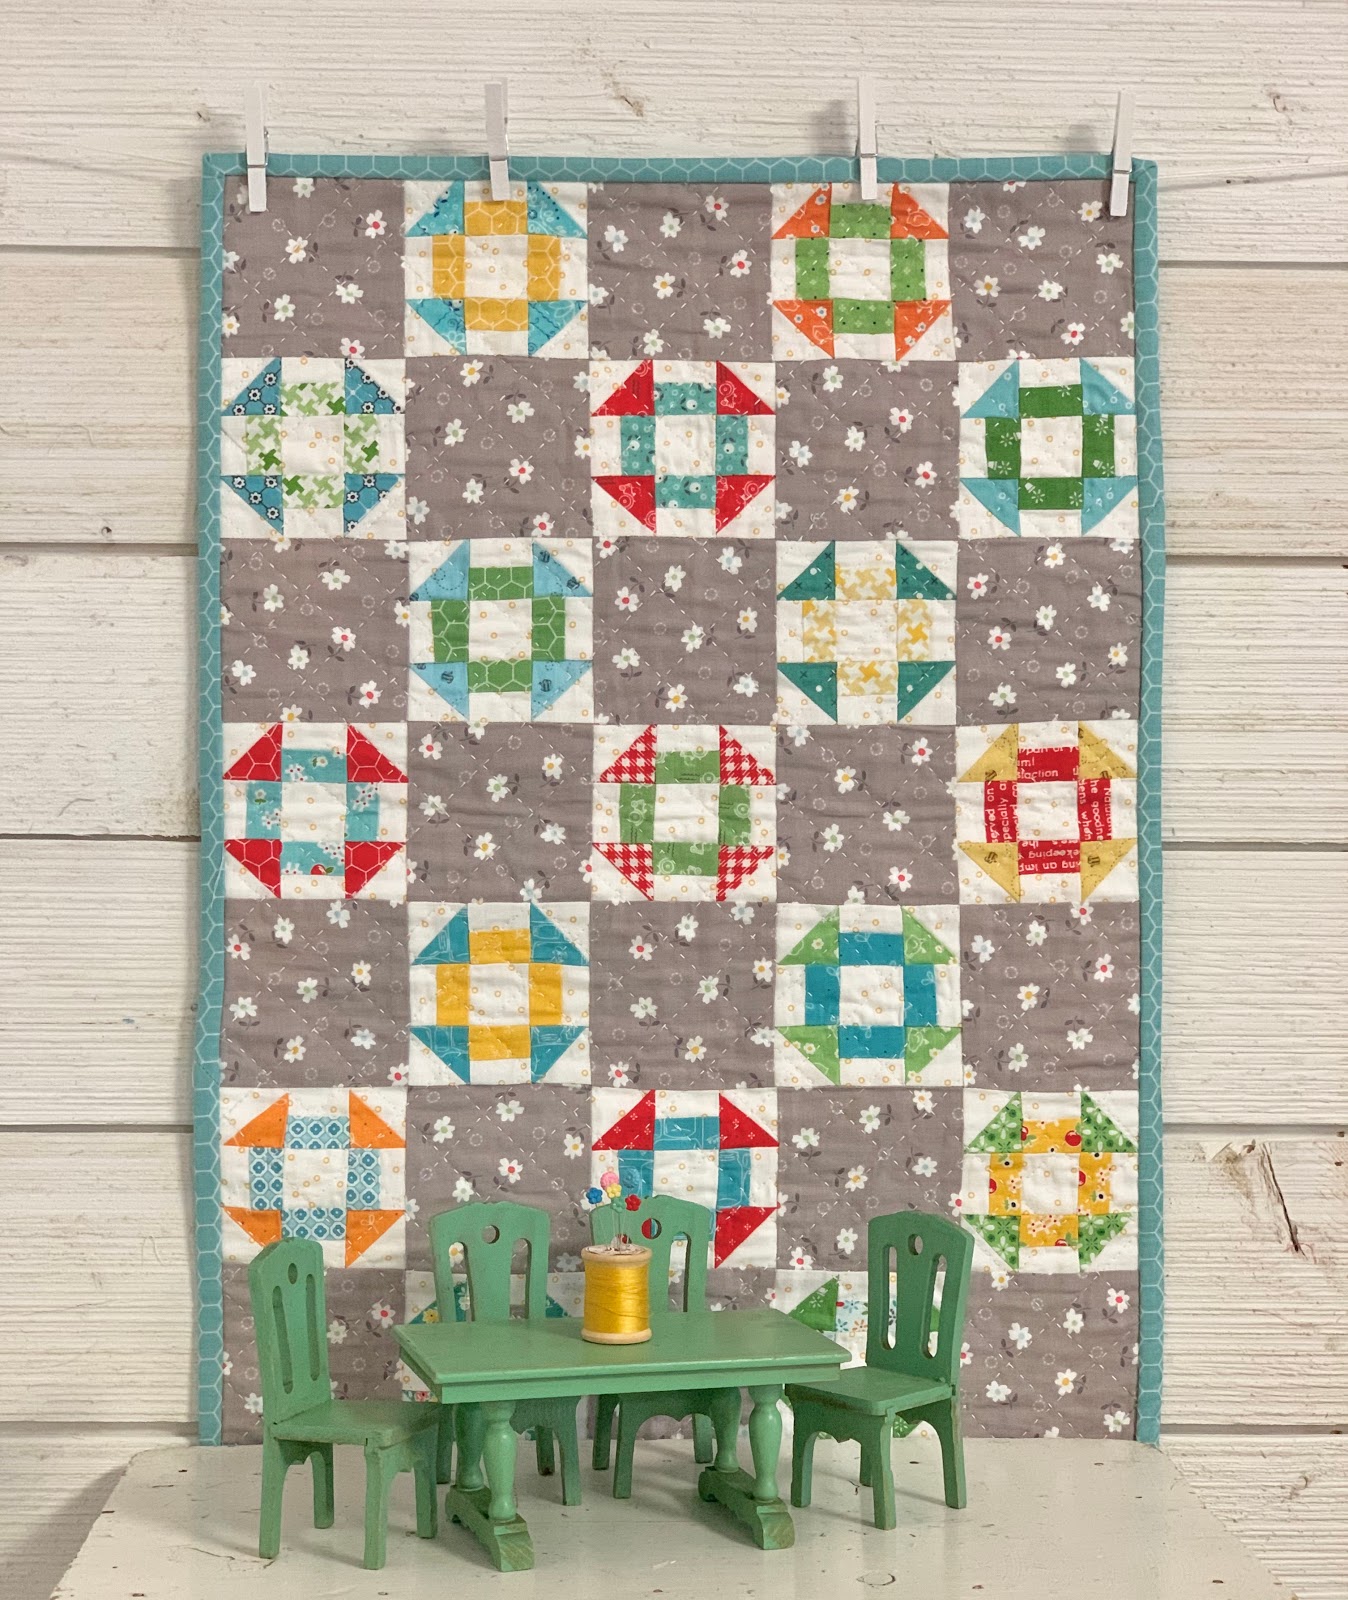
And I used the 3" size segments
(from the 6" block as well)
and of course made them into a doll quilt:)

I just love seeing all of the
doll quilts on the vintage beds...
I just can't get enough!
You are never too old to play...
I guess I'll never grow up and that's okay:)
I played with some of my
vintage dollhouse furniture
by setting it up for this
little photo shoot.
This is the
"Small Alternate Block"
Doll Quilt and the instructions
are on page 188 of the book.

I love this little table and chairs
and after setting it up I decided that
the table needed a centerpiece...
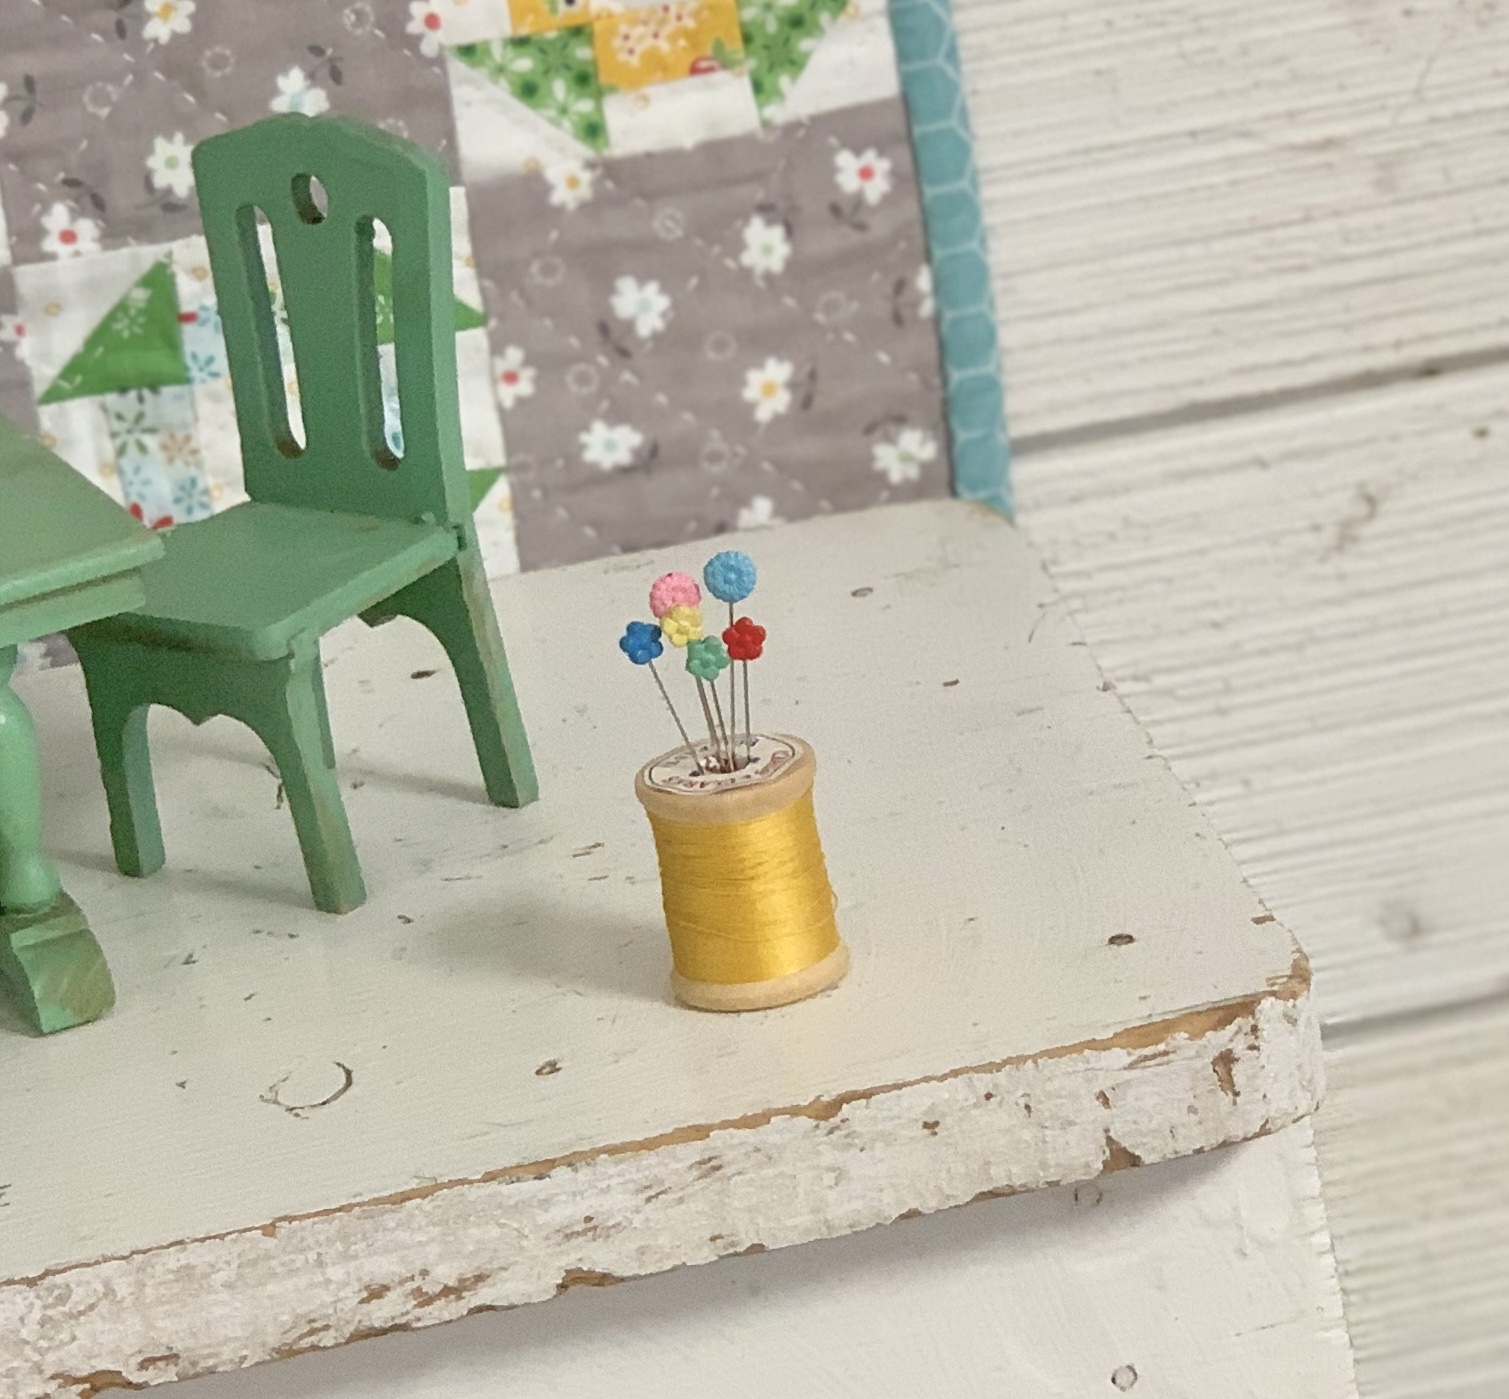
So I grabbed a vintage spool of thread
and tucked part of a cotton ball
in the center to stick a few pins in
for a mini flower arrangement ...
sew fun!!
Alrighty...
I'm finished playing with dolls
for now because it's time
to play with chickens!

Our next Farm Girl Block for this week is
RISE AND SHINE ROOSTER
from page 113 of the book:)
Every morning when my dad would
wake me up he would come into my room...
shake my big toe that was
warm and tucked under
the bed quilt and say
"Rise and Shine!"
Of course I had to name my rooster block
Rise and Shine because of my dad
and also because we lived on a farm
so we got up with the chickens...
no sleeping in for us!

I also wanted to sew a
white rooster for the book
and I used my Shabby fabric
in the color STEEL for the background...
And then I made 8 of them
for the large Mix and Match Quilt.
The outer border is my
Farm Life 108" wide back...
also in Steel.
The pattern for this quilt
is on page 157 of the book.

I used the Quarter Pasture
Mix and Match Block for the alternate.

YaY!!
Today I have a surprise for you!!
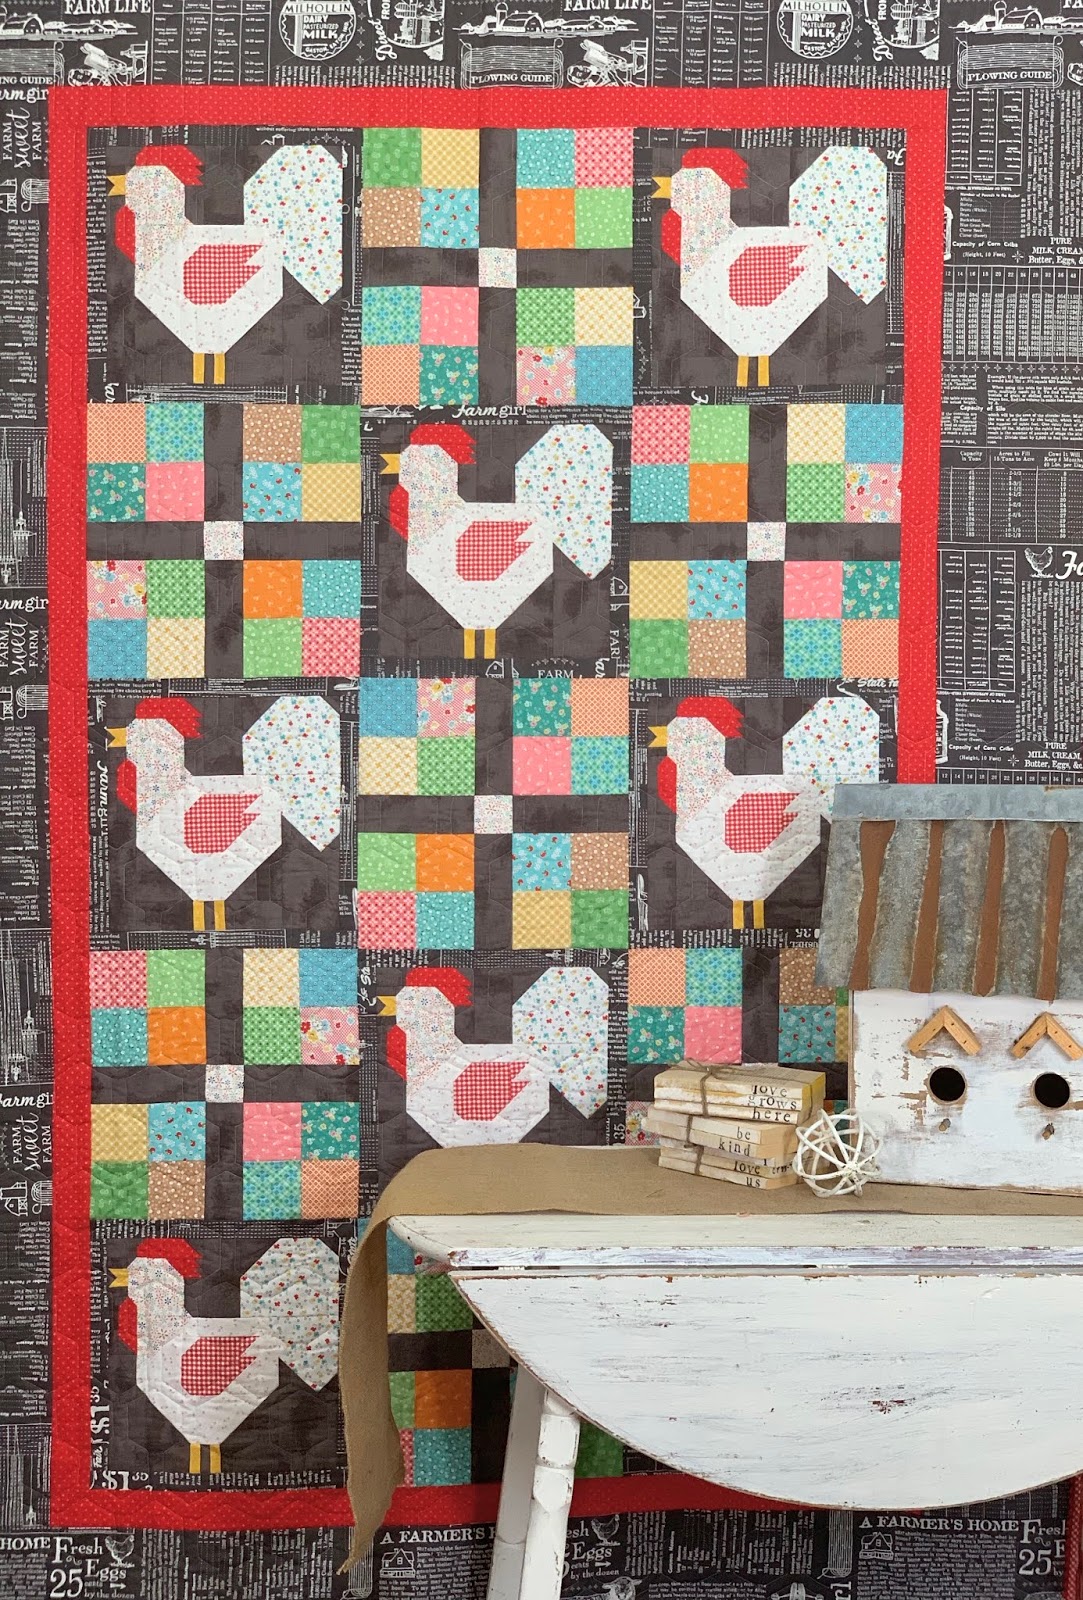
I made another quilt for you
and it's called
"Farm Girl Chicken Quilt"
This quilt is made using the same setting
as the cover quilt in the book
and it's a mash up of book one and book two!

The setting and the
Rise and Shine Rooster Block
are in Farm Girl Vintage 2 Book...

Mama Hen Block
is in my first

As well as the
Baby Chick Block

In the quilt there are -
ten total
12" Rise and Shine Rooster Blocks

There are ten total-
12" Mama Hen Blocks

There are eighteen total -
6" Baby Chick Blocks
But wait...
you must be wondering about the eggs?
Well I designed a new
Farm Girl Block for you!
To get the free PDF download:)
It's a pattern for my 6"
FARM FRESH EGGS BLOCK
and there are 12 of them in the quilt!

Here is a full quilt photo
for your convenience.
Remember that it is the
exact same setting that we have
talked about often during
this sew along which is the -
Farm Girl Vintage 2 Sampler Quilt
and
Beekeepers Garden Quilt
and
October Skies Quilt
The setting pattern is on
pages 138-142 of the book.

I designed this quilt last fall
and taught it in November to a
large group of the loveliest ladies ever!
This quilt united us in the few days
that we were able to spend together
and I am forever grateful for your kindness...ya'll know who you are!!
This photo was taken during that time
and my dear friend Shanna was
holding up one corner of the quilt...
as I peeked around from the back LOL

I took a few close up photos for you
in my studio so that you can see the quilting and the
large Vintage Trim in CLOUD color
that I tucked into the binding.
I chose to use the red gingham from my
Farm Girl Fabric collection for the border.
All of the blocks are scrappy happy
and made using Bee Backgrounds and then prints from my fabric collections
Farm Girl Vintage...Autumn Love
and Bee Basics.

My dear friend and quilter Juli
did an amazing job with the quilting...
a chicken wire pattern:)
Juli is always there in a pinch and I appreciate her so very much!
Hopefully these last two photos
show her quilting off well!

Wowzers!...
we sure had a full day on the farm!
Thanks so much for joining me
and I'll be back next week to
talk about two more Farm Girl Blocks:)
xx
Lori


