

Today is week four
Vintage Housewife Sew Along


if you need to download the
Sew Along Guide and
if you are just joining us and
need to read the Bee Prepared post
that tells you all about this sew along:)


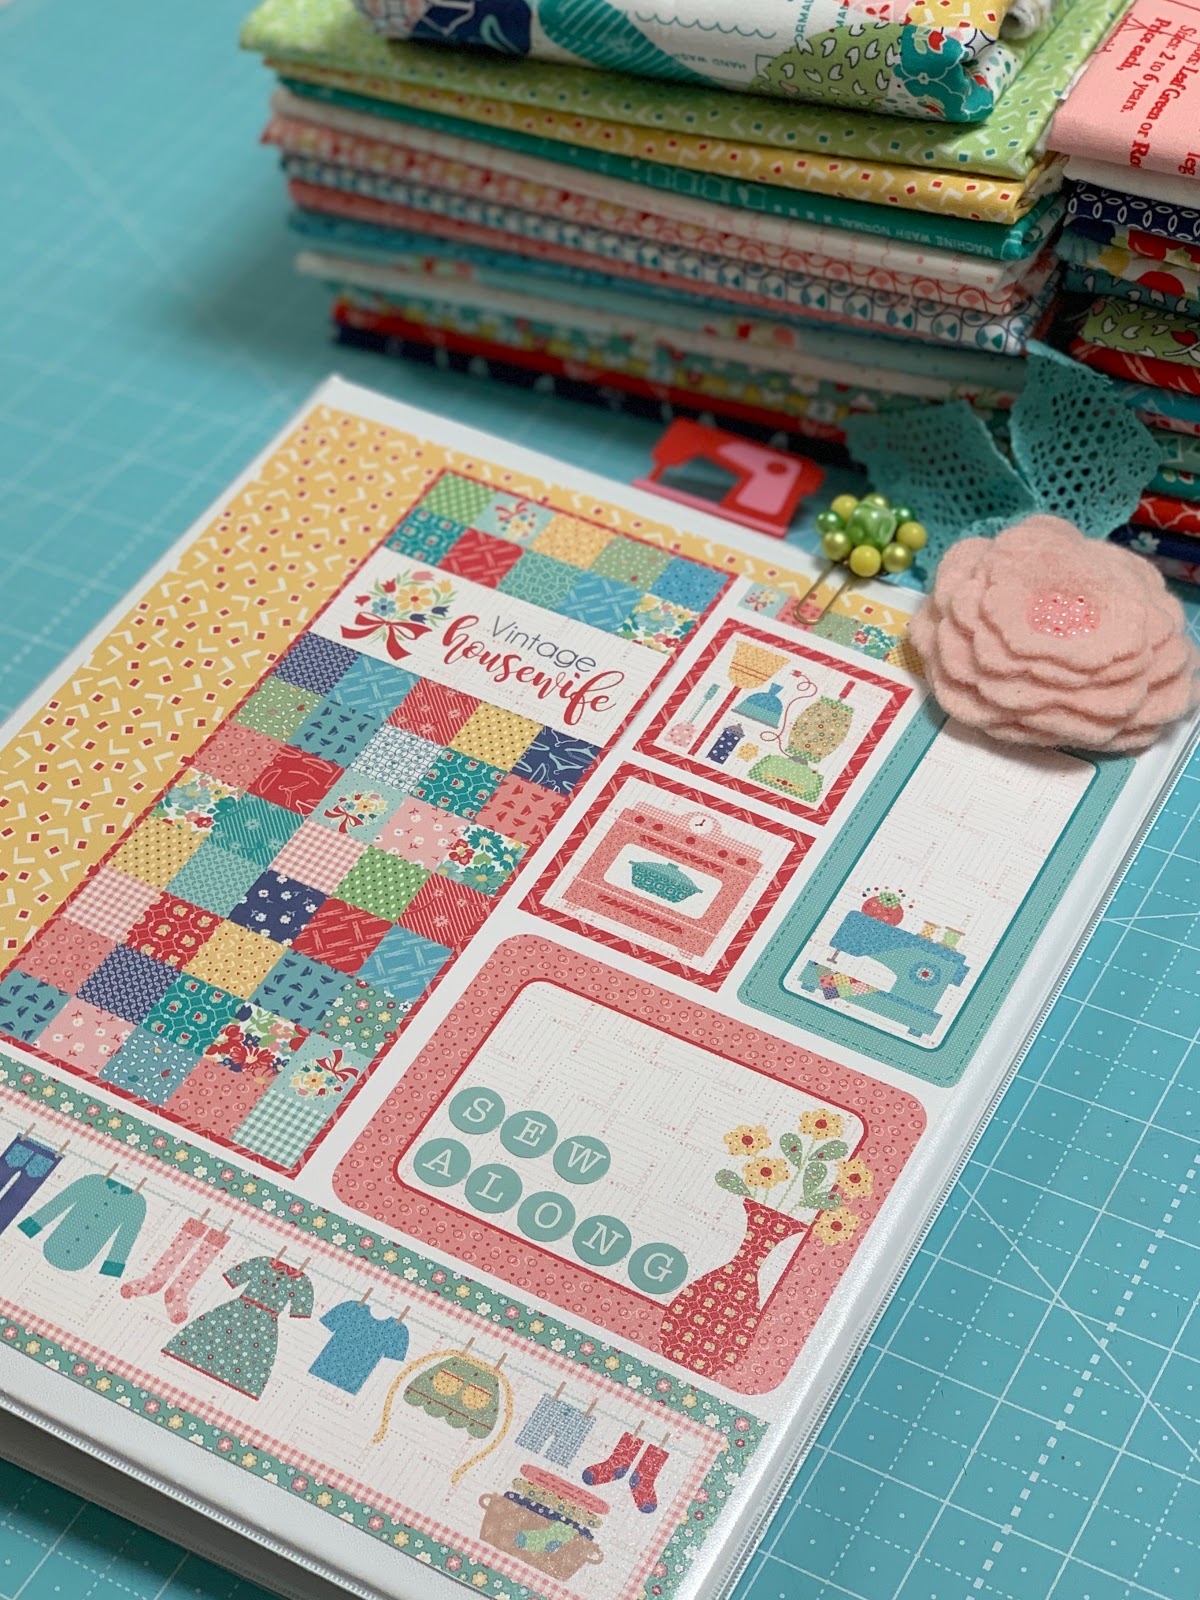
We are using my latest fabric collection
Vintage Happy 2
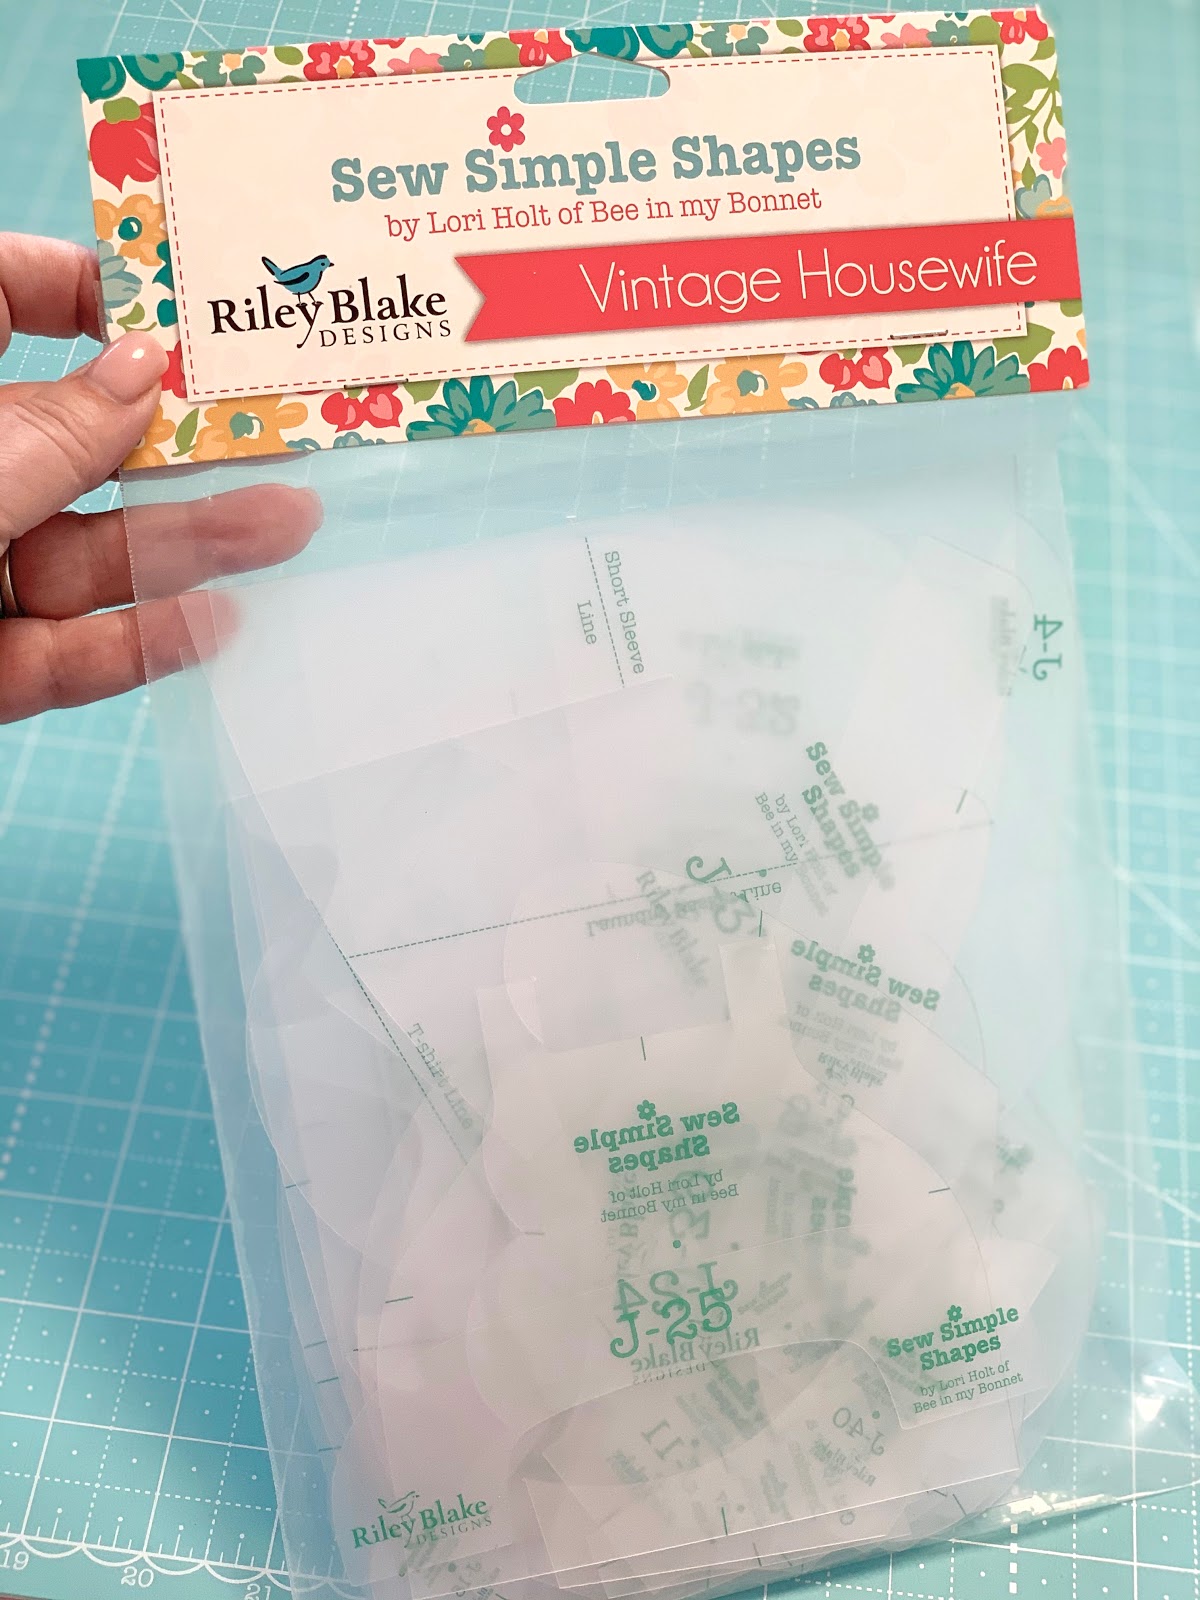
And my new Sew Simple Shapes


To make the
Vintage Housewife Quilt
74" x 82"
These are the blocks that
we have done so far:


Today we are making the
Typewriter Block
Every vintage housewife kept up
on her correspondence and a
typewriter sure made it easier!
I also just had to add yarn
as well because knitting and crochet
was a big part of their lives too.
They made sweaters...socks...
pot holders...doilies etc.
to wear and to make their homes beautiful...
and to relax after working hard all day!!

Sew Simple Shapes needed
for this block are:
J-6
J-13
J-14
J-15
J-16
J-17
J-21
After your kit is cut you will
need to prepare your straight bias strips
by running each through the
size bias tape maker that
they go with that is in the cutting.
Gray 1/4"-
Press a 2 1/2" long piece into
a slight curve.
This will work even though it is
cut straight because it's very slight.
Press one end under for the top.
Save the rest for the crochet hook
and I'll talk about that in a minute.
Gray 3/4"-
Cut one 6 3/4" long for the roller...
no pressing ends under...
just keep flat to tuck under.
1/4" Sea Glass-
You will need 2 that measure 1" long
after ends are pressed under.
This is what you will tuck the ends
of the 3/4" gray roller underneath.
1/2" Sea Glass Gingham-
You will need one that measures 4" long
after pressing each end under.
1" Red Stripe-
You will need 3 pieces that measure
1 1/2" long after pressing each end under.
These ends will wrap around
the yarn shapes for labels!
Before you do these you may
want to scroll down and look
at the photo when I did mine:)
You will need to use the green
small vintage trim for the flower stems
and red buttons from the
Barndoor Cute Little Buttons package
for the flower centers.
You will need several
1/4" Cute Little Buttons
for the typewriter keys:)
Okay now you are all ready to get started...
Just one more step
before you sew your shapes...

Do the 2 pieces of Ruler Work tracing
for the Typewriter Block on page 12

*NIFTY TIP*
Sew the circle first before you
sew the gingham shape....

Shape and press the circle...

Then place it on top of the gingham
and under the interfacing about
1 1/4" down from the top...

And then go ahead and sew that
gingham shape and the circle part
will be sewn in ...
and then just trim off excess
when trimming the shape!

Now you can go ahead and
sew all of the shapes:)
Clip the inner curves and cleavage areas
in the above pieces before turning.

These leaves are tiny but do-able
if you turn the top part first.
Then you have something to hold on to
so that you can turn the rest.
Perfection is not needed here...
and they are just leaves!

I turn my piece sideways like this
when there is a point and gently push
it out with the shaping tool.

All shaped and ready for pinning and glue!

I pressed my 1/4" gray strip into
the shape of a crochet hook
before glue basting it.
I made the top first by pressing the
end under and then folding the
remaining strip over that raw edge ...
(right sides face out on both
the hook and handle)
and then pressed it so that there
was a point at the top.
Then I measured 5 3/4" down
from that point and cut.
Then I pressed that end under 1/4"...
leaving my hook to measure 5 1/2" long.

This is how I did the labels on my yarn...
I overlapped the pressed ends on the back:)

All of your pieces are ready now
and it's just a matter of pinning them
into place onto your background...
and your design board LOL
I took several close up photos
of my placement for you...


Remember to use your ruler to
make sure that your appliqué
does not "grow" and stays with-in
the window of the ruler:)

I used the second to the largest
size of red buttons for the flower centers.
I used matching Aurifloss for sewing them on.
I used matching thread when I
whip stitched the green stems down
just like I did the iron cord...
I just didn't want a
contrasting color on these.

Buttons Buttons Buttons!!


Did I show you enough photos??
HAHA
I'm just showing button placement now
but as you know I save that until
after I have appliquéd and
trimmed down with the ruler.

All ready for applique:)


TYPEWRITER BLOCK
All trimmed up...
Borders and Buttons added!
Just like the first 3 blocks...
it should now measure 14 1/2" square
before we sew it into our quilt.

Let's celebrate the vintage housewife
with a few vintage ads and
also pattern book photos
for crochet and knitting!


Aren't those fun!?
I'll be back here next week with
the Telephone Block tutorial:)
xx
Lori
P.S. You really didn't think that
I would forget the
vintage typewriter ads did you?
Scroll down and enjoy:)


4 comments:
i'm doing my best to stay caught up- and having so much fun reminiscing! I'm loving all the vintage ads! That green portable Royal typewriter in the ad was the exact typewriter I took with me to BYU in the 70's! xoxo
Lovely as usual. I have that Daily Bouquet crochet book from Mom's stash! I would loooove one of those vintage typewriters, especially if it worked! Can't wait for the next installment
Lori your Sew Alongs are fantastic. I haven't had the time to start yet as I have 5 quilts I have to make first, but I am saving & printing each one so I can do them later I also loved your Cozy Christmas sew along. I have everything I need for that one. Your videos are also very informative. Thank you for all you do for us quilters.
You do have the best website. I go to it just to see how orderly, informative and fun it is. Your directions are excellent.
Post a Comment