

Welcome to Week 6 cute people:)
If you are just joining us...
for all the info:)

We are doing two applique blocks today...
and working on the left side of the quilt.

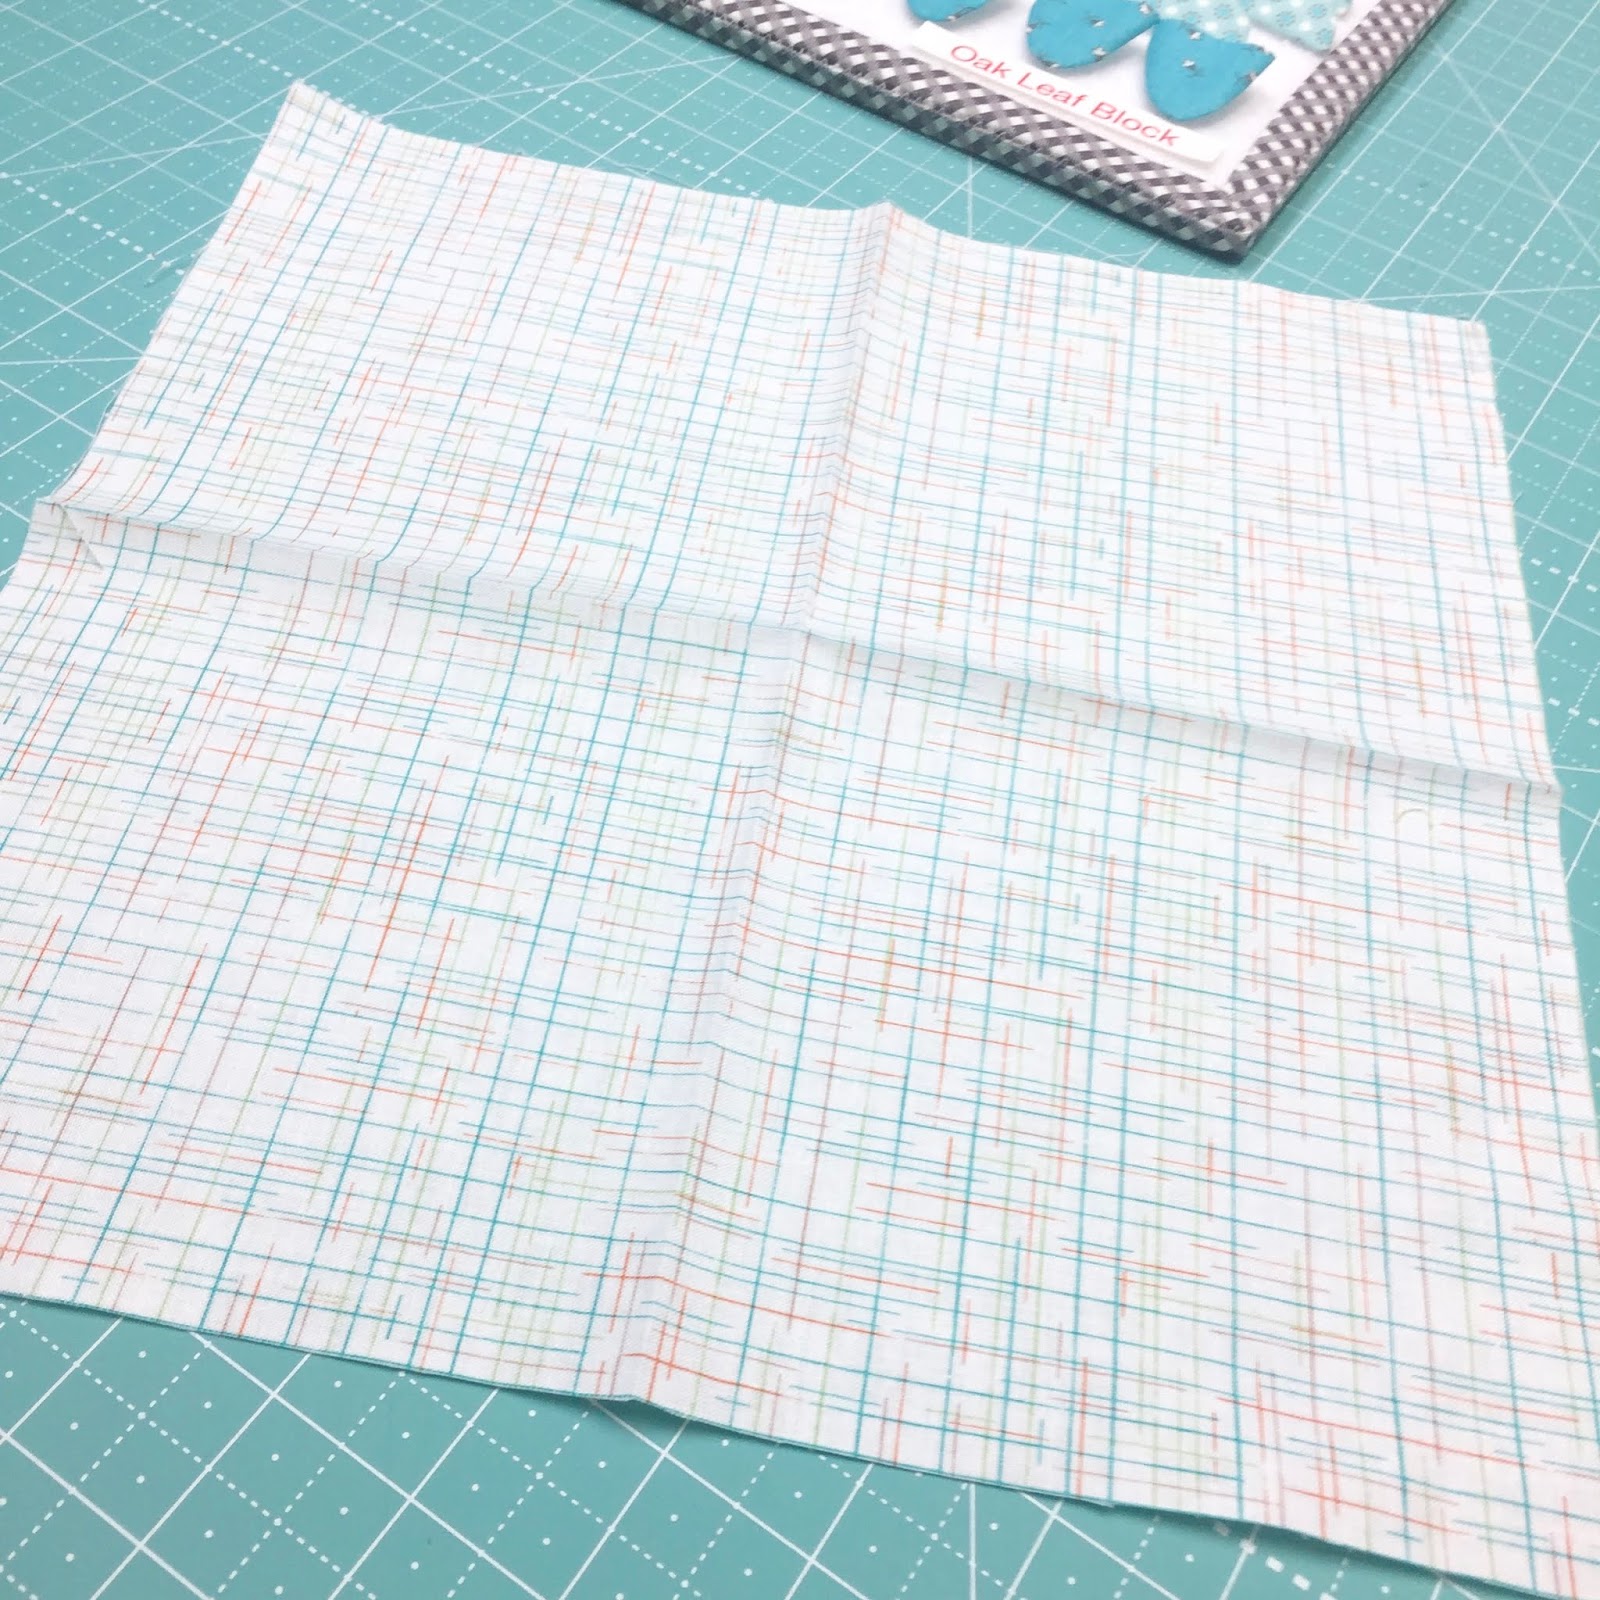
Let's start with this cute little
Oak Leaf Block:)
*NOTE*
Originally I wanted to put the
bias strip on top of the leaves
like in my virtual mock up of the quilt.
When the fabric was produced
I didn't think there was enough contrast
so I put the vines underneath.
You can put yours on top if you like!!

These are the Autumn Love prints
that we are using for the
Oak Leaf Block

The Autumn Love
Sew Simple Shapes
needed are:
5 - F1
1 - F2
1 - F3
4 - F11
2 - F20
From the green 1/4" straight bias
cut 4 - 2" long stems
Cut 4 - 1 1/4" long strips
for the acorn tops.
Cut your background square 12" x 12"

Let's start with the acorn tops.
Trace a line down the
center of the circles.

Sew half a circle:)

Trim...turn...

Shape and press.
Repeat for the other three.

Now for the acorn bottoms.
After sewing...
turning and pressing
the two ovals...
cut off 1 1/4" off
each end like this...

For a total of four acorn bottoms:)

Set all of your prepared
acorn pieces aside and
sew all of the other shapes.

Don't forget to clip all of the
inner curves in the oak leaf shapes.

Now its time to lay out
the block and glue baste.
Because both of these blocks
are symmetrical designs
it will come in handy to
press the background
in half both ways.

Of course you will need to
use the 10 1/2" Trim - It Ruler
for laying out your block.

Pin all of your appliqués...
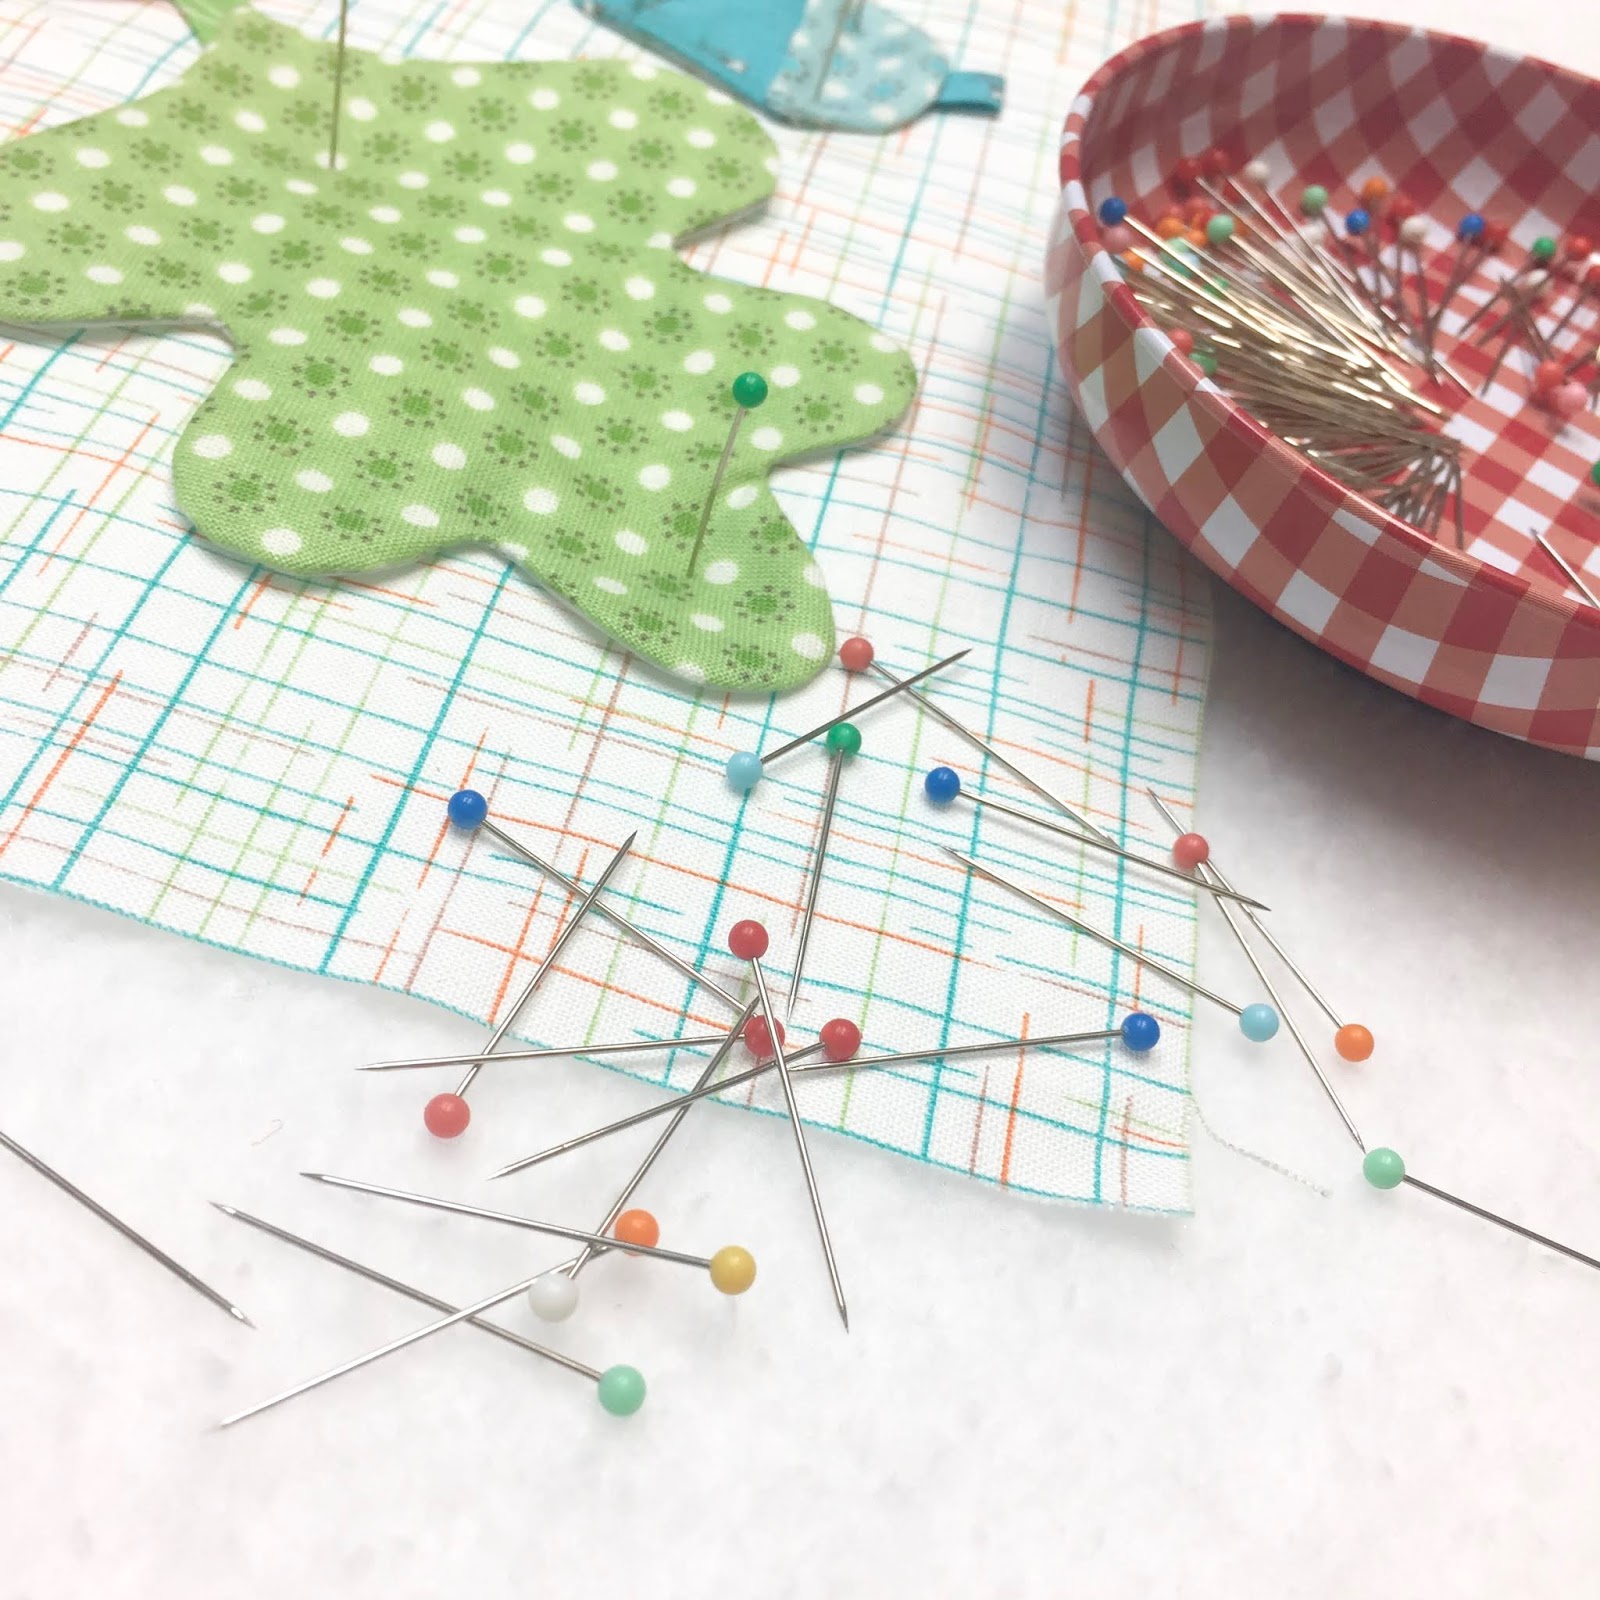
And glue baste.
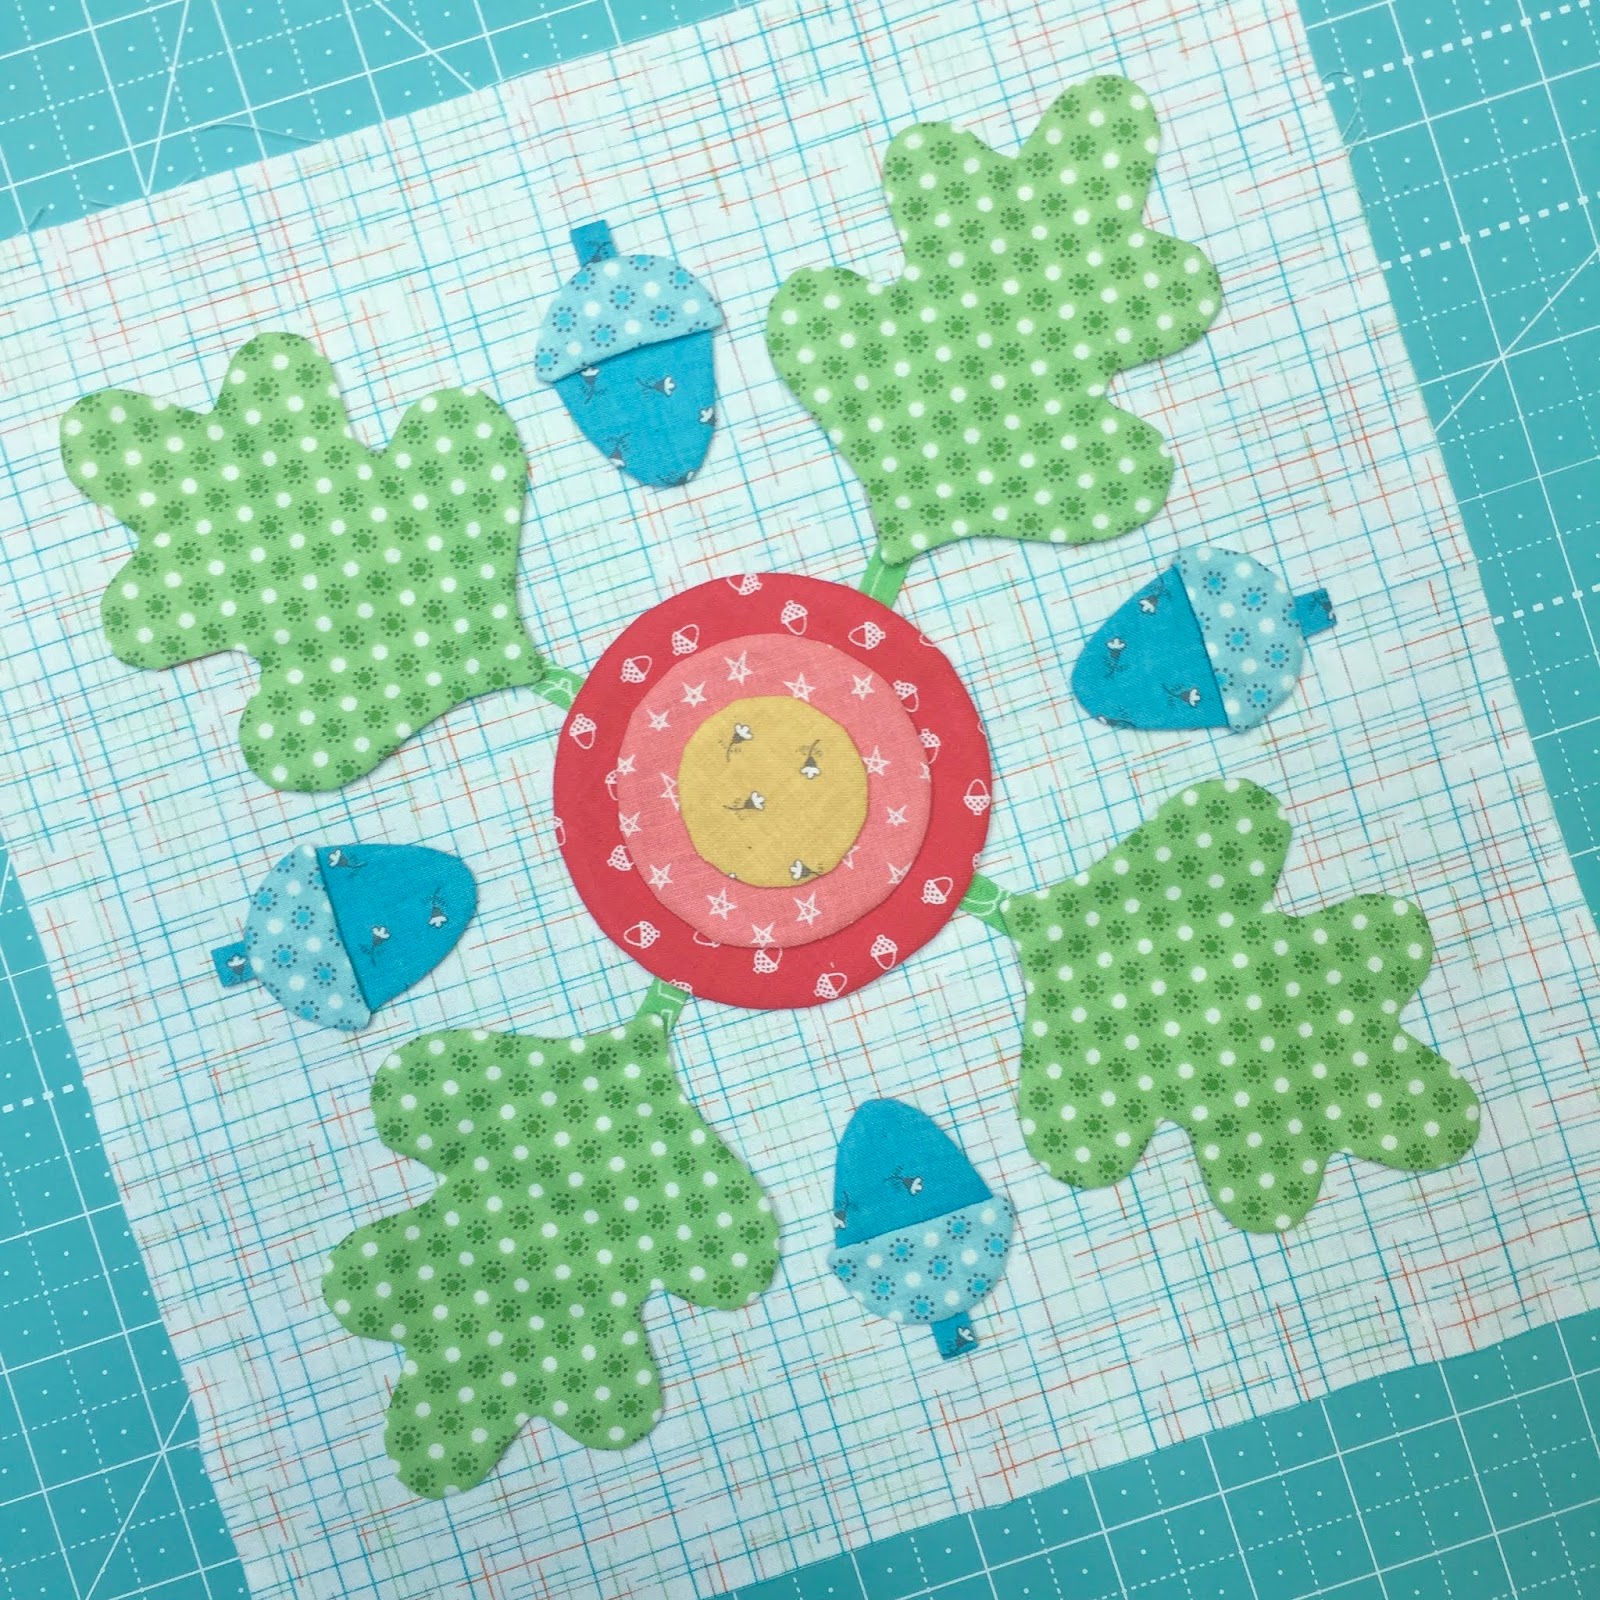
All ready for applique!

After applique I'll sew
12 Honey color Cute Little Buttons
around the center circle like this.
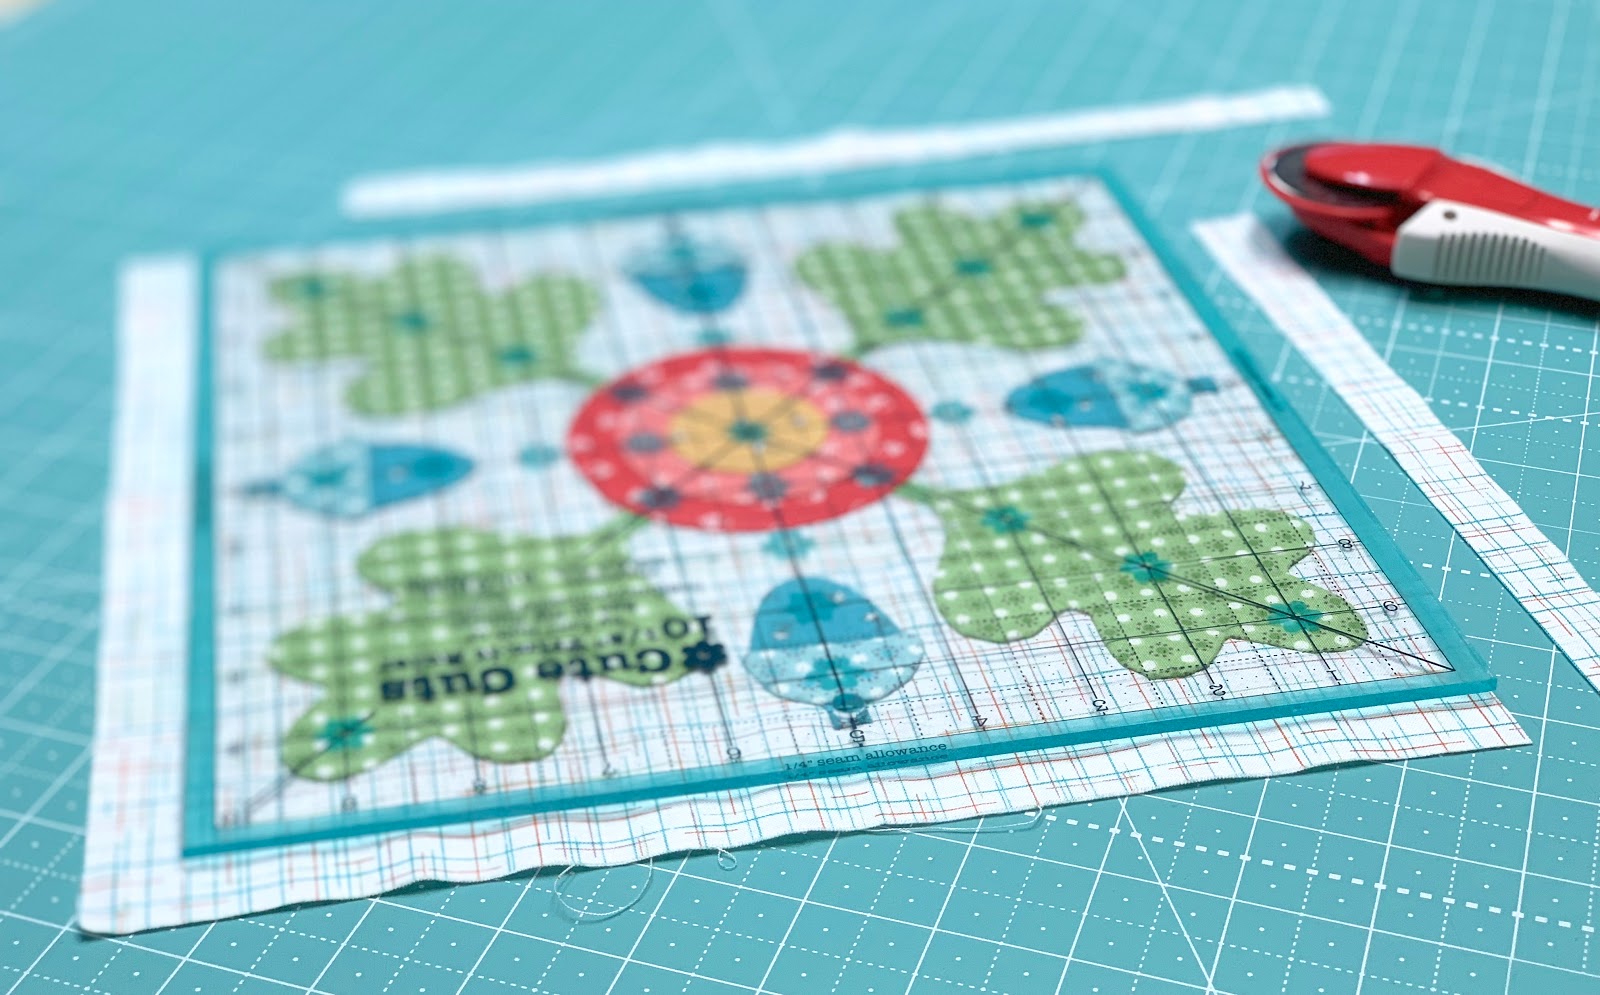
Trim your Oak Leaf Block to
10 1/2" square BEFORE
sewing it into your quilt.

Super cute!!
Makes me want to
go and gather acorns:)

Now let's make the
Fall Flowers Block!

These are the Autumn Love prints used:)

The Autumn Love
Sew Simple Shapes
needed are:
1 - F1
1 - F2
4 - F6
4 - F13
4 - F20
Subcut the 1/4" straight bias into
4 strips that are 3" long.
Cut your background square 12" x 12"

Let's make the bottom of
the flowers first.
Draw a line down the center
and then draw another
on each side 1/4" away.

Sew on these lines...

And trim.

Turn...shape and press.

After sewing the two plaid ovals...
simply cut them in half like this.
The raw edges will be tucked
under the largest center circle.

After sewing all of the other shapes...
don't forget to clip the
cleavage areas in these two shapes.

Fall Flowers Block
all ready for glue basting:)

As usual...
use your 10 1/2" Trim - It Ruler
for placement.

Place onto a design board...

And pin the shapes into place
before glue basting.

Let it dry flat:)


All ready for applique.

After applique I'll sew 16 green
Cute Little Buttons on like this.

I always use matching Aurifloss
when sewing on the buttons:)

Maple Leaf Block
10 1/2" x 10 1/2" BEFORE
sewing it into your quilt:)

I loved making these two blocks...
I hope you do too:)
Sew with you next week!!
xx
Lori

No comments:
Post a Comment