

Welcome to week four of the
BLOOM Sew Along:)

We are making progress on our quilt!

I'm having so much fun playing with my
Sew Simple Shapes...
are you?
***FYI***
For those of you who are
still needing a set...

For those of you who are
already sewing along with us...
let's get started on block four.

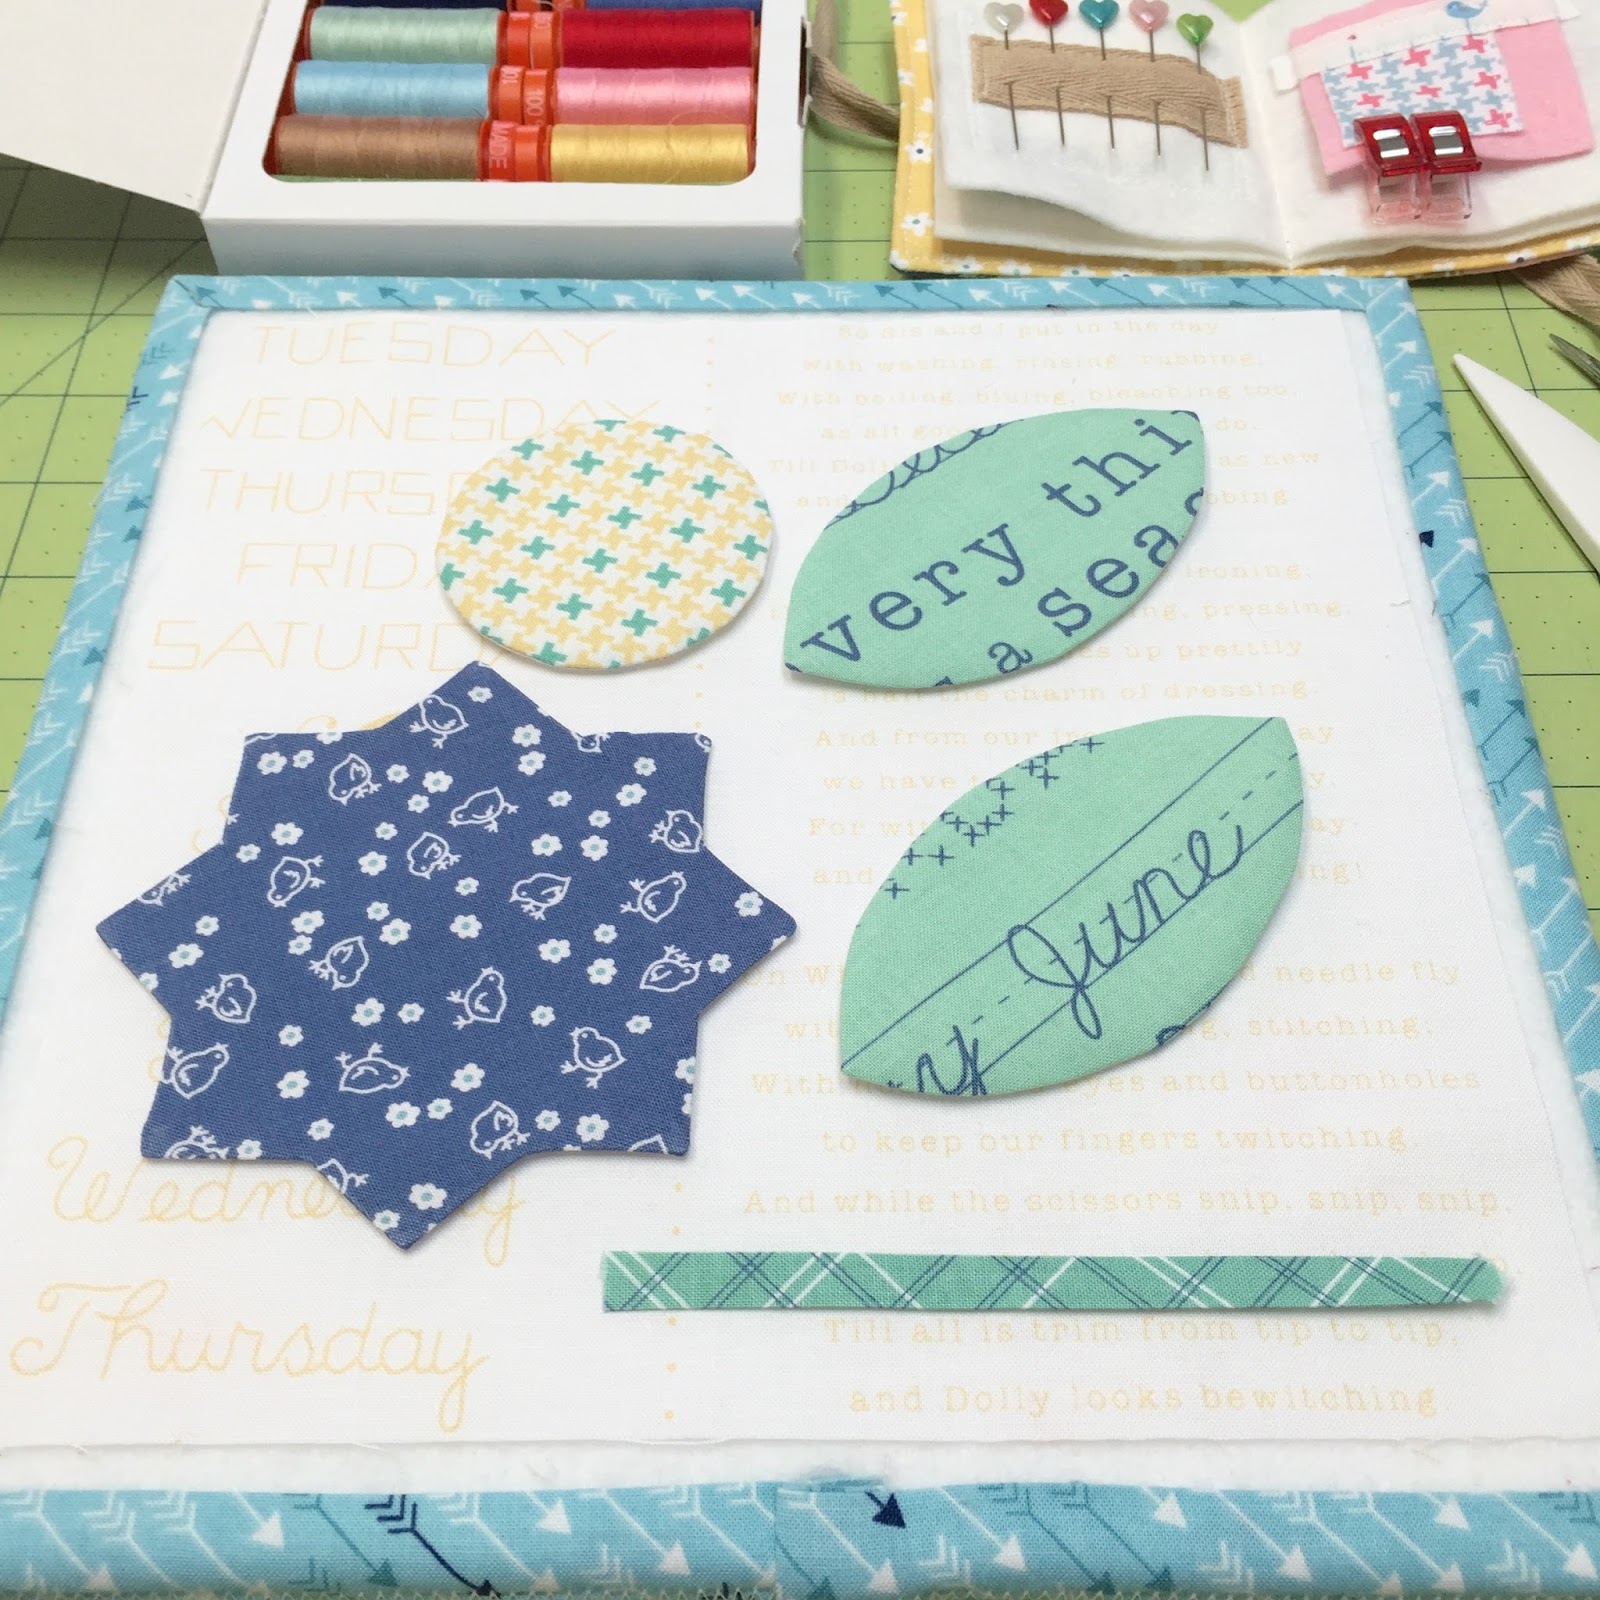
Choose your fabrics...
(I'm using Calico Days:)

And prepare by cutting
BOTH from fabric and Pellon:
5" square for the flower
3" square for the circle
Two - 2 1/2" x 4 1/2"
From fabric only-
Cut a 5/8" x 5" strip for the stem
9" square from the background

Trace your shapes onto the Pellon.

Sew and trim:)

I like to trim a little off of
my points by about this much
just to reduce a little bit of bulk.

This is the first shape that we have worked with so far that needs clipping.
If you don't clip the "cleavage" areas your flower will not lie flat when turned right side out.
Use a sharp pair of small embroidery scissors and make one clip.

***TIP***
Most people only want to clip this far...
but take note that you want to clip
to the thread but not into it...
don't be afraid!
As long as keep the
thread intact it will be fine:)

Cut an X in the Pellon for turning.

See how flat my flower is
after turning and pressing because
I clipped those cleavage areas right to the thread:)
Turn and press all of your pieces...
and prepare the stem how I showed you in

Press your background fabric in half one way
and center your stem with
the bottom edges even.
Pin or glue baste.

Center the top of the flower...
lining up the tip with the pressed fold...
and measure 1 1/4" down from the top.

The leaves are also placed 1 1/4" from the side edge ...

And 1 1/4" up from the bottom...easy peasy!

Place the circle in the center by measuring just
a smidge under 1" from the points of your flower.

Now that all of your pieces are basted...

You are ready for appliqué:)

When completed...
press from the back and trim up to 8 1/2" square.
Cut your border pieces...

and sew your block together!
I'm really happy with how these blocks are turning out...
I love appliqué!
Thank you so much for all of your
kind comments here and on
I love hearing from you...
especially things like
"I've always been afraid to appliqué
and now I love it!"
YaY!!!
When you post this block...
use the hashstag
#BloomBlockFour
See you next week and...
"BLOOM"
Where You're Planted!
xx
Lori
P.S. Don't forget to visit the
Riley Blake Blog too!

6 comments:
Hi Lori,
I have a question. When you square up your block (before borders), do you trim all four sides? Or do you trim just 3 sides and leave the bottom edge where the stem is in tact?
Thanks for teaching this method of appliqué using pellon. I probably would not have had the confidence to attempt a quilt this large otherwise. And it's a lot of fun! :)
For some reason, making stems with a bias tape maker for my applique projects was always a challenge (maybe a mental block). But then I turned the bias tape maker over like you do and now it's easy peasy. Thanks so much for this tip! BTW, I'm having so much fun making this quilt.
You are so right, clipping up to that thread is so hard!! I know it does look smoother if you do but I am always afraid I will slip and cut through.
When I square up my block, I do exactly what Lori says-I use my 8 1/2" ruler, center it and then cut 2 sides, then turn and cut 2 more sides. Also, when I applique my stem, I start sewing about 1/4" above the bottom of the block so that when I trim my block to 8 1/2", the stitches don't pop out. I hope that helps. So far, it's working for me. I've made 2 number 1 squares so far...I am behind, but that's fine. I'm enjoying the whole process!
Carol
I love that cute little needle book shown in the background. Is there a pattern for that?
Love doing your Bloom quilt! Best lesson for me is to make sure you buy the kit. The fabric store I went to was out of kits and gathered all fat quarters and the panels. Just found out I'm missing material. I had to order material last week that I didn't get and now, I hope, there is more of this material available. I'm starting late, whoops, my bad. So I'm going to go through and cut all the material and interfacing and make a list of material I'm missing so I make sure to get it all this time. Oh btw, I love your fabric!
Post a Comment