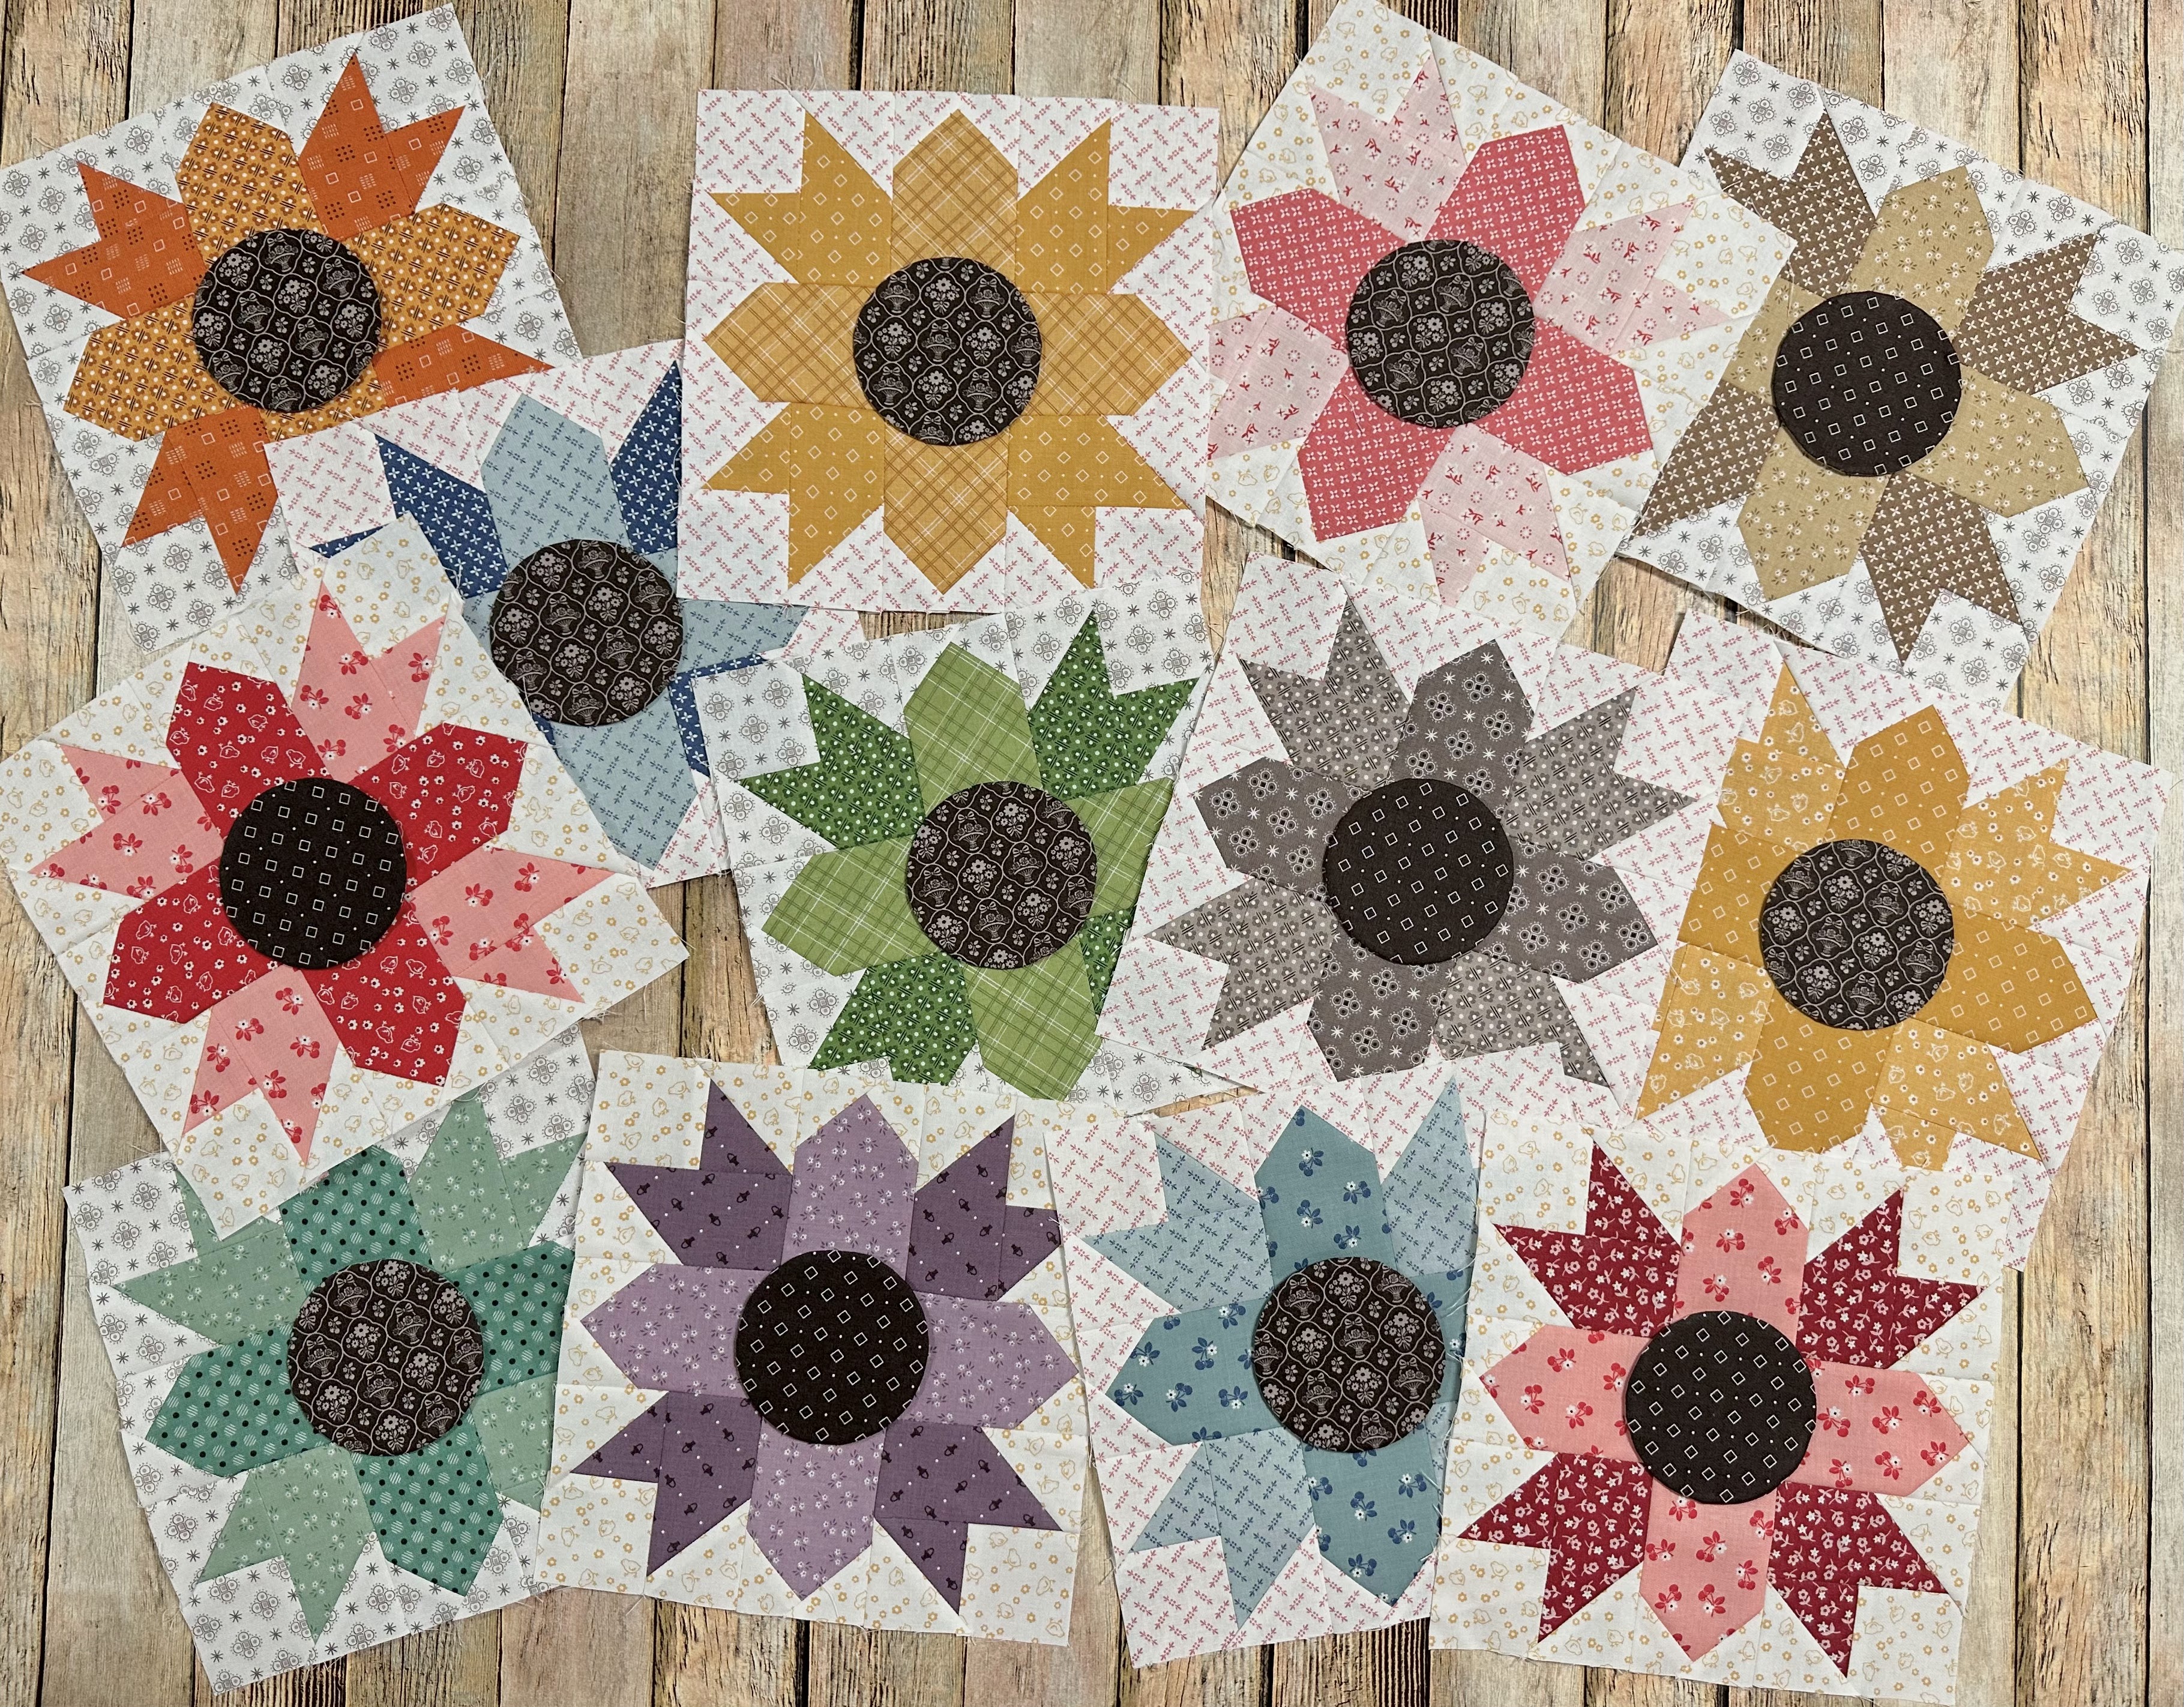
"CONEFLOWER BLOCKS"

Welcome to week one of the
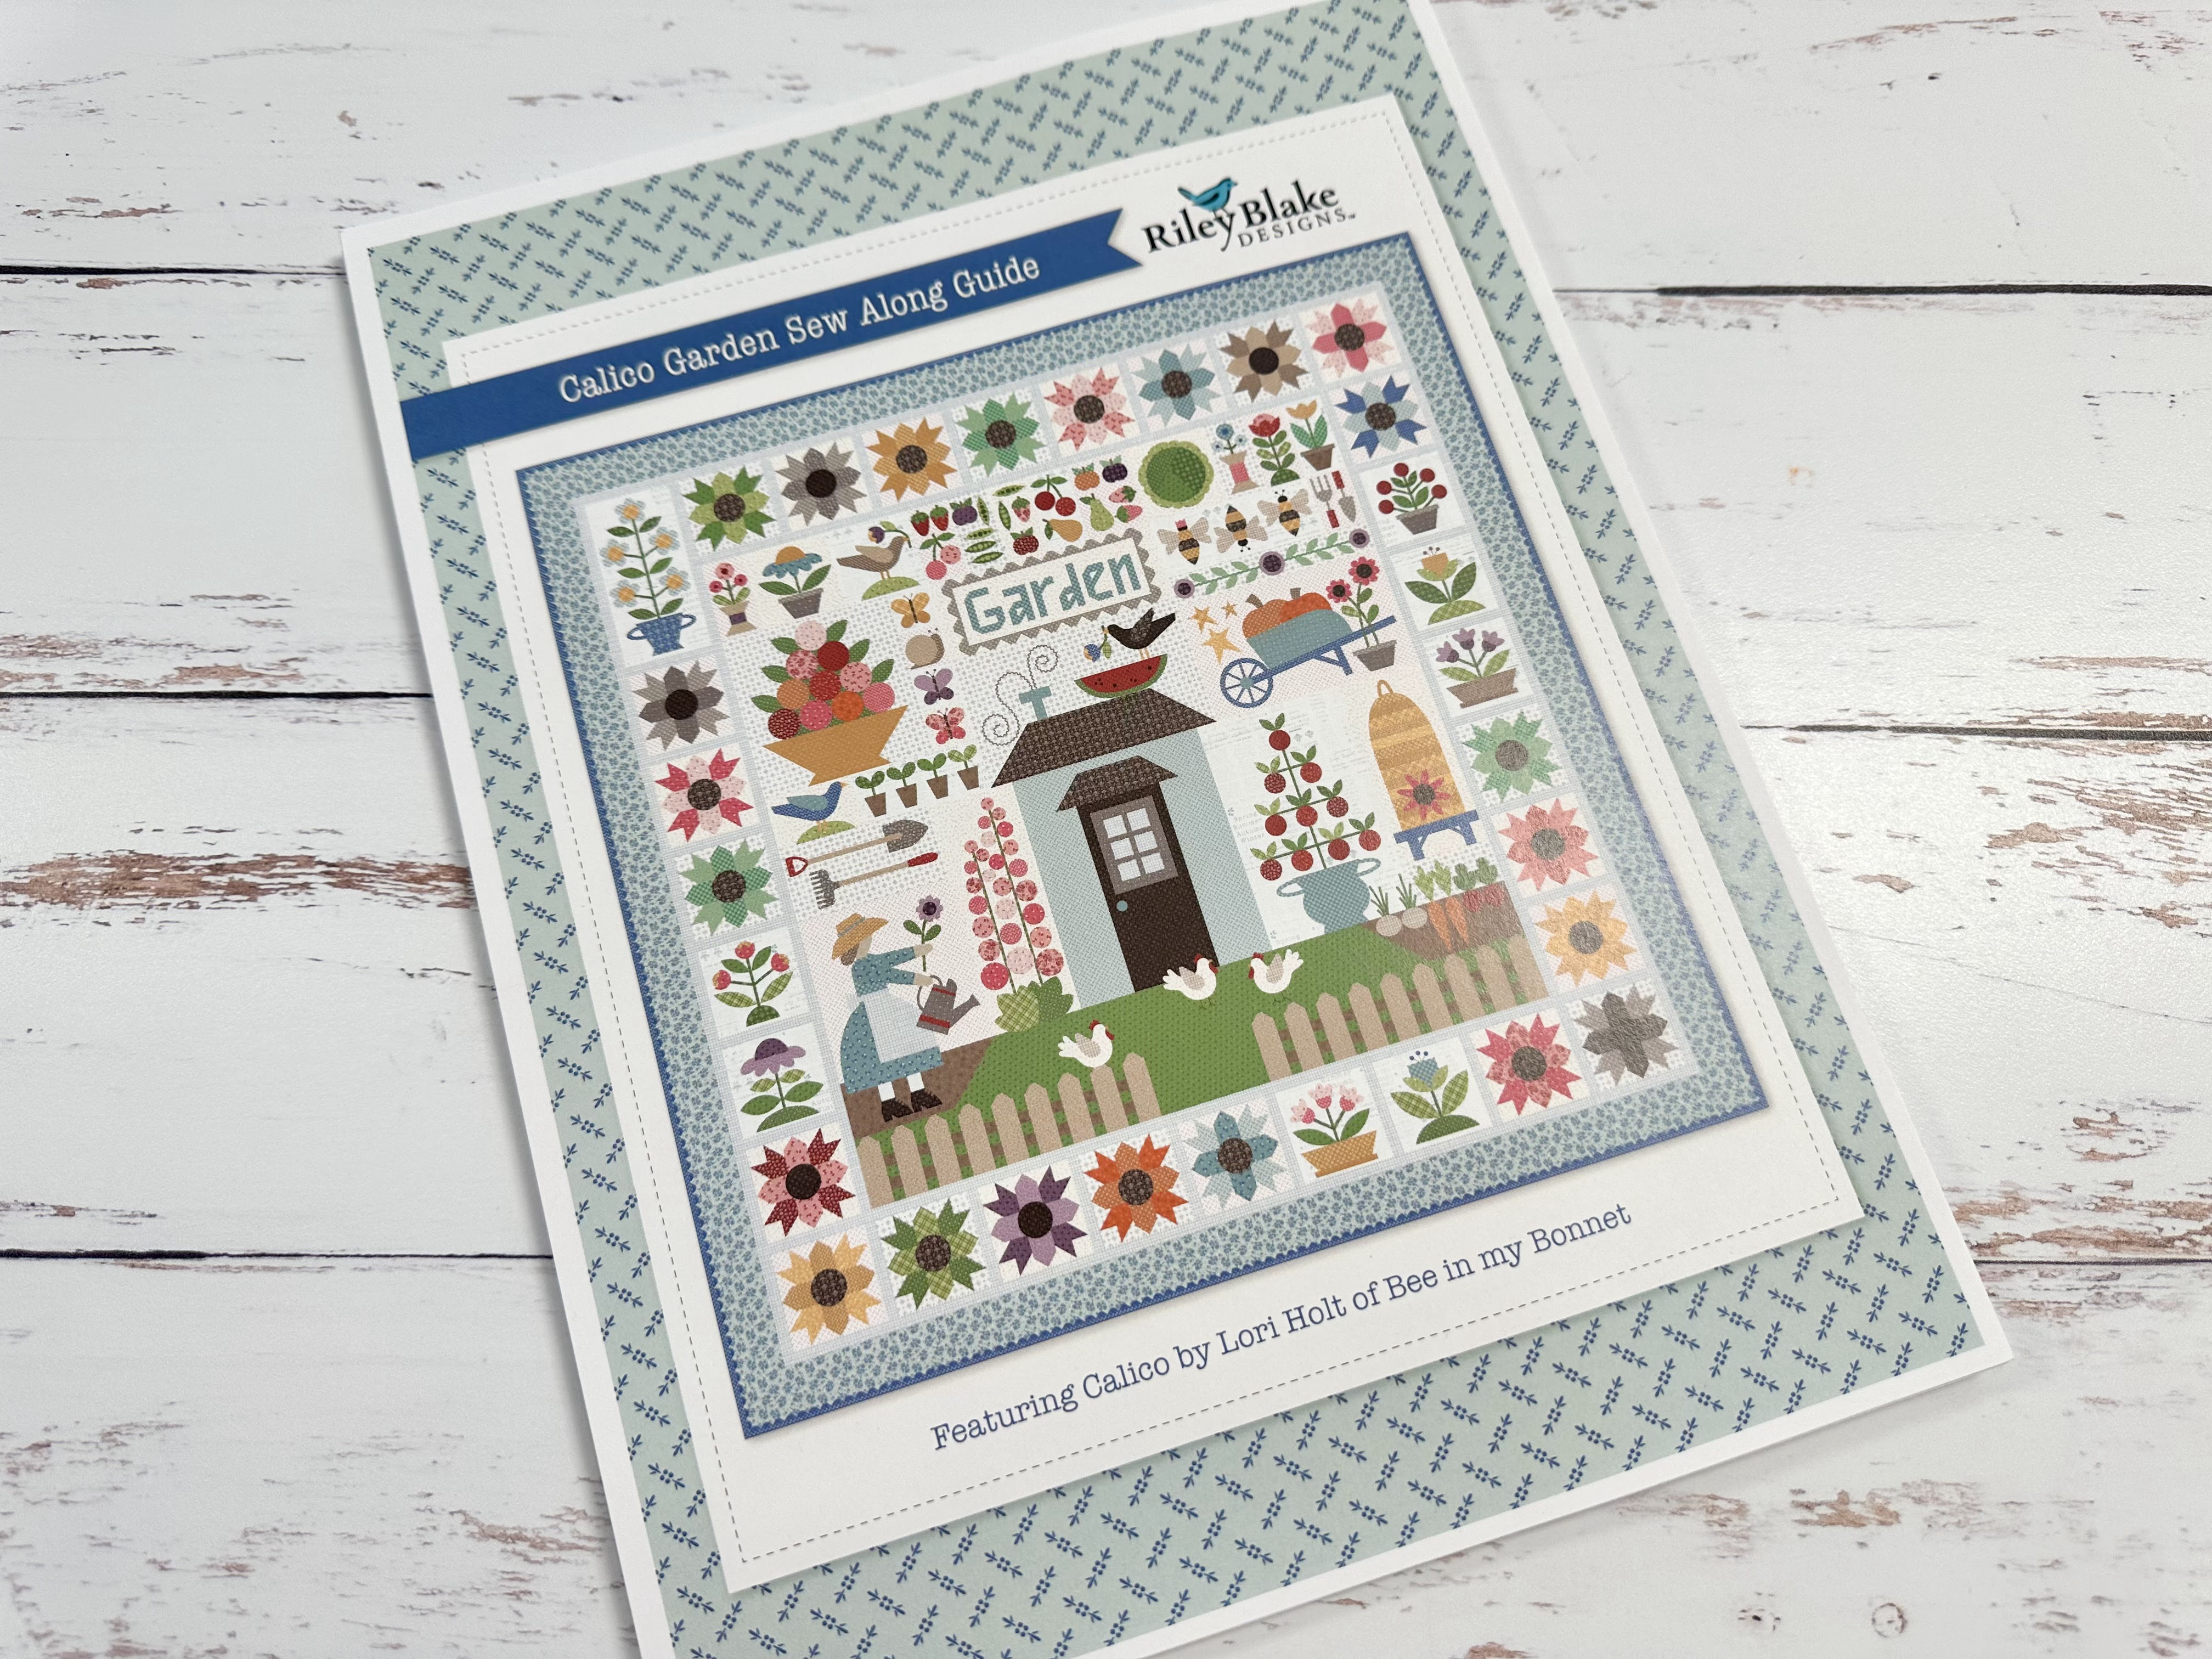
"CALICO GARDEN"
Sew Along!
Join me here each week
when I will be doing tutorials
on the blocks for the quilt.
Of course because we are all sewing
from all around the world
we all have different time zones...
But I will be posting each Monday
right here on my blog
and you can follow my tutorials
any time each week that
is convenient for you.
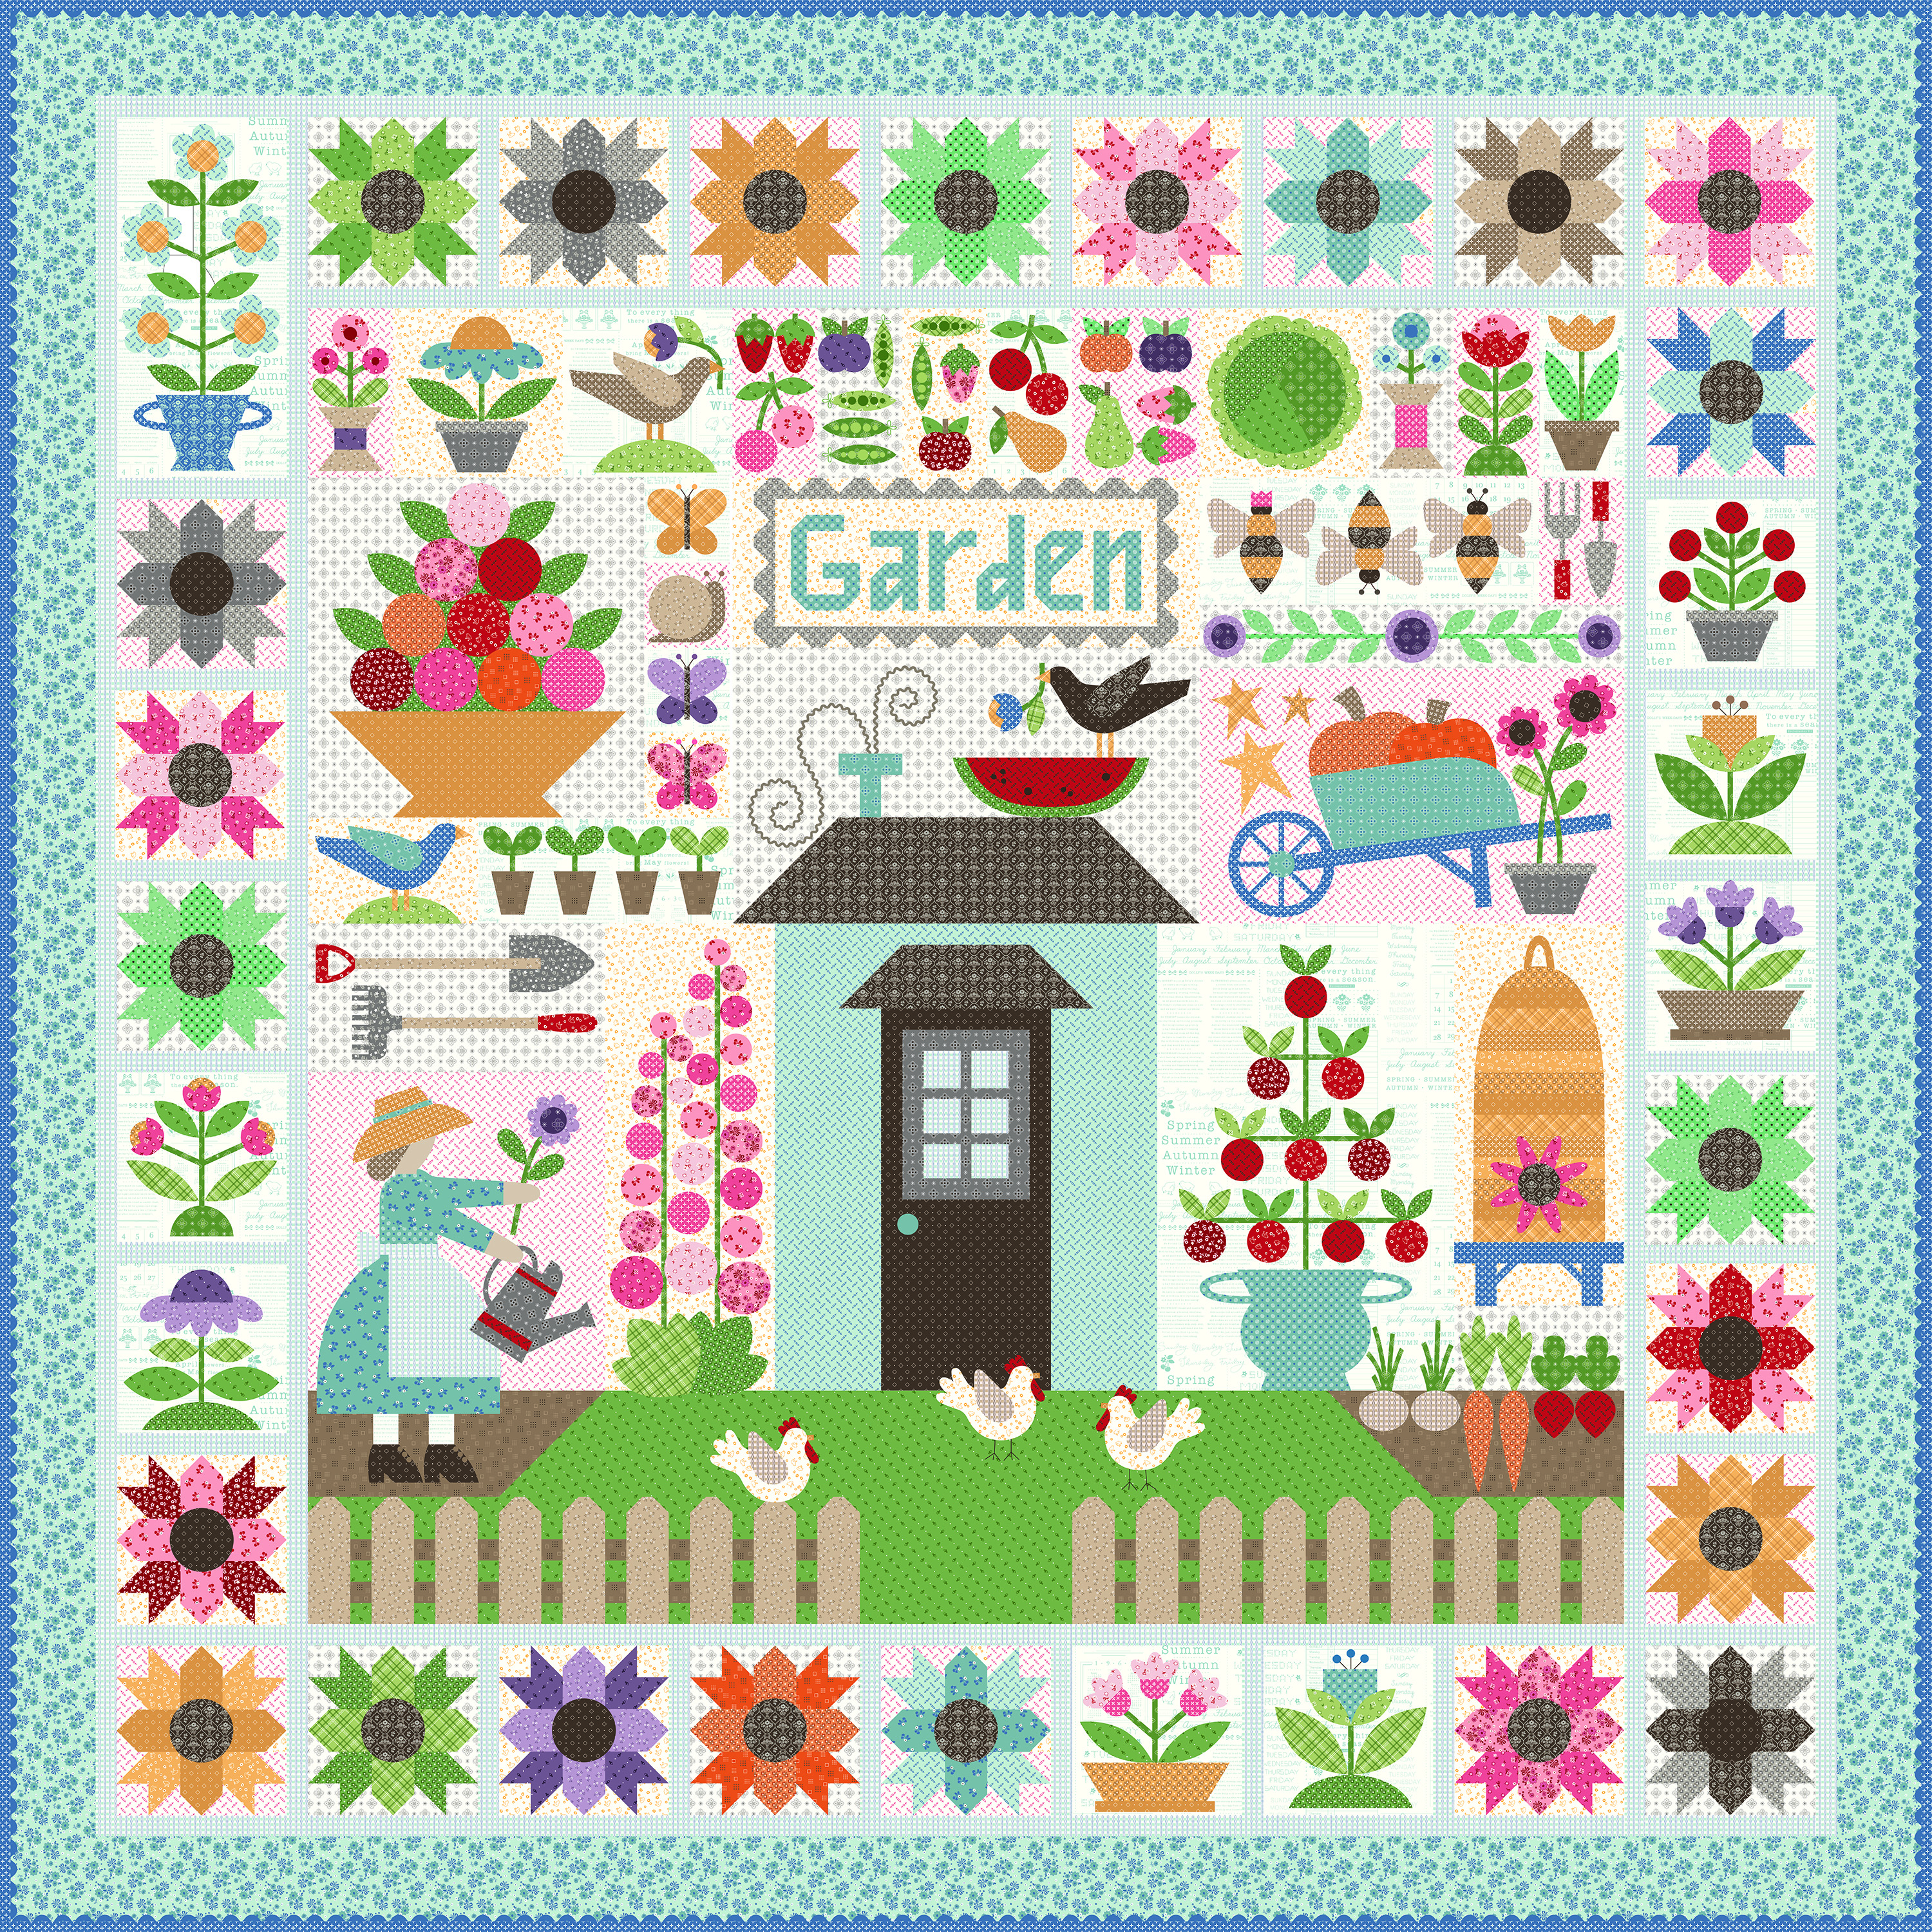
We are making the
Calico Garden Quilt
90" x 90"
I've been prepping like crazy
so that I will be all ready
when it's time to begin...
and now that time is here!!

The quilt is made with my latest fabric
collection called Calico...
I hope that you all have all
received your
fabric kits by now...
and that we are all ready to begin!!
If you still need one ...
just do a quick google search for
"Calico Garden Quilt Kit"
to find shops who still have some left.

We are also using the
Calico Garden
Sew Simple Shapes
I have already posted the
post which details all of the supplies
for the sew along and how it works.
I have also given the link there
for the free PDF Download
of the Sew Along Guide
to download the sew along guide
if you have not downloaded yet.

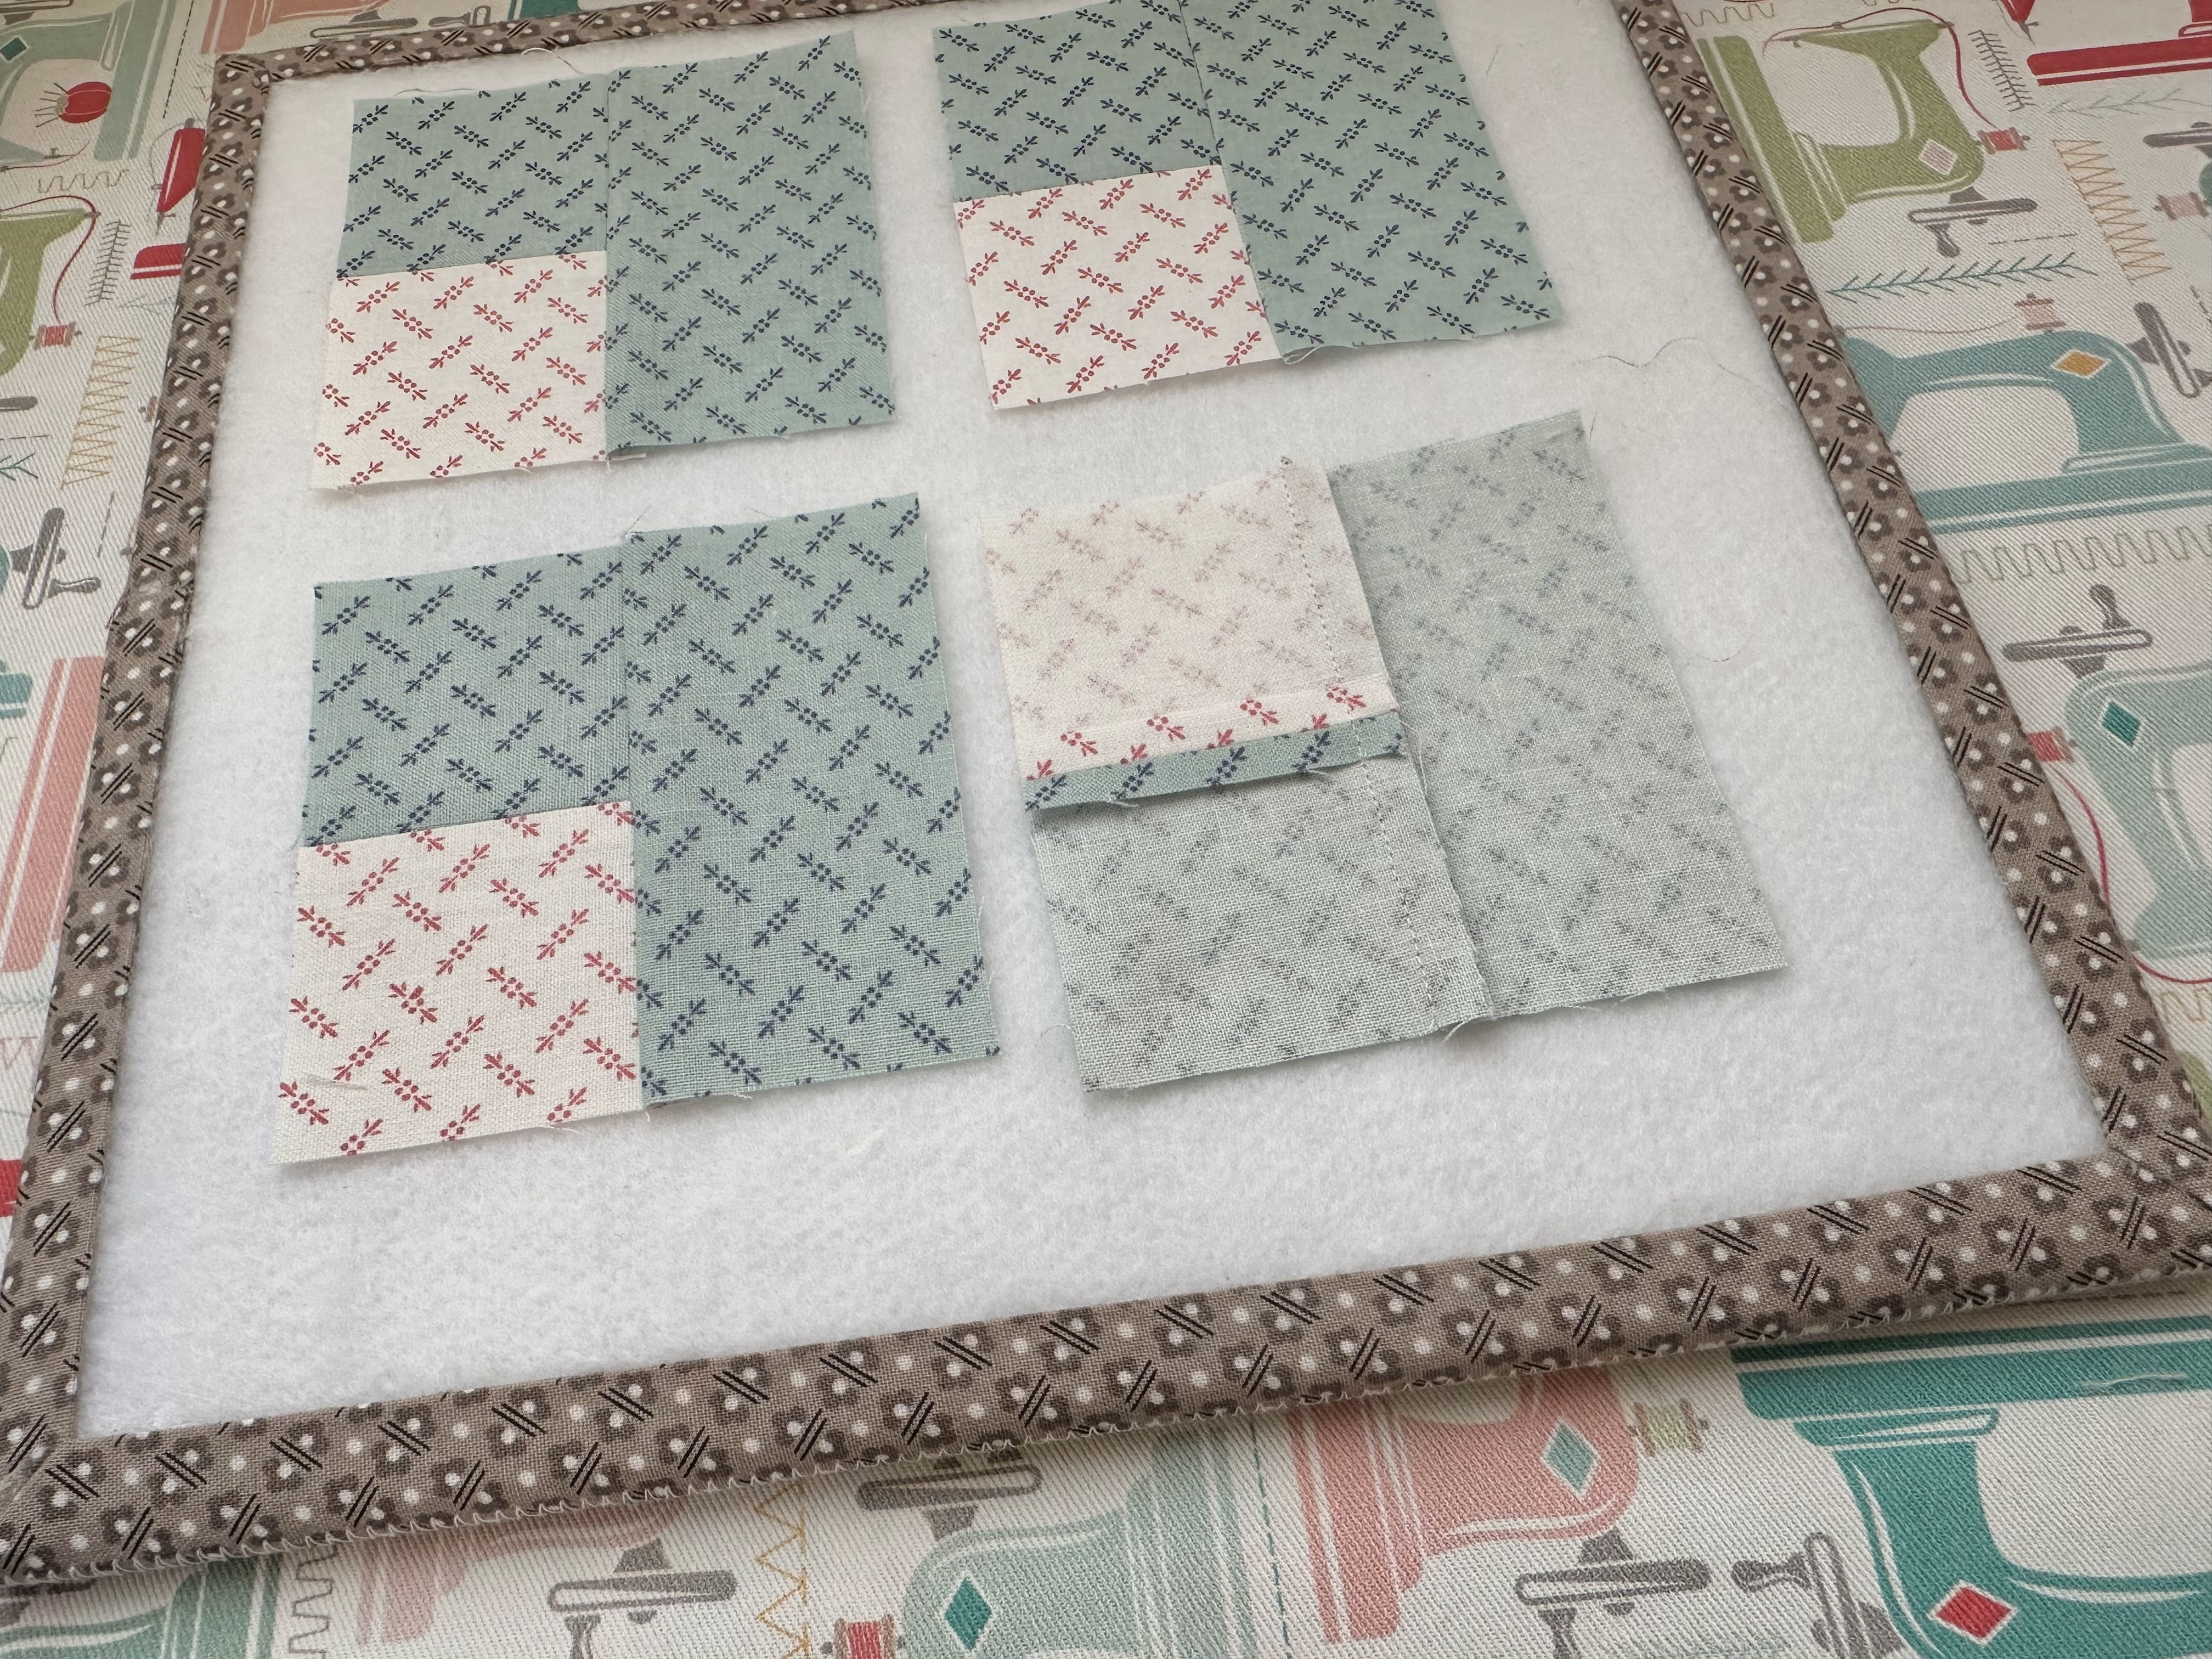
As per the sew along guide
cutting instructions
you should have everything for your
Coneflower Blocks
all cut and ready to go!

*A note about fabric prep before cutting:
Of course this is all personal preference
but I often get asked the same
two questions
so I thought I would answer them
here again for you.
1. Do you pre-wash your fabrics?
Answer - No...I don't.
I used to years ago
(I have been sewing for a long time lol)
but these days we have such
good quality fabrics available to us
that I don't find it necessary
to pre-wash and I've never had any
problems by not doing so.
2. How do you starch your fabric?
Answer - I lightly starch my fabrics
before I cut them for
piecing or for applique.
I use Mary Ellens Best Press
and mix it with a little water in my
spray bottle and spray my fabric
right before I iron it flat to cut it.

takes place during my ironing process
right before cutting.
And yes...
I always use vintage irons.
If you would like to know why and
how I find them and use them...
to watch my YouTube Video
where I tell you all about it!

As per usual for week one in my
Sew Simple Shape Sew Alongs
the FIRST week tutorial is a video.
Because I now have my own
I have posted the
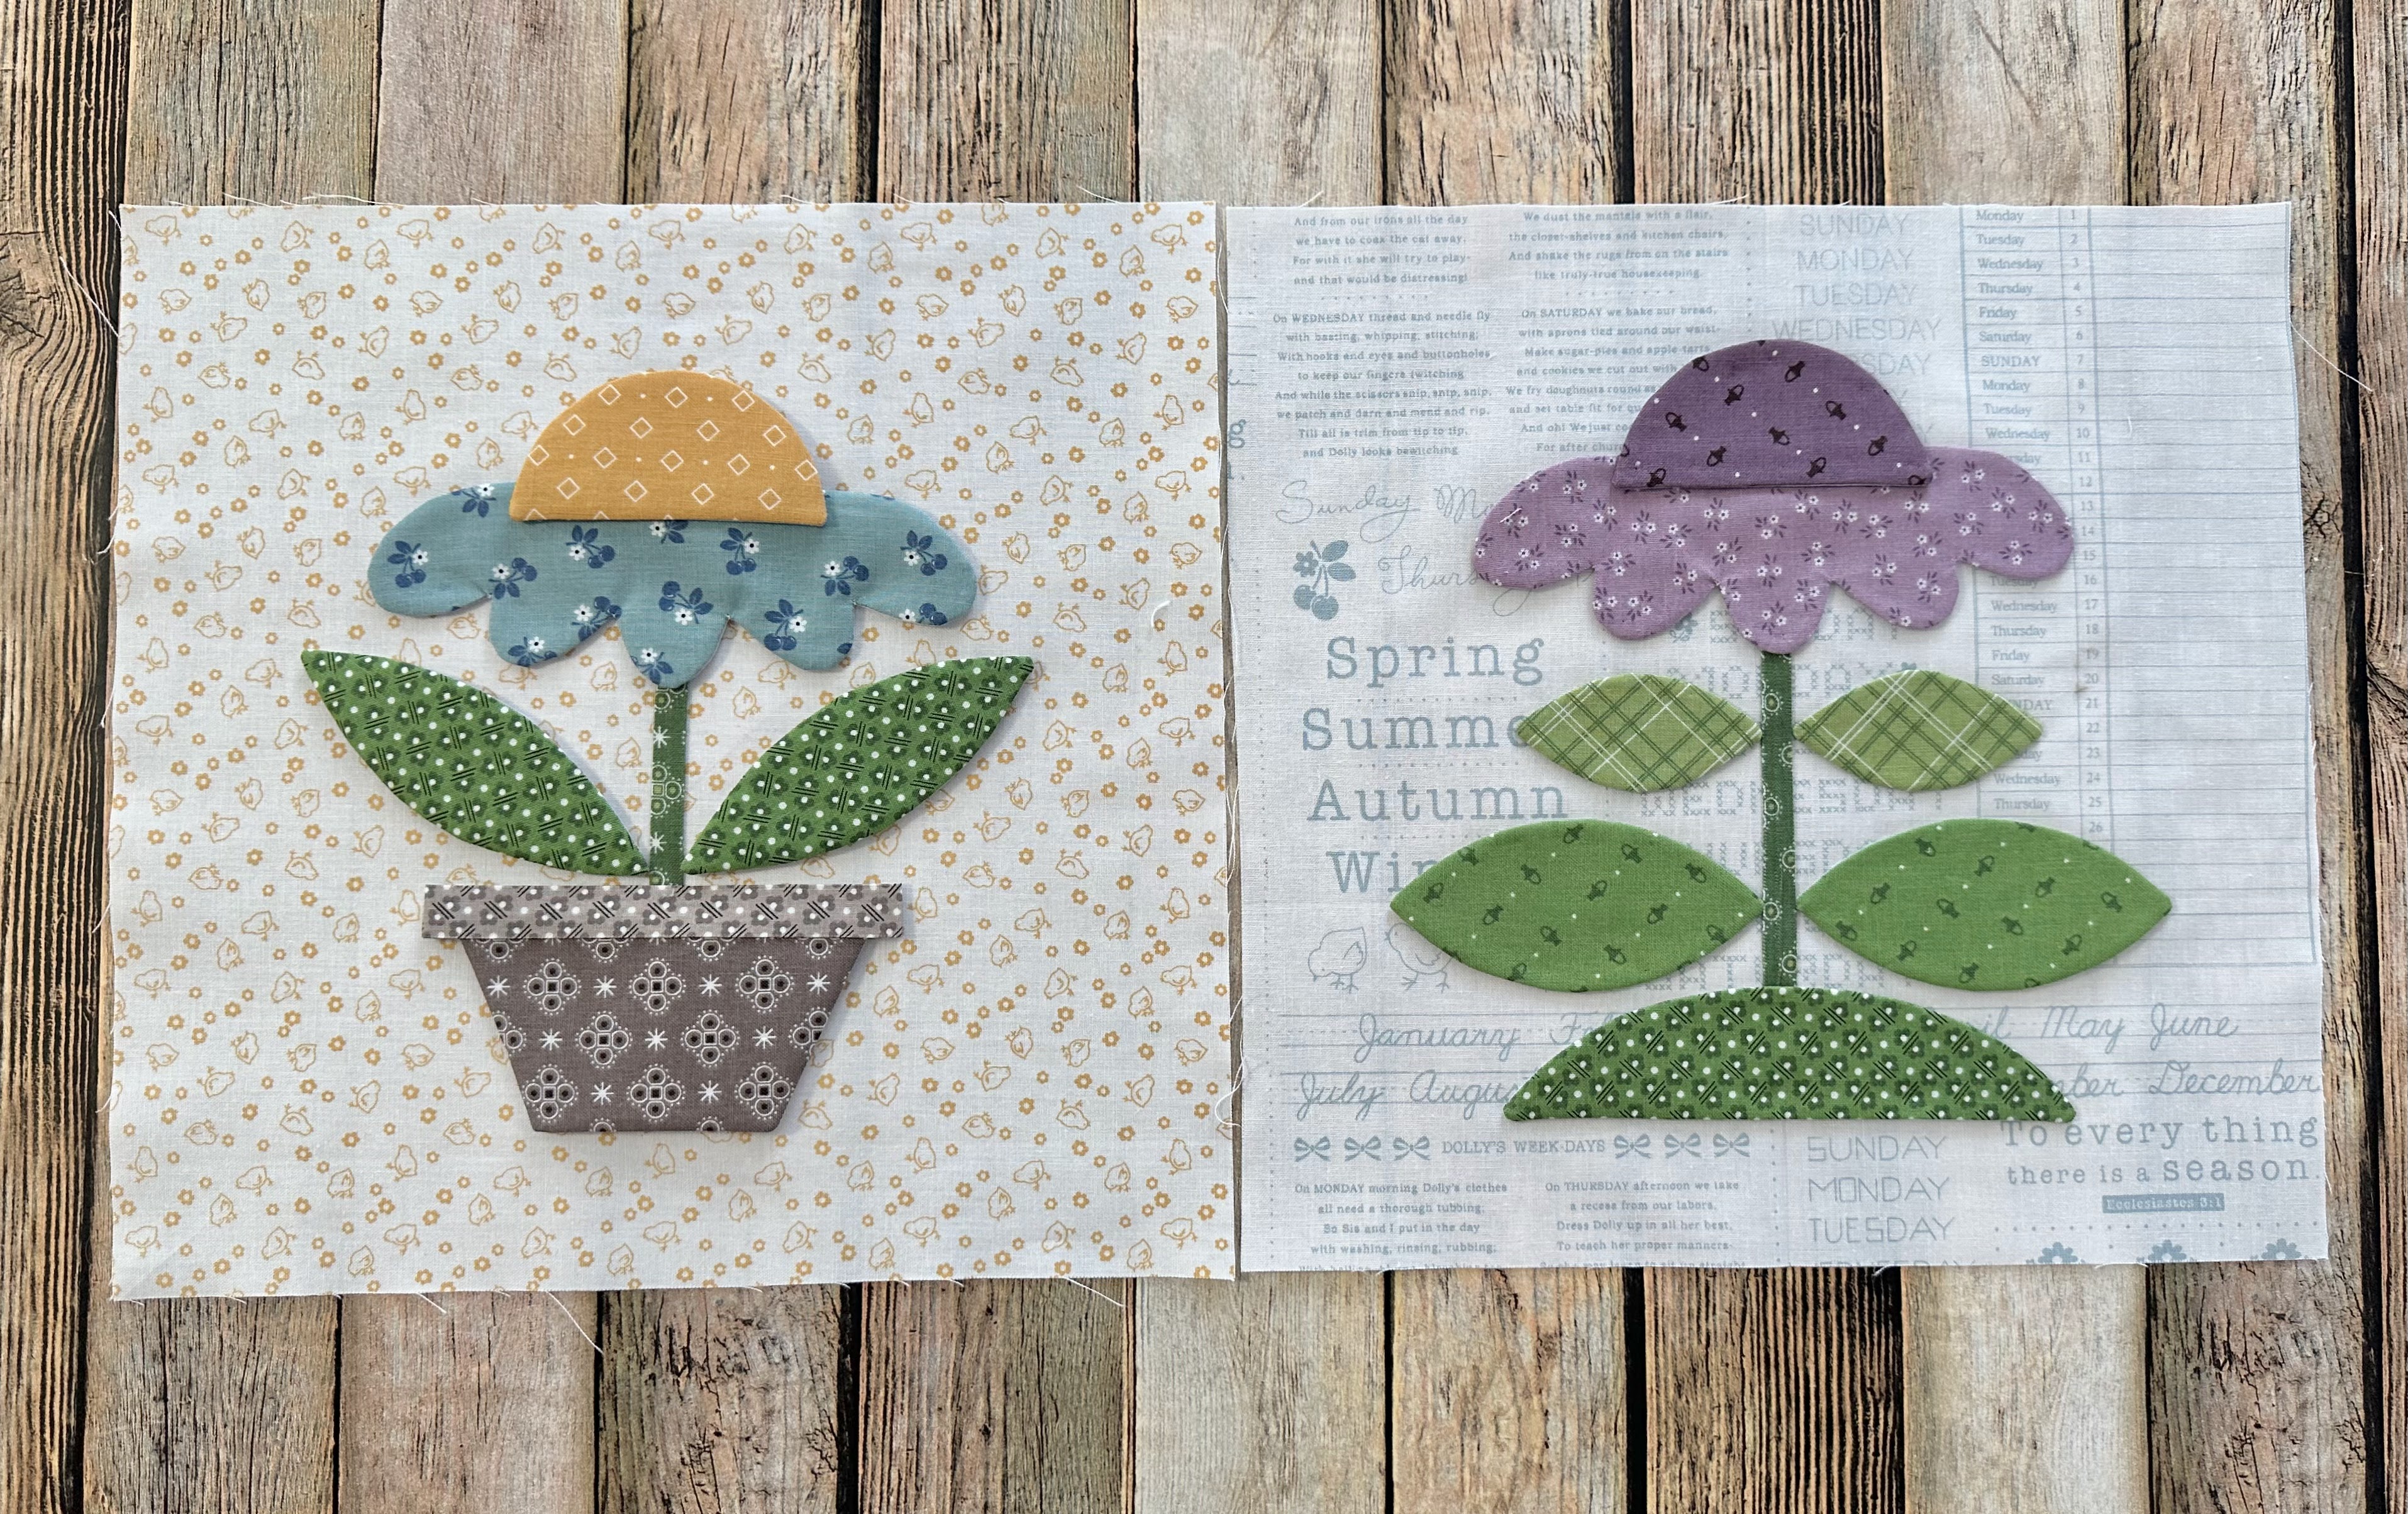
Blue Coneflower Block
Tutorial there.
to visit my channel and watch the
tutorial and I hope that you love it!
Pretty please leave me a comment
over there and let me know:)
If you like what you see
and my other videos there...
click on subscribe and click on the bell
to be notified whenever
I post another tutorial:)

that I showed you
how to make in my video:)
It's all ready for applique!!!

The Purple Coneflower Block
is almost identical to the Blue
and so I'll show you how I made mine
and give the necessary particulars!

Here is my Purple Coneflower Kit
Everything is all cut...
all traced and ready to go!
Here is a list of the
Calico Garden
Sew Simple Shapes
needed for this block:
1 - O-44
2 - O-58
2 - O-64
1 - O-85
1 - O-86
You will also need to cut
and prepare 1/4"
straight bias strip for the stem:
1 - 5" long
Cut your background
10" x 10"
as it says in the guide
and press it in half for
centering the flower and stem
when pinning and glue basting:)

*Take note that on shape O-85
that this mound will be the short one
so that it fits on the block...
so just trace the top curve of the shape
down to the line and then across
like I showed you with the pot shape
in the video for the Blue Coneflower.

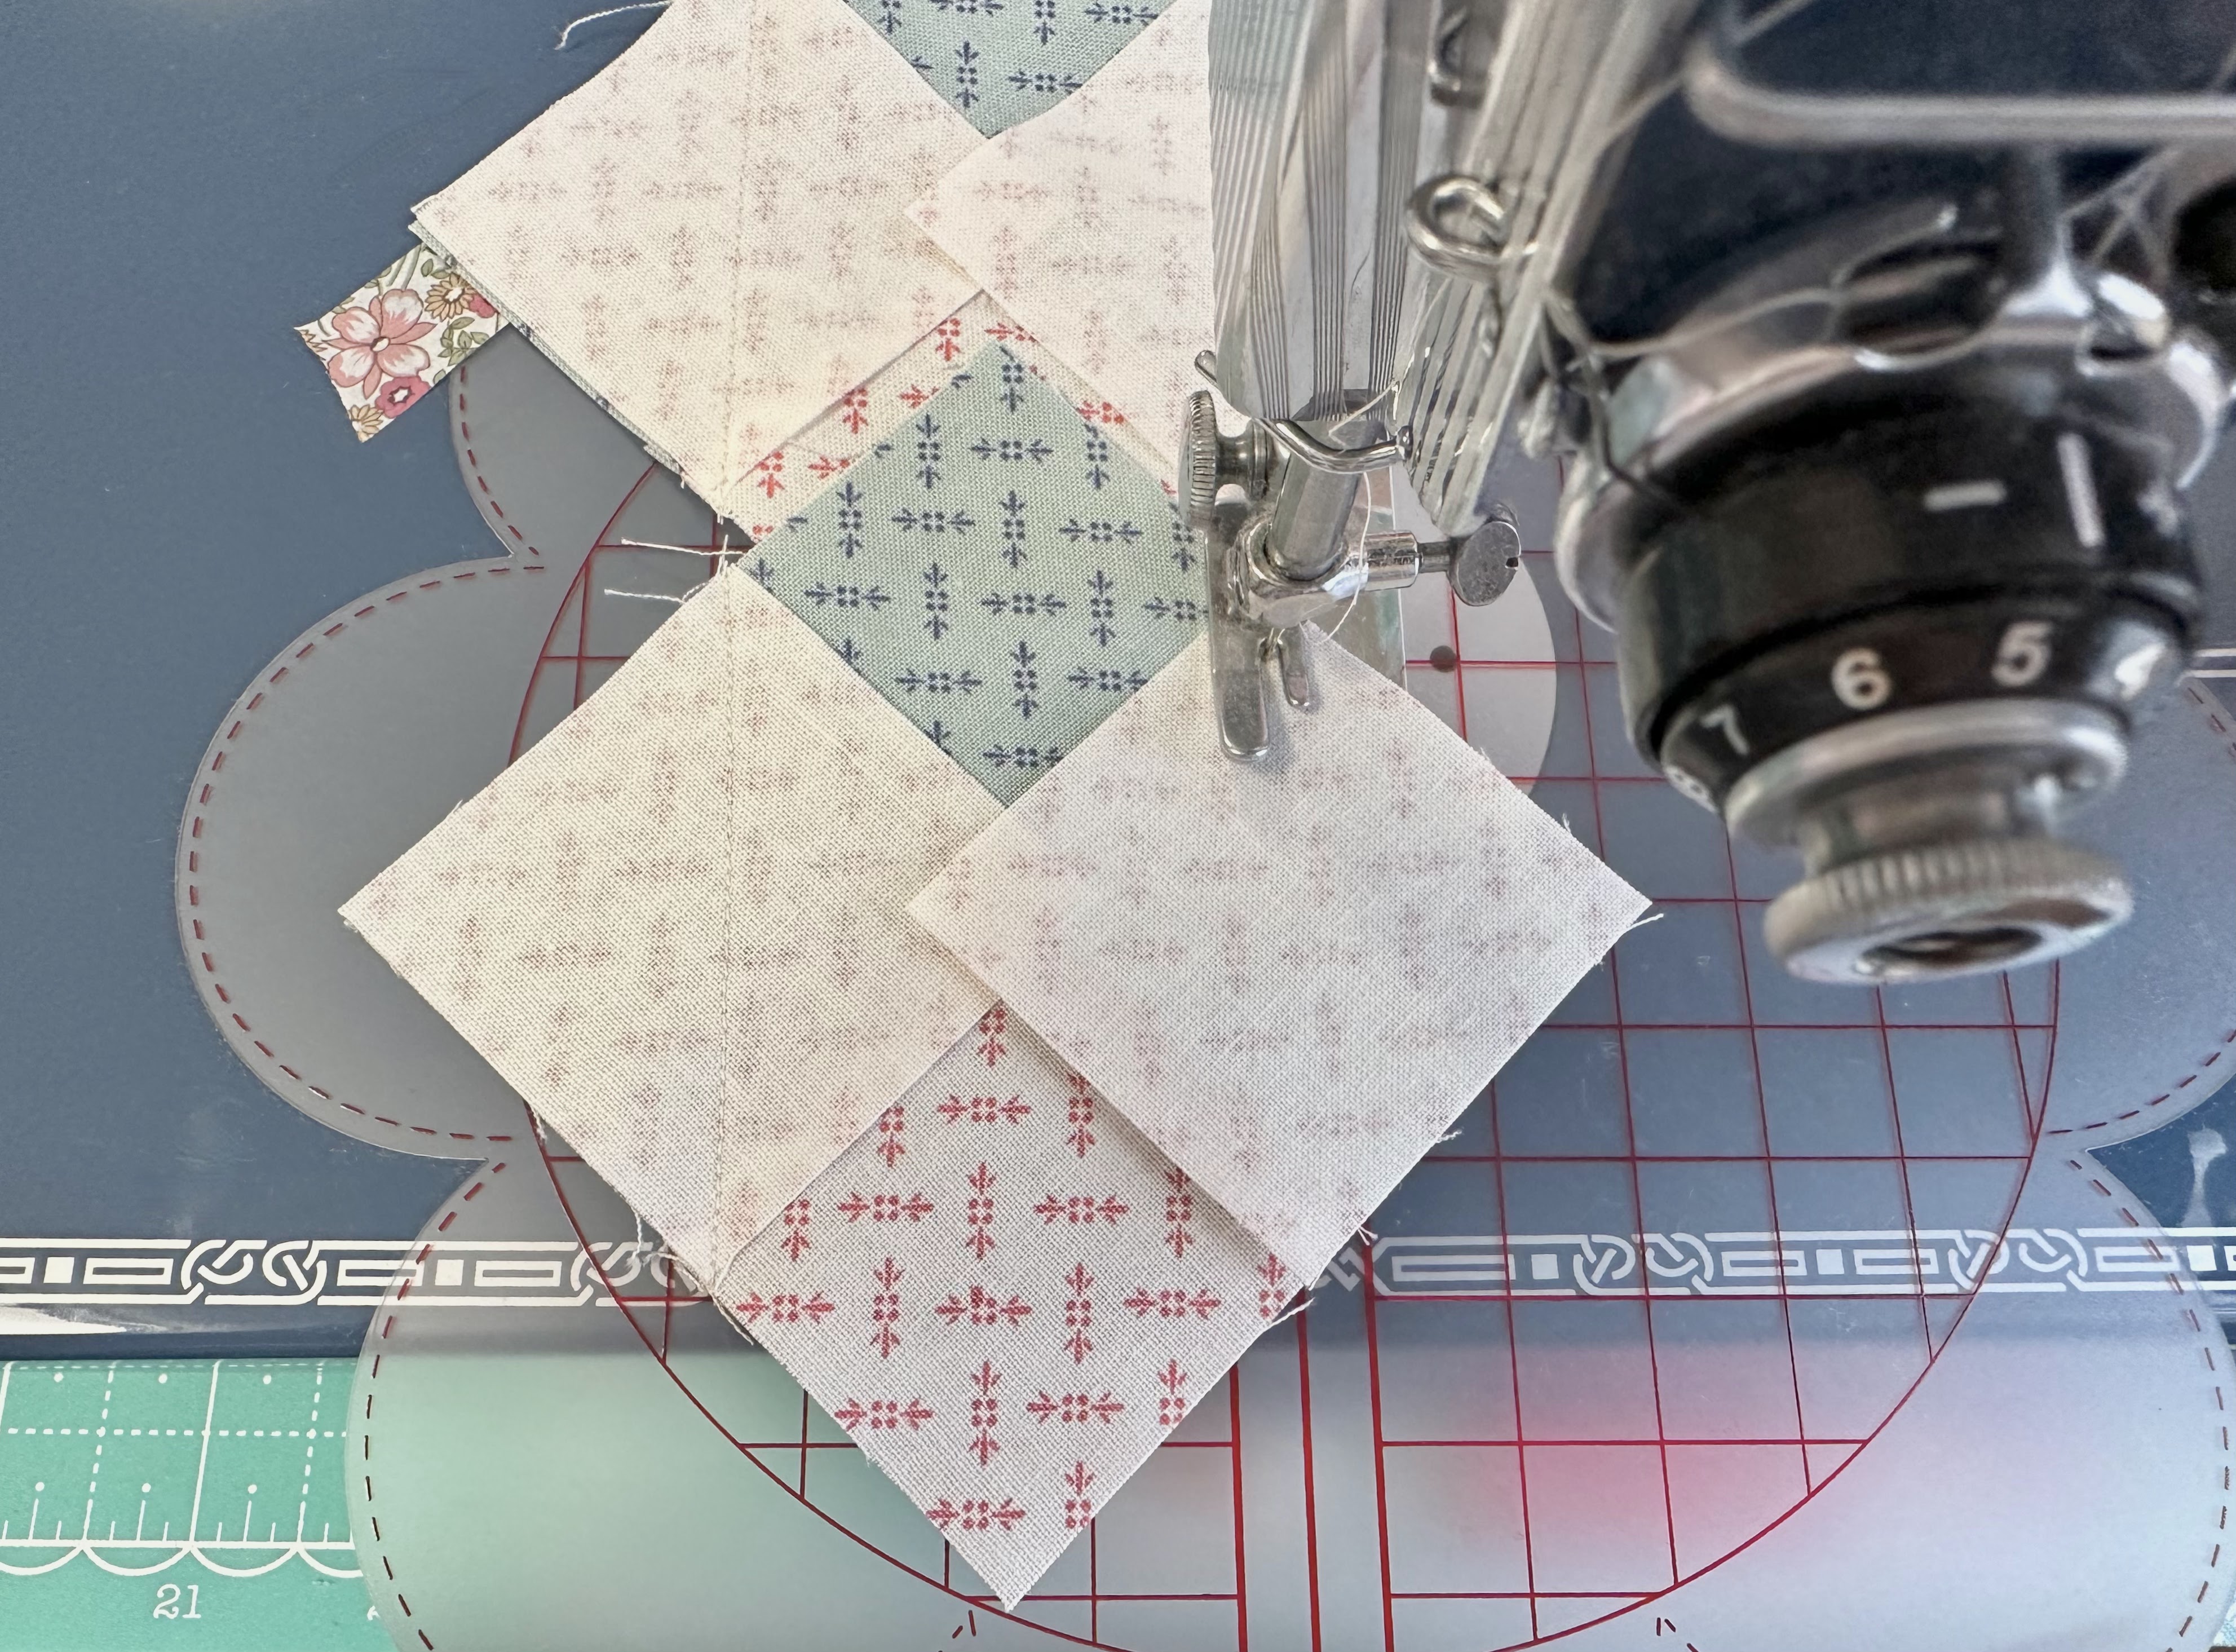
All of the shapes were sewn...
trimmed...turned and shaped
just like I showed in my video.
Don't forget to clip the cleavage areas
in the flower before turning.
Okay!
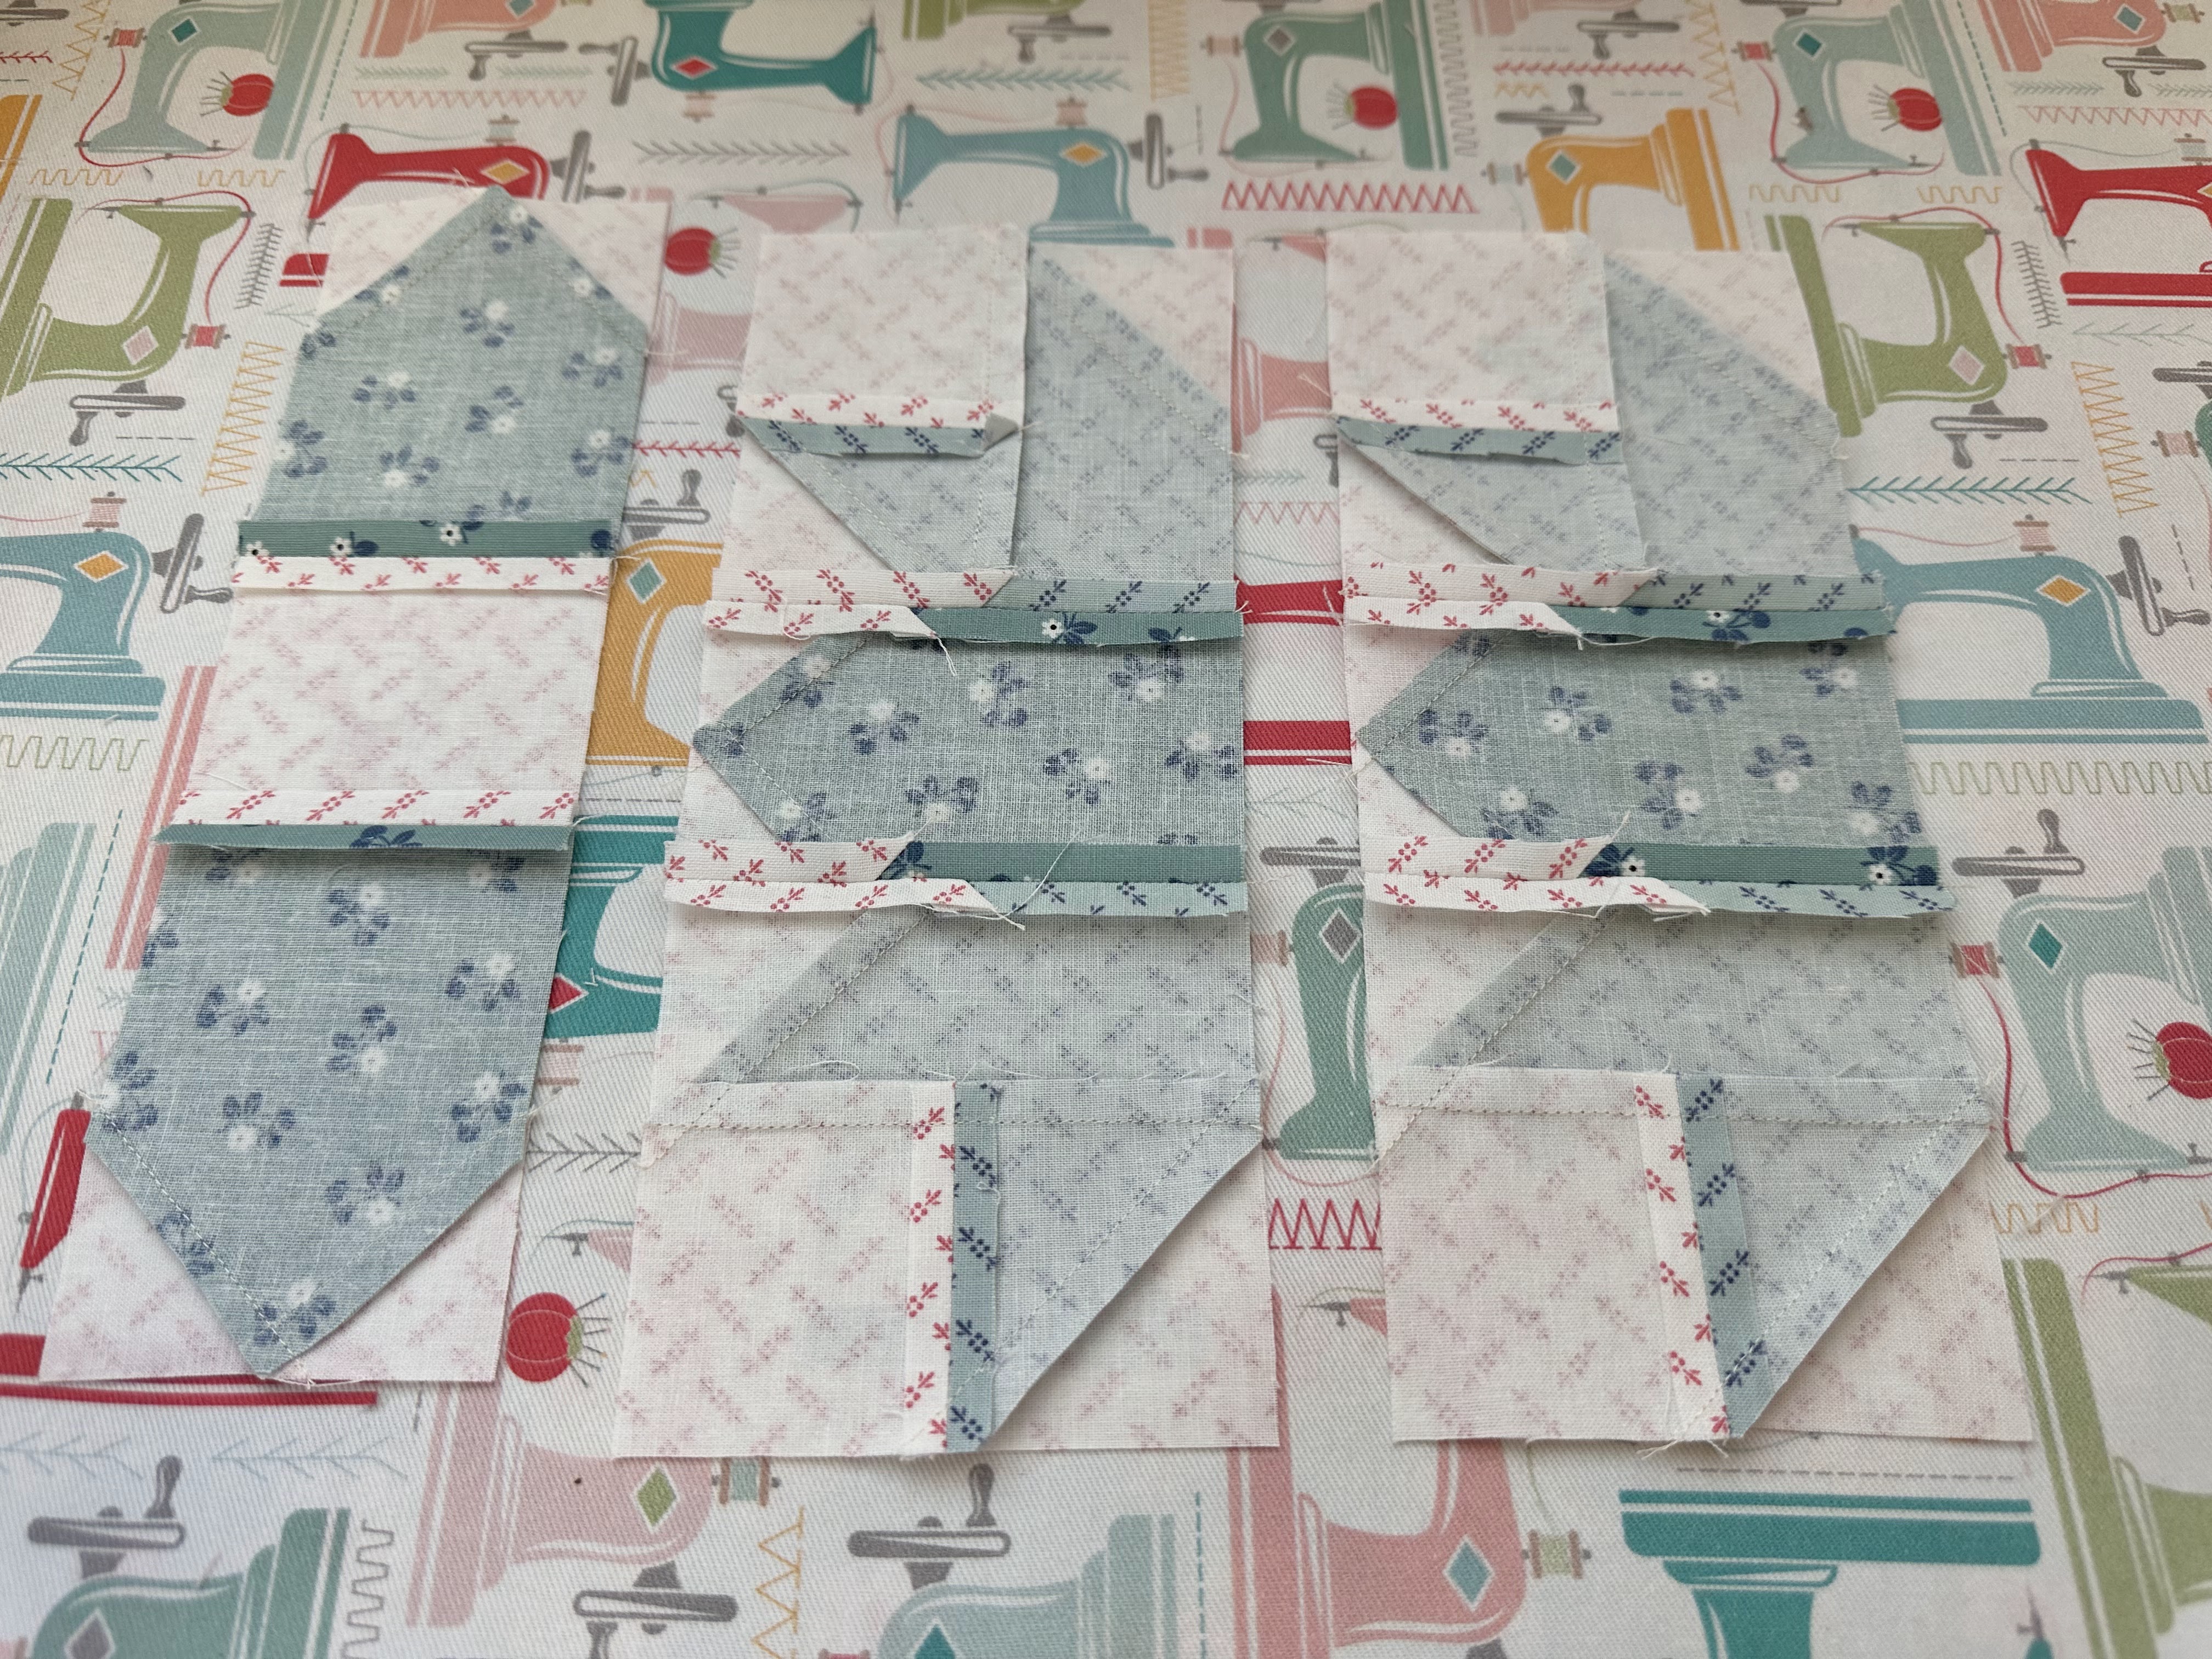
Now I'll show you all of the
measurements for this block
after I glue basted and pinned it:)

7 1/4" - 7 1/2" tall

Large leaves are 7 1/2" wide...

And small leaves are 5" wide.


Purple Coneflower Block
all ready for applique:)
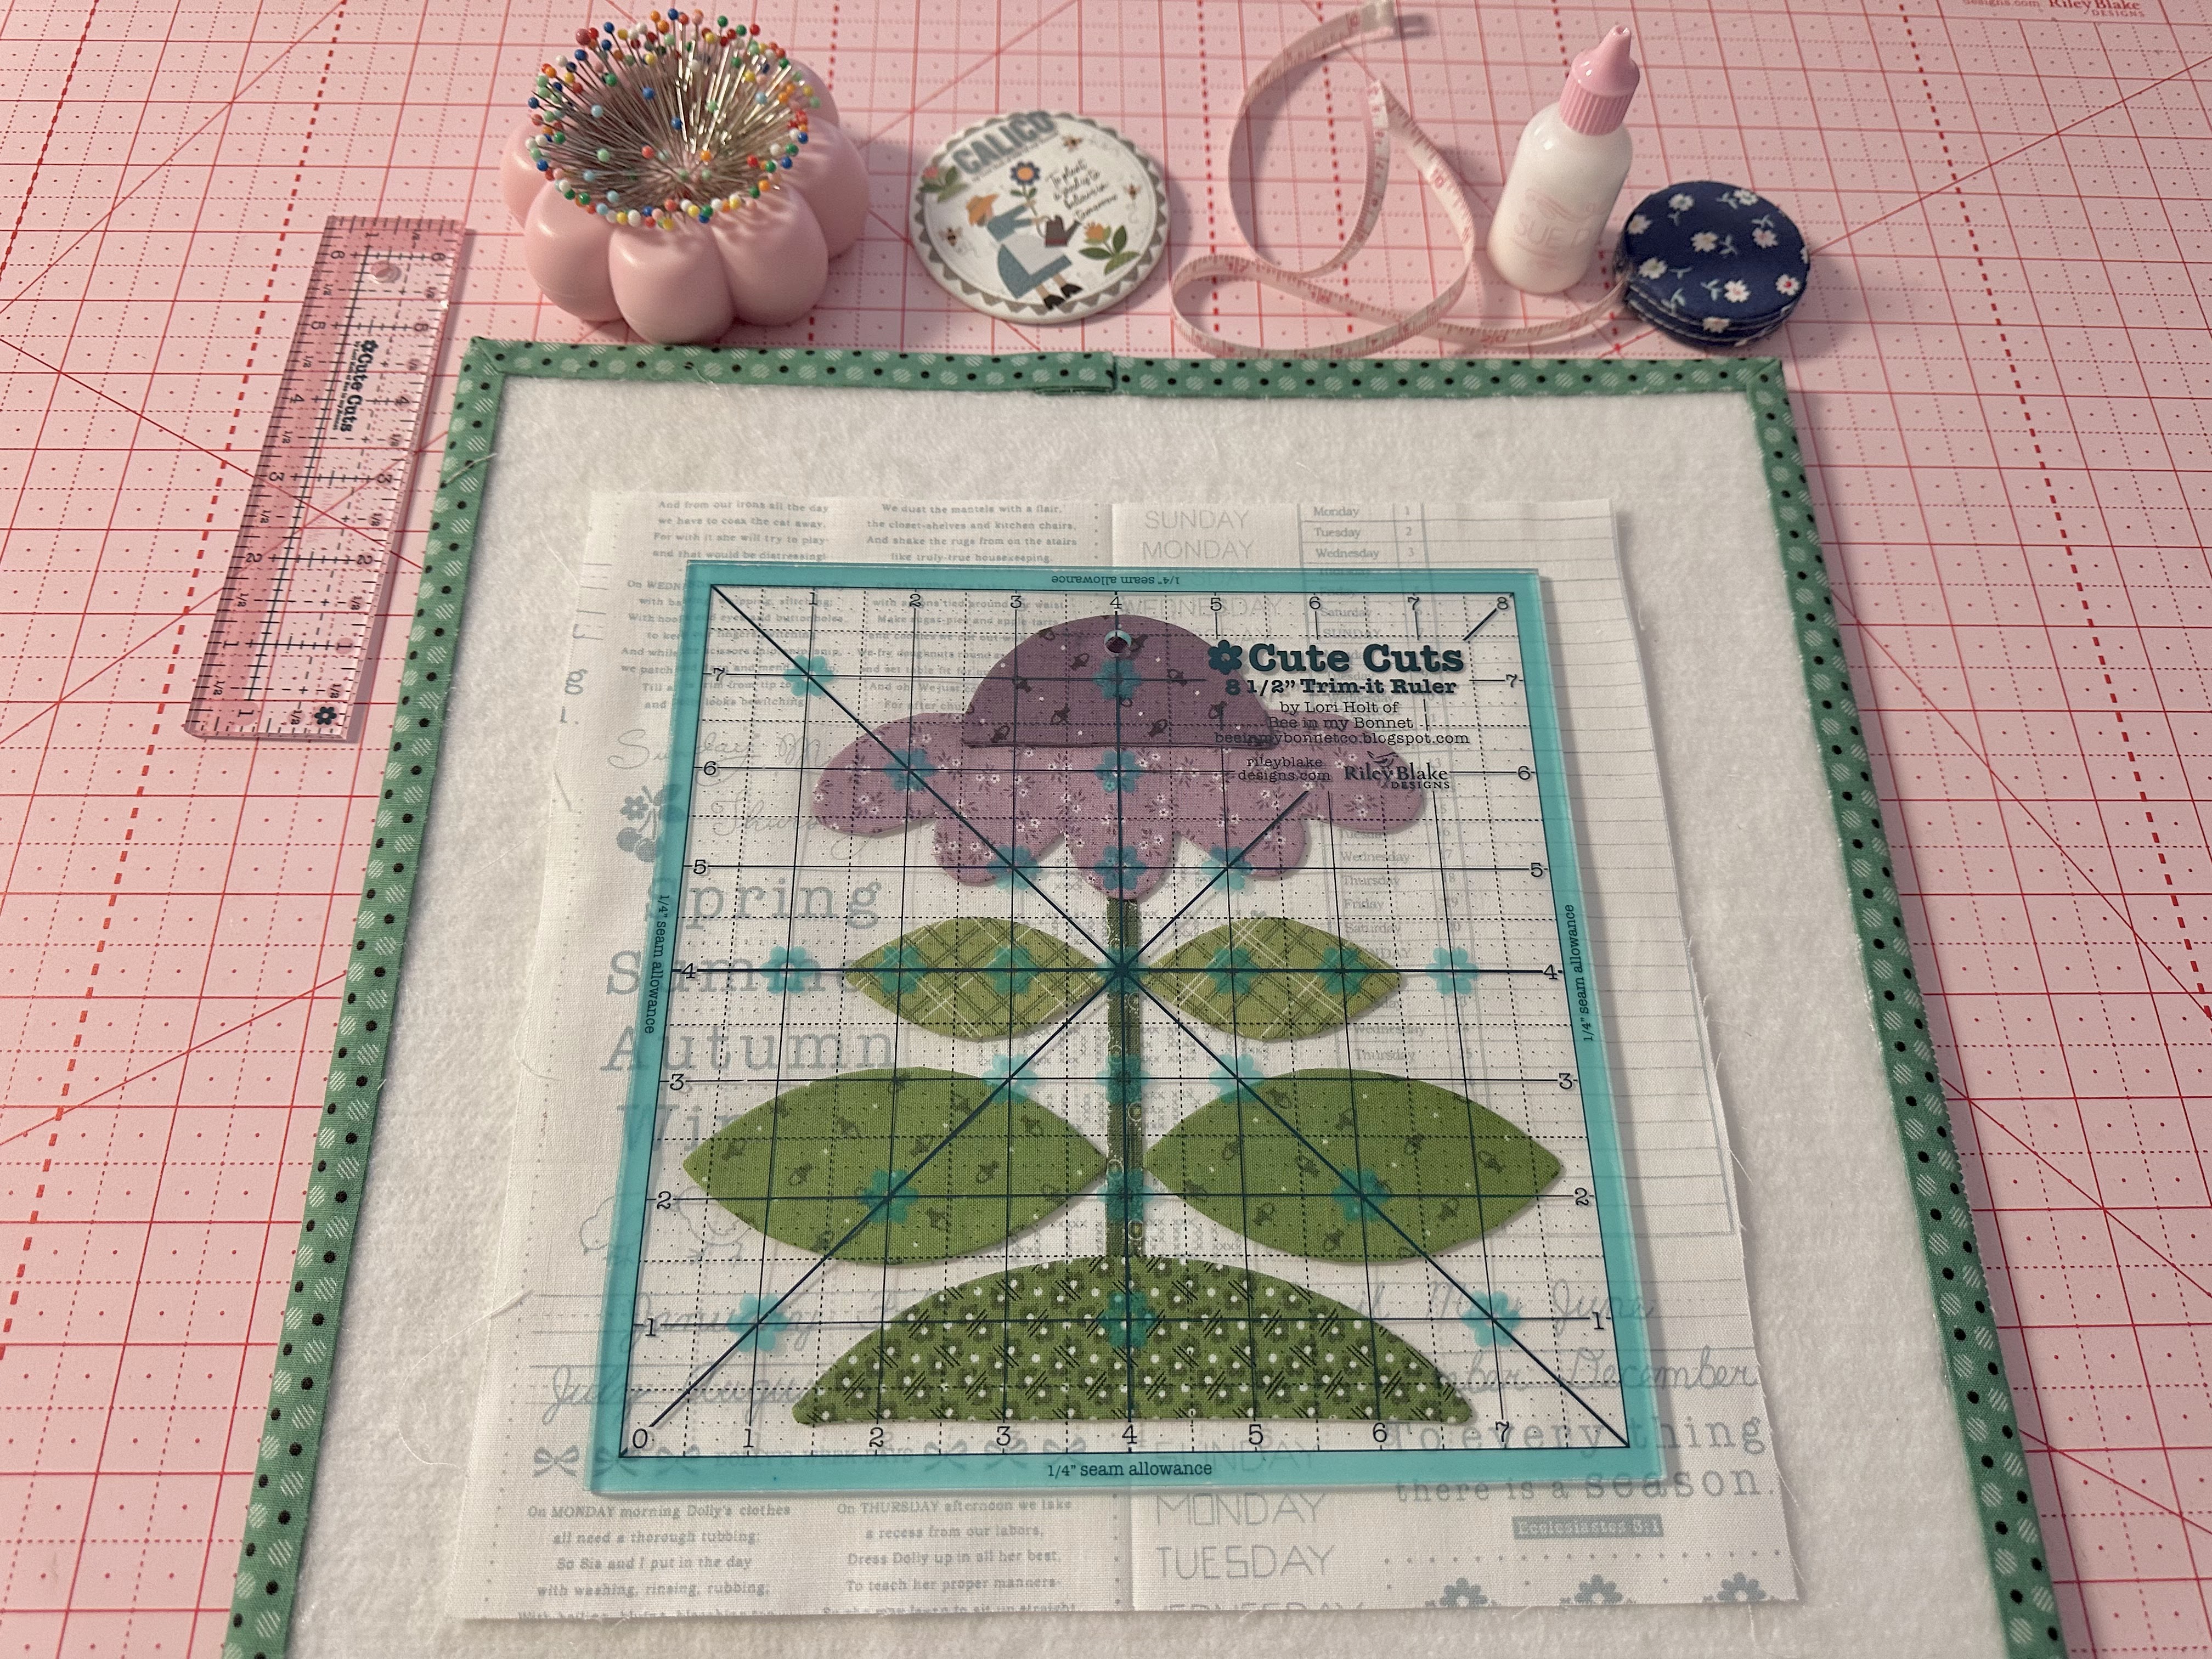
Afterwards I will
press from the back and then
I will use my 8 1/2" Trim-It Ruler
to trim down the block before
I sew it into the quilt.
I just love these rulers!
One reason is that I love to use
during layout to make sure
everything is centered:)
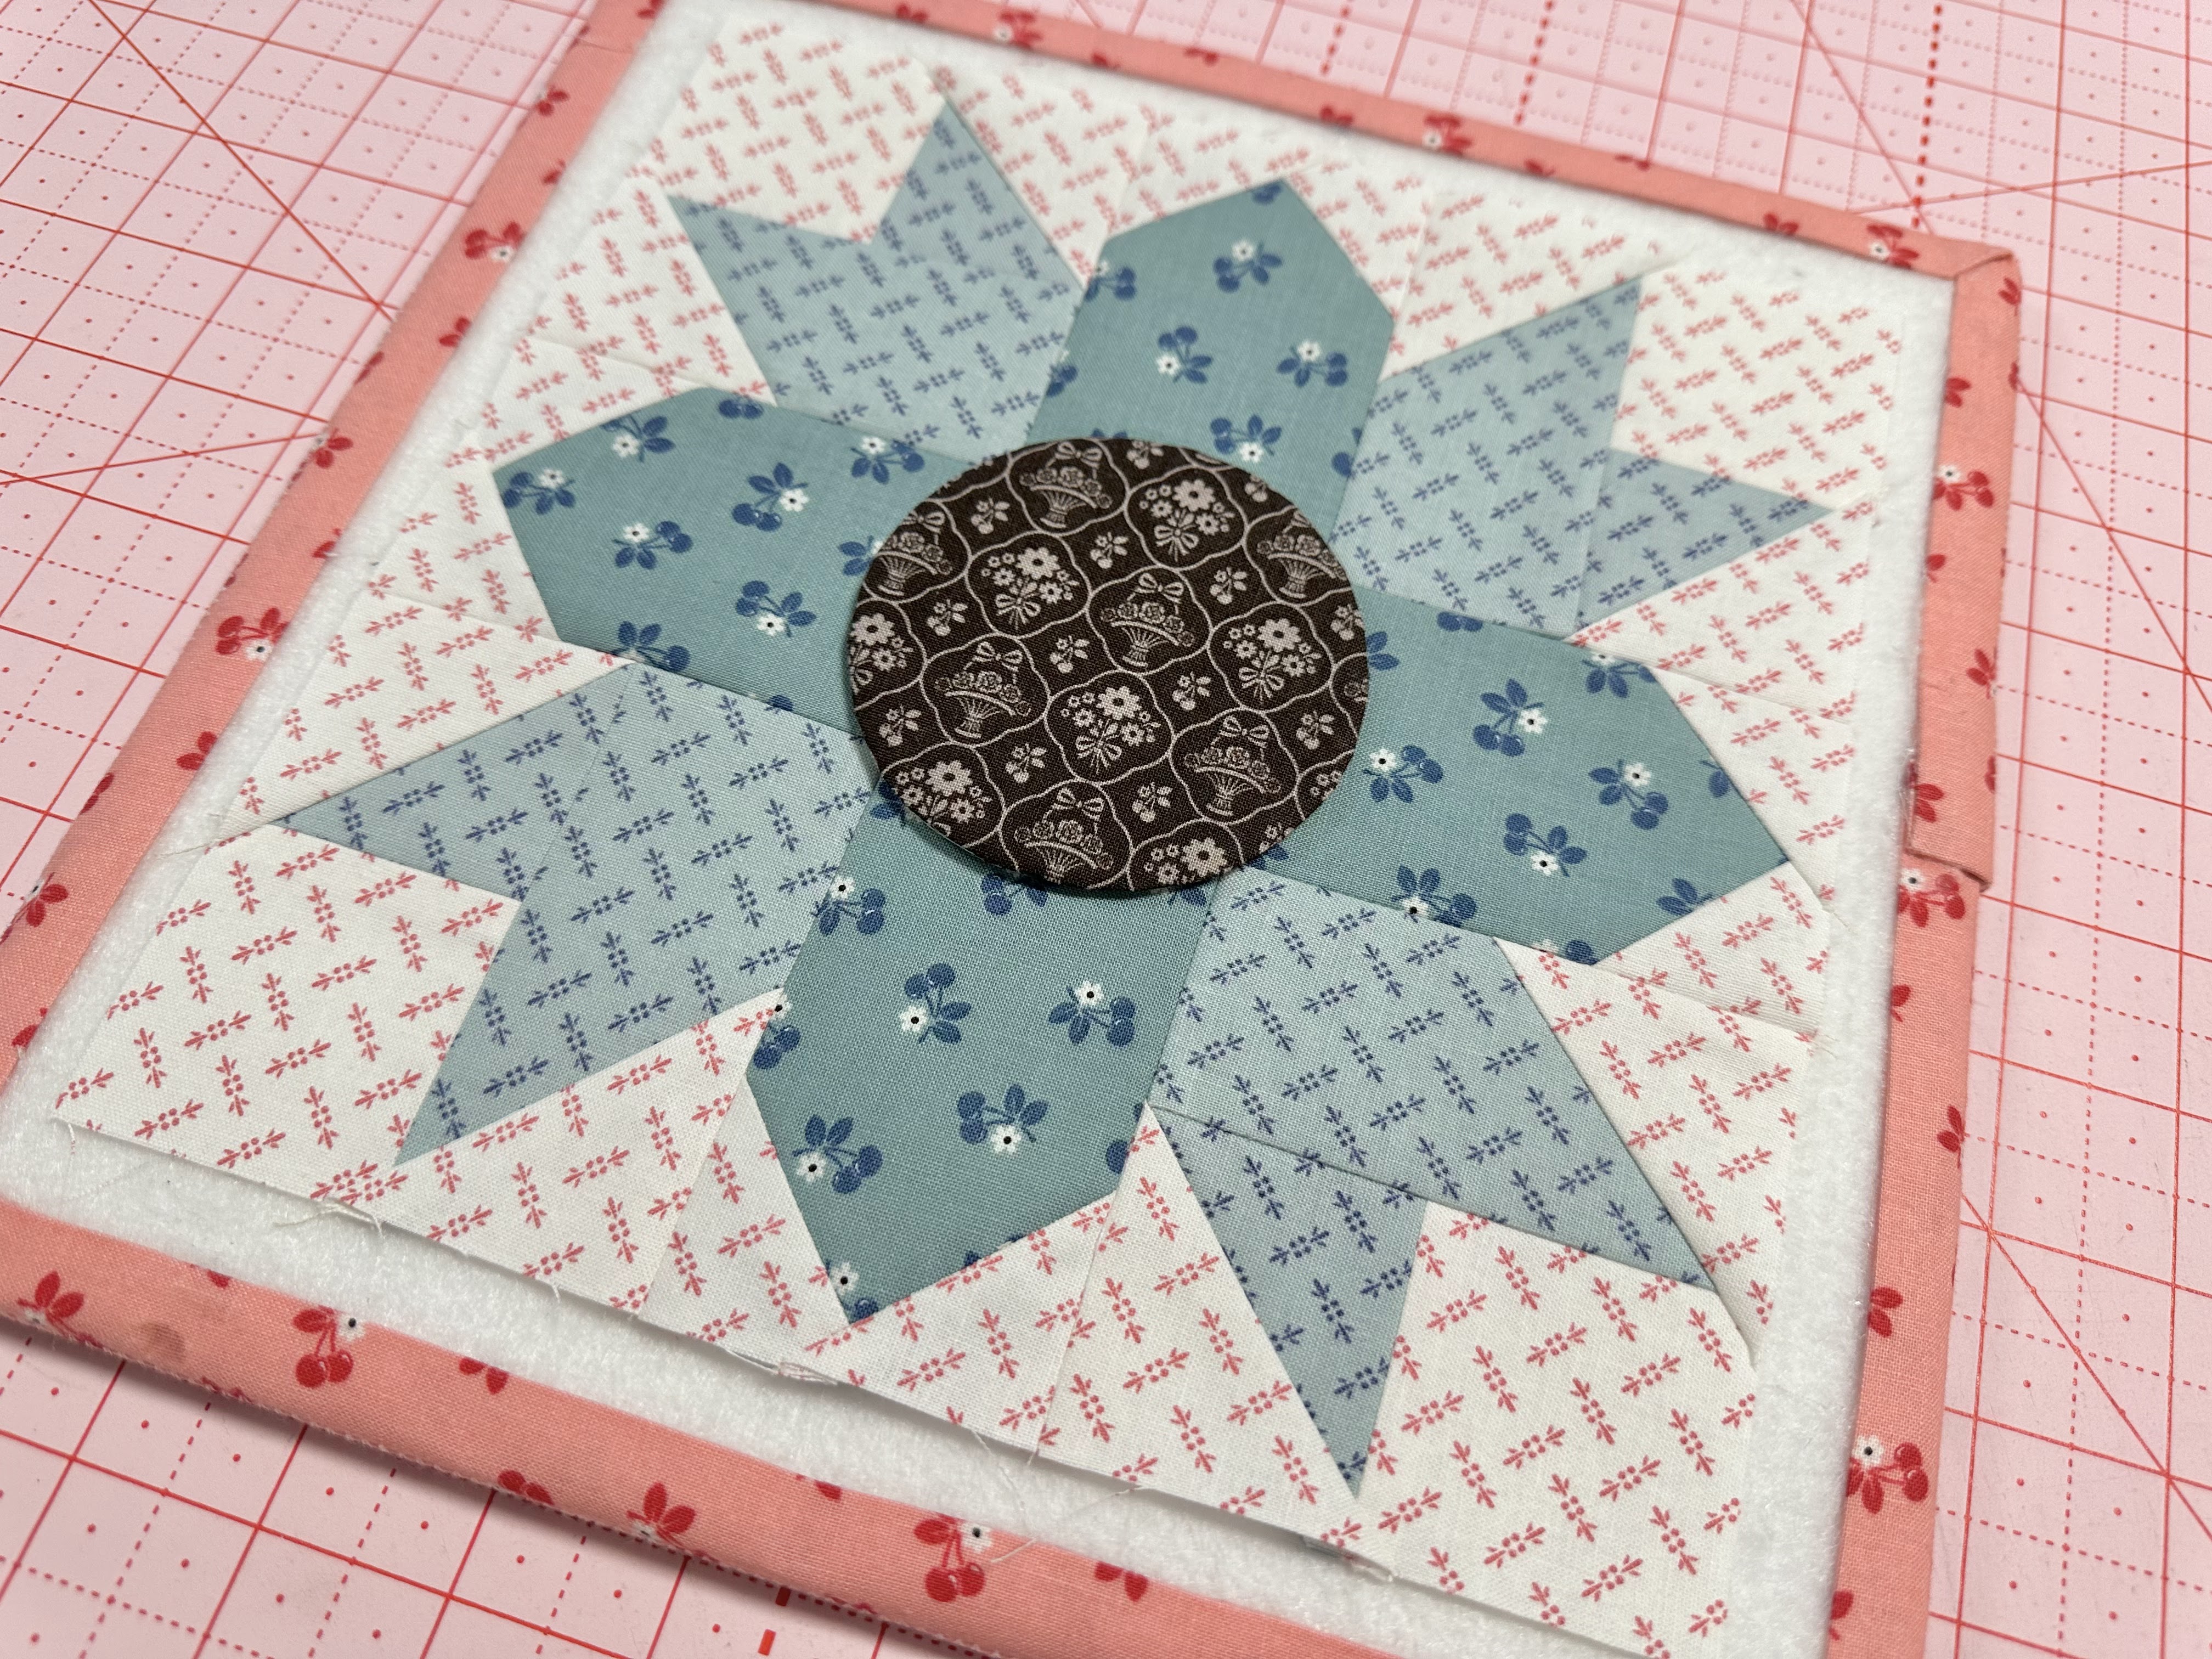
on how to make the
CALICO STAR FLOWER BLOCK
to read my blog post
for those instructions:)

and for joining me
for the very first week of
Calico Garden
Congratulations on
making your first blocks:)
YaY You!
I'll meet you right back here
on my blog next week for the
Morning Glory Block tutorial...
xx
Lori