
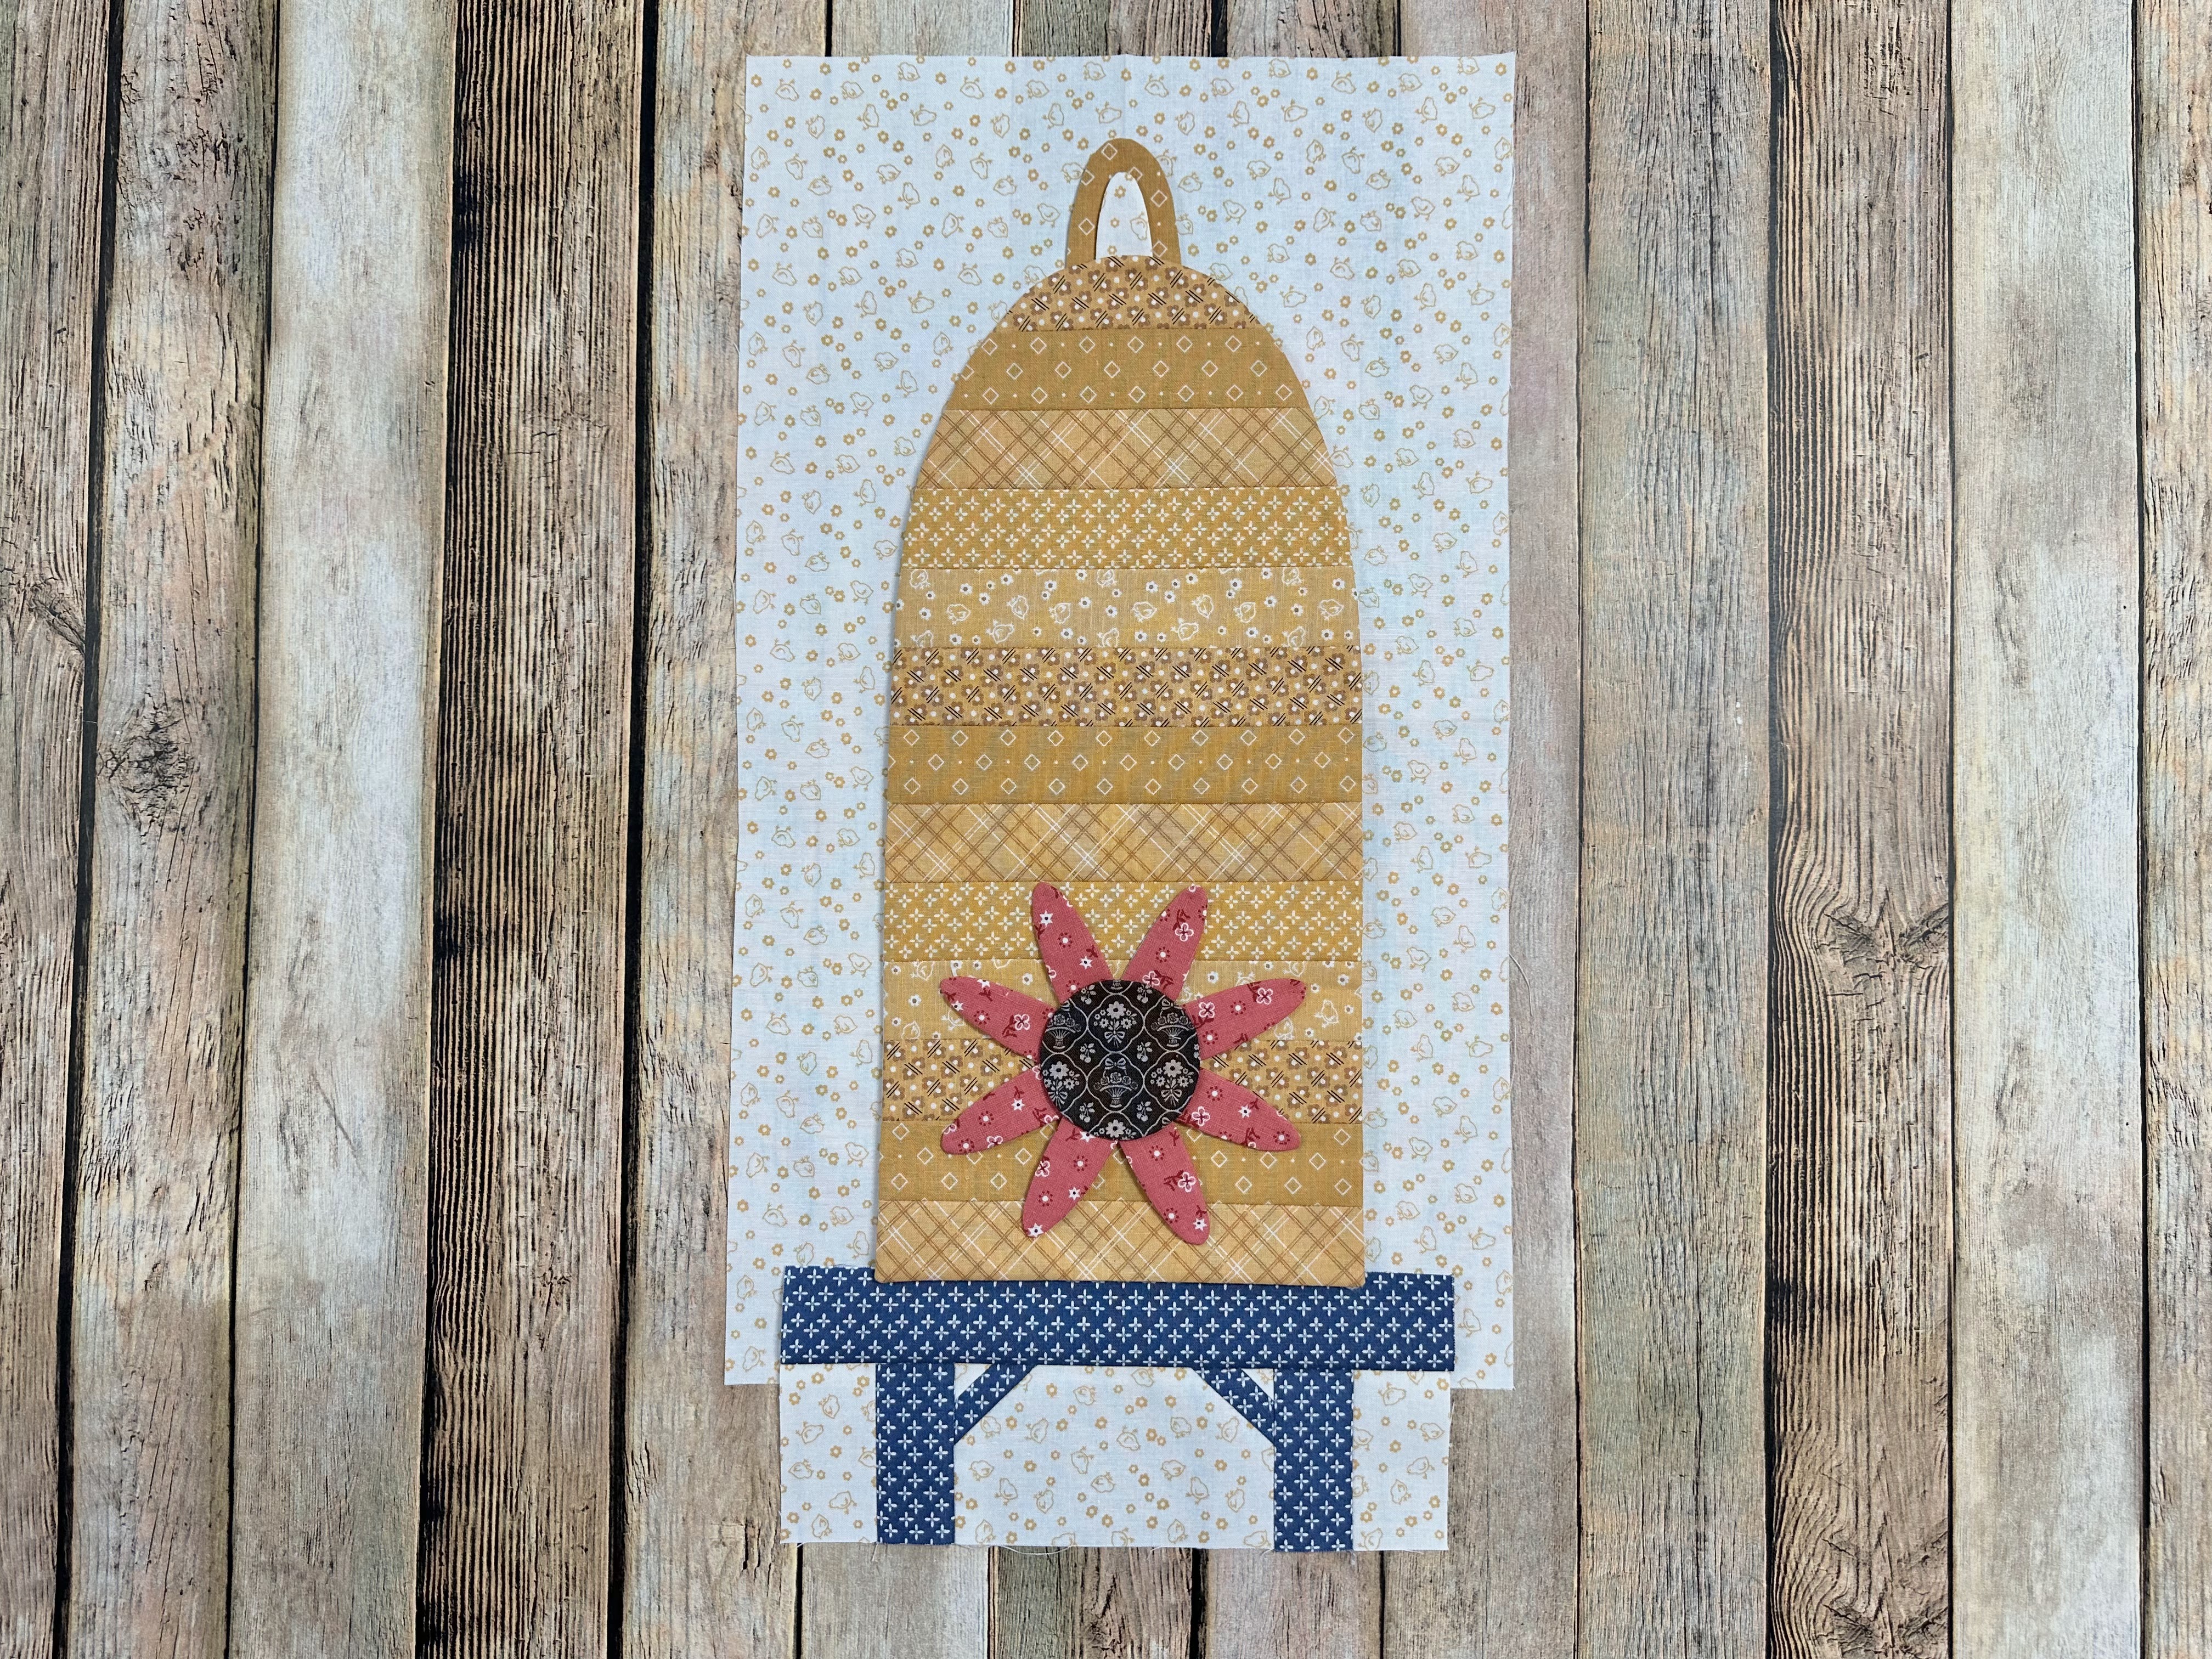
"BEE SKEP BLOCK"

Welcome to Week Nine of the
"CALICO GARDEN"
Sew Along!
Join me here each week
when I will be doing tutorials
on the blocks for the quilt.
Of course because we are all sewing
from all around the world
we all have different time zones...
But I will be posting each Monday
right here on my blog
and you can follow my tutorials
any time each week that
is convenient for you.
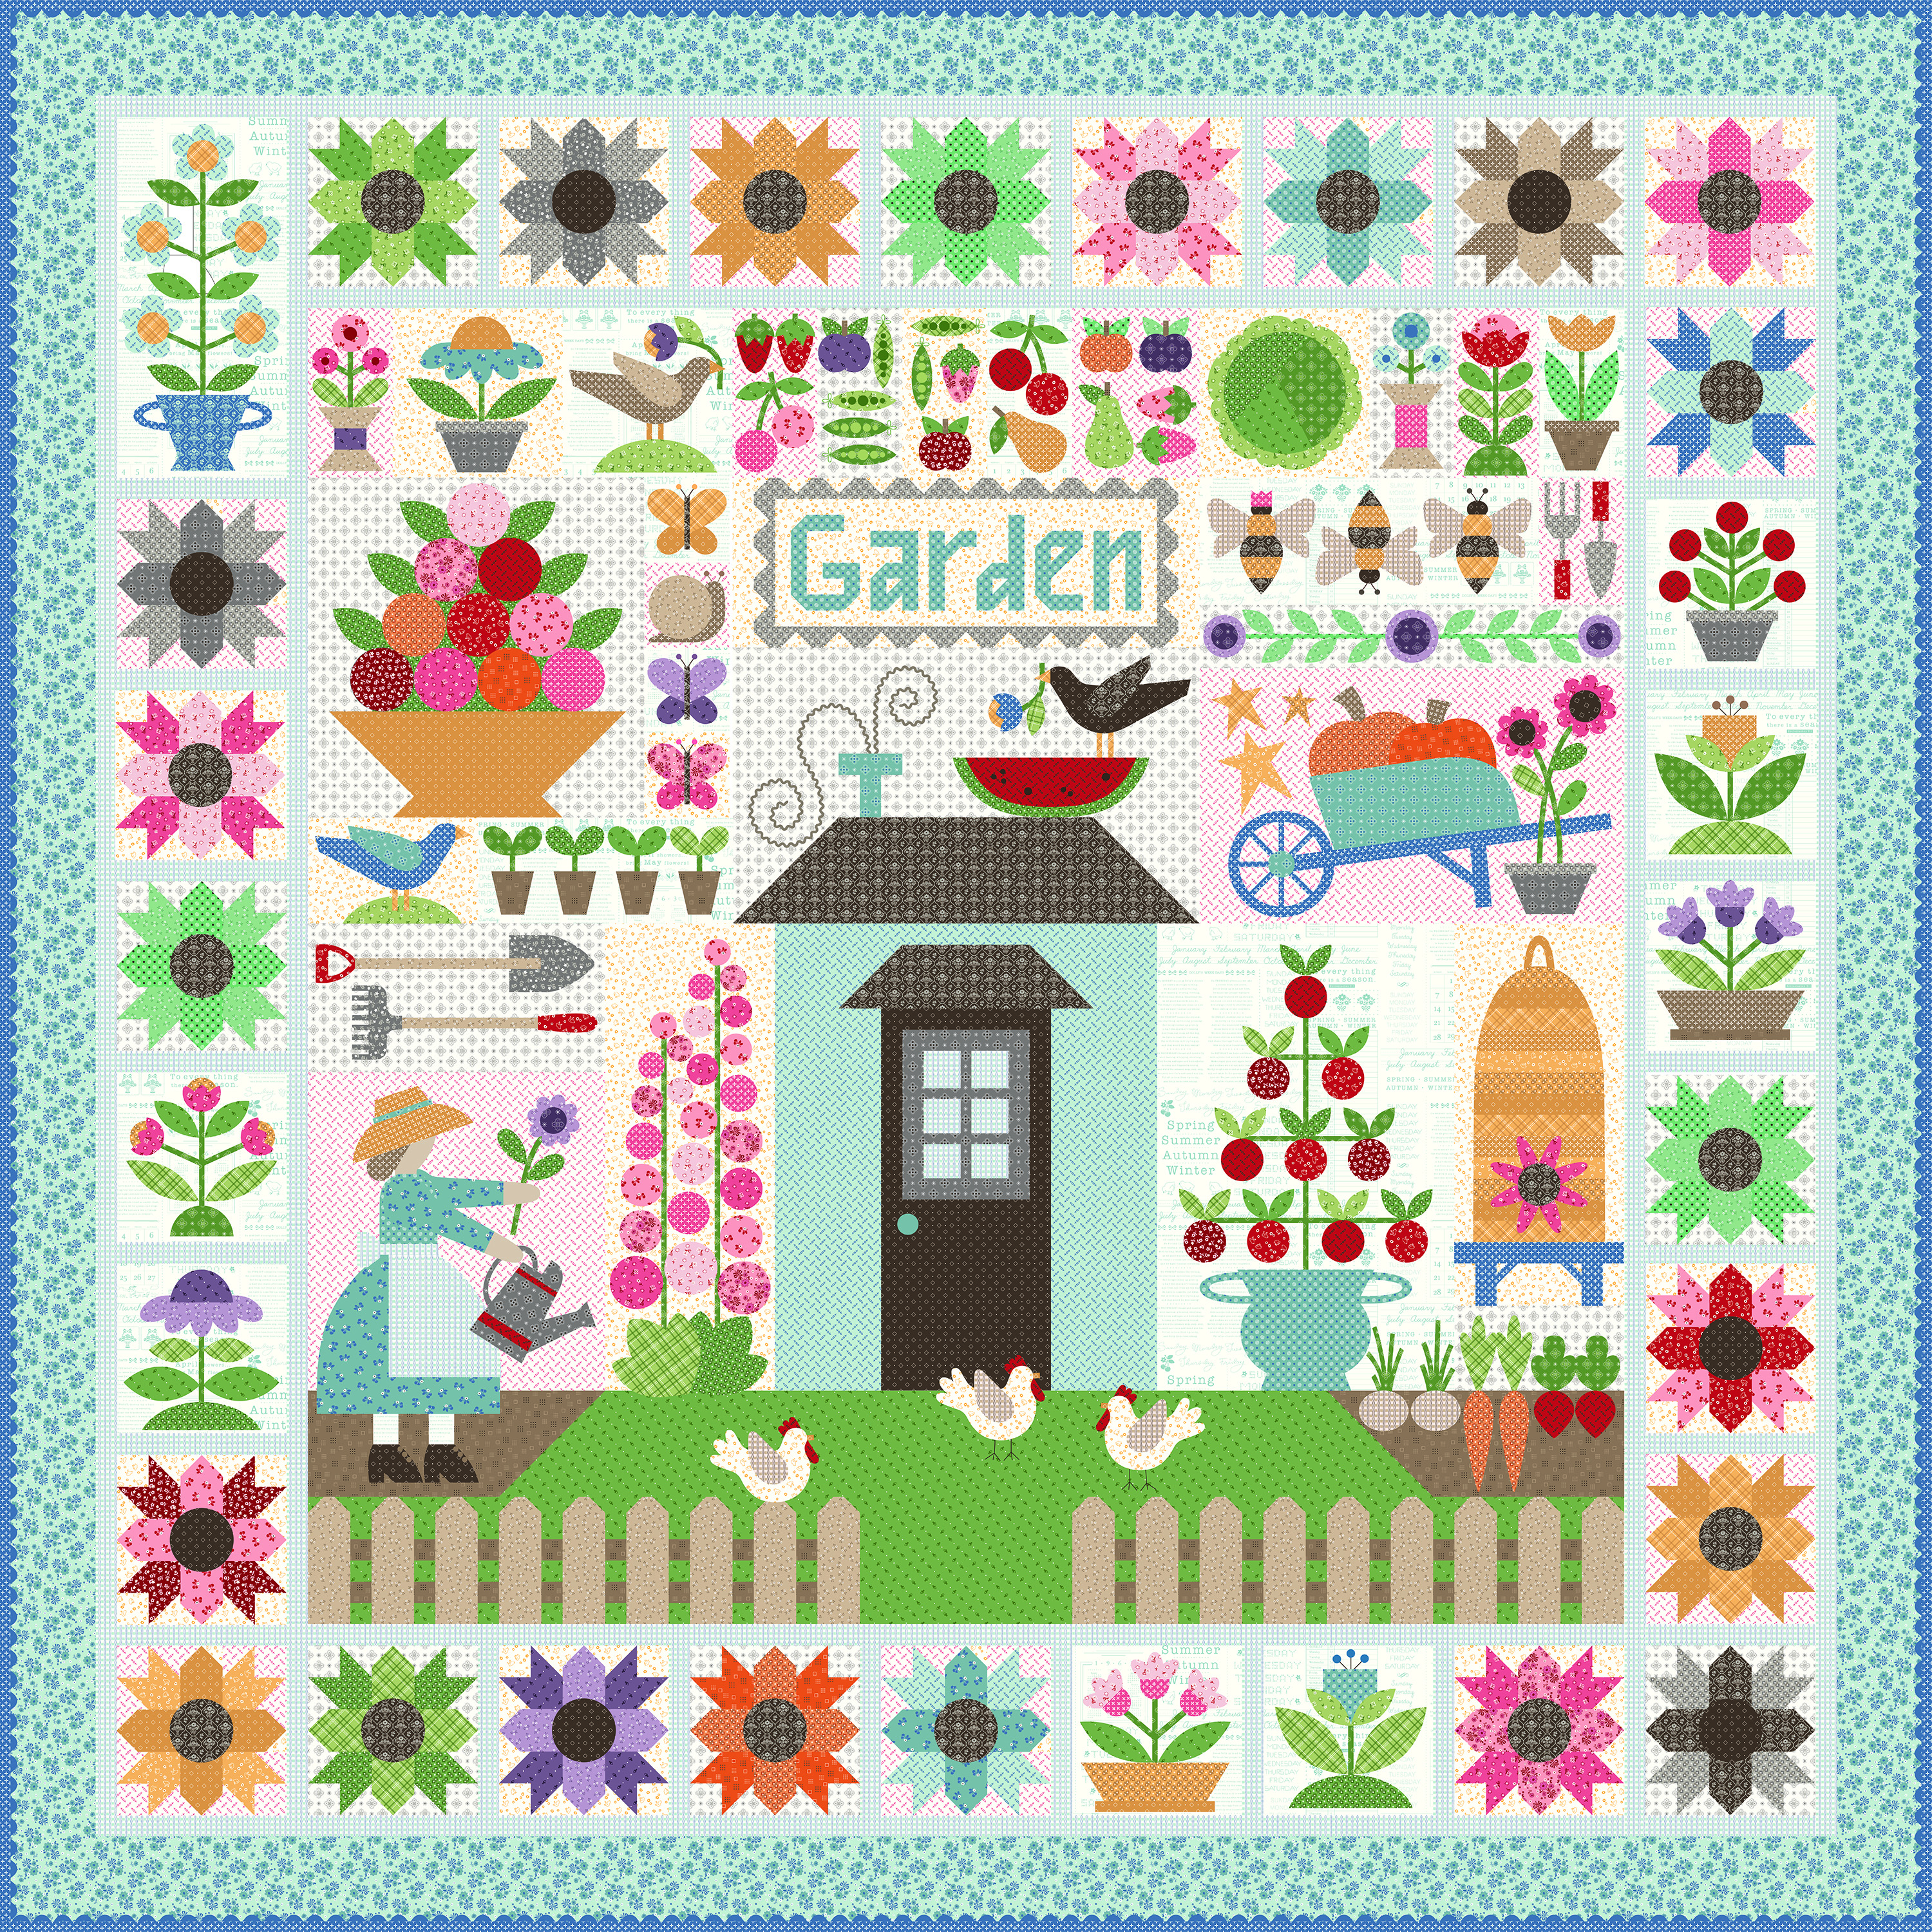
We are making the
Calico Garden Quilt
90" x 90"

The quilt is made with my latest fabric
collection called Calico...
I hope that you all have all
received your templates and
fabric kits by now...
and that we are all ready to begin!!
If you still need them ...
just do a quick google search for
"Calico Garden Quilt Kit"
to find shops who still have some left.

We are also using the
Calico Garden
Sew Simple Shapes
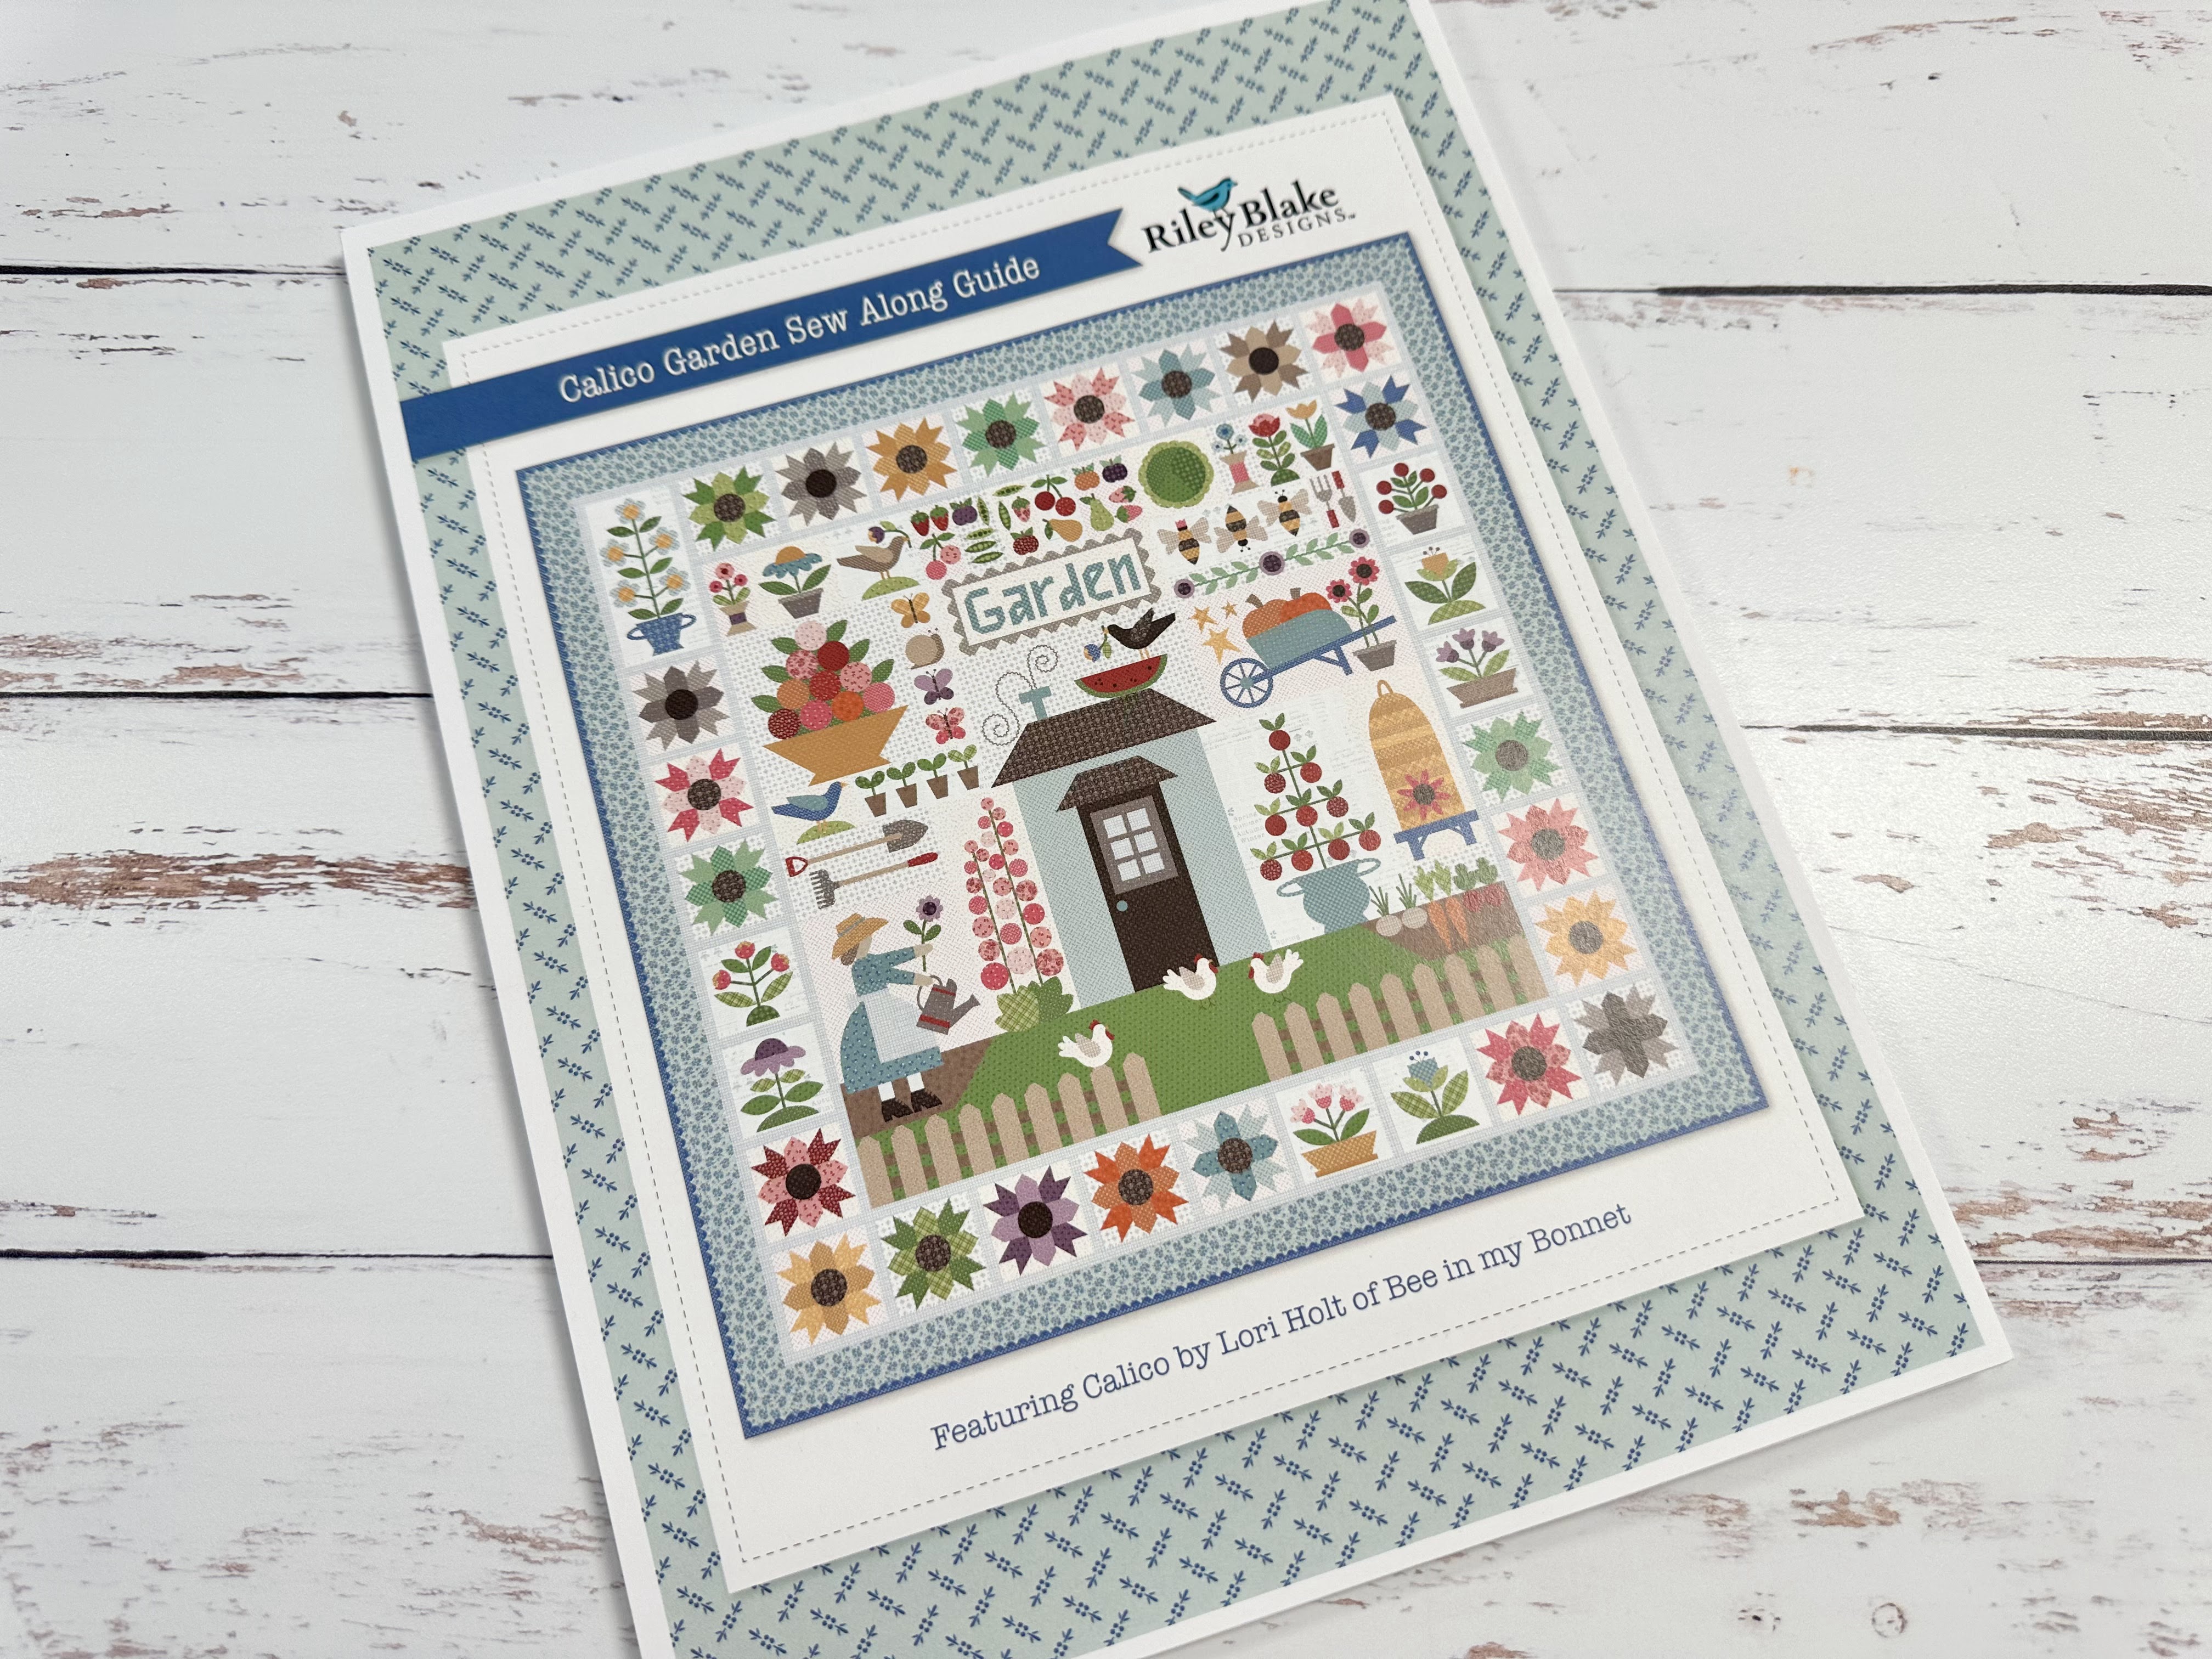
I have posted the
post which details all of the supplies
for the sew along and how it works.
I have also given the link there
for the free PDF Download
of the Sew Along Guide
to download the sew along guide.
As per the sew along guide
cutting instructions
you should have everything for your
Bee Skep Block
all cut and ready to go!
As per usual for week one in my
Sew Simple Shape Sew Alongs
the FIRST week tutorial is a video.
Because I now have my own
I have posted the
Blue Coneflower Block
Tutorial there.
to visit my channel and watch the
tutorial and I hope that you love it!
Pretty please leave me a comment
over there and let me know:)
If you like what you see
and my other videos there...
click on subscribe and click on the bell
to be notified whenever
I post another tutorial:)

that I showed you
how to make in my video:)

for the tutorial on my
PURPLE CONEFLOWER BLOCK

to go to my tutorial for the
CALICO STAR FLOWER BLOCK

to go to my tutorial for the
Morning Glory Blocks

to go to my tutorial for the
PRIMROSE BLOCKS

to go to my tutorial for the
RED ROSES and MUMS BLOCK

to go to my tutorial for the
Forget Me Not Block

to go to my tutorial for the
PICKET FENCE and GRASS BLOCKS

to go to my prepping tutorial for
HENS and ROOT VEGGIES

to go to my tutorial on the
HOLLYHOCKS and
RAKE and SHOVEL BLOCK

to go to my tutorial for the
GARDEN GIRL

Okay...let's get ready to
make the Bee Skep!

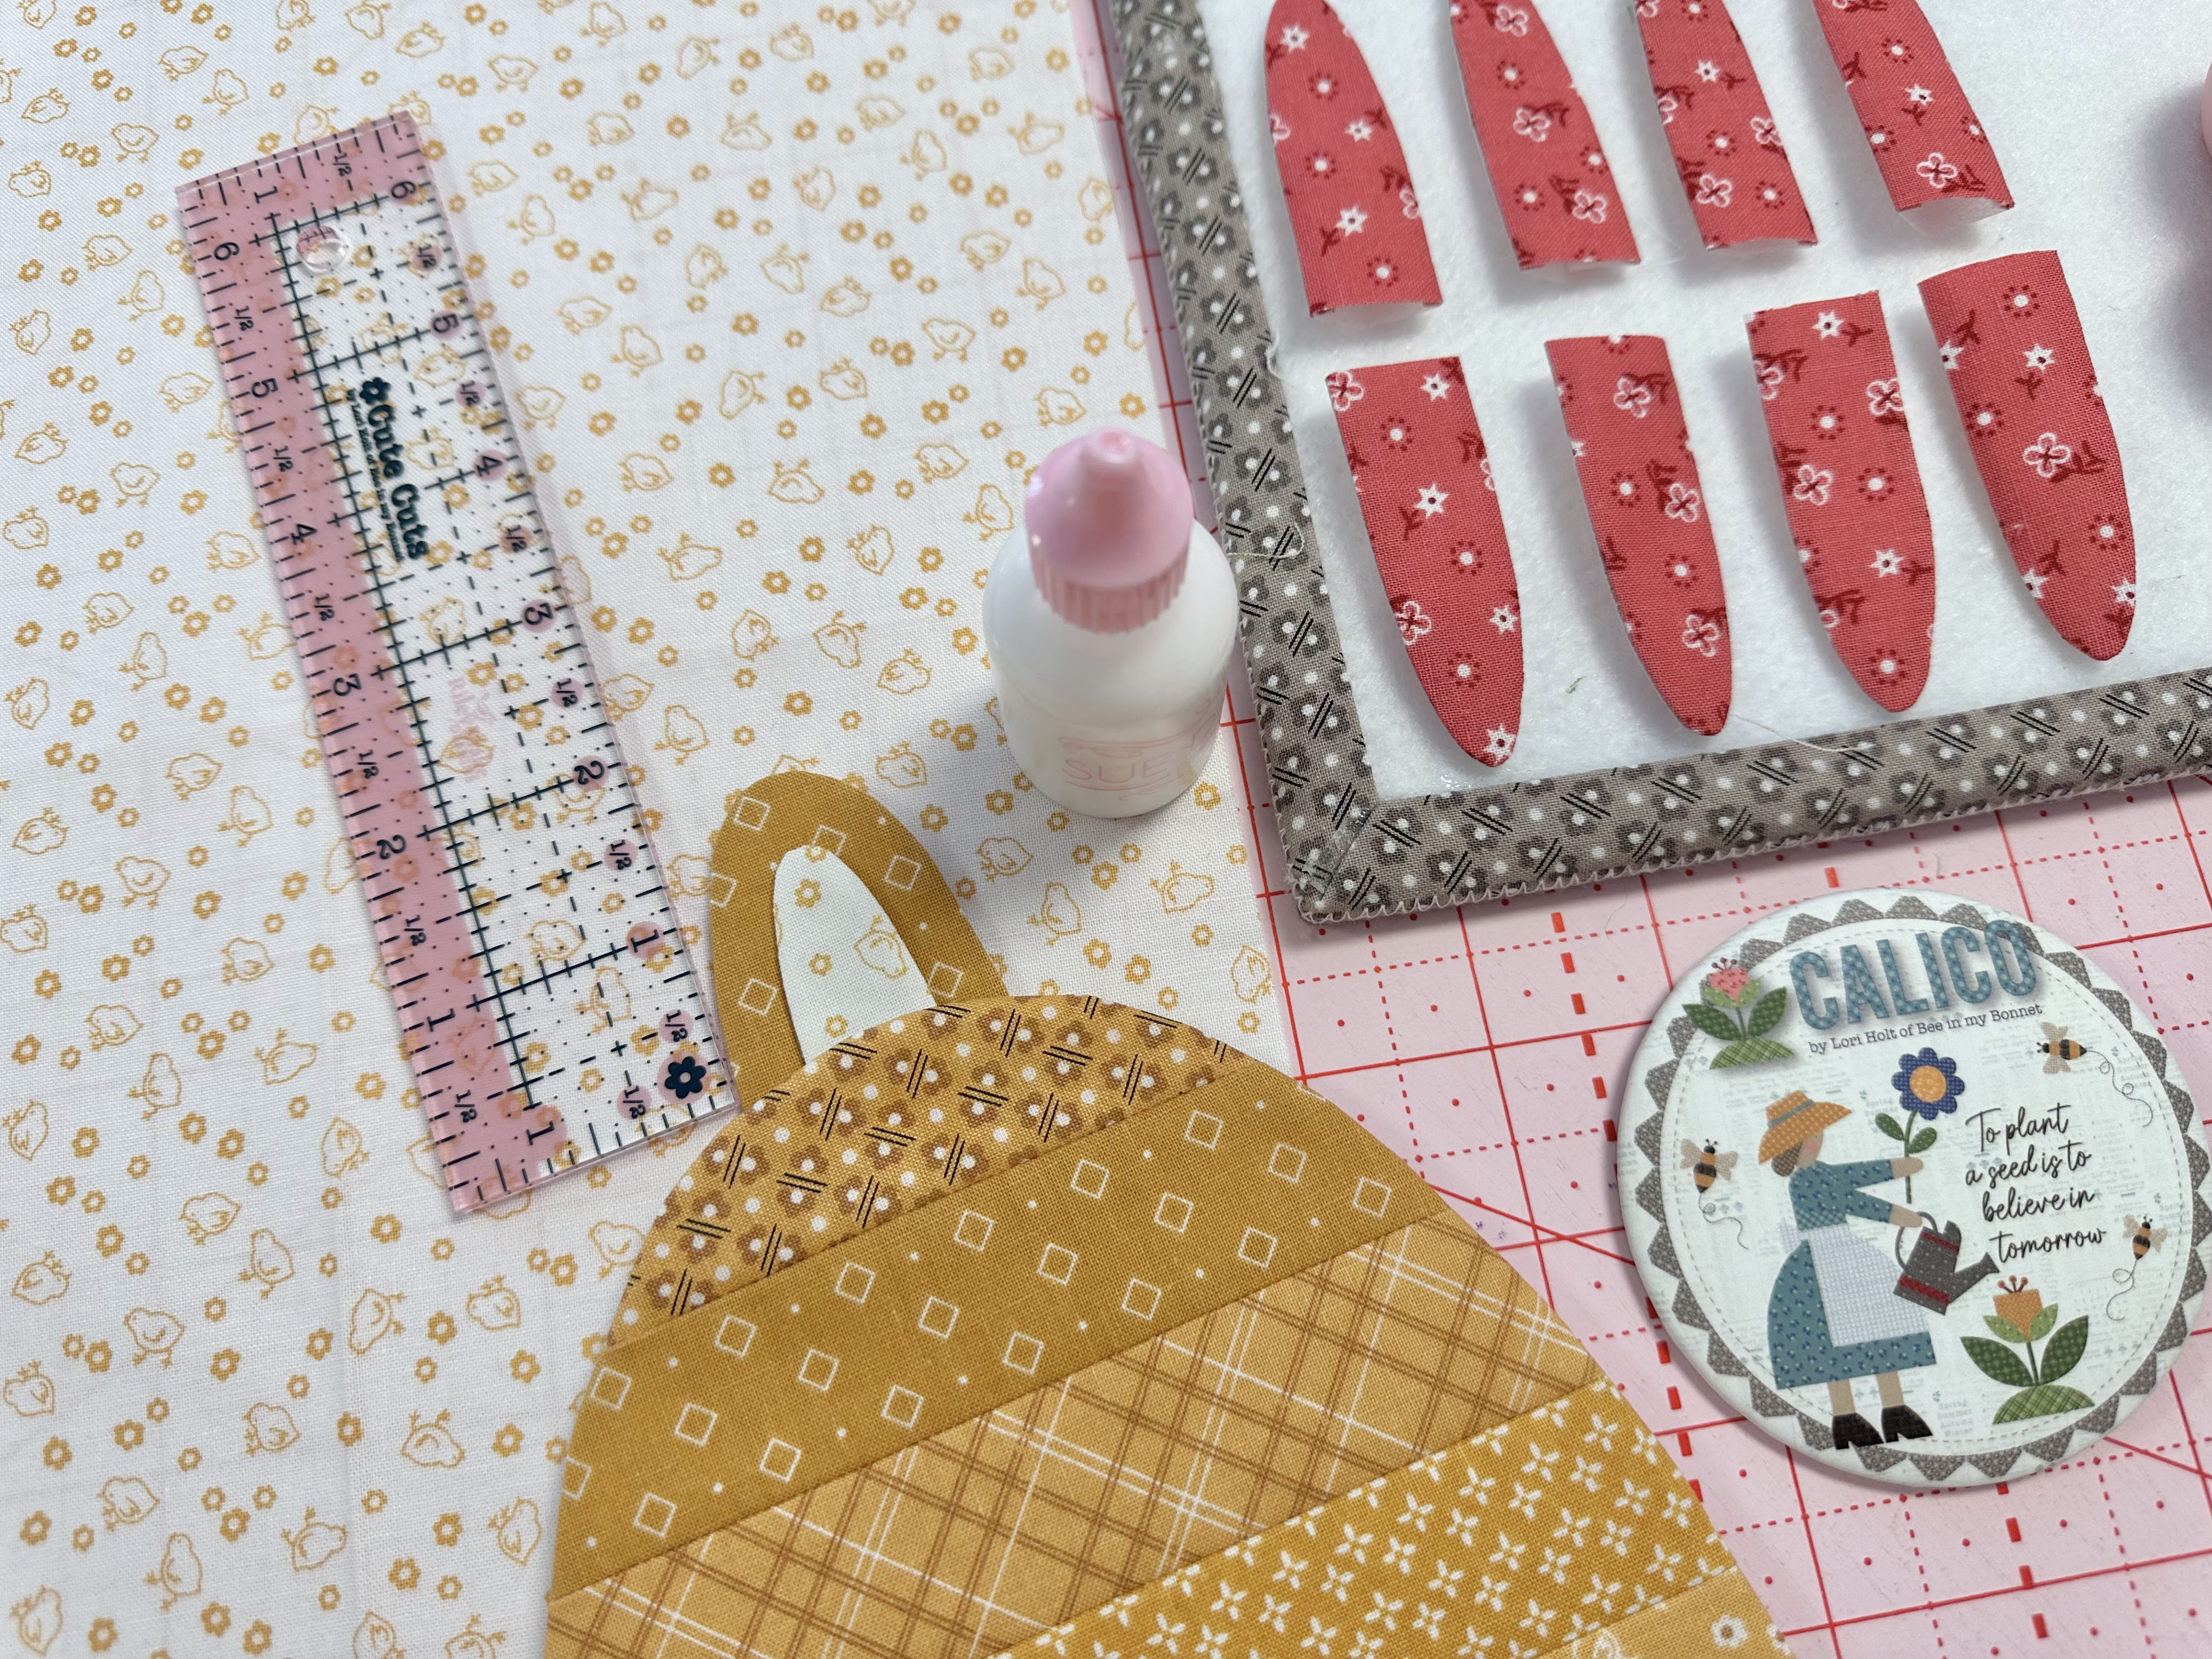
Here is my Bee Skep Block Kit.
Everything is all cut...
all traced and ready to go!
Here is a list of the
Calico Garden
Sew Simple Shapes
needed for this block:
1 - O-4
1 - O-23
1 - O-87
5 - O-88
You will need to cut you background
10" x 17"
as per the sew along guide cutting:)
You will also need the A thru F
fabrics ready to piece together
for the bee skep table:)
As usual...
all of those cutting measurements
are in the sew along guide.
***NOTE***
I had you cut the interfacing
for shape O-23 (the beehive)
7" x 13 1/2"
which is correct but you may be
thinking "what the heck"
when you see that O-23 is
only 10" tall.
The explanation is that I don't
necessarily like to make the shapes
larger than 10" because I
don't want them to bend...
and this one is super easy to just
add 3" onto the bottom.
Here's how to do it...

trace around the template up to 3"
(lines on template are 1" apart)

Then place the bottom of the shape
at the top of the 3" tall lines
on each side and trace the whole thing.

Basically you just added 3"
at the bottom which is
what you need to do:)
Now your traced skep is 13" tall:)

I'll show you how to sew the
strips together in a bit...

First let's piece the little
bee skep stand together.
You can see that pieces A-E-B
are pieced together in a row
and then sewn to the D strip
at the top...
but first we need to add
easy corner triangles onto the
top corners of the A rectangle.

First set sewn...trimmed
and pressed towards the triangles.
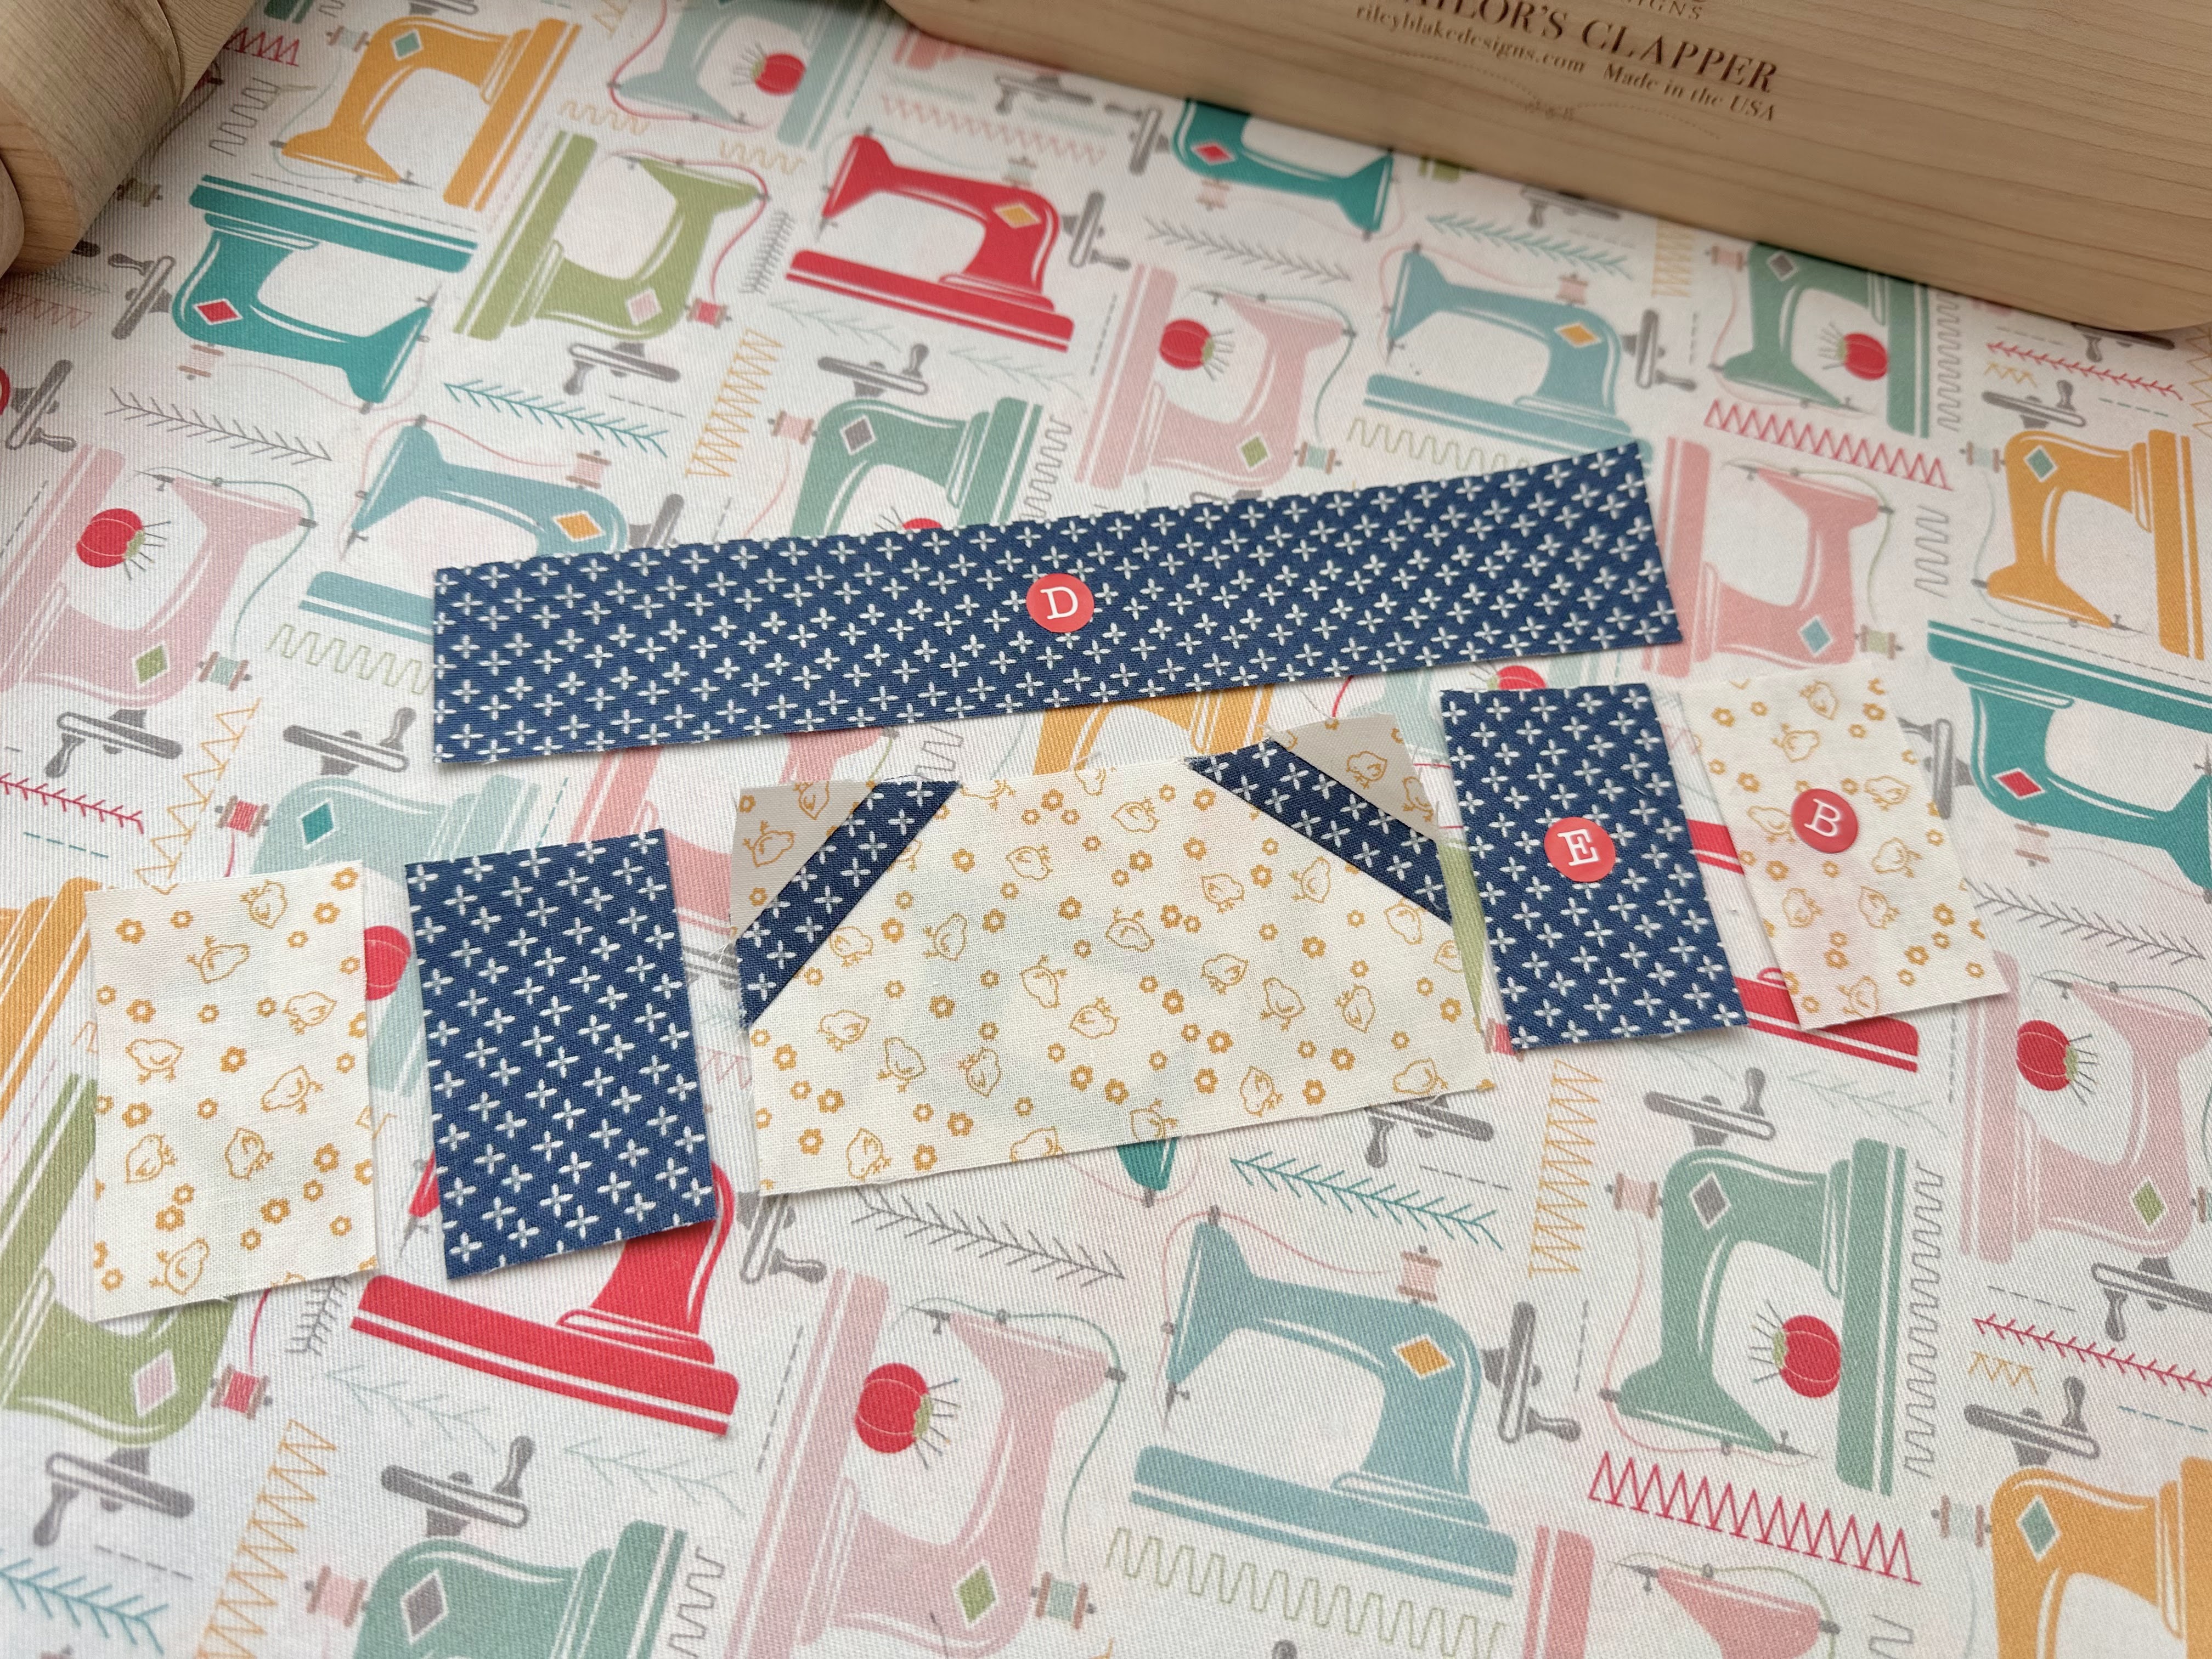
Okay...the last set of
easy corner triangles are on.
Trim and press towards triangles again.
Now you can sew that bottom row together
and the sew to the D rectangle.
Make sure to use an accurate
1/4" seam allowance:)

Press towards the D rectangle...

Like this:)
At this point it should measure
3 1/2" tall x 8 1/2 wide.
Now set it aside until AFTER
your bee skep is appliquéd and
trimmed down and it's time to
sew the quilt sections together:)

Okay...now back to the bee skep strips!

Sew them together with an accurate
1/4" seam allowance and
begin by pairing them up.
You will have one leftover to add
at the top because there are
not an even number of strips.
You will see the order in which
to sew them when you see
my next photo:)

Your strips should look like this now.

Make sure to press your
seams open on this because you
want it as flat as possible for applique.

Pin to the traced interfacing to keep everything straight...
and sew it and the other
shapes for your skep as per usual!

Here's mine all sewn and pressed.
Not any of these shapes for this block need clipping before turning.
Now let's go over to the work table
for pinning and glueing:)

oval onto the larger one
and then cut it in half.
This is the top loop for the bee skep!
You can discard the other half
or keep it just in case you decide to make
another bee skep for another project:)
I also cut the other elongated ovals
in half to use for the flower petals.
Glue this to the top of the hive...
it should measure 1 1/2" tall.

Now pin and glue baste it
centered onto your background.

Next pin the beehive door onto the hive.
Don't glue yet...
this is just for placement so that
you can arrange your petals around it
first and then remove it...
and glue it on top of petals at the end.

I went ahead and cut a little length
off of my petals to reduce bulk.
I trimmed each petal 2" long.

Each petal will stick out
1 1/2" from the center.

when arranging your petals.
Use the stripes on the skep
to help keep things symetrical.
Remember that it's just a flower
so don't make yourself crazy trying
to get it perfect lol

I removed the center and as usual...
used my pins to keep things
into place when glueing...
moving them as needed...
basically using them as my tools
so that nothing would move
before I could glue them into place.

Everything is pinned and Sue Glued:)

***NOTE***
I made sure that I could lift up
about 3/4" inch on the bottom
and DID NOT applique that part
of my skep to allow a little overlapping
onto the stand after the skep is
appliqued and the background is trimmed to
8 1/2" x 15 1/2"

When I trim it down I'll leave a bit
under 1/4" of background at the bottom.
That way when the stand is sewn on
with a 1/4" seam allowance
the bottom of the skep will
overlap onto the stand just
a little bit and sit on top of it nicely.
Because you didn't applique 3/4"
of the bottom sides and bottom edge
you should be able to carefully
keep that out of the way as you are
machine sewing the stand and hive together.
Then you can easily
applique the bottom down.
Oh my!!
That's a long explanation
and I hope it makes sense!

Speaking of sewing...
after your hive and stand are
complete and sewn together...
you can add the Veggie Tops background
to the bottom of the skep stand
with a 1/4" seam allowance.
The hive plus the stand plus the
veggie top background should all measure
8 1/2" wide x 22 1/2" tall
and fit perfectly onto the
right side of the Tomatoes Block:)

I tucked the stand underneath
for a few photos...
just to show you how
they will look together...

But of course I haven't even
appliqued yet so it's not time
to sew them together.

pretty soon since we are
almost halfway into the sew along:)

I love this tall patchwork bee skep!!!
As you know...
there wouldn't be any gardens
without honey bees!!!
Have fun adding bees
to your garden this week:)
Thanks so much for joining me for the
Calico Garden Sew Along
I'll meet you right back here
on my blog next week for the
Tomatoes Block!
Until then...
Happy Calico Garden sewing!!
xx
Lori
