

Well hello and welcome!!

It's the very last
block tutorial in the

Today we will be doing the
very last block...
Cow and Beehive!
Grab your
and let's get started:)


Grab your Farm Girl Vintage fabric
pieces that you have cut for this block:)

Here are all of mine...ready to sew!
Sew Simple Shapes
that you will need are:
H1 - 1
H4 - 3
H5 - 1
H10 - 1
H11 - 4
H12 - 1
H15 - 12
H17 - 1
H19 - 1
H27 - 1
H35 - 1
H36 - 2
H37 - 1
H38 - 2

You will need to cut your
prepared bias strips
into these lengths:
1/4" geen for flower stems-
one 7 1/2" - three 6" and one 2 1/2"
(I forgot to put the 2 1/2" in the photo)
1/2" dk.teal for the beehive stand -
one 10" and one 4 1/4" with both ends
of that one pressed under 1/4"
Cut two 1/4" ones
2" long for the beehive stand brackets
1/4" wide coral-
cut three 1" long strips and
press one end under on each.
For the cat tail and legs...
use the strip that I had you cut
on the bias for the 3/8" maker and
curve the shape for the tail when pressing.
The legs are not curved but I
used the same strip for those
and each leg is cut 3" long
with both end pressed under 1/4"

Before you sew your shapes...
take one of the H-38 pieces(a cow spot)
that you traced and draw a line up
from the bottom about 3/4"...

Like this.
This line is a new sewing line
for ONE of the cow spots.
This one goes across the top of her back:)

Here are my pieces after they
have been sewn and trimmed.
The pieces on the mat are ones
that have inner curves and cleavage
areas that need to be
clipped before turning.

Turn and shape all of your pieces
using the point to point turner.
Make sure that your background
linen edges are zig zagged or served.

Before I layed my pieces
out for glue basting...
I embroidered the barn cats face!
I used 3 strands of Aurifloss for
everything because his face is tiny:)

Also take note that I cut one end off
of the H-10 Sew Simple Shape
to use for the door on the beehive:)

When I laid out the udders...
I pinned one leg down first and then
the udder and the back leg on top.
I trimmed the large circle used
for the udder down for less bulk.

Here's a close up of my barn kitty:)
You cam make your tail longer
or shorter...you're the boss
of your own block!

This is where I put the spot on the cow...
the one that I had you
mark a line on before sewing.

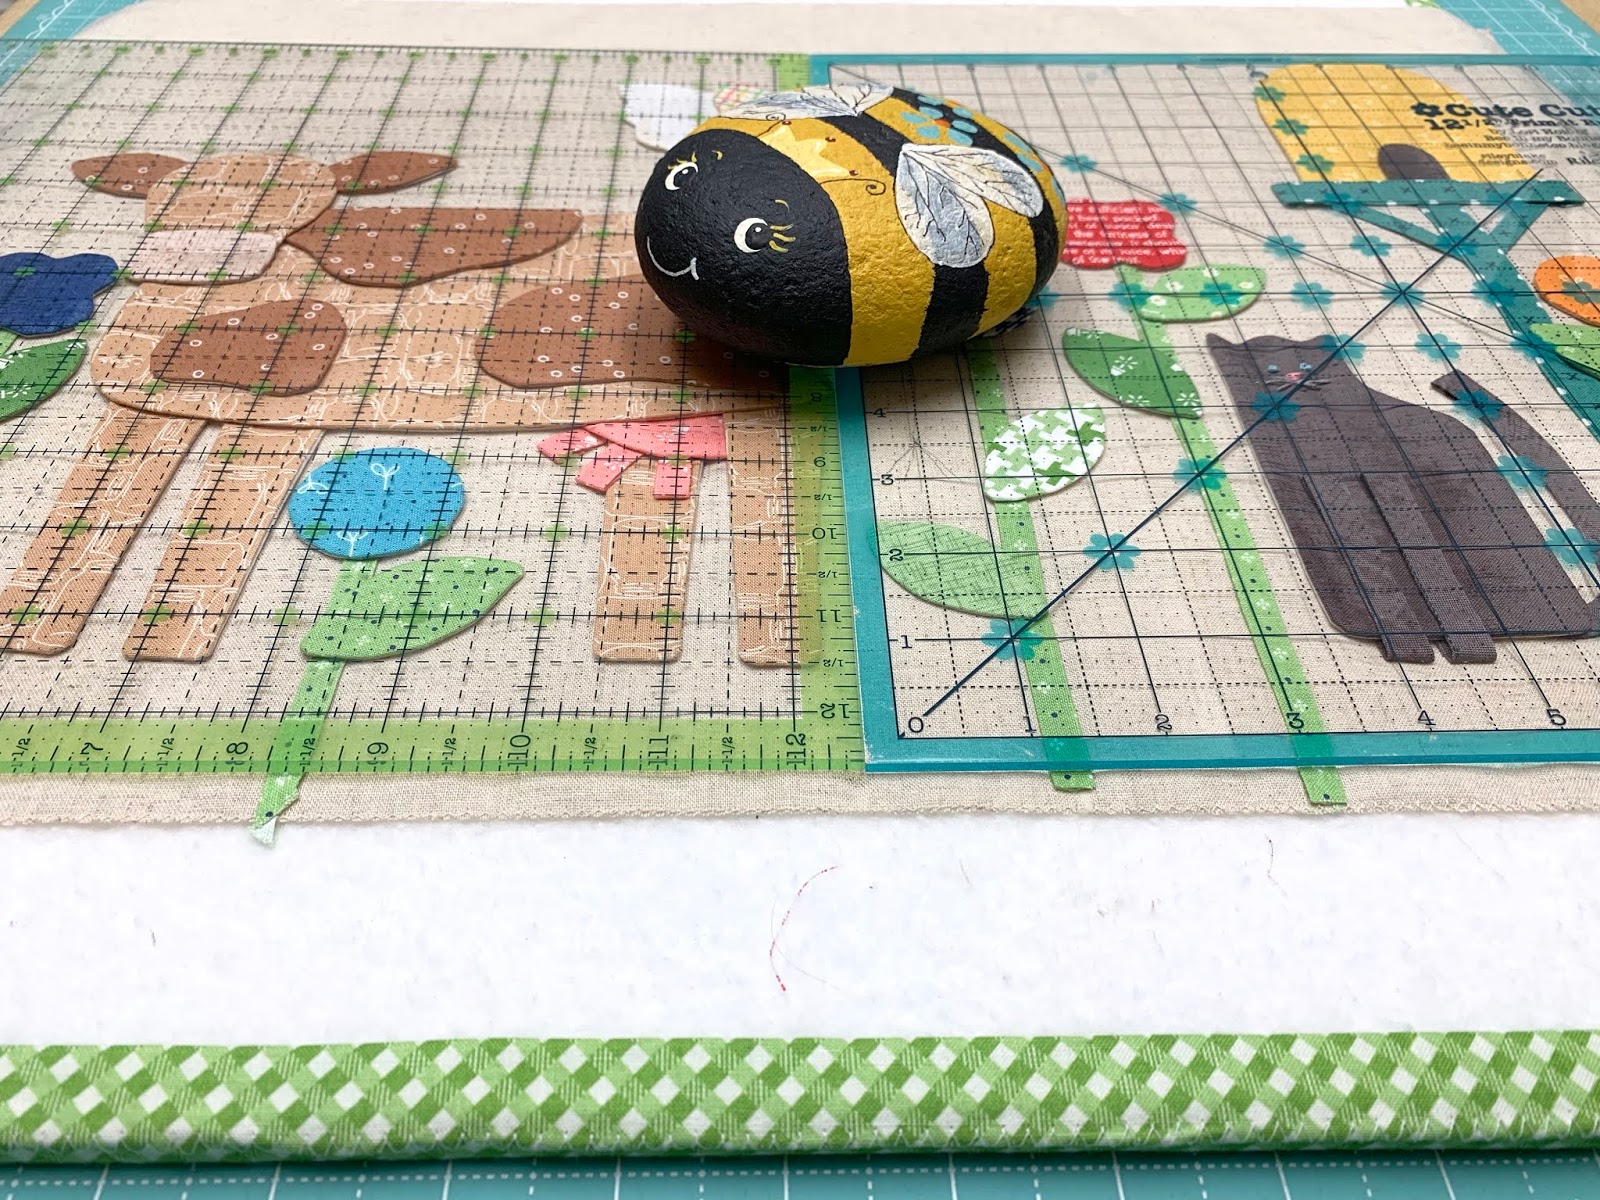
This block finishes at
12" tall x 19" wide.
You will trim it down to
12 1/2" x 19 1/2"
when applique is complete.
When you are laying out your block...
do not let the pieces
be wider than 18 1/2"...

Or taller than 11 1/2".

Once you have pinned everything down...
check your measurements one more time...

And it's time to use your Sue Glue!
Remove the pins...
lay your rulers on top with
something heavy on top of that
and let your glue dry
for 10 to 15 minutes.

Trace your embroidery lines on and applique!
Fast forward and it's all done!
I used 3 strands of dark gray Aurifloss
for the top of the beehive
and the hens legs, eye and beak.
Embroider the hen's comb and wattle
just like the others:)
I used the brown Aurifloss for the
cows eyes and horns...
just like the goat block!

I used 2 of the Nutmeg colored
tiny buttons for her nostrils:)

The 1/4" sized collection
comes in this bag of

I painted the lid of one of my
original Cute Little Button jars
yellow and put a few little
packages in there to keep and use...cute!

I got so excited to add the buttons
that I almost for got to
trim the block down first:)
You will need to trim this block to
12 1/2" tall x 19 1/2" wide.
Take note...
that is 19 1/2" for this one
which is 1" wider than
the last two blocks...

so you will need to use
a wide ruler for that part.

Now to sew on the rest of the
buttons onto the flowers:)

Yippee and YeeHaw!!!
The last block is completed
and you can now sew your last row together:)
It should measure 12 1/2" tall and be 55 1/2" wide just like the first two rows.
All of the tutorials are now completed
and I have loved doing each
and every one of them for you:)

Refer to your sew along guide
where all of the measurements
for putting the quilt together
are there for your convenience.
Next week for the big finish
I'll show you my quilt
all quilted and bound!
And...
I may just have a fun surprise
for you as well:)
xx
Lori

3 comments:
I have really been enjoying your tutorials.
Lori this has been the best group sew along! I have learned so much and have had a great time! Thank you for your hard work in putting it all together.
Penny Benton
Lori this has been the best group sew along!
I have learned so much and have
had a great time! Thank you
for your hard work in
putting it all together.
Penny Benton
Post a Comment