

Good morning gardeners:)

Can you believe that we are at week seven?


We are using Granny Chic Fabric...

And Granny's Garden Sew Simple Shapes...
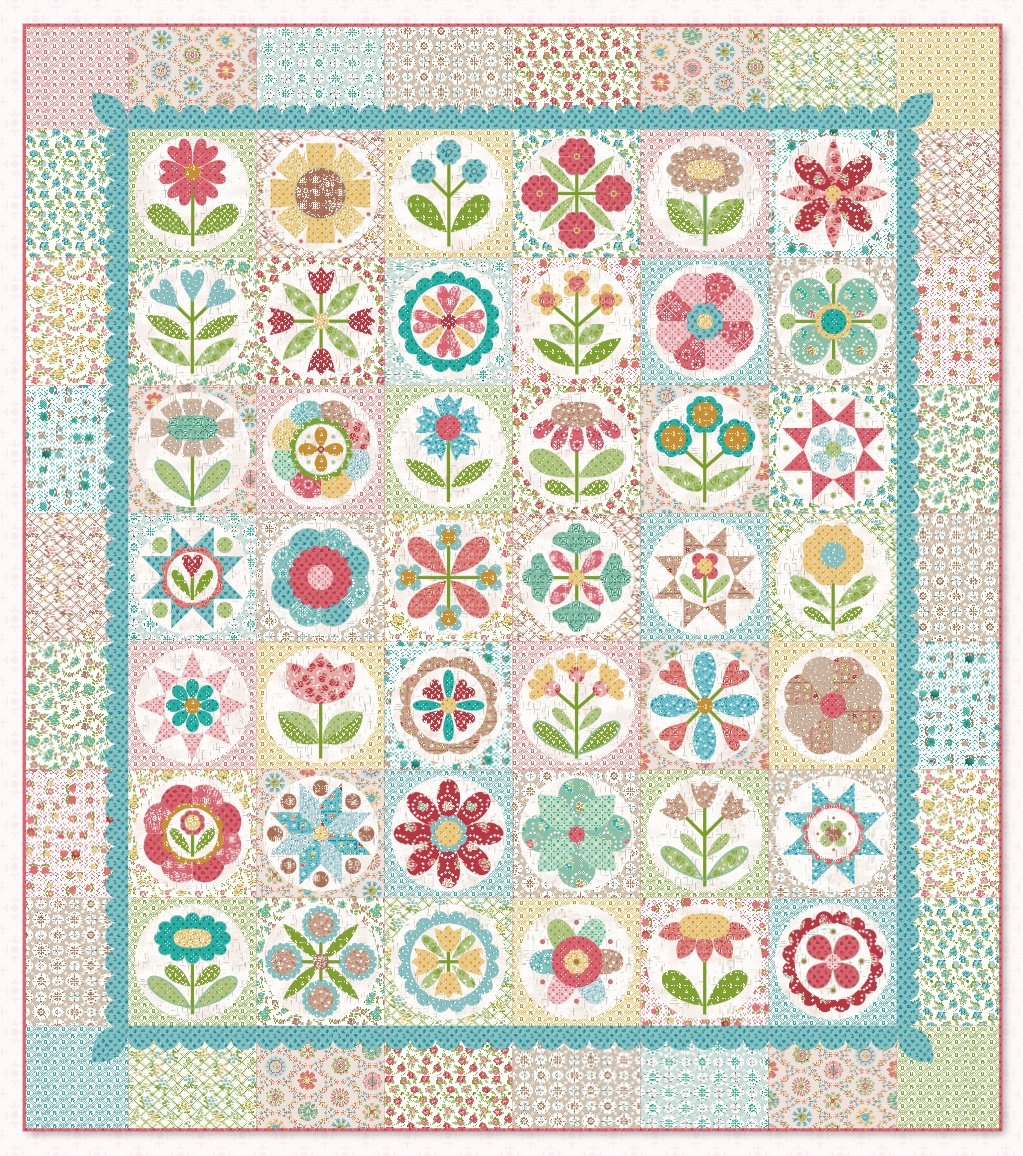
to make the Granny's Garden Quilt:)

This week's tutorials are
Flower Blocks 25 thru 28

Sew Simple Shapes for Block 25:
8 - I 1
1 - I 21
1 - I 29
1 - I 30

After sewing you will need to clip the cleavage in the star:)

all shaped up and ready
for basting to the circle.

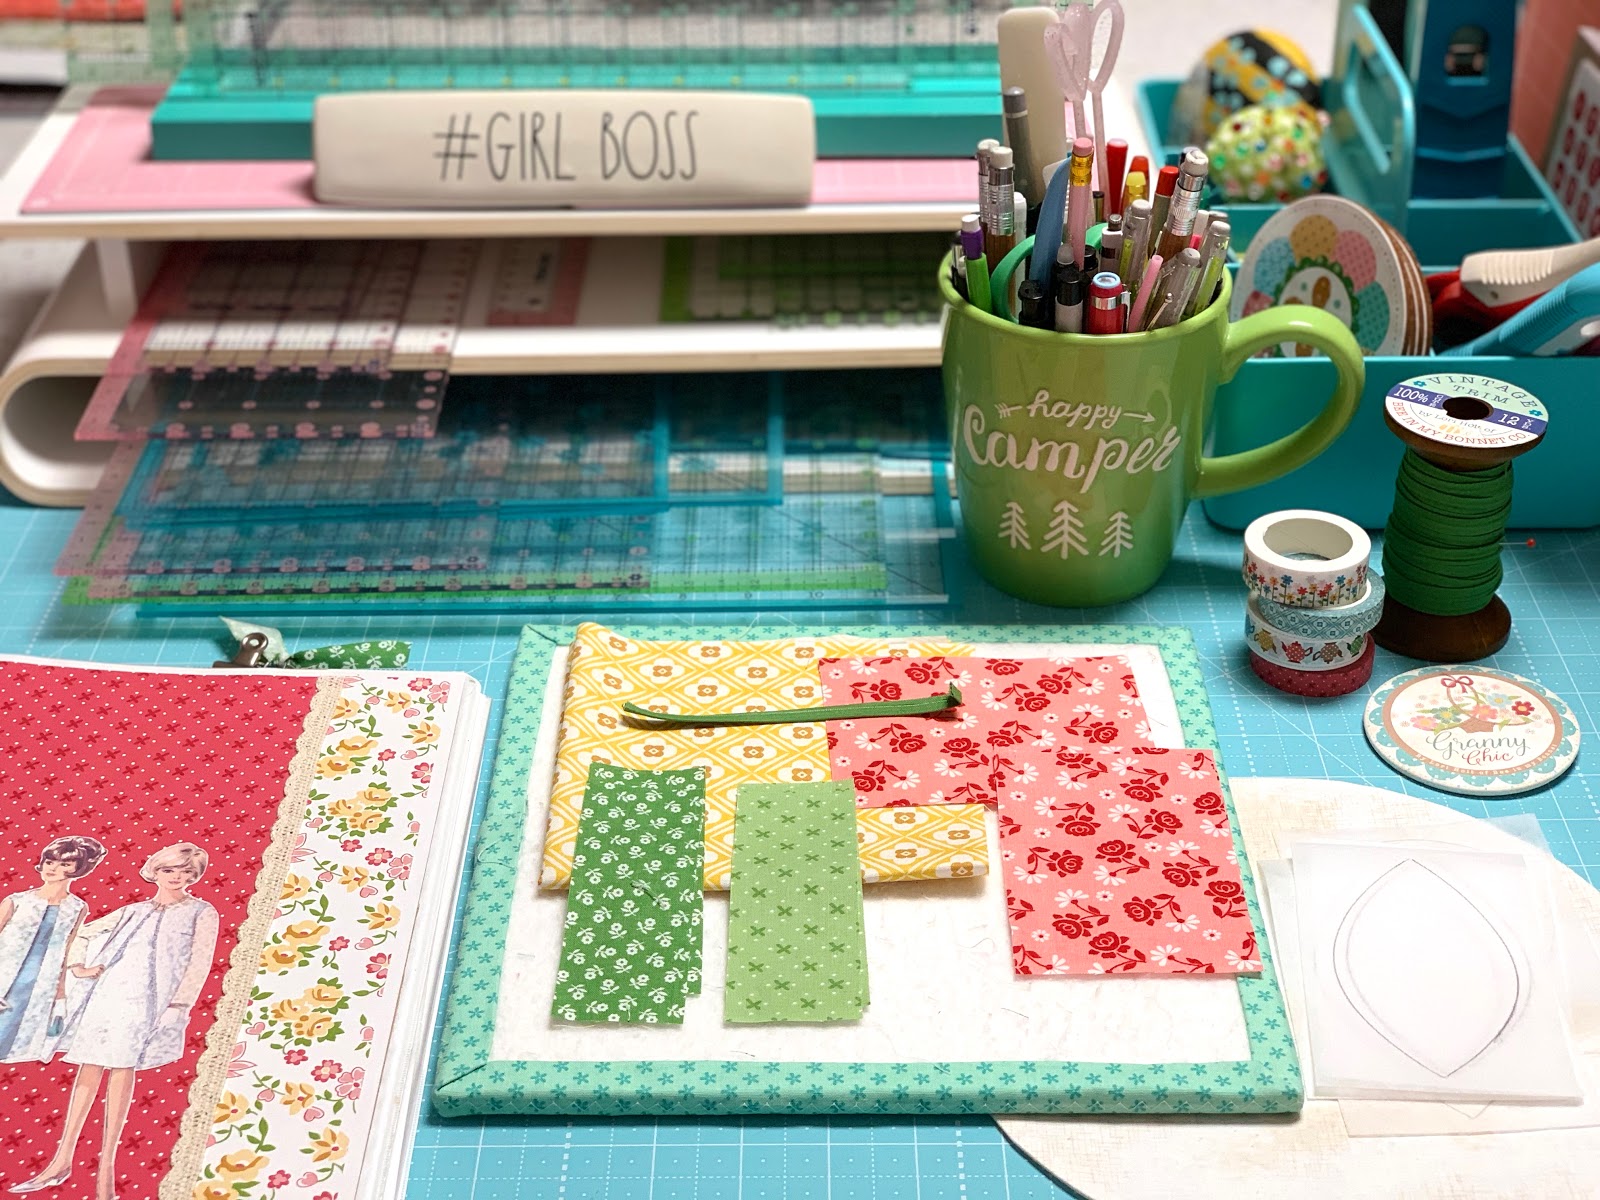
I started by pinning and then
glue basting the flower onto the hexagon.
Take note that the hexagon in
this block has the flat part on the top.

Then I added the hexagon
onto the star center.
Take note that the star for
this block is pointed at the top.

Then I glued the star onto the circle...

and used my 10 1/2" Trim-It Ruler
to make sure it was centered correctly:)

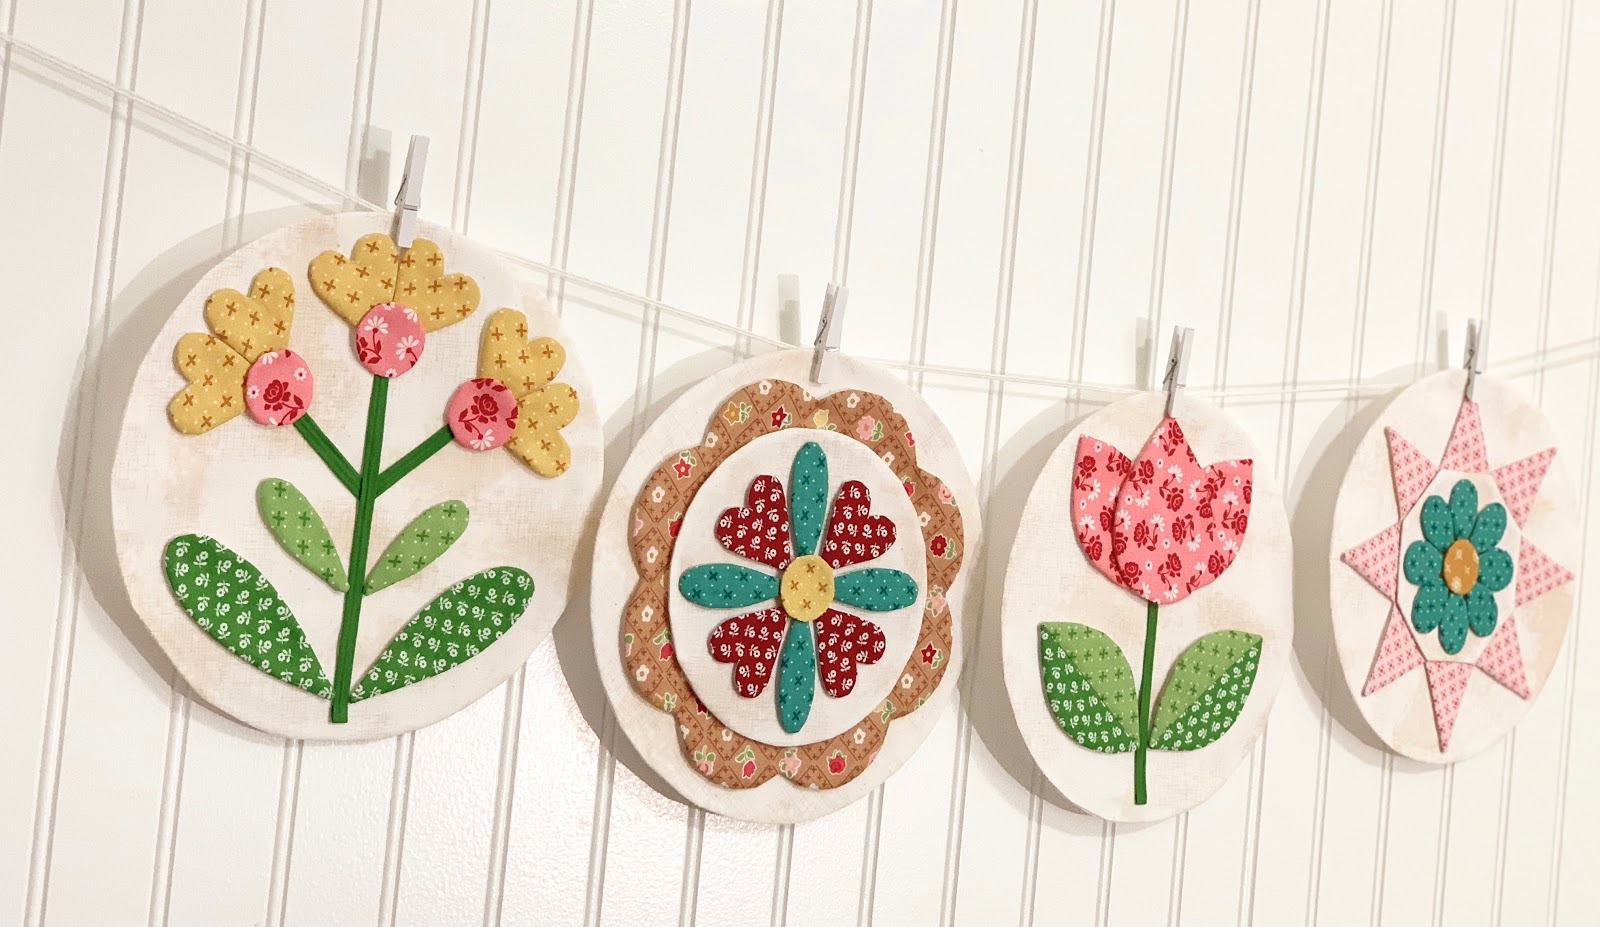
Flower Block 25 all ready for applique:)
Sew Simple Shapes for Block 26:
1 - I 7
4 - I 11
As per the
You should have cut
4 - 1 1/2" x 4 1/2" strips
to piece the leaves
before you sew the shape.
Cut your stem 5" long and
press one end under for the bottom.

For the leaves...
piece the green strips together
first and press the seams open.
Then you can place your traced
I 11 shape on top and stitch.
This is just like I showed you on Block 5:)

No clipping any shapes in this block!

All shaped and ready to go.
Don't you love how the leaves
look with 2 green fabrics?

I used my ruler to center my granny tulip.

Flower block 26 is all ready for applique:)

Sew Simple Shapes for Block 27:
4 - I 2
4 - I 13
1 - I 21
1 - I 25
Use the 6" ruler from the set
for the smaller Cloud Shabby circle.

After sewing you will need to
clip between the
flower petals before turning.

You will also need to clip
the cleavage in each heart:)

Now for the pinning and glue basting:)

I started with the smaller circle first.

Then glued it to the large flower:)

Then onto the circle...
using my 10 1/2" Trim-It Ruler to center it.

Flower Block 27 ready for applique:)

Sew Simple Shapes for Block 28:
2 - I 2
2 - I 5
6 - I 13
3 - I 21
Cut center stem 7" long and
press one end under.
Cut the side stems 2 1/2" and
trim the bottoms at a diagonal.

For this block you will need to clip
the cleavage in the top of the heart shapes.

Well whoops.
When I was shaping this heart
I pushed a little too hard
and poked through the fabric.
This happens once in a while
but most of the time I can fix it
instead of sewing another one...
and here's how I do it.

I place a little glue on those
little frayed pieces
right where it poked through...

And then fold them over and hold
between my fingers until those
frayed pieces stay glued to the
back side of the interfacing
just over the edge...

Like this:)

Okay...
now with that little whoops behind me
all of my pieces are ready for pinning:)

I know that I always say this but
I cannot say enough how invaluable
using the lines on my ruler are
to make sure each piece is
where it needs to go.

Flower Block 28 all ready for applique...

and that makes all four:)
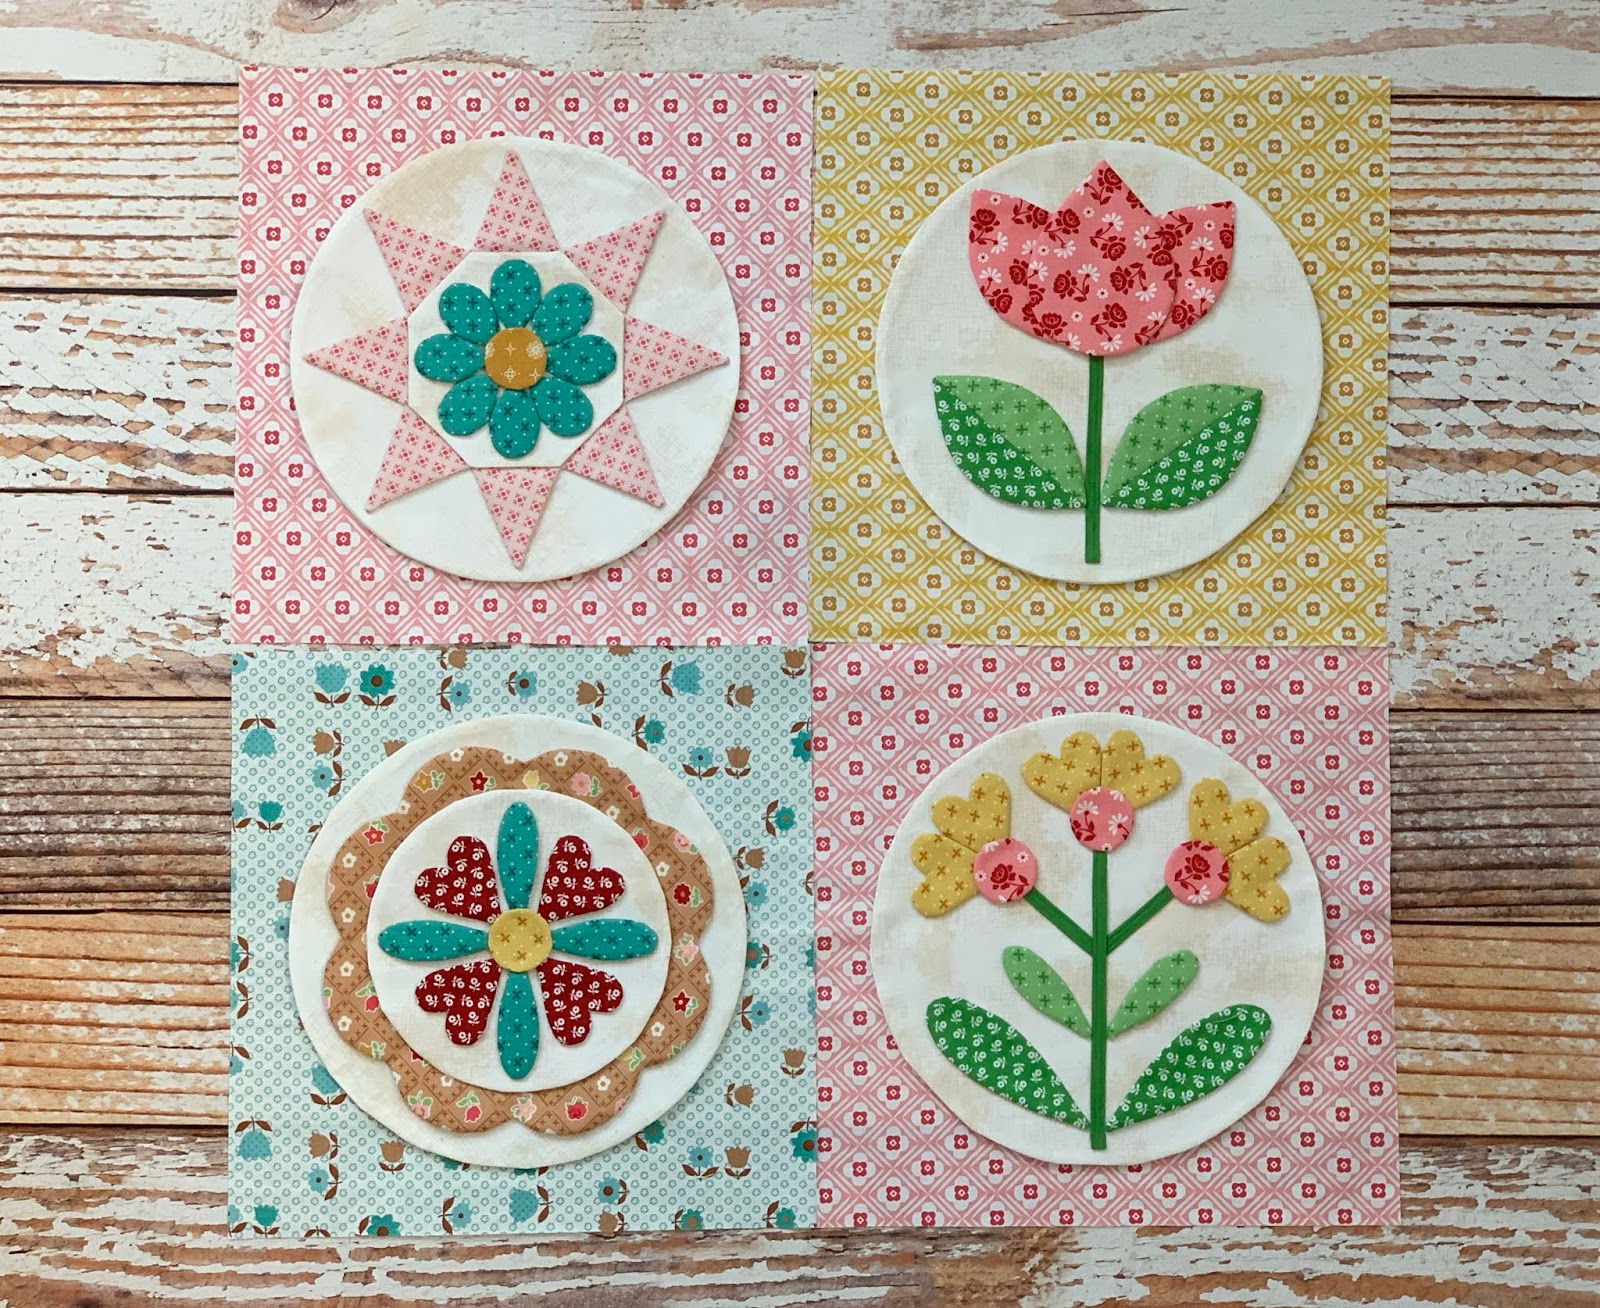
When they are appliquéd to each circle...
then you can applique them onto
their background squares:)
Don't forget to use the hashtag
#GrannysGardenSewAlong
when you post your blocks on
I'll meet ya'll right back here
next week and I'll have
four more Flower Blocks for you:)
xx
Lori
P.S. If you are just joining us
be sure to click on the links below
for the previous Granny's Garden
posts and tutorials.
1. Bee Prepared
2. Week One
3. Week Two
4. Week Three
5. Week Four
6. Week Five
7. Week Six

No comments:
Post a Comment