Hello and welcome to week one of the
Today we are doing the
Baking Block
If you have not downloaded the
Sew Along Guide PDF
so that you can "Bee Prepared"
My blog post telling you all about the
guide and how to use it was 3 weeks ago...
if you need to refer back to it
***NOTE***
When this sew along is over...
I'll add a list of links at the
bottom of this post
to each week's tutorials.
Just scroll down and click
on each one that you would like to read!
I'm sew excited to be using my
brand new collection called
And my latest set of
Sew Simple Shapes:
We will be making the
Vintage Housewife Quilt
74" x 82"
For week one of my
Sew Simple Shapes Sew Alongs
Cindy and I always do a video
and I show you how
to lay out your first block and
how to do the bias tape strips.
to watch the video!!
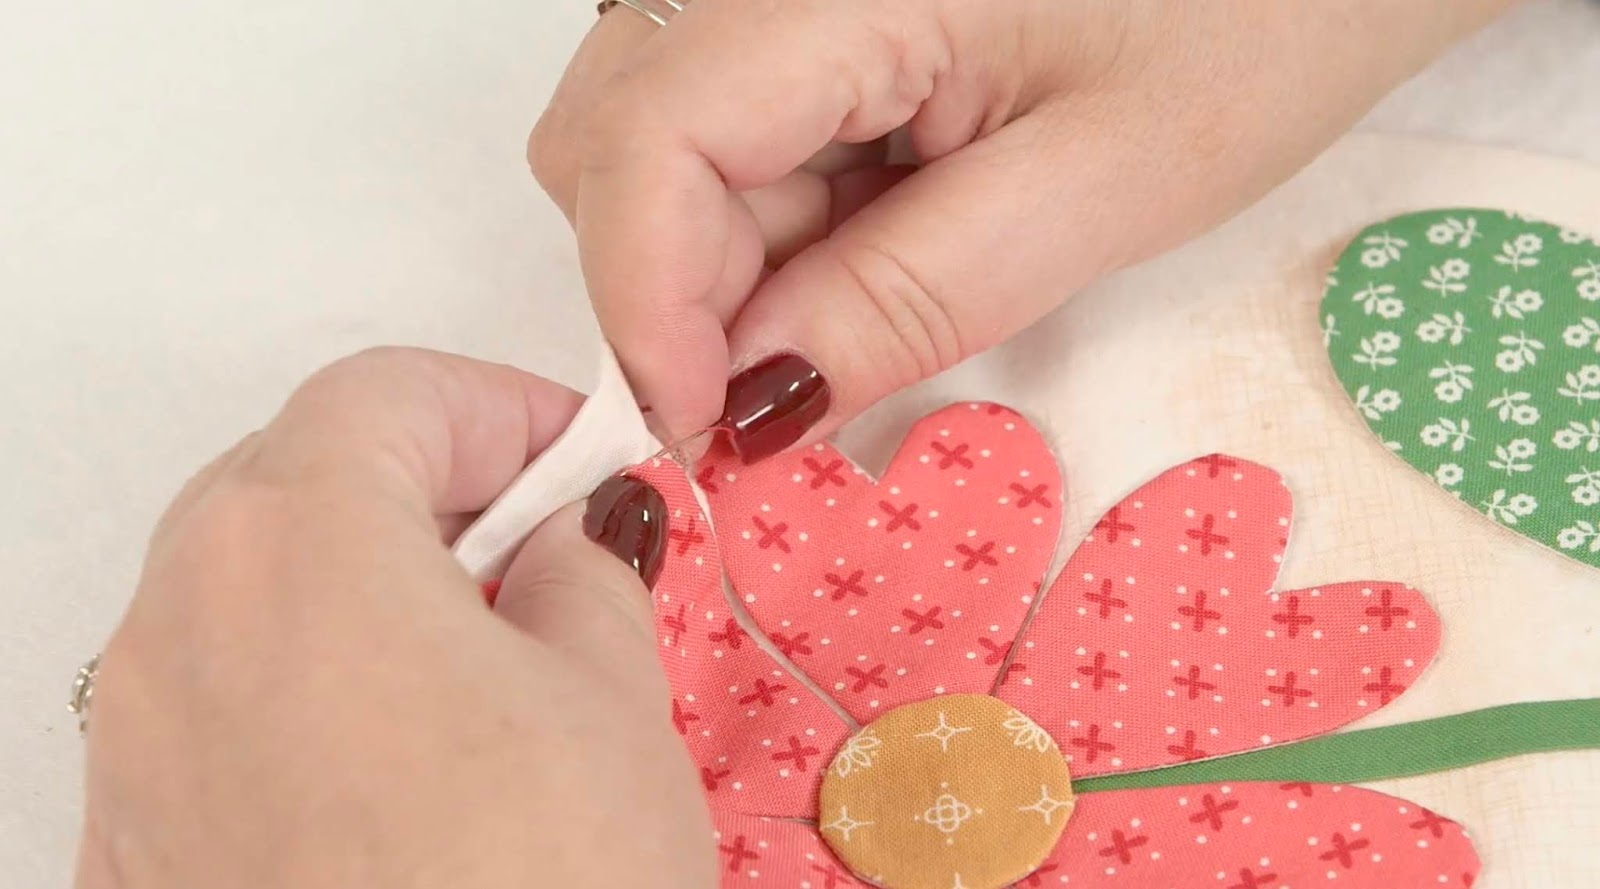
If this is your first sew along
with my applique method...
just know that once your block
is ready for applique...
feel free to do your applique
on your machine or by hand.
When I applique by machine
I use a tiny zig-zag stitch and I
match my thread to each applique piece.
When I do it by hand I also
match the thread to my appliqués.
If you need a refresher on how
I do it by hand
to watch my hand applique video
during my previous sew along
for my Granny's Garden Quilt.
Hopefully you have followed the
Sew Along Guide cutting instructions
and have your kit for the Baking Block
all ready to go!
Just as a reminder here are
all of the Sew Simple Shapes
that you will need for this block:
J-6
J-7
J-8
J-10
J-19
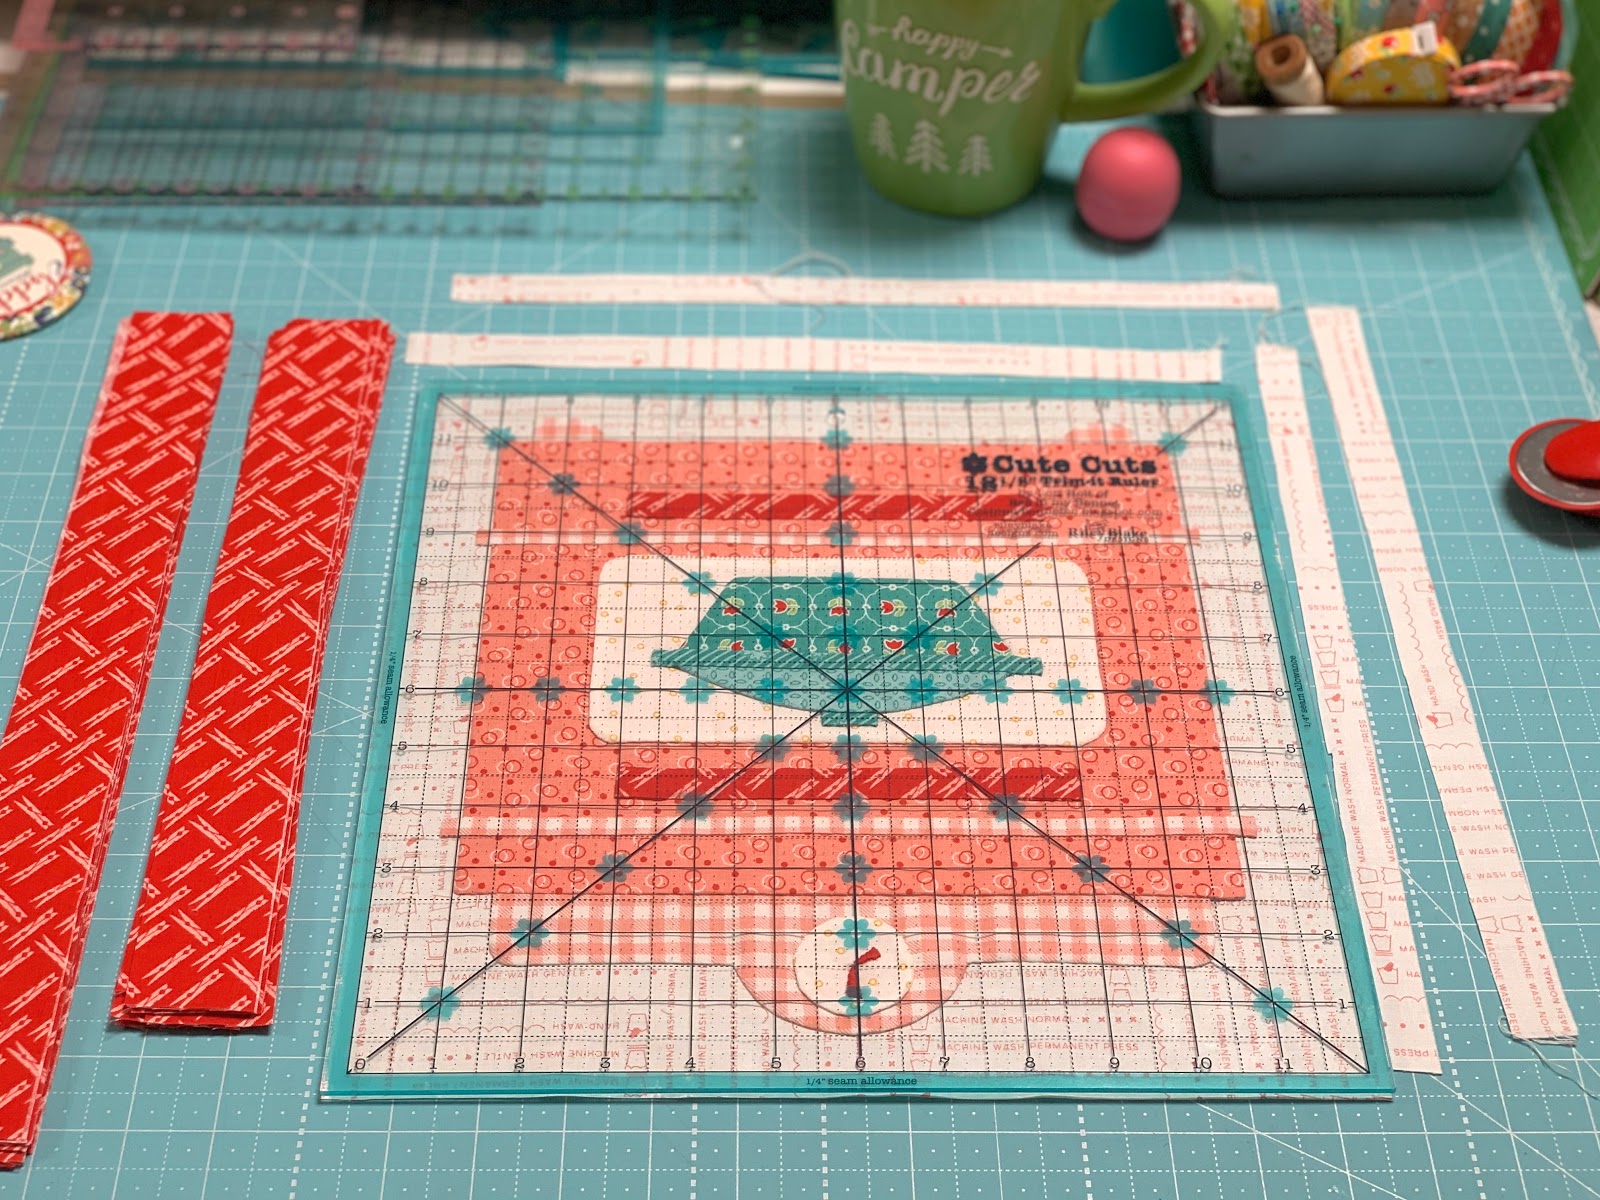
Straight Bias Strips Needed
*From the Coral Gingham you will need
2 - 1/4" prepared that measure
10 1/4" long after pressing each end under
to tuck behind the oven sides.
*From the Vivid Stripe you will need
1 - 1/4" prepared that measures
5 1/4" long after pressing each end under
to tuck behind the pyrex dish.
*Also prepare one that is 3/4" long
after ends are tucked under.
Use this for the lid.
*From the Cayenne Clothespins you will need
2 - 1/2" prepared that each measure
6" long after the ends are pressed under.
Use these for the oven handles.
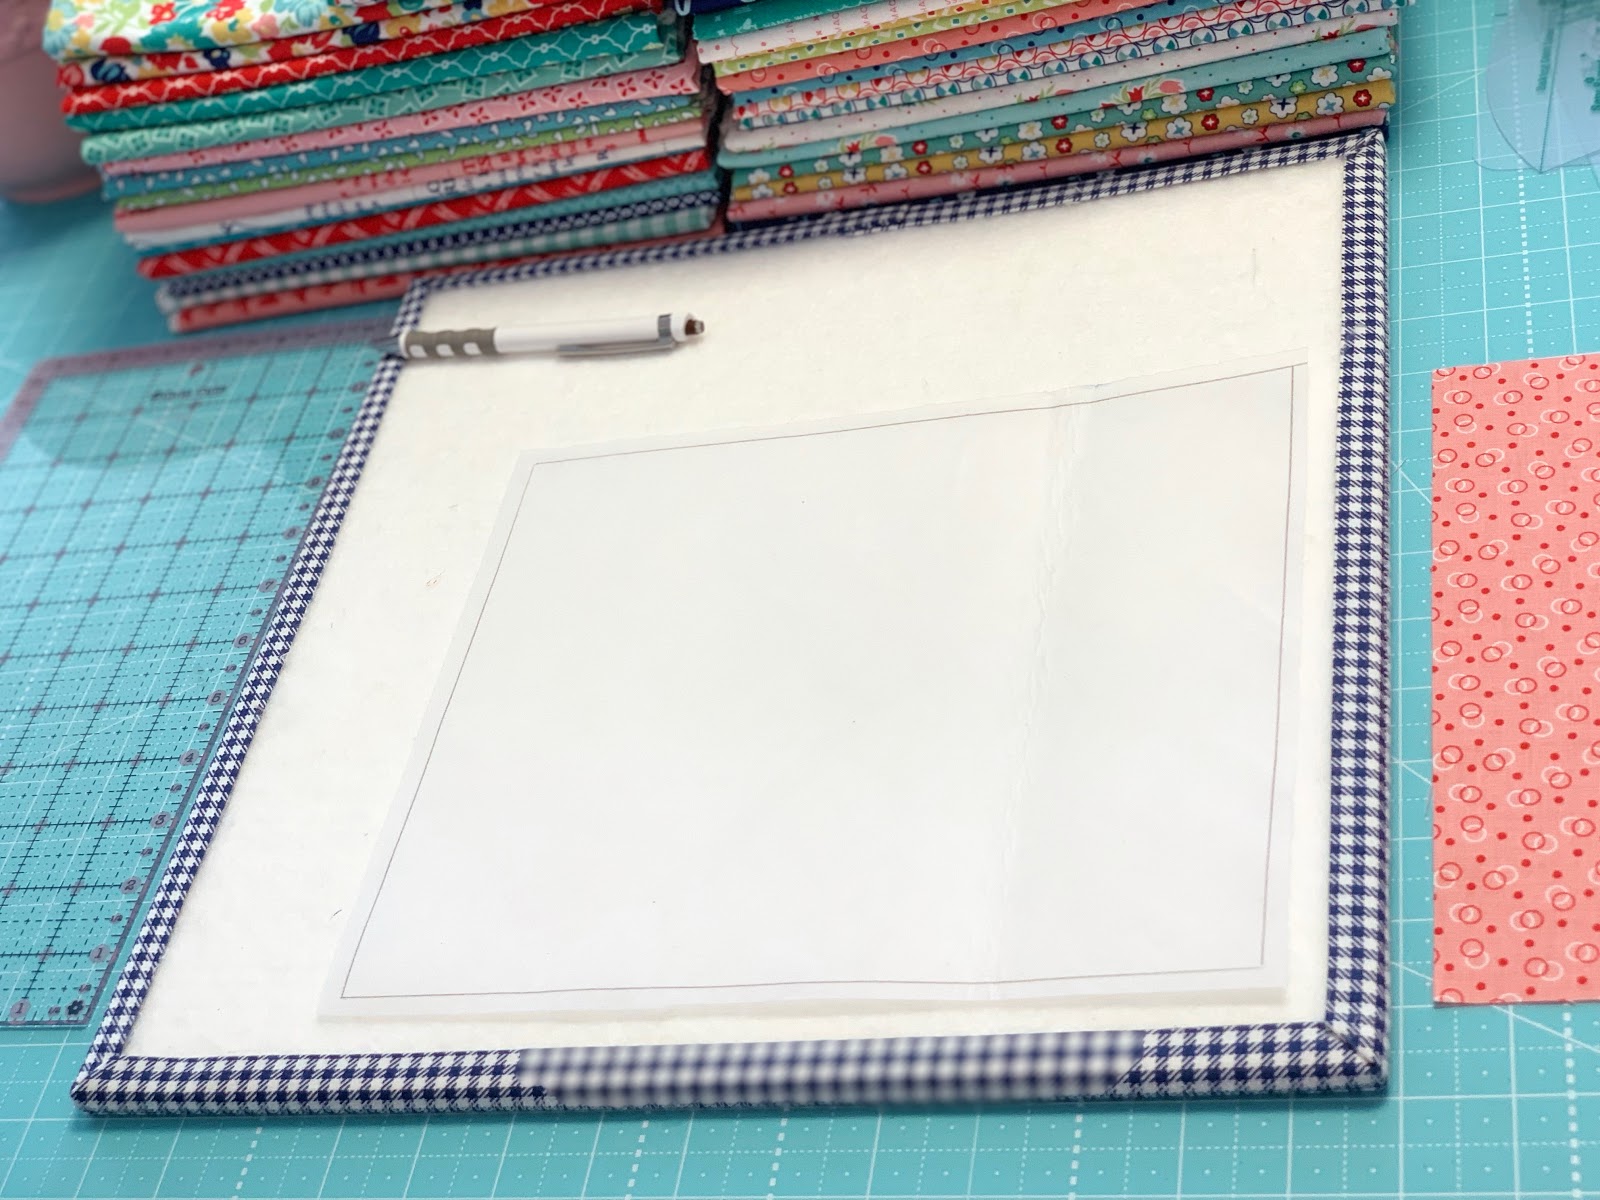
For the stove itself you will need to
use your ruler and draw a 8 1/2" x 10"
onto the Sew-In Interfacing
and then pair it up with the fabric
and sew directly on the line...
just like you do with the Sew Simple Shapes.
Be sure to follow the special instructions
that I showed you in the video
when making your Pyrex shape.
After you have sewn everything
it's time to shape and turn!
I covered the trimming and
clipping cleavage as well as
shaping in the video for you:)
After you have your shapes prepared...
do a quick satin stitch for the
clock hands before you glue baste.
I used 3 strands of the red
in my Bee Basics Aurifloss Box.
If you want to watch me do embroidery stitches...
to watch my
Farm Sweet Farm Sew Along video
Now you can go ahead and
layout your block for glue basting
just like I showed you in the video.
YaY!
I used 5 of the largest size
in the package of my
Barn Door Cute Little Buttons collection.
I also used the tiny size
for the clock center.
But before you sew them on
you will need to trim your block.
You may also choose waiting to
sew your buttons
on until after quilting.
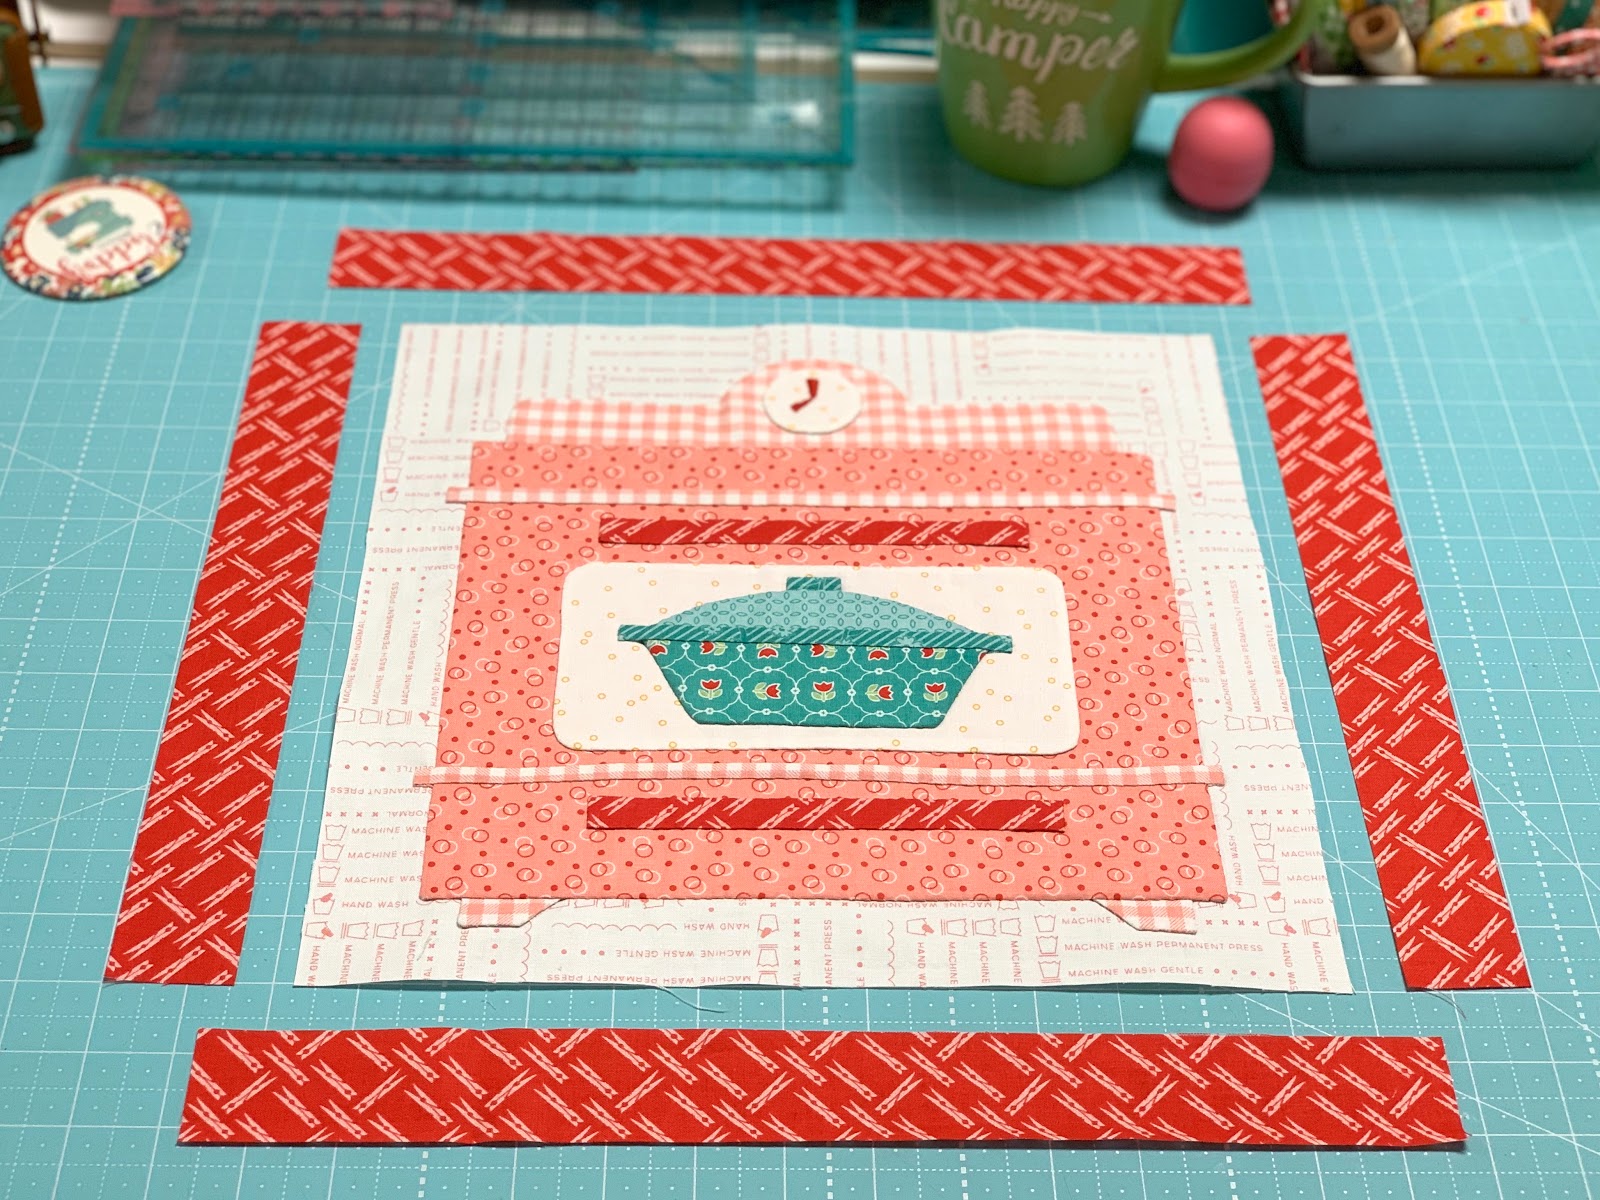
This is what your block
should look like before buttons...
And before borders!
It's sew cute!
For each block you will need
2 - 1 1/2" x 12 1/2"
border strips for each side.
You will also need
2 -1 1/2" x 14 1/2" border strips
for the top and the bottom.
Cutting for these strips
is in the Sew Along Guide as well.
When I trim my blocks I first
use the lines on the ruler to
completely center my design.
Because I am right handed
I trim the right side and top first...
Then I rotate my block and
trim the remaining two sides.
If you are left handed just do the opposite!
My Baking Block is all trimmed...
Cute Little Buttons are sewn on
and it's time to add the borders:)
I sew the side borders first and
then add the top and bottom borders.
I press towards the borders.
You will do the same borders
for all of the 8 square blocks
as we go along each week:)
YaY again!
My Baking Block is completed
and I sure do love it!
I hope that you will have fun making yours:)
Because I mentioned Chicken Casserole
in the video...
I thought I would share my
Grandma's recipe with you.
Millie's Chicken Casserole
- 2 Tablespoons butter
- 1 medium onion diced
- 1 cup celery diced
- 1 cup cooked carrots diced
- 1 cup cooked chicken diced
- 1 can cream of mushroom soup
- 1 cup rice cooked
- 3/4 cup mayonnaise
- 1 teaspoon lemon juice
- salt and pepper to taste
- 3/4 cup crushed Ritz Crackers
- In a skillet over medium heat, cook onion and celery in the butter until tender.
- Mix all ingredients together except the crackers.
- Place in a 2 quart 'buttered' baking dish.
- Sprinkle crushed crackers over top.
- Bake at 350 for 30-35 minutes
- Serves 6
I hope you enjoy this vintage recipe...
you may want to add a jello salad
on the menu for a true
vintage housewife style meal:)
The block tutorial schedule is in the
Sew Along Guide and next week
we will be be right back in the
kitchen doing some canning!
Please follow me on
if you would like to see what
new things I am working on
and all things
Vintage Happy 2
Be sure to use the hashtag
when posting about your progress
during this sew along:)
Because this quilt is all about the
Vintage Housewife...
I've included a few vintage ads and photos
to help celebrate all of our
own special vintage housewives in our life.
Our mom's and grandma's
and great grandma's...
they were the real tried and true
vintage housewives:)
Scroll down and enjoy the photos and ads...
I'll be right back here next week
with more vintage fun!
xx
Lori
***Links to each of the
remaining weeks of this sew along:


