

YaY!
It's our time to
hang out on the farm:)

Because it's week 3 in our


We are playing with
Farm Girl Vintage fabric and...
Farm Sweet Farm

This week is all about the pieced
Farmers Daughter Blocks.

I'm going to show you how to
make the 5" size...
the ones that are sewn into a row.

Of course the 10" size
Farmers Daughter blocks
are sewn the exact same way.
You can sew them anytime you want
or save them until the very end
when you're sewing the borders on:)
You will need to make four
10" Farmers Daughter Blocks
exactly like this one
for each corner of the quilt.

On page 13 of the sew along guide
is the diagram for the
Farmers Daughter Block
if you need to download the guide

As you were cutting from
each fabric listed in your kit...
you should now have a whole bunch of
1 1/2" squares cut that are
for the 5" Farmers Daughter Blocks.

Here's my pile after I had cut them all!
I labeled a design board 5" Blocks and
placed them there as I cut from each print.

Here are my pieces
for all of the backgrounds...
cut from my current
favorite background fabric...
the little red chicken tracks!

I separated all of my
squares into blocks.
Take note that you will need to
sew 2 blocks exactly the same.
That's why you sew
18 piles instead of 36:)
I'm showing this photo to you
so that you
can see which fabrics
go together in each block.
In each combination of three prints...
the two squares on the right
are the single squares
that go in the centers (Pieces "E")
and the middle squares are
the four matching squares (pieces "D")...
and finally the bigger stack
of squares on the left
are the ones on the
outside of each block. (pieces "C")

I also placed all of my
background pieces on a design board
for safe keeping while I sew!

I'm going to show you how
to make this block...
and remember I'll be making
two of them exactly the same.
First make the center of the block...
which is just a simple 9 patch.
When you sew 9 patch blocks...
you sew three rows of three squares
together and then sew
those three rows together.

I like to press my seams open
when sewing small blocks.
It helps to keep them
accurate and lying flat.
I also do not use steam
on my blocks after I have
cut them and sewn them.
I do not want them to shrink:)
That center 9 patch
should measure 3 1/2" at this point.
I like to use my
3 1/2" Trim - It Ruler
to square up during this step.
Now it's time to add
easy corner triangles
onto each side of the
"A" rectangles which are
1 1/2" x 3 1/2"
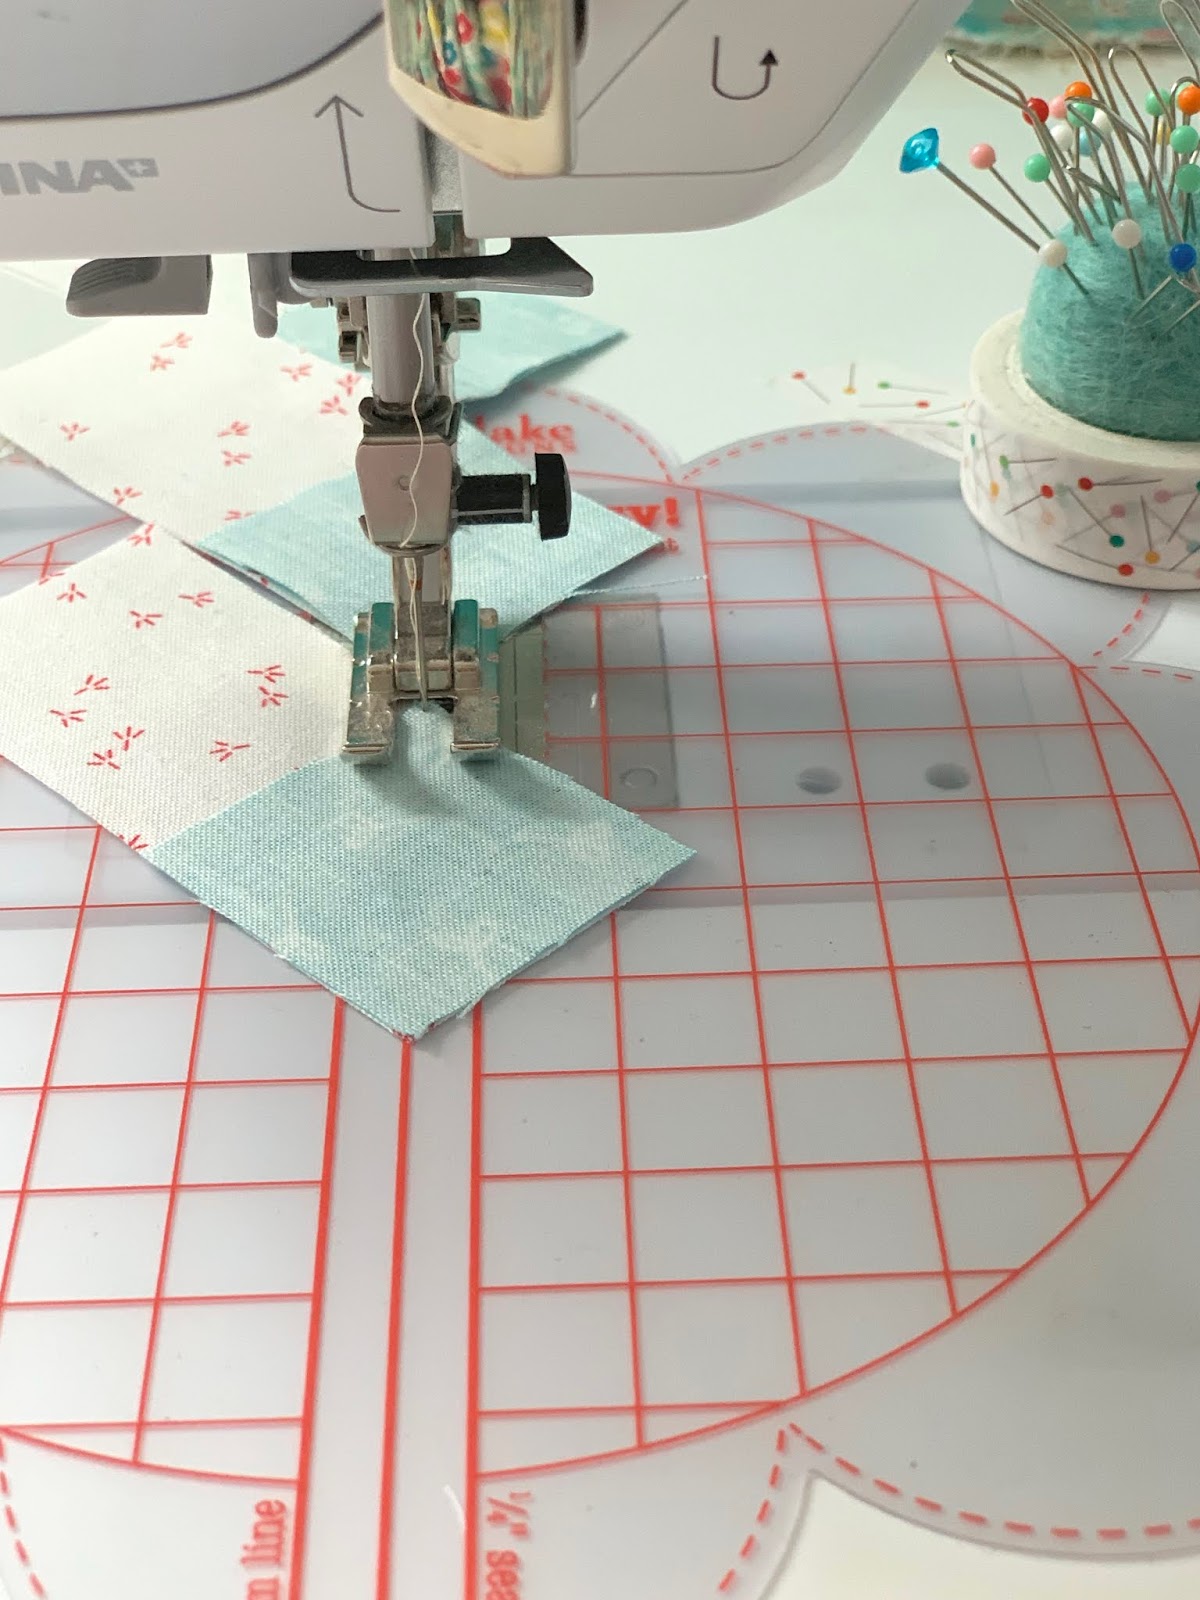
I like to use the
Seams Sew Easy Guide
instead of marking a line
on all of my squares.
to see how I use it and how
to put it on your machine.
I like to chain piece mine
to save time and thread!

This photo shows what each one
looks like when it's sewn
(on the left)
and on the right how you
trim off an approximate
1/4" seam allowance.
Above that you can sew
what they look like after pressing.
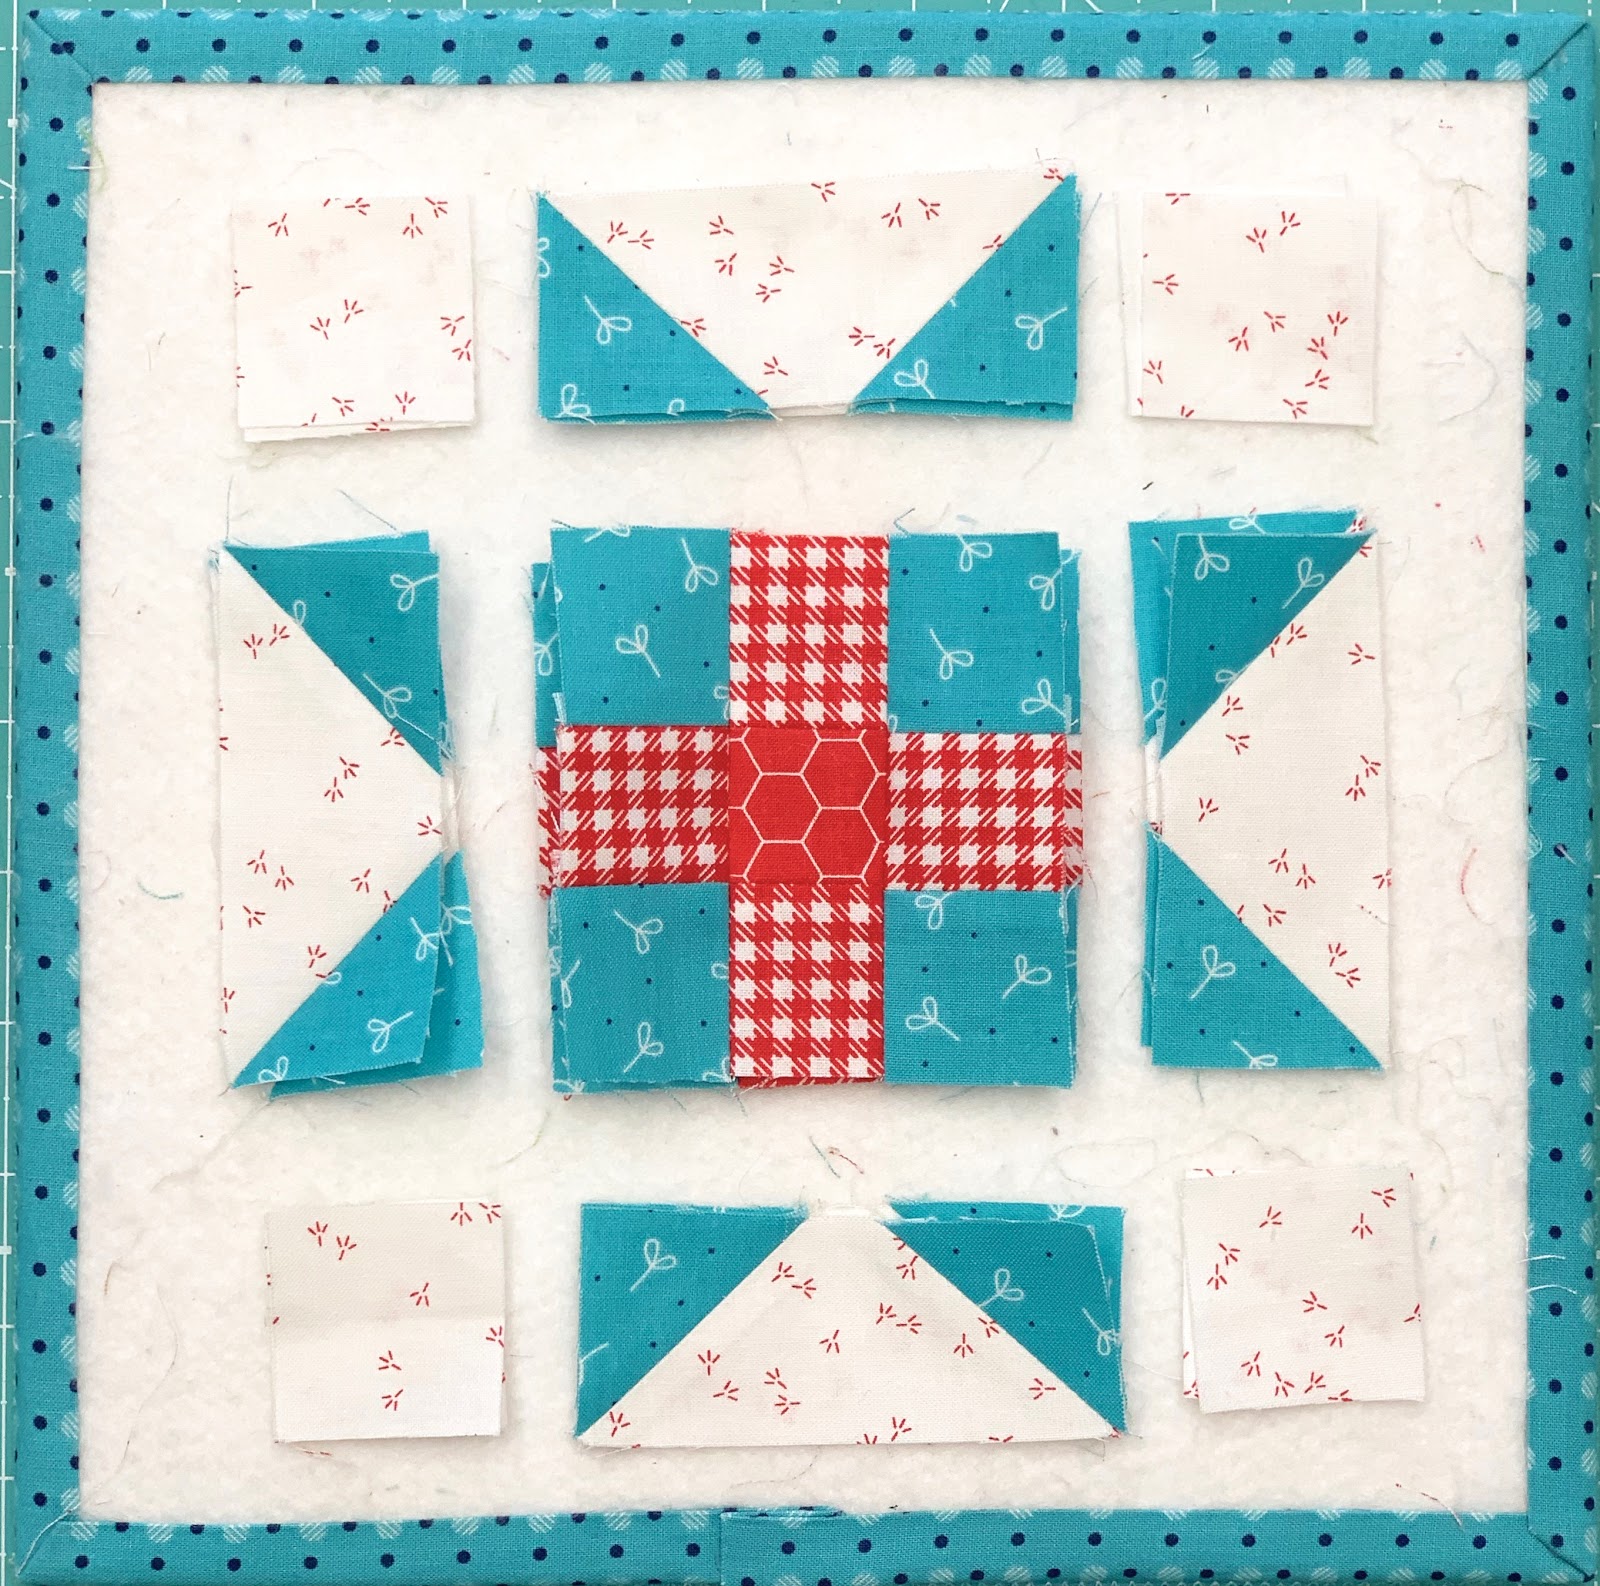
Lay the blocks out like
this on your design board.
Sew the top pieces into a row...
the center pieces into a row...
the bottom pieces into a row...

And then sew the
three rows together:)
YaY!
Your block should measure
5 1/2" square at this point
before sewing them into the quilt.

I like to use my
5 1/2" Trim-It Ruler
to help out with that!

All trimmed and pressed.

The back of my block:)

These blocks are fun and easy to sew...
and there are a total of 36.
There are 4 rows of 9 blocks each.

Before they are sewn together
into the four rows you will
need to sew a sashing strip
(1 1/2" x 5 1/2")
in-between each block and
on each end of the row.
Each row should measure
55 1/2" long which is what
the top row measures
after sewing all
4 of those blocks together.
Obviously that's what the center row
with the barn and trees measures
and also the bottom row
with the tractor and cow etc.

Now that two of these blocks
are finished I'll be sewing
the rest up over the next
couple of weeks as I have time...
and I'm assuming that you
will do the same as well!

And I'll be sewing up the rest of my
10" Farmers Daughter Blocks as well:)
As a reminder...
this is not a race and you should
not feel pressured or think that
you are "sew behind"
because there is no such thing!
Sewing under pressure is not fun...
give yourself a break and
simply allow yourself to
enjoy each step of
our sew along journey.

Y'all are doing great...
and I'm loving the posts on
Keep plowing through...
it's the Farm Girl way!

***Announcement***
Next week is the Tree Block.
After that instead of doing the
Barn and Silo Block tutorial
I'm going to do the
Chicken Coop and Windmill block tutorial.
I'm working ahead by a few weeks
and as I was doing so I realized
it makes more sense to
do that block BEFORE the barn
because they need to be sewn together
before you can completely
lay out all of the appliqués....
so that's the reason for my change.

Bee sure to "tune in"
next week for that tutorial!!
xx
Lori

1 comment:
I am so excited! I just ordered my supplies from the Fat Quarter company. I can’t wait to start. This is such an adorable quilt. ❤️
Post a Comment