

I'm super excited about today because it's week one of my
Cozy Christmas Sew Along!
If you are just joining us...
to read my previous post
about all of the supplies needed:)
Each week we will do
one block together...
and so will Cindy from

We will be making the Cozy Christmas Quilt
to download the free pattern

Using these Sew Simple Shapes...
if you don't have a set of your own:)

And my latest fabric collection:
You can find kits for the sew along
at your favorite quilt shop:)

Today we are kicking off
the sew along with Block One!

Here are the prints from
Cozy Christmas that we
will be using for the appliqué shapes.

We will be using Sew Simple Shapes
B-18 B-13 B-9 B-6
*NOTE*
If you have had any problems with the
interfacing that we used in the
because it was somewhat fragile for you...
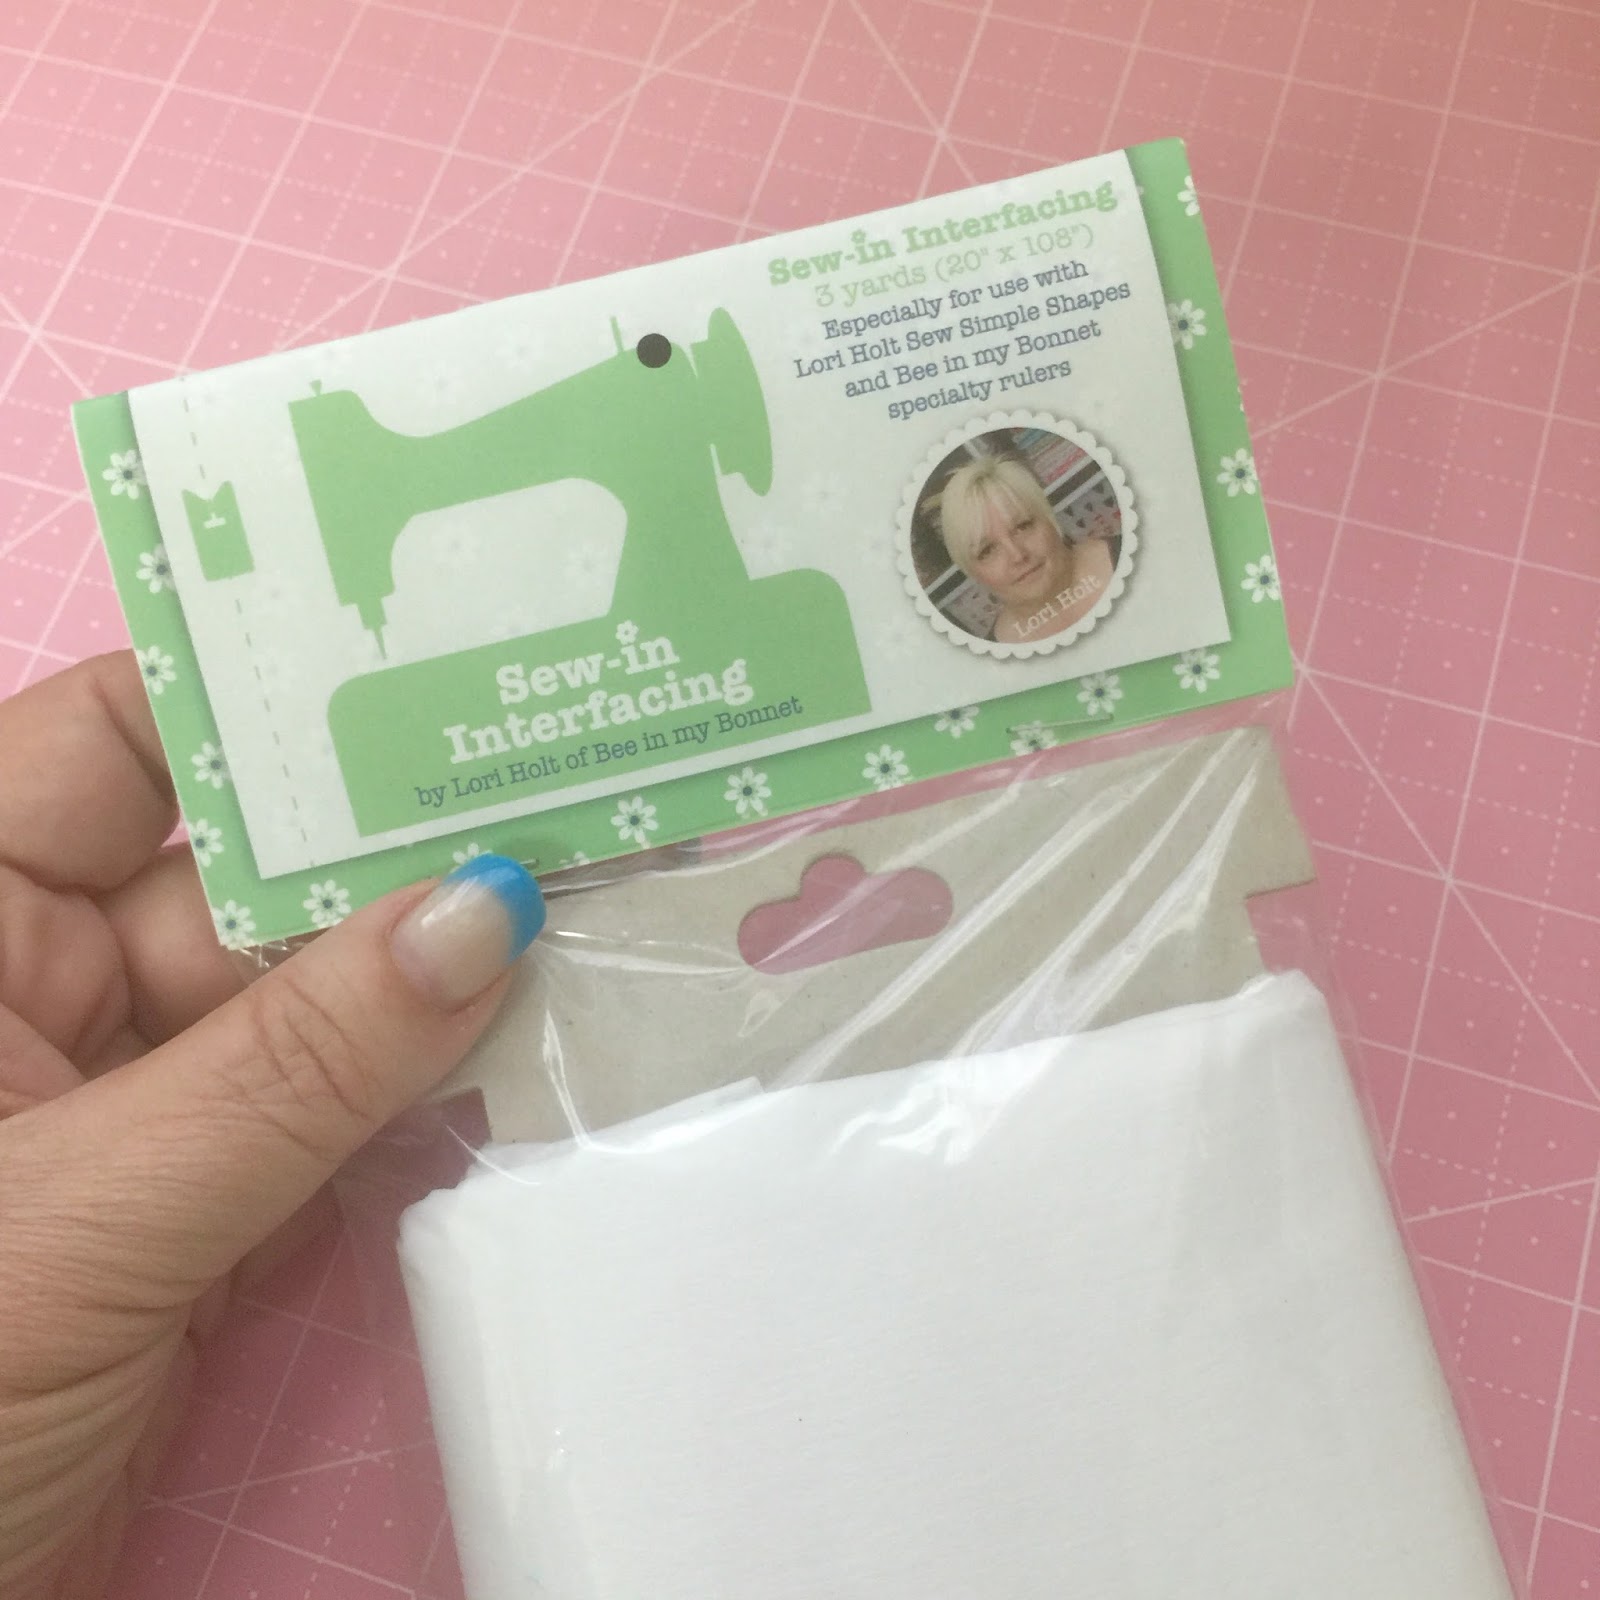
You may want to try my new
Sew-In Interfacing
which I developed especially for my
Sew Simple Shapes.
It's a little thicker because
it has a super tight
weave to make it more sturdy.
I love it and I hope you will too!
if you want to try it!

From BOTH fabric and interfacing:
B18 - Cut 1 - 5" square for bell
B13 - Cut 2 - 2" x 3" for bow ties
B9 - Cut 2 - 2" x 2 1/2" for bow
B6 - Cut 1 - 2 1/2" square for ringer
From fabric only:
Cut 1 - 7" square for background
Cut 1 - 1" x 8" to prepare for bias tape maker
(you will have leftover bias strip,
save it for other blocks)

When you trace the shapes onto your interfacing...
Don't forget to reverse ONE of the B13 pieces
like I will be explaining in the video:)

to watch my Cozy Christmas
Block One Video Tutorial

Okay now onto the next steps after the video:)
I chose to hand appliqué mine.
You can do the same or
machine appliqué if you want.
to see my post about
how I machine appliqué:)

My appliqué is complete
And now for the embroidery:)
I decided to use all 6 strands of my
and a backstitch:)
I said to use 3 strands in the video
but when I actually did it...
I thought 6 strands looked best.
to see my embroidery tutorial part 2
on how to do a back stitch.
It's a four part series on beginning embroidery
that I did a few years ago
and in part two...
I show how to do the backstitch:)

After your embroidery is complete...
PRESS your block from the back.
This protects the appliqué work on the front.
Remember not to use steam of starch...
I'm saying this because I have found through experience
that the background fabric will wrinkle up
around your appliqué pieces.
After you have pressed your block...
use a 6 1/2" square ruler
and trim your block to 6 1/2" square.

Now it's time to add the
inner borders around your block.
Cutting and sewing instructions
for this are in your pattern.
Keep in mind you can add
the shortest strips to
either the top and bottom
or the sides first...
it doesn't matter.
I chose this way because of the way that
I cut my little mint and pink bell background fabric.
I wanted my bells to be right side up:)
Your block should measure
8 1/2" square
after the bell borders are added:)

Now it's time to add the
pieced outer borders on your block.
Instructions are in the pattern but here
I will show you how with close up photos.

Flying Geese
1. Place a background square onto
one side of the rectangle with right sides together.
Make sure to line up corner
and all edges evenly.
Stitch from corner to corner.
Do not guess!
Either mark your line
or else you can use my
2. Trim off excess about 1/4" away
from stitching line and press open.
3. Repeat for the other side.
4. Trim and press open:)

Make four flying geese
for each block.
When you are making
scrappy flying geese...
this method is super easy!

Half Square Triangles:
You will get 2 half square triangles
at the same time using this easy method.
That works out great since we will need several for this quilt:)
You just need 1 square each
of the background and a print to make 2.
(Cutting is in your pattern)

You simply put them Right Sides Together and sew 1/4" on each side of the diagonal center.
I did not mark a line down the center of mine because I used my Seams Sew Easy.
You can see in this 4 step photo above how I sew the first seam by using the left line on my Seams Sew Easy as a guide.
It's simple because the 3 lines are exactly 1/4" apart.

For the other seam I simply do the same thing on the other side.
I now have 2 seams exactly 1/2" apart
and centered perfectly
down the center diagonally:)
Easy Peasy!

I cut it apart right down the center...
but don't press them open yet!

I like to square mine up BEFORE I press them open to save time on the trimming step.
Use a 2 1/2" square ruler and place the diagonal linen my stitching line like this.

Then I trim off the excess.
It helps to use a rotating mat
for this step
and I like this one by Sue Daley
and use it often.

After trimming...
I press it open and I have a
super cute and super accurate
2 1/2" half square triangle.
It will finish at 2" square:)
I set the other one aside
to use later in
another block in this quilt.

You will need to make
8 half square triangles
for the block.

Now stitch your block one together!
It should measure
12 1/2" square at this point.
Use a 12 1/2" square ruler
to trim up if needed.

***TIP***
When I am sewing 2 pieces together that have seams that need to line up exactly...
I like to use a fork pin by Clover.
I use it because I can pin on BOTH sides of the seam at the same time and that leaves no room for either side to slip out of place when going under the presser foot.
The Clover brand pins are
thin enough that
I can sew over them:)

See?
They line up perfectly.
Easy Peasy!

These pins are traditionally used
for sewing clothing
but I have always used them
for my patchwork.
Neat little trick...right?

After you finish your Cozy Bell Block
please show it to us on
It makes the sew along
so much fun to see everyones
blocks and the progress
that they are making.
If you want to make sure
that we all see it you will need
to use the same hashtag
so that it shows up on
that hashtag page
when it's clicked on.
For this block use the hashtag:
#CozyBellBlock
Other hashtags to use
when posting are:

I'm so completely excited
about this sew along and
that we have finally started!
Thank you from the
bottom of my heart for joining me:)
I can't wait to see your block one.
Let's do this!
xx
Lori

7 comments:
Wonderful start to my Monday!! Always love your tutorials! I'll be choosing all my fabric today from your sweet Cozy Christmas Line - my templates should be arriving soon :)! Looking forward to sewing along :)!
We're finally starting....hope I can keep up! So cute!
What I would like to know is where can I find the pattern for that super cute multi-pouch bag you show in the pic that's holding your templates? I would love to make myself one of those. :)
I have not been able to master the hand applique for years. I am never happy with my results. Well, I love Lori's patterns and this has been a dilemma for me. I decided I was going to tackle this once and for all. I watched Lori's tutorials and BAM! Nailed it!! Lori, thank you so much, I was just doing a few things wrong and when I followed your instructions my stitches were very smooth and my lines nice and straight. Now with practice, I hope to get the stitch length consistent!
I am just seeing all this now...and love it!! Where do I get the pattern for the Cozy Christmas quilt? I tried the Fat Quaarter Shop, but did not see it there. Thanks!!
As always, I am so excited for your sew-a-longs!! The fabric is just so darn adorable!! I love, love, love your sew together bag in your Cozy Christmas fabric!! I am having so much fun just cutting out the fabric because your fabric patterns and colors make me happy!! Take care and have fun on your trailer!!
love the Christmas pattern, can't wait to catch up with you. Do you have a pattern for your little bag that holds your templates as in Block Three? Love the size.
Post a Comment