

Hello and welcome to week six of the

if you are just getting started and
to download the free pattern

Today we are baking
Apple Pies!

Grab your fabric...
interfacing and
trace your

Use the cutting chart included
in the pattern to cut your pieces:)

Sew directly onto your traced lines.

When trimming the seam allowance..
make sure to make a few clips
at the top of each apple's inner curve.

Cut the interfacing...

Turn... shape and press!

Place the apple
1 1/2" up from the bottom
of your background square.
Make sure its centered by
pressing your square in half:)

Glue or pin baste the apples...
trace the stems and
the lines on the leaves.
Now you're ready for appliqué!

And the embroidery!

Use the C-15 to trace
onto the interfacing squares...

and make your apples into circles:)

Appliqué them to the
center of your pie blocks:)

This week I trimmed up
all of my pie blocks
because we only have
two more to sew:)
YaY!
This is the final step in
making sure that
your pies are centered:)

Just a little bit
about my new
Cute Cuts
Trim-It Rulers
There are 11 in the collection
and I designed them all
with centered lines going both
horizontal and vertical
as well as diagonal.
This makes it super duper easy
to trim up any quilt block perfectly!
They also have built in non-slip
on the back and are easy to use.

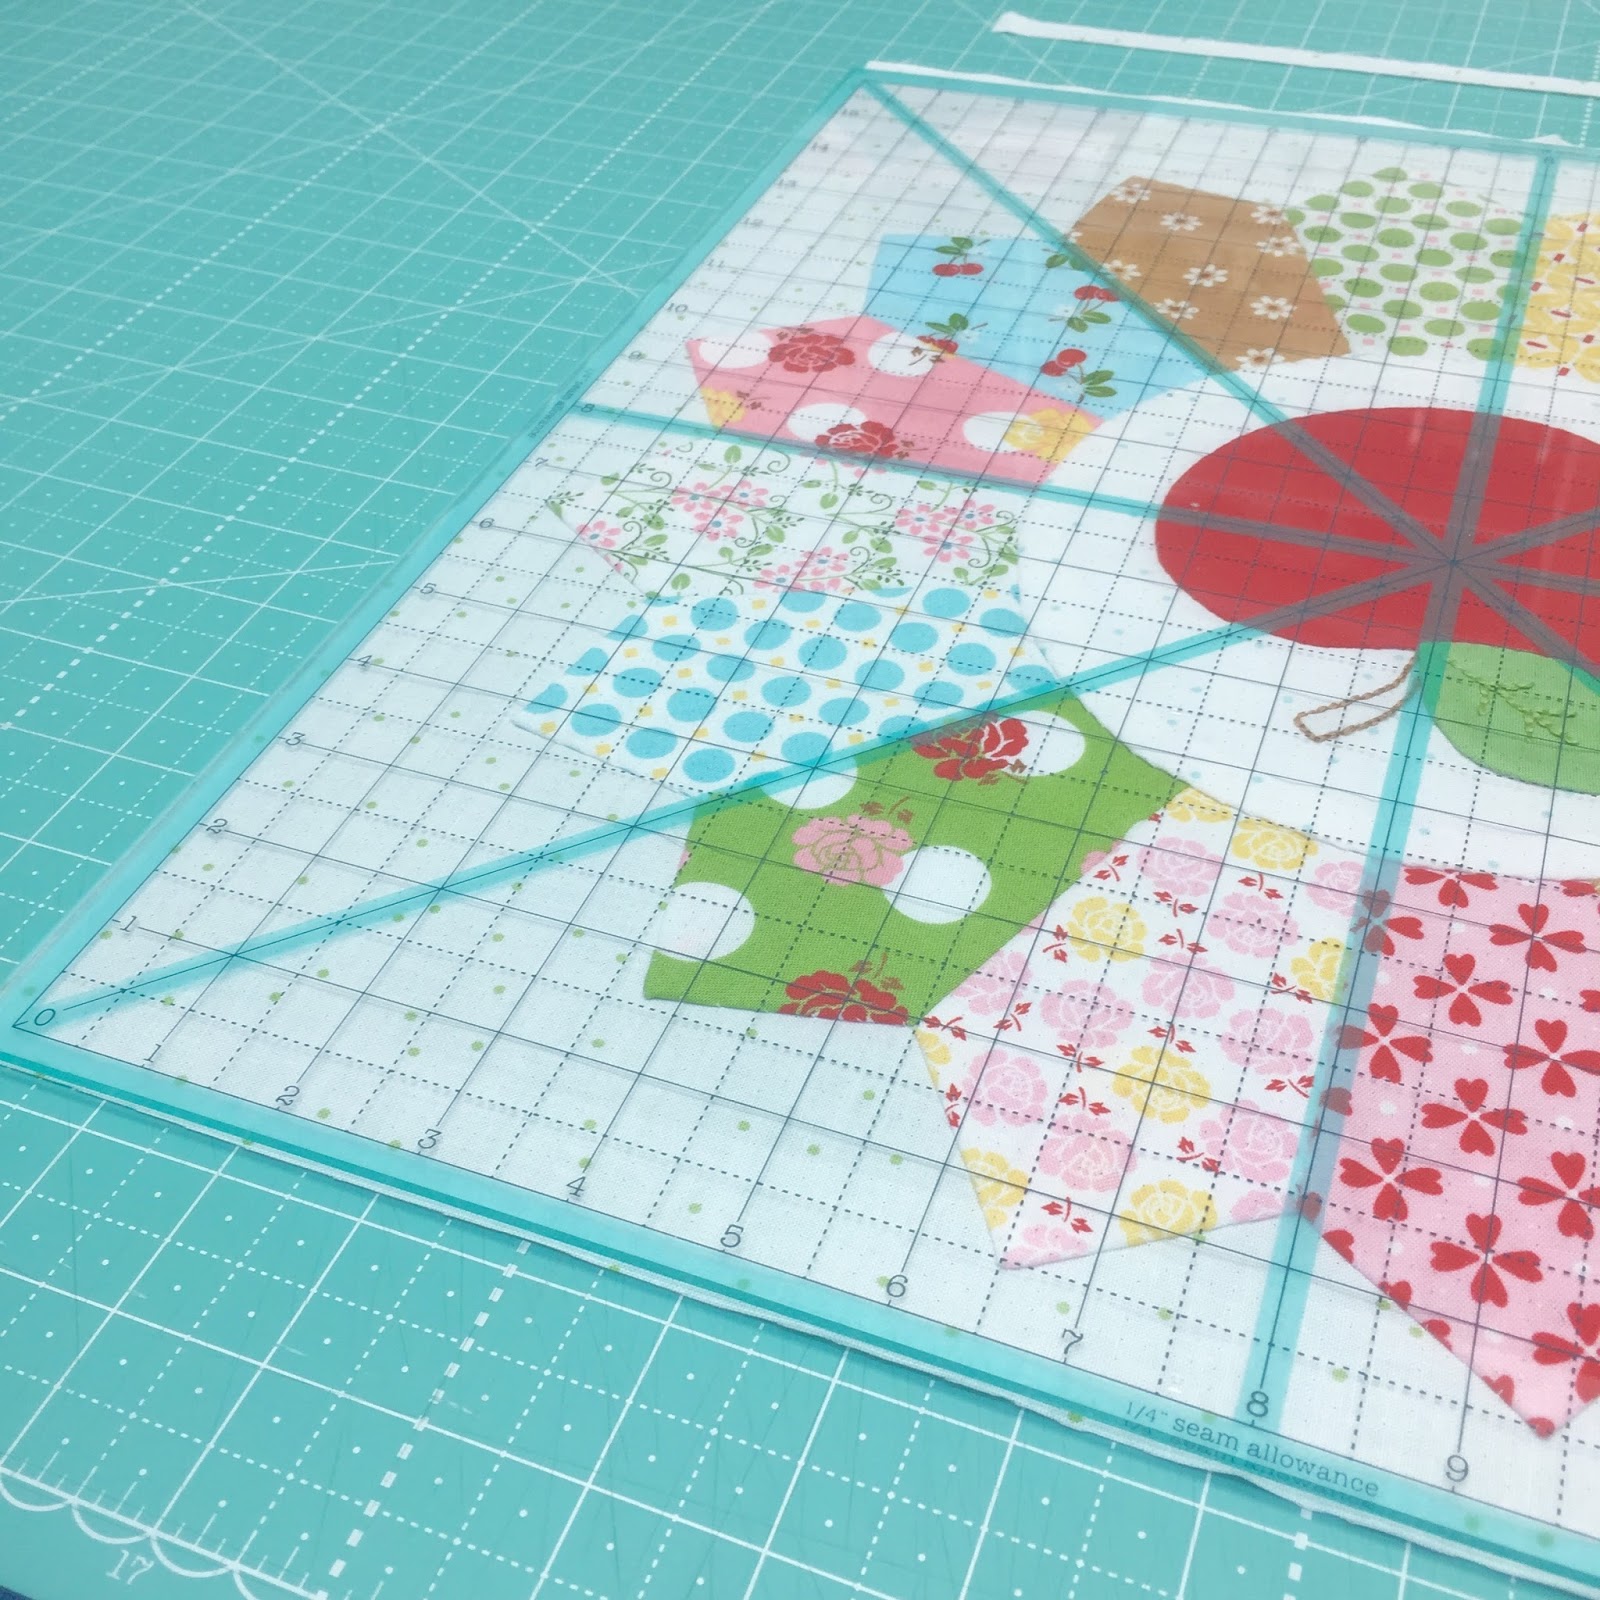
There are 1/4"seam allowance
all the way around the edges
so that you can see
what your block will look like
after its sewn into the quilt
and also to make sure that you
don't cut anything off
that you aren't supposed to.
Yikes!
(like points when you are
trimming up a pieced quilt block)

Place the 16 1/2"
Trim -It Ruler
onto your block.
Line up the dresden seams
with the lines on the ruler ...

on all four sides...

like this.

Now you're ready to trim...
so grab your rotary cutter:)

I'm right handed ...
so I always trim on the
right and the top first.
If you are left handed ...
simply do the left side first.
After those first two sides are trimmed...
place your block upside down like this.
Because you have already
trimmed those two edges...
you can line them up with
the edges of he ruler
(they are now left side and bottom)

And go ahead and
trim on the right
and the top:)

YaY!
Now your pie block
is exactly centered
and is a perfect
16 1/2" square:)


P.S. Did you happen to catch my tutorial
that I did a few days ago on my
Cherry Hearts Placemat?
if you want to make one!

1 comment:
Thank you, I'm going to trim up my blocks I have finished using your ruler. Have my fingers crossed my plates are lined up. If not it's ok, this is the first time I made this block for a quilt. I always thought they looked to hard to do but with your direction's I did it.
Post a Comment