Hello cute people!
Are you ready for a
cute little tutorial?
We are right in the middle of the
and today I'm going to
show you a fun little project...
how to make my
Cherry Hearts Placemat:)
YaY!!!
I told you in my last post...
that I would be making something
with the C-8 heart from the
So just a little side note before we get started;
I also put a heart in my
And I made this one a little smaller
so that they can stack on top of each other.
Isn't that fun!?!?
We are only using the
C-8 heart today
but I just thought
you might like to know!
Okay...
with that being said
let's get started with the cutting.
This is a perfect project
for leftovers.
I've only made
one placemat so far ...
but I plan on making another
so that I can
put them on the
countertop in my kitchen
with the two barstools:)
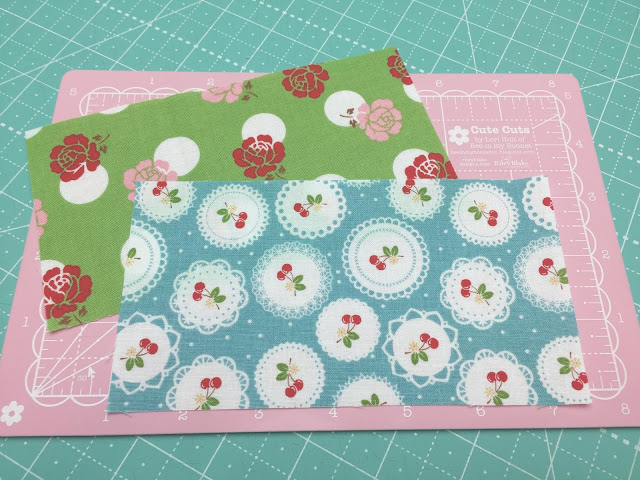
From your
scraps cut:
10 - 2 1/2" x 3 1/2"
Cut 6 - 3 1/2" x 4 1/2"
Cut 2 - 3 1/2" x 6 1/2"
From any of the 3 backgrounds:
Cut 8 - 2 1/2" x 3 1/2"
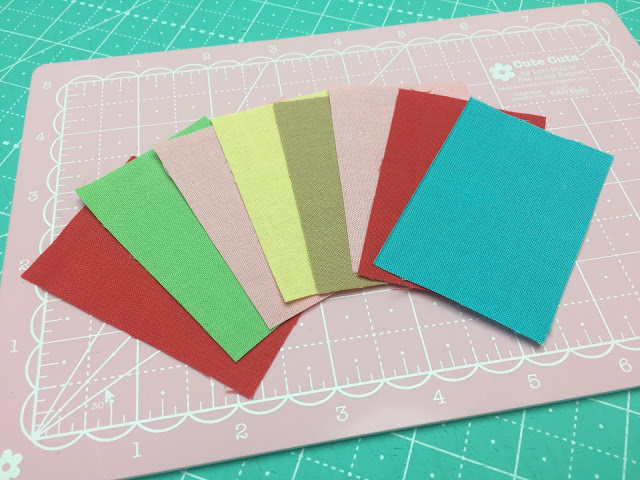
And for the hearts:
Cut 8 - 2" x 3"
Not pictured is the
but you will need to cut
8 of those
the same size as well:)
Trace your hearts
onto the interfacing...
Sew directly onto your marked line
and overstitch about 1/2"
on top of where you started.
Trim an approximate 1/4" seam allowance
and clip ONE time on the
cleavage of each heart like this:)
Cut the back of the interfacing...
And turn right side out.
Use your handy dandy
to shape your hearts.
I love these cute little hearts!!!
I just had to set them up for a few photos:)
YaY!!
Now let's make the placemat:)
Sew each row together like this.
And then sew your rows together:)
At this point you can
baste your hearts on
and appliqué them...
but I decided to
make the entire placemat...
binding and all...
then appliqué the hearts...
because I didn't know
if I wanted to
quilt over the top of them
and squish them down
because they're
sew cute!
(I apologize to all
of my english teachers
for the super long
run on sentence lol)
Okay...
so I chose this fat quarter
for the backing.
I cut it and the
batting about
an 1" bigger all the way
around the placemat.
Which by the way
measures 12 1/2" x 18 1/2"...
the perfect placemat size!
I set my hearts aside
until after the quilting
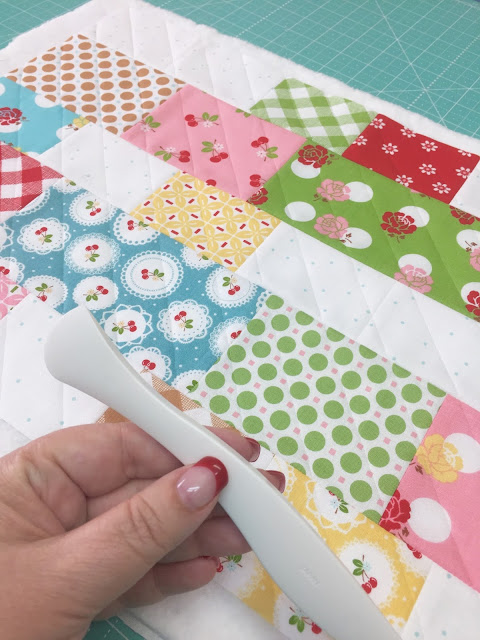
and grabbed one of my new
and my turning tool
for marking the quilting lines.
I marked lines 1" apart on the diagonal
using the curved edge of the turning tool
right next to the rulers edge
just like you would a rotary cutter ...
except you are not cutting...
you are marking quilting lines!
Another handy dandy use
for this awesome tool:)
I used a walking foot
attached to my machine
and simply quilted directly
onto the creased lines...easy peasy!
Then I trimmed my backing and batting
even with the edges of the table runner:)
For the binding I cut
2 - 2 1/2" x Width of Fabric strips
and sewed them together.
to see my tutorial
on binding a quilt:)
Then I hand appliquéd my hearts
and hid the knots in the back
of the placemat like you do
when you are hand quilting:)
I used the red gingham
binding because I
had some leftover...
from when I did the
I love these
cute little hearts...
And this cute little placemat!!!
I hope you do too:)
xx
Lori


7 comments:
I love this and how you attached your little hearts afterwards! Beautiful placemats!!
What a great tutorial! The placemats are so colorful and cute.
These are so cute!😍
How fun!!And cheerful! Brightened my day1 Thanks Lori!
So, SO adorable!!
Love these place mats!! Just purchased the Sew Cherry 2 fat quarter bundle, and will be making these.
Very beautiful
Post a Comment