

Happy Monday everyone:)
It's already week four in our sew along!
I just have to say that whenever I'm on Instagram
I am so happy to sew
everyones progress
on their blocks...
y'all are doing
such an awesome job!

If you are are new here...
This is my
Sweetie Pie Quilt
and it's what we are
making during this sew along:)
You can join us anytime
by first clicking
to read about the
supplies needed
and all of the
information to get started:)
***FYI***
You can click on each weeks
tutorial here on my blog...
by scrolling down until
you see each block
on the right sidebar:)

We are using my latest
fabric collection
Sew Cherry 2...

And today we are making
Strawberry Pie!

I made both strawberries
at the same time:)
You know all of the
important steps by now right?
First prepare your
fabric and interfacing...

Trace and then sew.
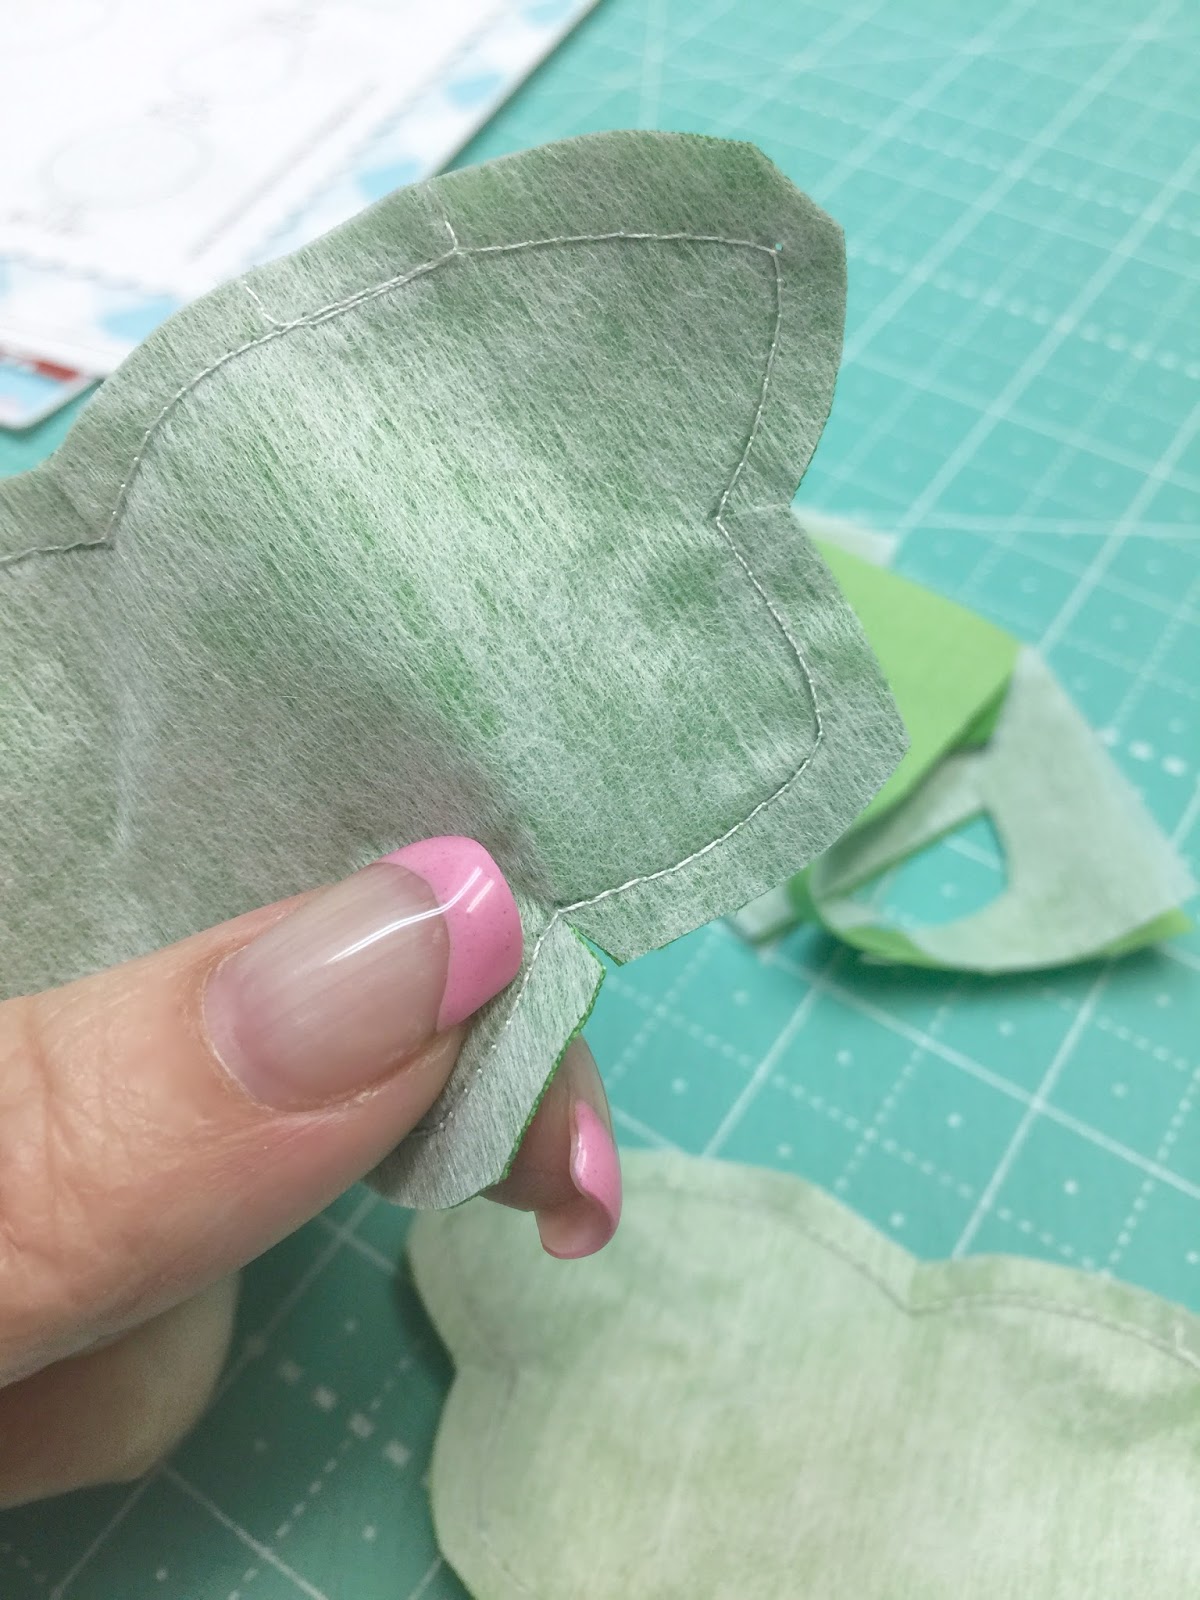
On the strawberry tops there are
5 cleavage areas that
will need one clip each...
just like this.
Now when you turn it
right side out
it will lie flat.

The top of the strawberry
also has a cleavage.

The bottom two sides
have a slight inside curve
that require
3 clips in each one.

After clipping and cutting
the "X" in interfacing only...
shape your strawberry bottoms
and tops using the turning tool
to help smooth the edges.

Before you
prepare to appliqué...
trace the embroidery lines
onto your shapes:)

Trace the stem onto
the center top
of your background...
about 1 1/4" down
from the top.

After placing your strawberry
(right below the stem)
the bottom should be about
1 1/4" up from the
bottom edge of the background.

When your embroidery lines are traced
and appliqué shapes are laid out
onto your background
you are ready to
pin or glue baste for appliqué:)
***TIP***
When I trace to make
lazy daisy embroidery stitches
(like the seeds on the strawberry)
I just trace a dot
at the top of
where the stitch
will be...
just for placement
instead of tracing
the entire stitch.
This way...
I don't have to worry
about covering up my traced lines...
which is often hard to do
with a lazy daisy stitch.

Applique and embroidery
both are complete!

Now it's time to
turn them into a circle:)

Let's fill the pies!


YaY!
#StrawberryPieBlock

I've also been
playing with my ginghams...

And I have nine
ready to be circled:)

They look like cookies!

I love these
happy gingham daisies:)
Show us your progress on
these little cuties on
Use the hashtag
#GinghamDaisyBlock
when you post them
so that we can all see.
I can't wait!
xx
Lori

2 comments:
Thank you for these wonderful tutorials. Your strawberry looks so perfect. Love how you designed it! Still waiting for my Pie Ruler, but hopefully, I can start soon :)!
Great tip on the lazy daisy stitch.
Post a Comment