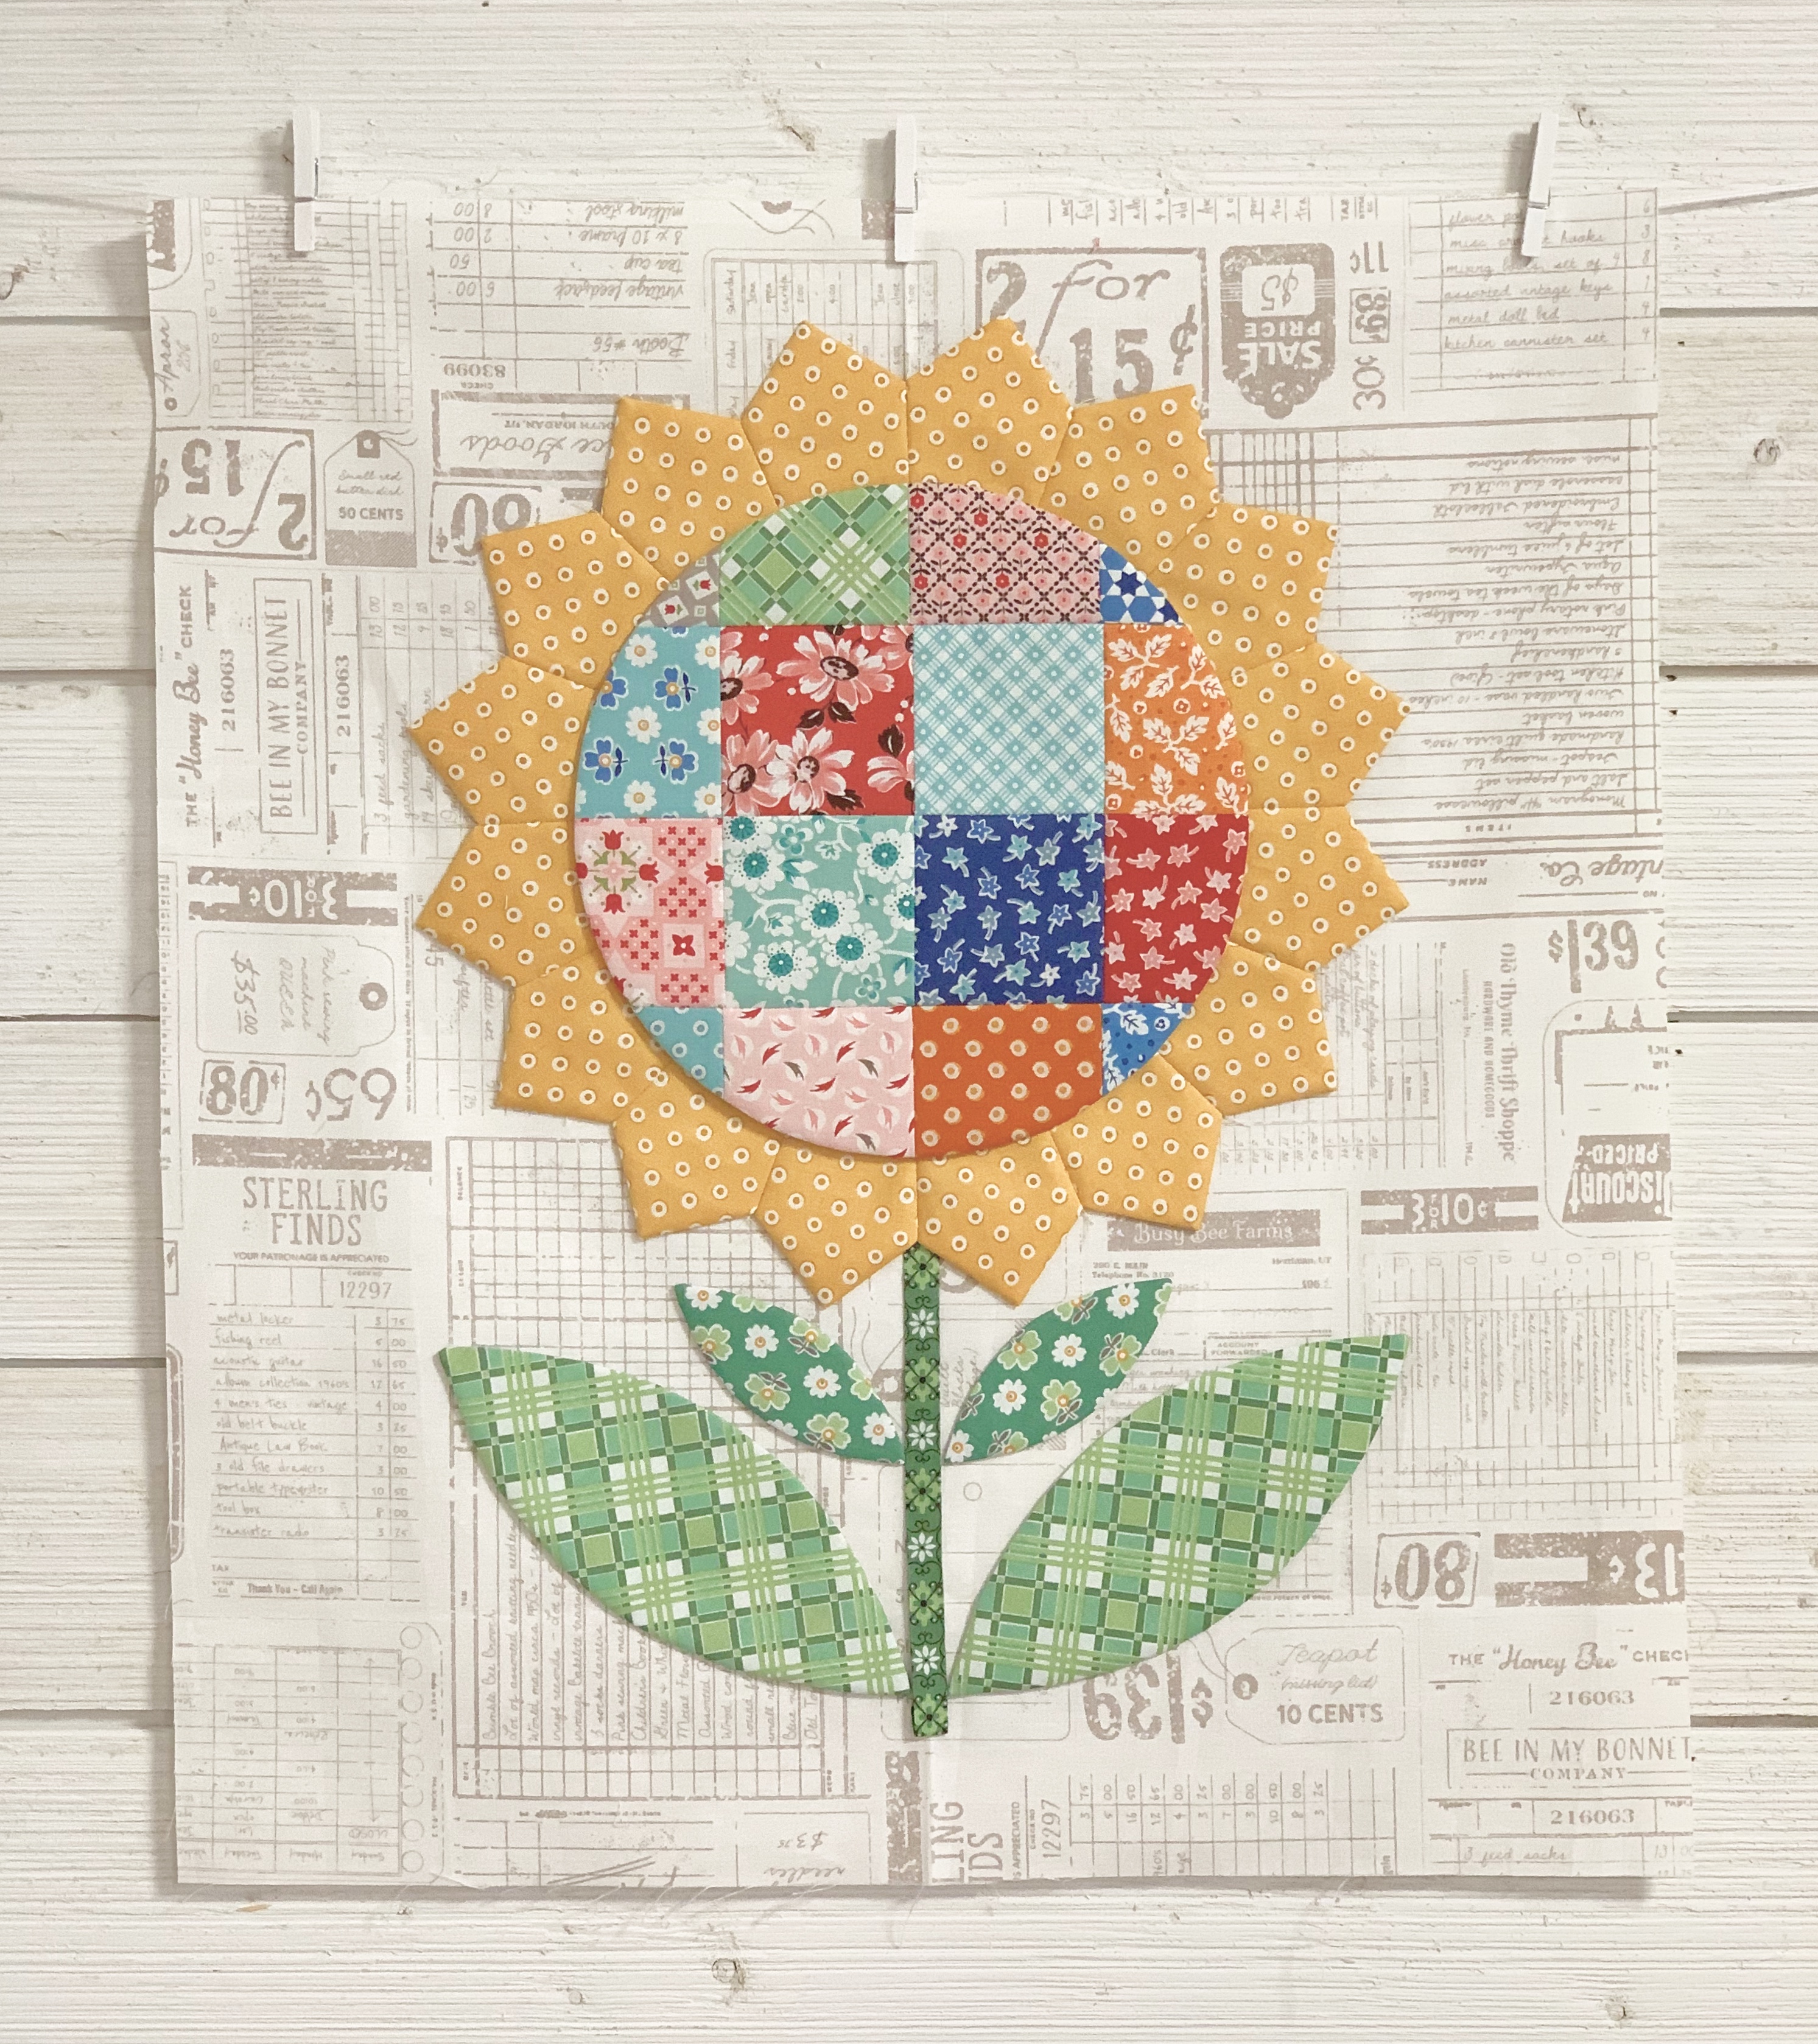
Monday, January 25, 2021

Flea Market Flowerts Sew Along - Week One!!


Flea Market Flowers 
BLOCK "M"


Welcome to Week One of the 


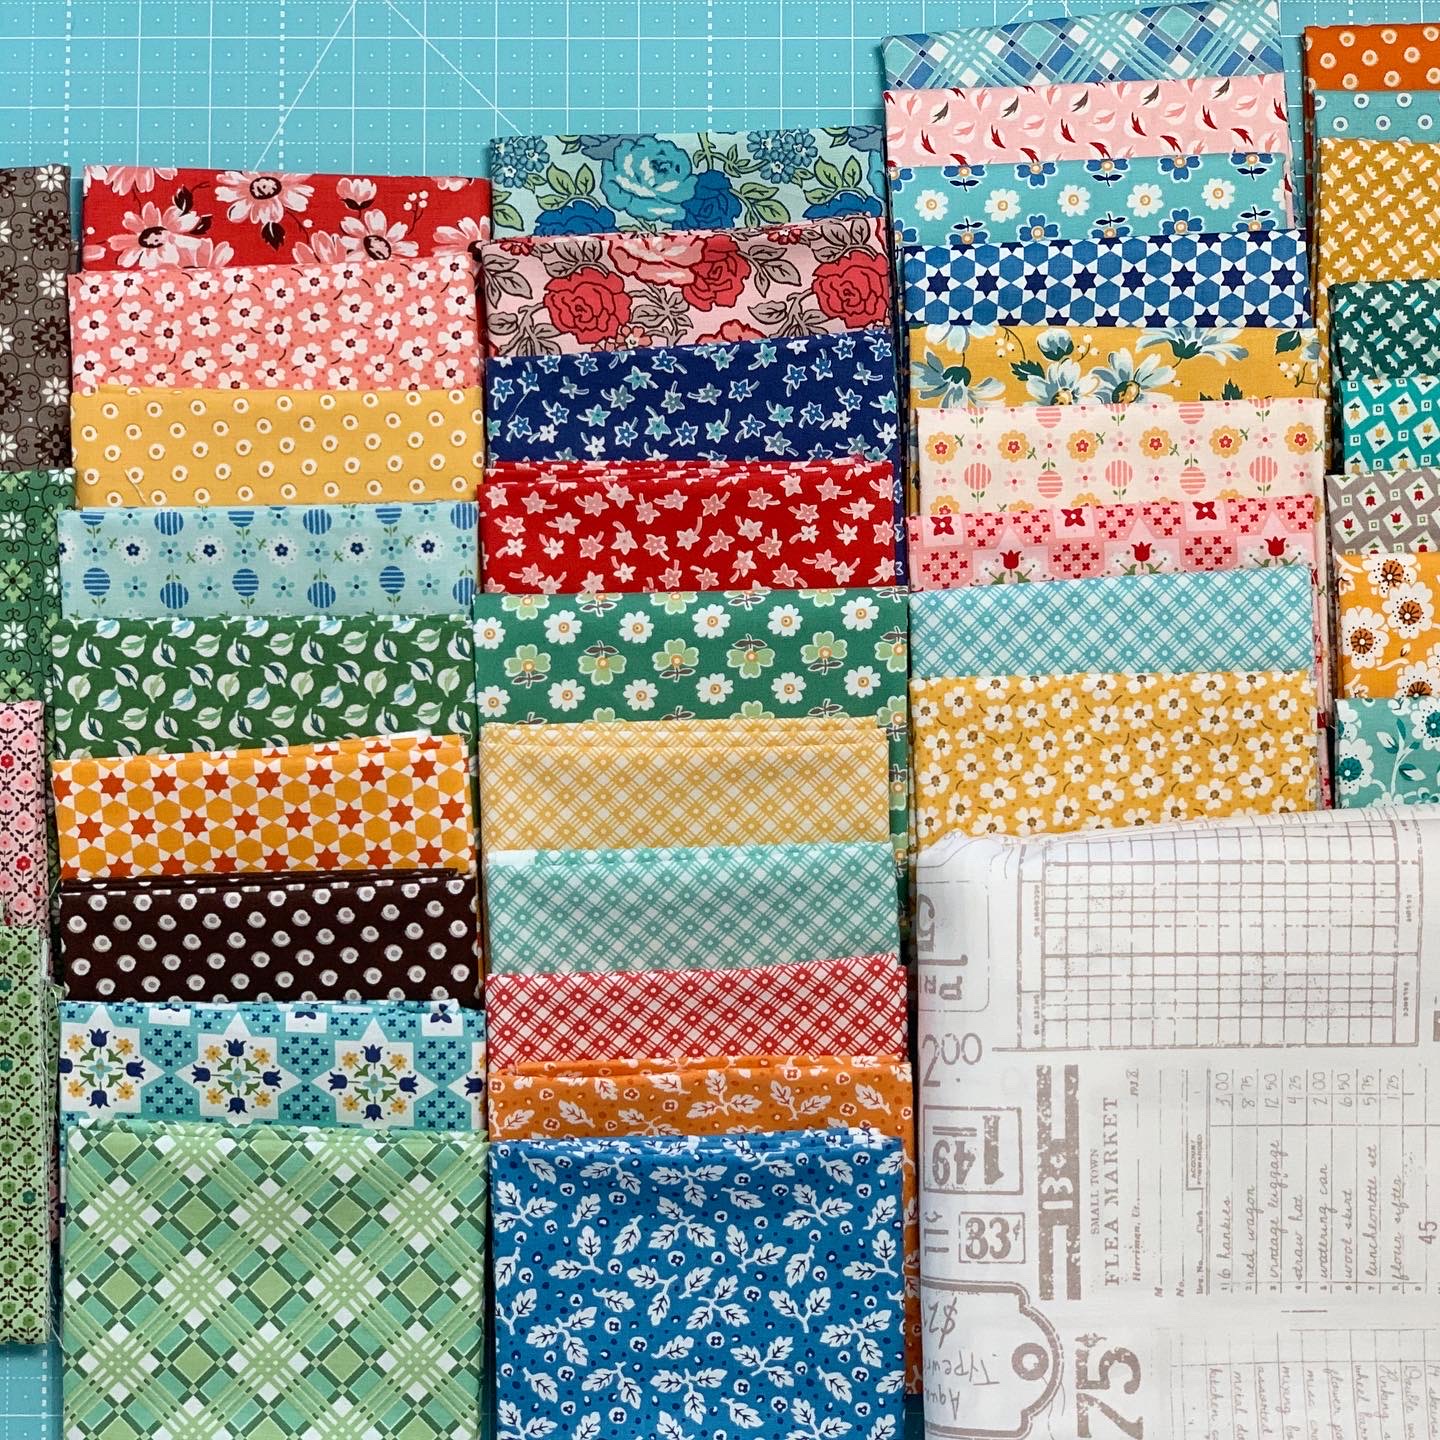
We are using my latest 
fabric collection called
Flea Market
It's designed by me ... 
and produced and distributed by the amazing 
Riley Blake Designs:)


We are making my quilt
FLEA MARKET FLOWERS
76" x 86"


We are using my 
PIE RULER
to make all of the flower petals...
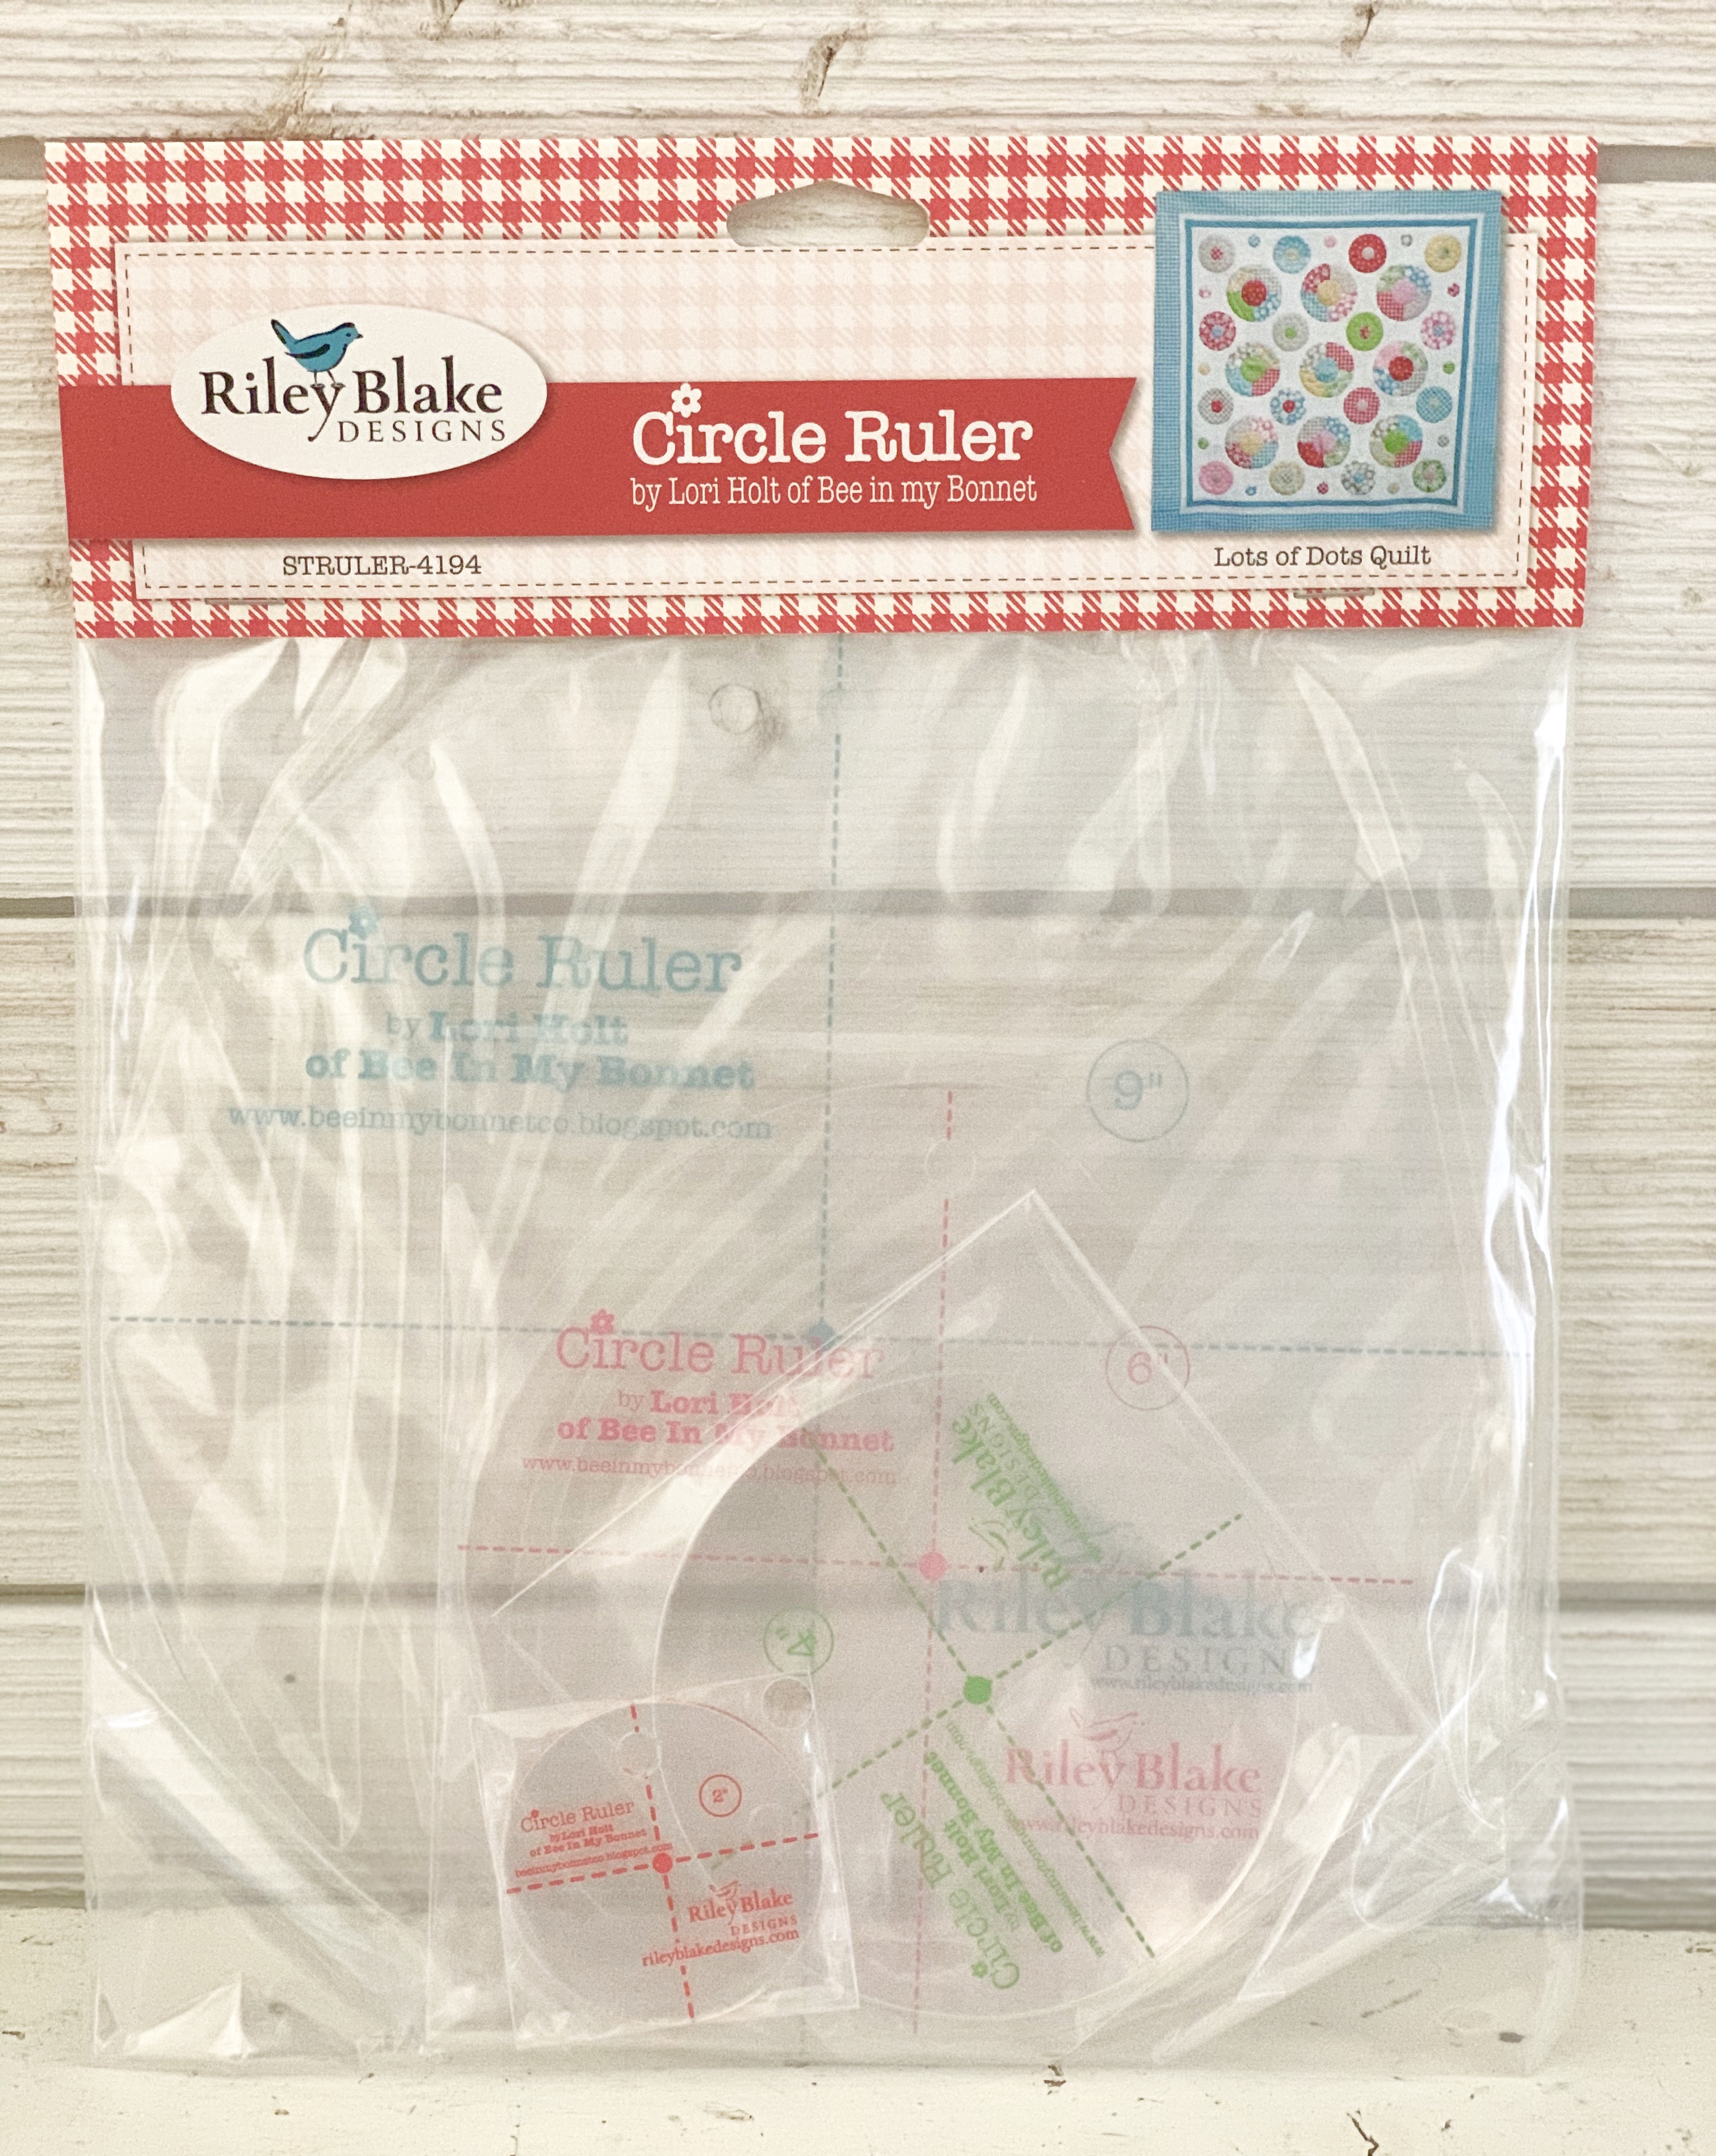

This set of my 
CIRCLE RULERS
for all of the flower centers...


And we are also using my 
SEED RULERS
for all of the leaves in the quilt.


All of the other notions as well as fabric requirements are detailed within the 
Flea Market Flowers Sew Along Guide
for the free PDF Download

I also have a "Bee Prepared" blog post 
detailing everything that you will
 need to know about this sew along...
to go to that blog post 
if you have not read it 
or you need to be "refreshed"
 on any of the information!


As promised...
I did a video tutorial on my
 YouTube channel showing how to make 
Flea Market Flower 
BLOCK "M"

to go to that tutorial...
 so that you can make this cute flower!!

I detail everything step by step
 in my video along with cutting instructions.
Also...
remember that all of the cutting
for each print in this block is
 in your sew along guide as well:)


I hoped you liked my video! 
It was really fun to do it for you:) 
I just love how this flower turned out...
I think the patchwork center 
is really fun 
and many of these blocks 
would be a beautiful quilt as well!


I have not appliquéd my block
 or trimmed it up yet 
but I'm pretty sure that
 I am going to machine applique
 all of the blocks for this quilt.

Most of the time I hand applique 
but every once in a while
 I like to do it by machine
 and I think these blocks
 would be perfect for that.

A few months ago I did a video tutorial
 on how I machine applique
 and hand applique
if you would like to watch me!

I'll be using thread to match 
my appliqués 
which is what I always do 
whether by machine or by hand.

After applique the block is 
trimmed down to 
18 1/2" x 20 1/2"

It will finish at 18" x 20" 
after it is sewn into your quilt.

We will chat about trimming 
blocks down in the next week or two:)


Flea Market Flowers 
BLOCK "L"
is anothe one that I am doing
 a tutorial for this week as well.


Please remember that I have asked you 
NOT to cut any of the flowers ahead of time
 (so that no mistakes are made and also
 there are a few speciality cuts)

I will be showing you how to cut the
 flowers for each block as I do each tutorial.

For BLOCK "L" you will need to make
 two - 6 1/2" Flowers
so that means you will need to cut 32 petals.

You will need a little bit more than two
 3" x 21" strips to get all 32 petals cut.
Lay your ruler on the fabric strips between the
 4 1/2" and 7 1/2" lines 
that are marked as dashes on the Pie Ruler.

I cut them exactly the same way that I showed you
 in the video for BLOCK "M" ...
just different size strip height and
 different placement of the Pie Ruler.


I have all of my other fabrics cut for
 the block and my Sew-In Interfacing traced.
1 - 2" Circle
2 - 4" Circles
4 - Small Leaves
I cut my 1/4" prepared straight bias strip
 6 1/2" long
I cut my background 
10" x 20"


This is what a cute little 
6 1/2" flower looks like:)
By the way...
6 1/2" is the smallest sized flower that
 we will be making for the quilt.

No matter what size flower we are making...
they are all sewn the exact same way
 that I showed you in the video.


Here is a close up view of the back of a
 6 1/2" Flea Market Flower.


A close up view of sewing my leaves!


Okay...all shapes are:
1. Sewn 
2. Trimmed
3. Turned
4. Shaped
5. Pressed

Although in this photo I
 had only sewn one of my flowers:)


I pressed my background in half BOTH ways
 so that I had a crease in the fabric to center my design on.
I layed out the flowers and pinned
 onto my background using
 the design board underneath.
I did this the exact same way
 that I show in my video:)

After pinning I used the Sue Glue and 
removed the pins after the glue dried.

From tip to tip of the two flowers 
it measures 17" long
and the width of leaves and flowers
 are 6 1/2" wide.


Flea Market Flowers
BLOCK "L" is all ready for applique!

It will finish at 8" x 18" 
when sewn into the quilt.
After I have done my applique I will
 trim it down to 8 1/2" x 18 1/2"


I really love the light 
colored centers in these flowers...
so sweet!!


Okay! 
So that is it for the tutorials today...
two blocks down and fourteen more to go.
This is going to be fun!!

Have fun planting your flowers...
I'll meet you right back here next week for
 Flea Market Flower Blocks "N" and "O"

Chat with you later!!
xx
Lori


Monday, January 4, 2021

Flea Market Flowers Sew Along - Bee Prepared!!


Welcome to the Bee Prepared post 

for the Flea Market Flowers Sew Along!!

We will be making my 

Flea Market Flowers Quilt 

76" x 86"


The sew along takes place here on my blog starting on Monday, January 25th...
and yes...consider this your official invite!


This is a free sew along and all that you need to do to join in is tune into my blog here every Monday for the weekly tutorials for one or two blocks in the quilt.


We will be using my fabric collection called FLEA MARKET
This is a photo of everything
 in the fabric kit. 
There are a few more prints in the collection
that are not used in the quilt 
such as a few panels and a 
really cute vintage kitchen print!

I also designed 3 widebacks (106" wide)
to match the collection
that you can choose from to use 
for your quilt backing.
 
FLEA MARKET 
has just arrived last week and is
 making it's way to quilt shops everywhere!
If you do not have your fabric kit 
pre-ordered...
just do a quick google search
"Flea Market Flowers Quilt Kit"
to find a shop that would be happy to help you out!

I know because of what is going on
 in the world with shipping problems 
right now, that it may take longer
 to get your fabric kit...
but no worries because all tutorials
 will remain here on my blog:)


You will also need to download the flea Market Flowers Sew Along Guide.
Remember this is just what it's called...
a "guide" to help you through this sew along
and it is invaluable
but keep in mind it is not a pattern.
I will be doing the step by step tutorials for the blocks and so there is no pattern available nor needed during this sew along.


I usually keep my sew along guide in a plain white binder but I'm happy to say that I now have a binder coming out with each fabric collection that you can keep your guide in:)
This is what the outside looks like...


And the back.

On page 2 you will find the introduction page with the fabric requirements and all of the supplies that you will need.

I'll go through them with you one by one in order that they are listed in the guide.


This is my large Vintage Trim (ric-rac)
in the color Riley Coral.
We will be using the large size to 
tuck inside of the binding after
 the quilt is quilted:)


We will be using the 
SEED RULERS
for all of the leaves...
there are 2 sizes and all of
 the leaves are these two sizes 
in the entire quilt:)


We will be using my 
PIE RULER
to make all of the flowers.
Depending on what lines you use 
to cut on will depend on how big 
each flower is after sewing them:) 


I have two different sets of 
CIRCLE RULERS
and both sets have different 
sized circles from the other. 
Above is the one you will need
 for this sew along.
It has four rulers in it and we will 
use all four sizes for the
 centers of the flowers.


You will need two packages of the 
Sew-In Interfacing.
We won't use it for the flowers because 
those edges will already be
 turned under after sewing them...
but we will be using it for 
every leaf and every circle.


On page 8 of the guide you will find
 the sizes and quantity that you 
will need to cut from the interfacing.


This is my favorite!
I affectionately call it 
SUE GLUE 
but it's really called 
Sue Daley Applique Glue.
I use this for glue basting my blocks
before applique.
(you can choose to applique 
by hand or by machine)
I love it because it holds my applique 
pieces well but they can be adjusted 
if needed and is also water soluble 
which is always a bonus!


There are two sizes needed 
of the bias tape makers by Clover.
1/4" and 1/2"
We will use both for the flower stems.
We will not actually be cutting any 
of the strips on the bias because 
all of the stems 
are straight and not curved...
but we will still run them through
 these makers for the stems.


You will need to sew an 
accurate 1/4" seam allowance 
when sewing your pie slices together 
for the flowers and of course 
when sewing the blocks together.
This is what I use...it's my 
SEAMS SEW EASY GUIDE
My newest edition already have
 the rectangles cut out...
the older ones work exactly the same but
 you just cut the rectangle out yourself.


If you have not used my design boards before...
you may want to get "on board"
 for this sew along
 LOL!!!
You will find them invaluable in keeping 
each block organized after cutting 
and then laying out your blocks
 while sewing them together.

I always have new ones come out to match
 each fabric collection that can be purchased but you can always make your own as well.
I have done many tutorials over the years
 on how to make them...
to watch the latest one on my new 
YouTube Channel 

These are my very favorite pins to use during the basting part of making the blocks.

I find them just the right size and length.

I have many different sets of Pretty Pins...

these are the ones called APPLIQUE and come in this green package in a super cute container:)

You can choose whichever brand of thread 

you would like but just keep in mind

 that you will need colors to match

 each applique piece the best that you can.

My very favorite is Aurifil.

I have been using it for 10 years...

ever since I was introduced to it.

This is my special edition 45 spool set.

I have other smaller sets as well 

but this one will work 

if you happen to have it:)


There are many colors to choose from 
and in two different weights...
both of which will work for 
both machine or hand applique.


Inside the guide...
each piece of fabric from the kit 
is shown and what you need to cut from it.

***NOTE***
I usually recommend that you cut 
all your fabric before the sew along starts
 but for this one I would recommend that 
you only cut all of the
 leaves and strips 
for the stems and wait on the rest.

I just don't want you to be confused 
or to make a mistake when cutting
 the slices for each flower
 because there are so many different sizes
and for block E flower 
there is special cutting instructions.

I will guide you each week on how to
 cut those for each particular block tutorial.


It shows in the guide how to do it
 and they are actually super easy to 
cut once you understand what I mean
so I would prefer to show you 
for at least the first few weeks.


Of course you can go ahead and cut
 all of your background fabric pieces 
and there is a cutting diagram to do so.
We will cut them larger 
and then trim them down after applique.


On page 9 you will see what letter is assigned to each block and what size 
to trim them down AFTER applique...
 and what size that it finishes at 
after sewing into the quilt.

You will also see how the quilt 
goes together in three vertical rows
and then finally how the borders go on.


There is also a schedule so that 
you will know which blocks 
that I will be doing a 
tutorial on each week.
*This does not mean that you will 
need to keep up with this schedule.
You can if you want to finish your 
quilt by the end of the sew along ...
but I encourage you to sew at your own
 speed because we don't all have the
 same amount of sewing time each week.

The most important thing is to enjoy 
the sew along every step of the way 
without putting pressure on yourself.
Making a quilt is fun!!!
If you want to see what others are doing
 with their progress be sure to 
follow the hashtag 
and bee sure to use it when you are 
posting your photos on social media.


As always I have designed a 
page for taking notes 
from each of my tutorials.
You can copy off as many of these pages that you would like to include in your binder...
a page for each block might be fun!!
to download the notes page


And there is a page of 
Flea Market Clip Art 
as well so that you can 
decorate your binder... 
and use for bookmarks and tags.
to download the clip art page
 

Okay...
let's chat a bit about week one!
I will be doing a video tutorial 
for one of the blocks on my 
for week one only.
The rest of the block tutorials
 will be here on my blog as usual 
and will of course be 
very detailed and step by step.

I did that for my 
PRIM Sew Along 
and I think that worked out well.


Block M 
is the one that I 
will be filming for week one.
I chose this block to start with because
 it is unique for the fact that it is
 the only one that has a patchwork center
 and it also has both sizes of leaves
 and so it's a perfect choice 
to begin with in my opinion!


 Block L 
is also on the schedule for week one 
and my tutorial will be here
 on my blog during week one.

Okay...
so I think that is all the info
 that I have for you today so that you can 
"BEE PREPARED"
I simply cannot wait to get started making
 Flea Market Flowers...
I'll meet you right back here on 
Monday January 25th!!
xx
Lori


Related Posts with Thumbnails