

Good morning farm sweet farmers!!

I hope y'all are ready for
Week Two of the

We are using the


And Farm Girl Vintage fabric ...

To make the Farm Sweet Farm Quilt:)
Every week right here on my blog
I will have the tutorial for
one or two of the blocks.
The sew along schedule is on
page 1 of the Sew Along Guide.
If you are just joining us and
need to download the guide...

The first block tutorial
for this week is the sheep:)
Farm Sweet Farm
Sew Simple Shapes
that you will need are:
1 - H1
1 - H4
4 - H11
6 - H15
1 - H16
1 - H25
1 - H36

From your spool of prepared
flower stem strips cut a
7" and a 5 1/2" long strip.

*Take note that this cute little
baby chick that is catching a ride
on the sheep will need to be
traced in reverse because he is
facing the other way and
looking at the rooster
who is riding on the goat:)

Sew and trim all of your appliqués...
but before turning clip the cleavage ares
on the sheep body...
the baby chick and flower:)

Use the turning tool to shape them
and then give them all a quick press.
Don't forget to zig zag or serge
the edges of the linen background.

Before you lay out your pieces
for appliqué you will need to
trace the embroidery swirls onto the sheep
and also mark where the eyes go:)
Use the Easy Trace Light Box
and page 18 of the sew along guide.
Whenever there is embroidery on a shape...
I like to embroider it first
before I applique it down.
I trace the embroidery that is on
the linen after I have laid out
my shapes and then I do that
embroidery part at the
same time that I applique.

I used 3 strands of the
Nutmeg Aurifloss and did a backstitch
for the wooly swirls:)
I used all 6 strands of aqua
and did a french knot with
2 twists for the eyes:)
After embroidery I start pinning
all of the shapes onto
the background that I have laid out
on a large design board.
Take note when laying out your pieces
that the sheep block is taller than wider...
(just so you know when placing
your linen on the design board)

Here is a close up of how long
the legs are finished.
You will need to trim some off
the top just like
you did for the pig block.

There is about 1" between
the foot and back legs.

Also...from the bottom of the feet
to the top of the baby chicks head...
it measures about 8 1/2"
The sheep block finishes at 10" wide
so you do NOT want to layout
your pieces any wider than 9 1/2"
After you have pinned
everything into place...

It's time for the Sue Glue!!

Just like I showed you in
last weeks video...
I just lift up each piece
while the pin is still
keeping it in place and put
a few drops of glue there.
if you missed the video
or need a refresher:)

Then I remove the pins and place
a ruler that will cover the shapes
and put something heavy on the ruler
so that the pieces can be
nice and flat while the glue sets....
and then I applique!

After I applique I press from
the back only and trim it up.
Trim up the sheep block
10 1/2" wide and 11 1/2" tall.
After trimming...
sew on the Cute Little Buttons
for the flower centers:)
I embroidered the baby chick
just like the one in the
horse block last week:)

YaY!
I love this swirly wooly sheep!!

Back view...

Front view:)
Now put your sheep in your
"fun and done"
pile to keep company with
the horse and pig while you
make the goat...bunny and rooster!

Grab your pre-cut Goat Block Kit
and let's do this!
Sew Simple Shapes needed are:
4 - H4
1 - H10
4 - H11
12 - H15
1 H-18
1 - H21
1 - H26
4 - H36

You will need to cut the
following lengths from your
stem spool for all of the flower stems:
9" - 8" - 6 1/2" - 5" - 4"
and two 3"
Run the 5/8" x 8" strip that I
had you cut from the Cinnamon Circles
print through the 1/4" bias tape maker.
When you press it...
press it into a slight curve.
Even though it's not cut on the bias...
because it is so narrow and
only a slight curve it
will not be a problem.
Press under each end
and you will use one end
for the beard and one end for the tail:)

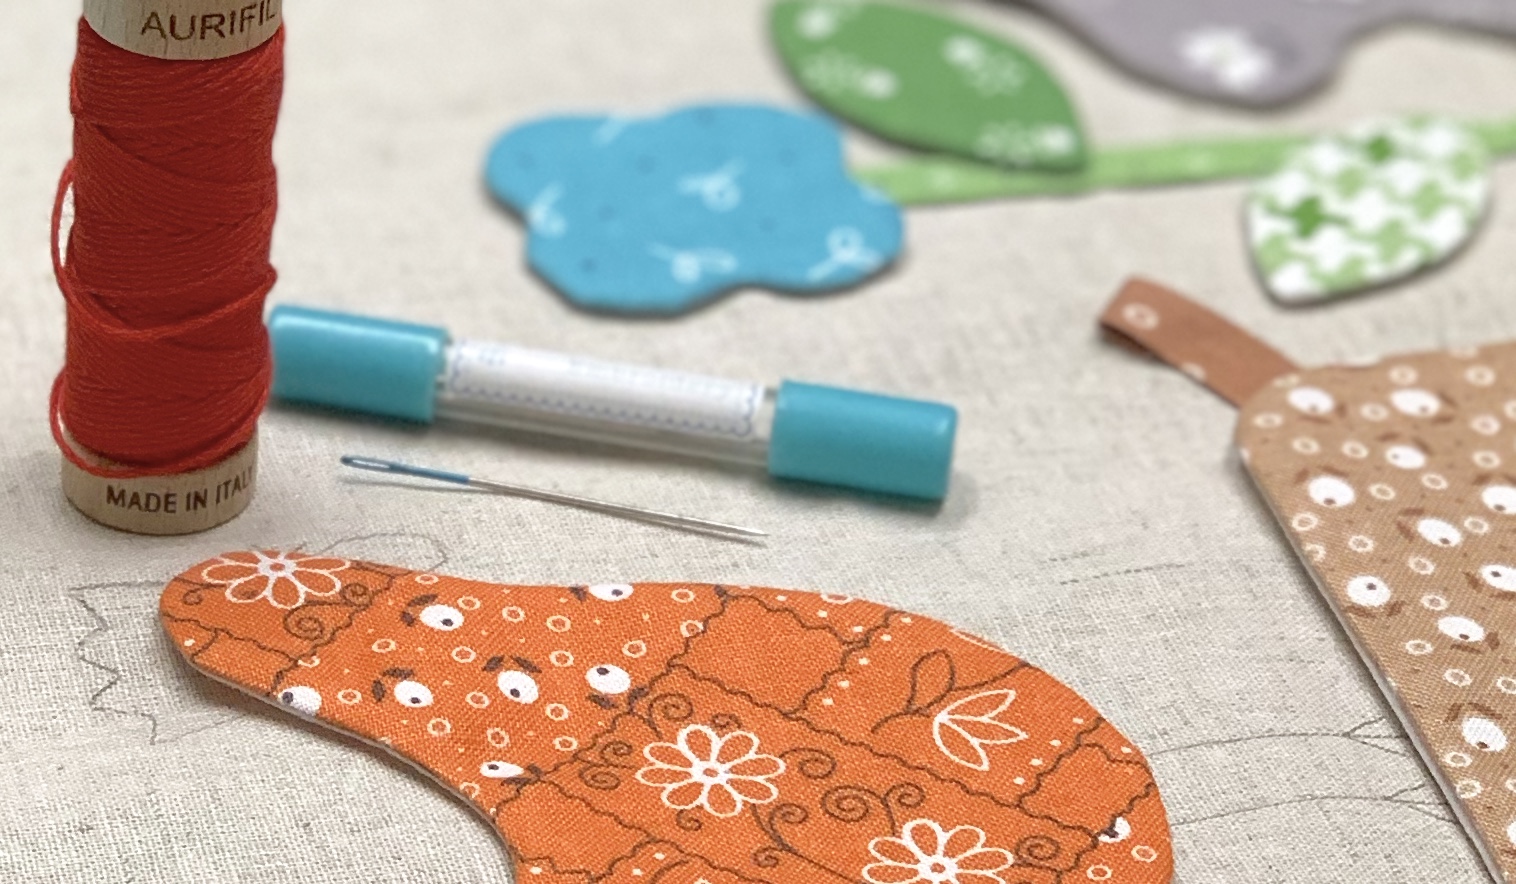
Now grab your traced shapes...

Pair them up with the fabric
they belong to and sew!

After you have trimmed all of
your pieces it's time to
turn and shape them.
You will need to clip all of the
inner curve and cleavage areas
in the shapes that you see here
laying on my cutting mat
and not the design board.
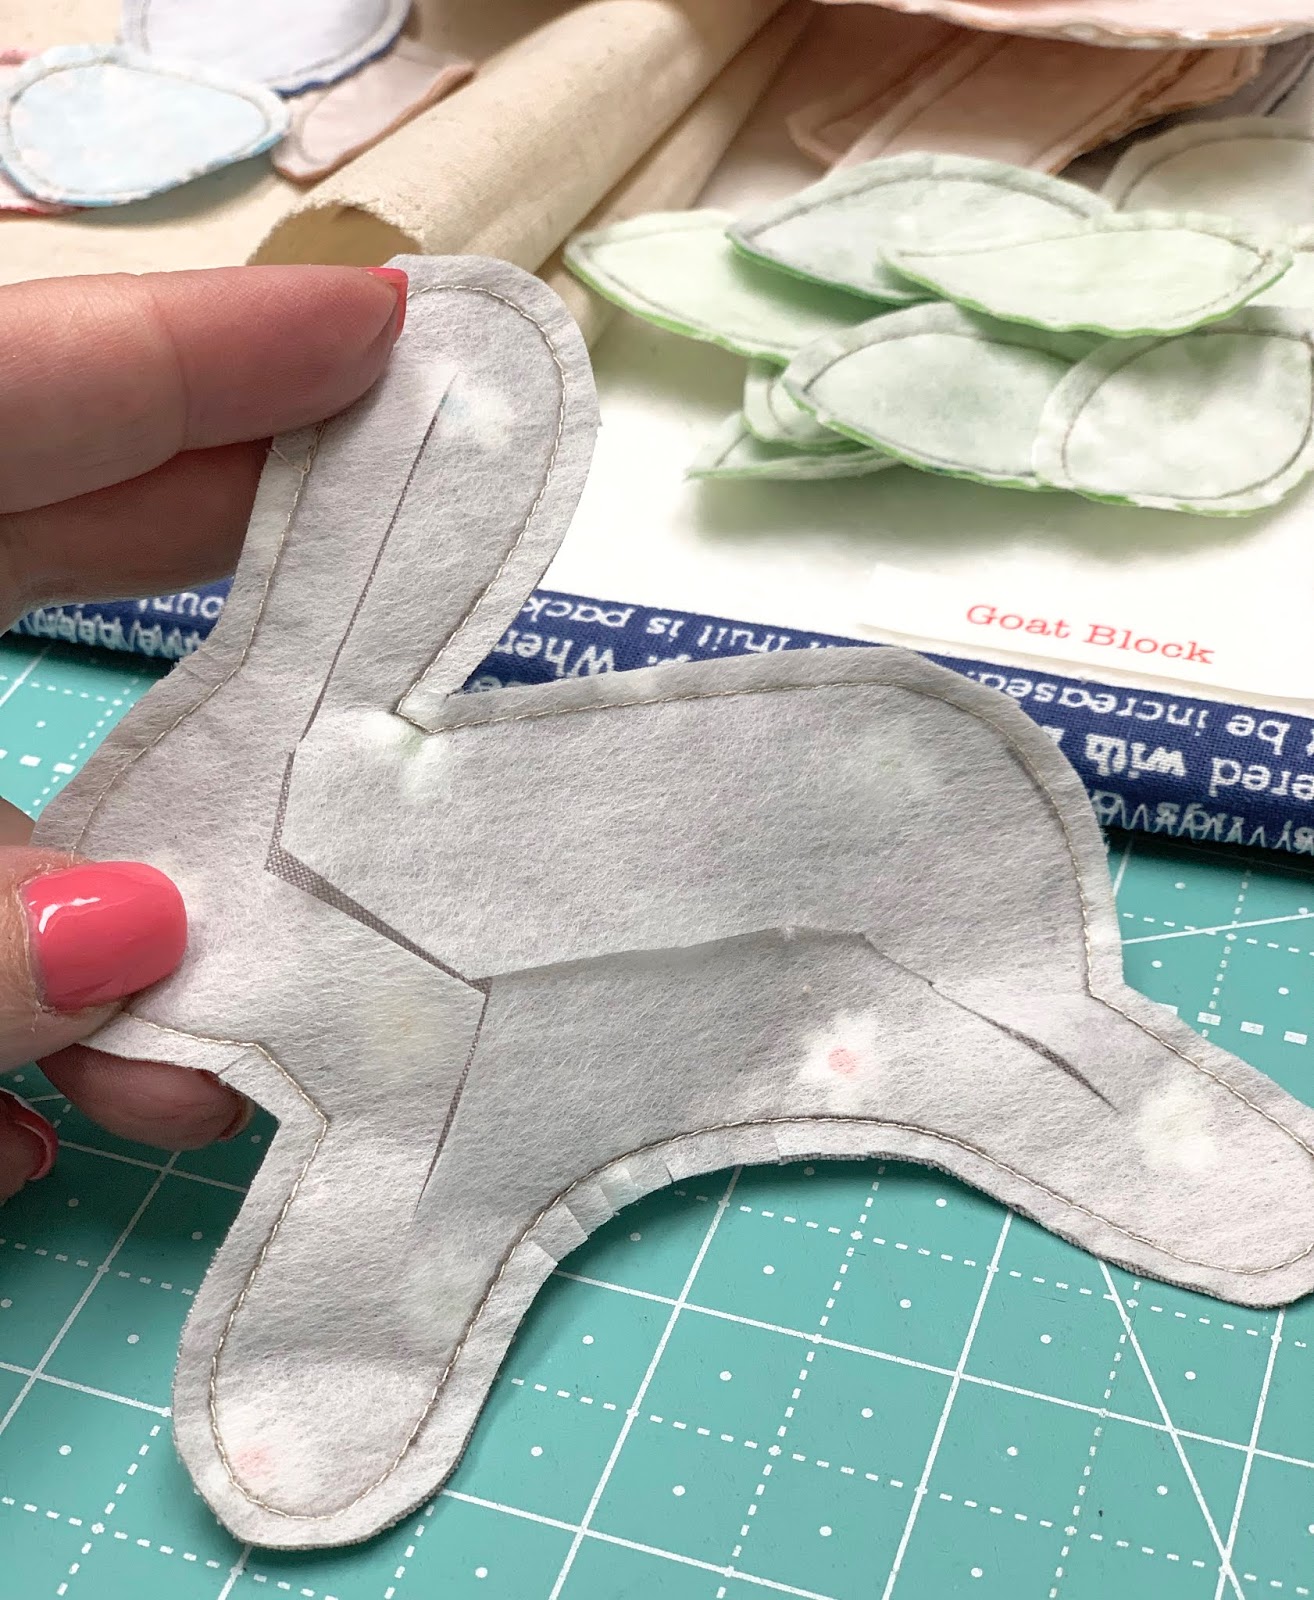
Turning and shaping the bunny
may scare you a little so I
just want to show you how easy it is!
This is how I cut my
interfacing before turning.

After turning it looks a little crazy
but this is where your
handy dandy shaping tool
comes to the rescue!

Simply use it to shape each section
of the bunny separately...

And press each section as you shape it.
In this photo...
I only have the underbelly to press now
so I flip the interfacing under and press!

Easy peasy!

And the back is nice and flat.
Cut the H10 shape in half to
use for the other bunny ear:)

Now you are ready to grab a
large design board for the pinning!

The goat block measures
19" wide finished...
so keep in mind when you are pinning
your pieces that you do NOT
want them wider than 18 1/2"
The measurement from the top of
the rooster (that means the top of the embroidered part)
to the bottom of the goat's feet
is a little under 10" tall.

The goats legs are about 1 3/4" tall.

About 1" apart between the
front legs to the back legs:)
After pinning...
Sue Glue it!

Heavy stuff while glue dries.

After my glue dried
but before I appliquéd...
I wanted to show you how I
embroidered the goats horns:)
I used all 6 strands of the
Nutmeg Aurifloss and first did
a backstitch outlining one horn.
Then I started what I call
"fill in stitches"
which are just long stitches
that go up and down
in different lengths....

Until the entire horn is filled in.

Then I start on the next horn
and do the same thing:)
The comb and wattle on the rooster
is done the exact same way...
except using red of course:)
When it comes time for the hens...
they are done the same as well.
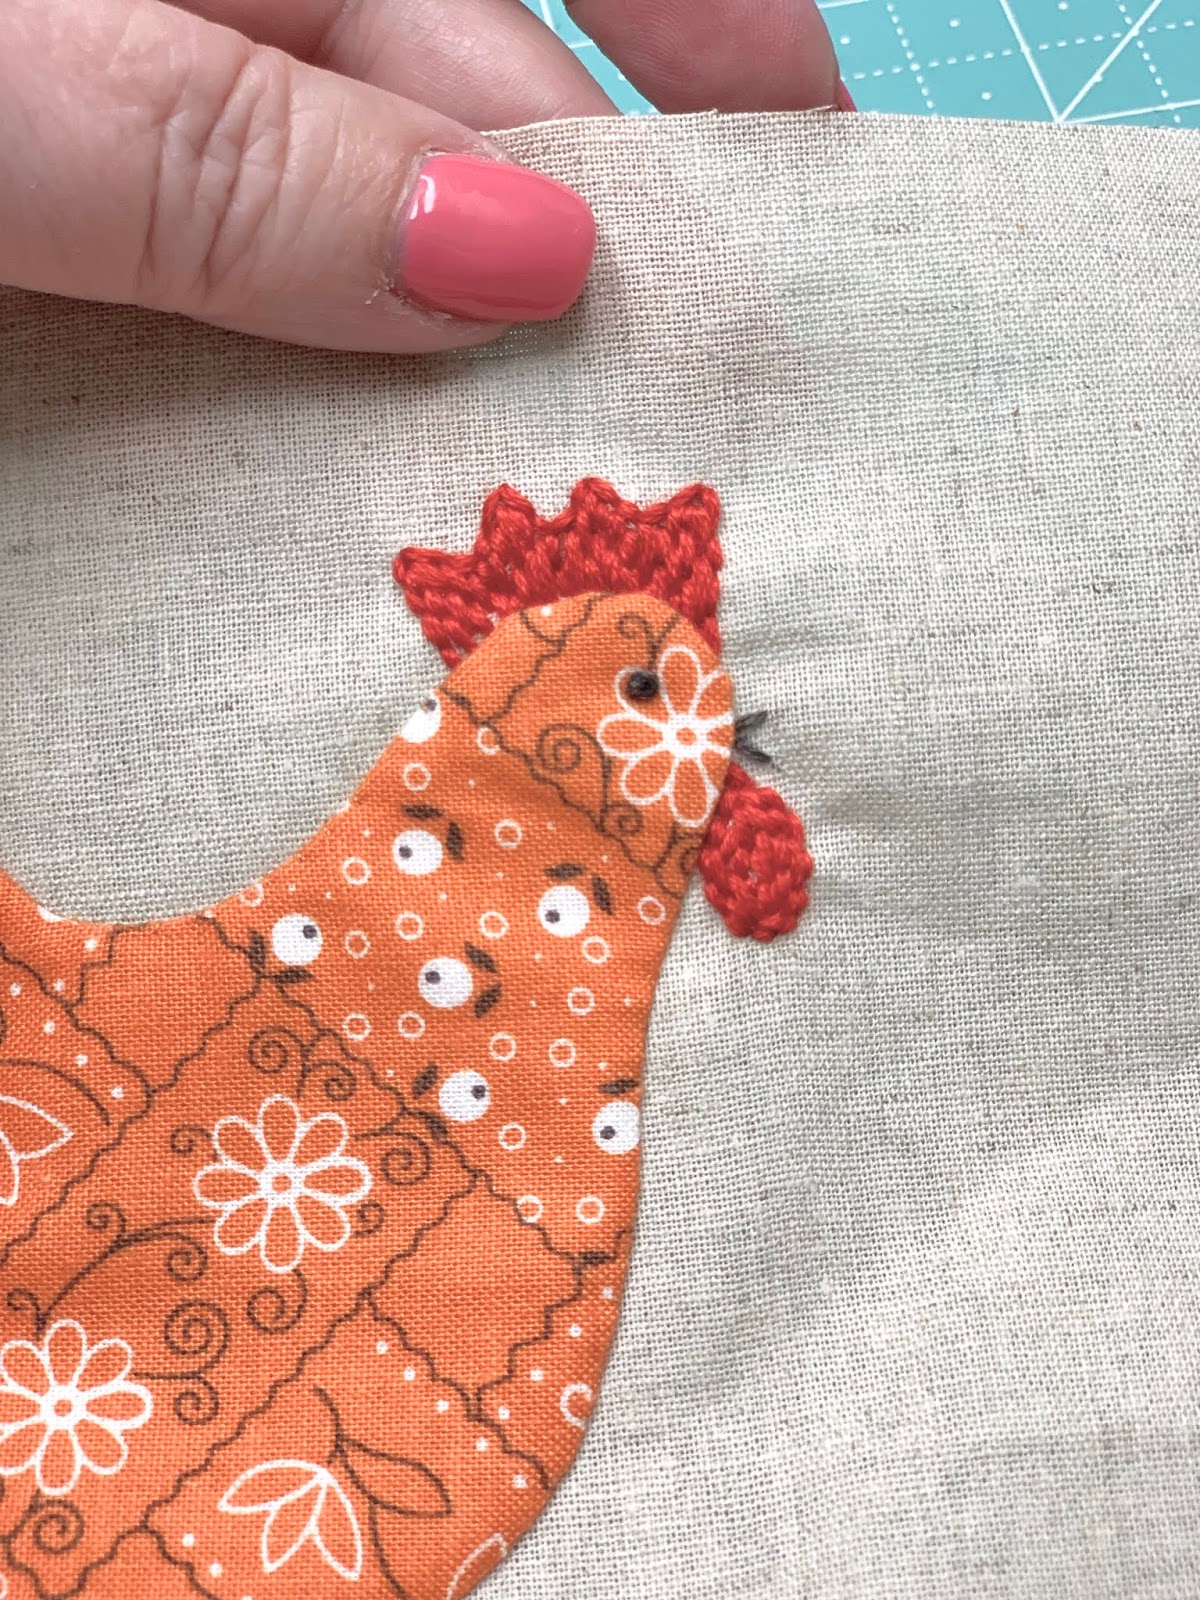
I use 3 strands of the dark gray
for the legs beak and eye.

After the embroidery and applique is completed...
you will need to
trim up your block to measure
19 1/2" wide and 11 1/2" tall.

Save sewing on the Cute Little Buttons
until after you have
trimmed up the block because
you want to be able to lay
your ruler flat onto the block
when trimming.

Be sure to add a white
Cute Little Button for the bunny tail!

Front view...

Back view:)
This is a happy block and I love it!

Now you have the tutorials for
two more Farm Sweet Farm Blocks...
but remember to sew at
your own speed and convenience.
The tutorials will always
be here for your reference
and this is not a race!

The tutorials for the first four blocks
are completed so far
and that is the entire top row!
You can sew them into a row
if you want as soon as you
have all four finished...
or wait until you have all of
the blocks completed and
assemble the entire quilt then...
its up to you of course:)
Take note that after you
sew this row together it should measure:
11 1/2" tall x 55 1/2" wide
When you post your blocks on
make sure to type the hashtag
along with your post so that we
can ALL SEE and inspire and support
each other along the way:)

If you are just joining us...
to go back to the Week One tutorials
I'll see you back here next week
for the Farmers Daughter Block tutorial:)
xx
Lori

1 comment:
This is my first sew along with your tutorials, although I have longed to join in with previous ones... I was skeptical about the Sue Glue working well. All my experiences with glue on fabric previously was not pretty. But omg! This stuff is amazing. I don’t think i’ll ever use another glue for appliqué! Thanks for sharing your talent and recommendations to us! ❤️
Post a Comment