Monday, August 28, 2017

Bee Happy Sew Along ...Week One!!


Good morning cute people:)
YaY!
It's officially here...
welcome to week one:)


If you have been following along...
you know that I have already done several tutorials to get a good jump start.

All of those tutorials (as well as the ones to come for every block) will remain on my blog for when you are ready.

All you have to do is scroll down and look on the right side bar of my blog and click on the week you would like to view.

If you are just joining us...
for the introduction post
 about the sew along etc.

Okay...
lets get started on this weeks tutorials:)


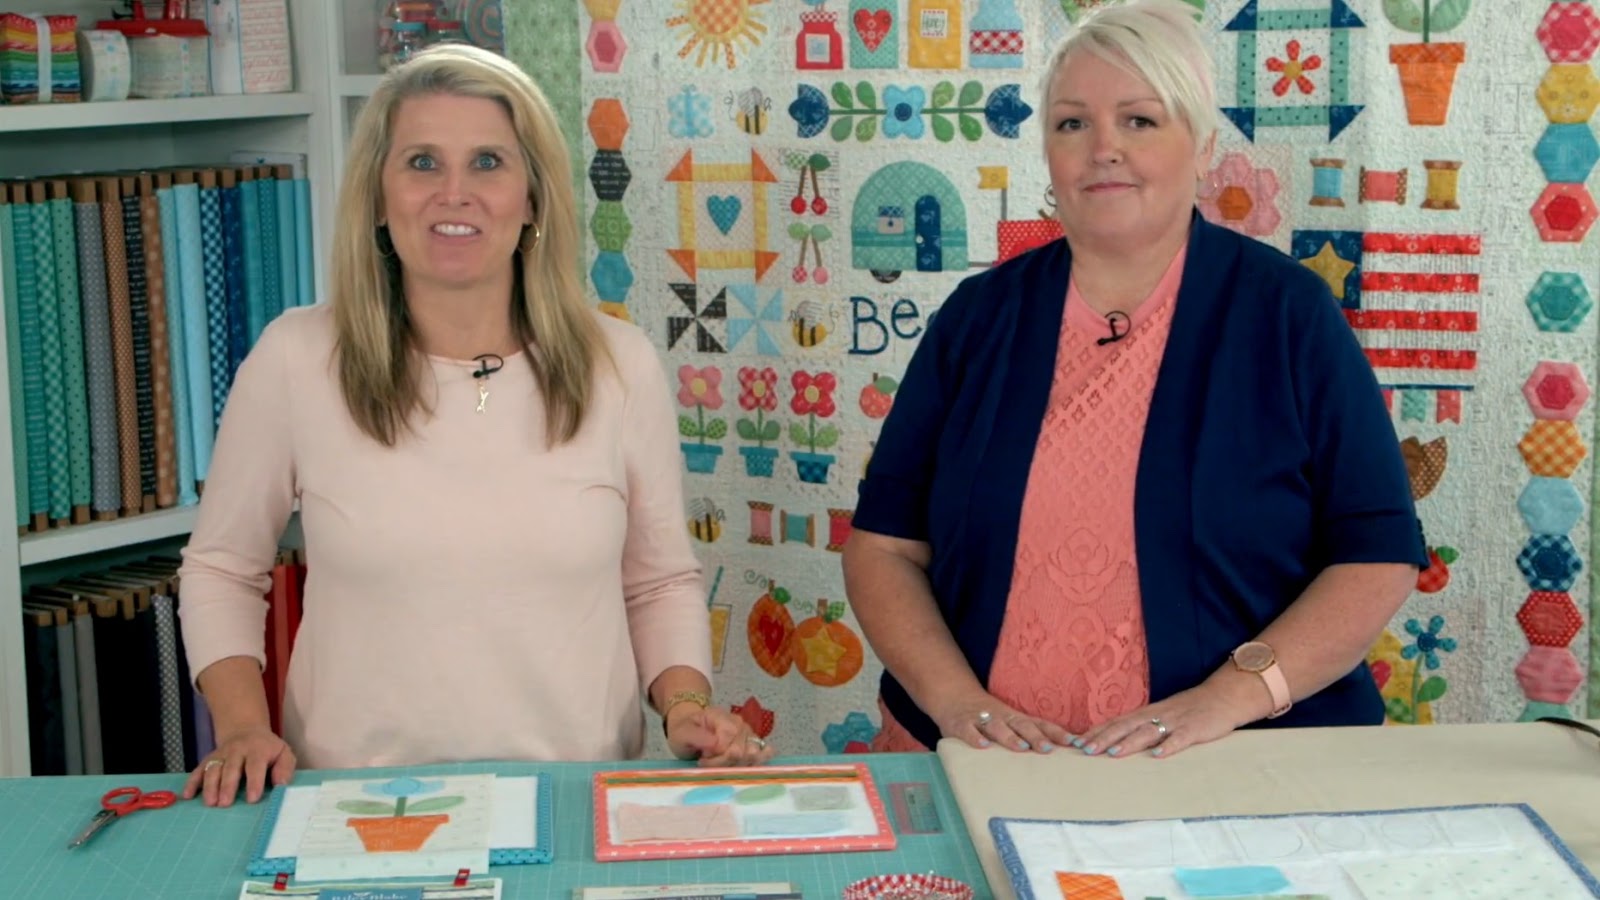
Cindy (from Riley Blake Designs)
 and I have a quick week one video tutorial for you on the Tulip Pot Block.
to see the tutorial!

P.S. Keep in mind that I always get nervous in front of a camera lol


After finishing...
add the Tulip Pot Block
to your fun and done pile:)

Your Tulip Pot Block should measure 
6 1/2" x 12 1/2"
at this point.


Two Trees Block:
You will need D-25 and D-24 
Sew Simple Shapes for this block.

Run the two 3/4" x 9" strips through the 
3/8" bias tape maker just like I showed you in the video.
*the Clover 3/8" bias tape maker looks a little different than the other 4. 
It is purple and has the word "fusible" in the title because you can use fusible tape with it. 
But no worries... 
you can just use fabric
 as well just like the other 4.

Okay...time to make the shapes. 
You know all of the steps by now...right?


For the tree trunks I didn't cut an "X" in the back because of the shape...
just one long cut.


Turn the largest end first then it's easier to do the top.


Shape by gently pushing out the corners.


I pressed one long side at a time 
to make sure
 that the interfacing was tucked under.


After turning and pressing...
you're all ready for basting!


I put rulers all around the block so that you could sew the placement.
By the way...just a note about my rulers.
Many of you have sent me messages.
Most of them have sold out in the last little bit because of y'all preparing for the sew along.
WOW!...thank you!!!
For those who can't find certain sizes...
just know they have been re-ordered from the factory and we are just waiting for their arrival.
I'll let you know when that happens:) 


After pinning the trunks...I left the top unpinned so that I could tuck the ends of the branches under.
I glued the ends that show under by about 1/4" just like in the video.
There are no exact measurements for these branches...
they are random just like real trees!


Easy Peasy!


Repeat for the other side and appliqué:)
Your Two Trees Block should measure
10 1/2" x 12 1/2" 
at this point.

Fun and Done!


Next up is the Sunshine Block.
It's an easy block that consists of two circles D-4 and D-3 
and lots of bias strips for the sun rays.


Cut this little gingham square 
into 1" wide strips...


And run them through the
 1/2" bias tape maker.
You can tell which bias tape maker to run the rest of the strips through according to how wide I had you cut them.
All you have to do is refer to the chart on the bottom of page 7 in the Sew Along Guide.


Sew your circles...
turn...shape and press.
Now for the basting!


Press your background in half both ways so that you can center the largest circle.


Center the middle circle and pin on top.
Sometimes its easier to press the ends of the bias tape under before gluing them:)


Refer to my photo for placement and use random lengths for the sun rays.
Place them before glue basting them down so that you know where you want them.


I kept them about 1" from
 the edge of the fabric.


Circles are pinned and sun rays are glued.
Ready for appliqué!


After applique...
Trim your Sunshine block to measure 8 1/2" square.

***NOTE***
Remember that all of the square blocks in the quilt are cut a little larger to allow for trimming down with square rulers.

All of the rectangle blocks in the quilt are cut to unfinished size to sew into the quilt and will NOT need to be trimmed down.

On page 3 of the sew along guide...
all of the block measurements given are FINISHED SIZE after they are sewn into the quilt....as always...each unfinished block measures 1/2" larger than finished size to allow for 1/4" seam allowance all the way around:) 


Another block "Fun and Done!"


Next week I'll show you how 
to do all of the butterflies...
the blue flowers block and the spools:)

Thanks so much for tuning in:)
 Remember that if you are able to
 make your blocks this week... great!
Post them on social media using the #BeeHappySewAlong 
so that we can all see and enjoy.

***Please*** 
DO NOT worry if you are not able
 to start yet because of time...
 or because you haven't received your kit
 or all of the supplies.
There is no hurry! 
The schedule simply means that I will be doing tutorials
 for the quilt until Nov. 13th.

This does not mean that you have to adhere to the same schedule!
 All tutorials and info will remain on my blog always for your convenience!
Just relax and have fun with each and every block.
Don't worry...Bee Happy!
xx
Lori


Monday, August 21, 2017

Churn Dash and Hexie Flower Block Tutorials!!


Hello...
 and welcome to my quilty world!!!


We are officially one week away
 from the kick off date for the
We have just a few more 
"Jump Start" 
tutorials to Bee Prepared!


Today is Churn Dash Day:) 
Last week I showed you how to
 make the bee and the cherries...
this week is the heart and the daisy:)


Grab your appliqué pieces and backgrounds.
You will be using the D-27 heart
D-26 daisy and the D-1 circle

This part goes so much faster when 
all of your pieces are cut and ready to go:)

Ya'll know the steps by now...
trace onto the interfacing and sew!


The heart has a cleavage 
that will need one clip only...
right to the sewing line but not past it:)


The daisy has 5 super deep inner curves.
Clip 3 times...
to the sewing line but not past it.


This daisy looks a little scary to turn...
but don't worry!
It turns out super cute 
even though it's a little fussy.

It takes a few extra minutes
 but is totally worth it!

*YOU ARE THE BOSS 
OF YOUR OWN QUILT!* 
You can always choose 
to make a different flower...
or a circle flower instead...
or use one of the leaf templates and
 make the petals separately if you really want to.
There are no quilt police 
in this sew along LOL


Cut the X in the back of the circle and the heart for turning...
but cut the daisy just like this.


Here we go!!! 
Now just turn ONE petal
 at a time like this...


Use the tool to shape 
the curve on the petal top 
and give it a little press on the end with just the tip of your iron.


Do the same with the second petal..


Until all five are
 turned and pressed like this.
See those little triangles of interfacing?
Don't trim them off...
you need them to use for "handles"
when turning the rest of the daisy:)


Turn your daisy around 
to the back and take it
 to your ironing board.


Grab each of the triangles (one at a time) and pull it over to the back like this.
Again...just use the tip of your iron and press right on top of that triangle of interfacing.

The interfacing will stay into place when pressed.


See? 
It's totally do-able
even though were just a little scared:)


Now you have a cute daisy 
all ready to appliqué:)

Don't worry that some of the interfacing shows on the inside curves...
the flower center will cover that.


Press the background twice 
like this for centering.


Pin the daisy and the heart and appliqué!

(I like to do my embroidery on the daisy center BEFORE I appliqué)


Don't forget that you will need to 
trim them down to 4 1/2" square
 after appliqué is complete:)


Grab the rest of the pieces 
and lets make the daisy Churn Dash Block!


These 4 squares will be the half square triangles in the corners...


They are cut the same size.
Of course you make them exactly the same way 
as you made the pinwheel blocks last week.


Just follow the exact same steps
 until you have 4 - 2 1/2" half square triangles.


Sew the two strips together...


And finish up your block!

It should measure 
8 1/2" square at this point.


Do the same for the Heart Churn Dash...


The Cherry Churn Dash...


And the Bee Churn Dash.


YaY!


Now you can add two pinwheels to each of the four blocks.


Add these blocks to your
 "Fun and Done" pile!


Let's move on to the four
Hexi Flower Blocks in the quilt.


Grab your fabrics...


And your interfacing.
Trace the D-33 hexie flower and
 the D-10 hexie
Sew Simple Shapes.


Sew and trim.
There are 6 cleavage areas
 on each flower so make one clip in each:)


Cut the "X" and shape after turning.
Give them a quick press.

Cute and easy peasy!!!


Press your background squares twice 
for centering the flowers.


It doesn't matter which way
 your flower is turned...
as long as all four turned the same way.


Place the center on each flower...
they should measure about 1" in like this.


Now its time for appliqué!!!
(embroidery is optional and again...
I like to do this step first)


YaY!!!


I used the 6 1/2" Cute Cuts Trim-It Ruler
to trim them down to 6 1/2" square.
Use the lines on the ruler for centering:)

***NOTE for LATER***
I also  used this ruler to
 trim up the Hen Block:) 
These 5 are the only 
6 1/2" blocks in the quilt.


*NOTE for LATER* 
These two blocks 
are trimmed down to 8 1/2"...


And I used the 
12 1/2" Trim-It for this one.


I've already shown you
this photo several times now...
all of the blocks in the quilt that
 are 4 1/2" after trimming.

***IDEA***
I'm showing you this photo again because ALL of these blocks also fit inside the churn dash and I think just making a quilt of Churn Dash blocks with all different centers would be SUPER CUTE!!!


A while back I showed you how to make my Mama's Flower Garden Quilt 
with the same shapes that we just made the Hexie Flower Blocks.


to see the tutorial:)


If you haven't downloaded the 
now is the time...
 because we start next week.

Yippee!!!

xx
Lori


Related Posts with Thumbnails