

Hello again and welcome to
Week Three of the


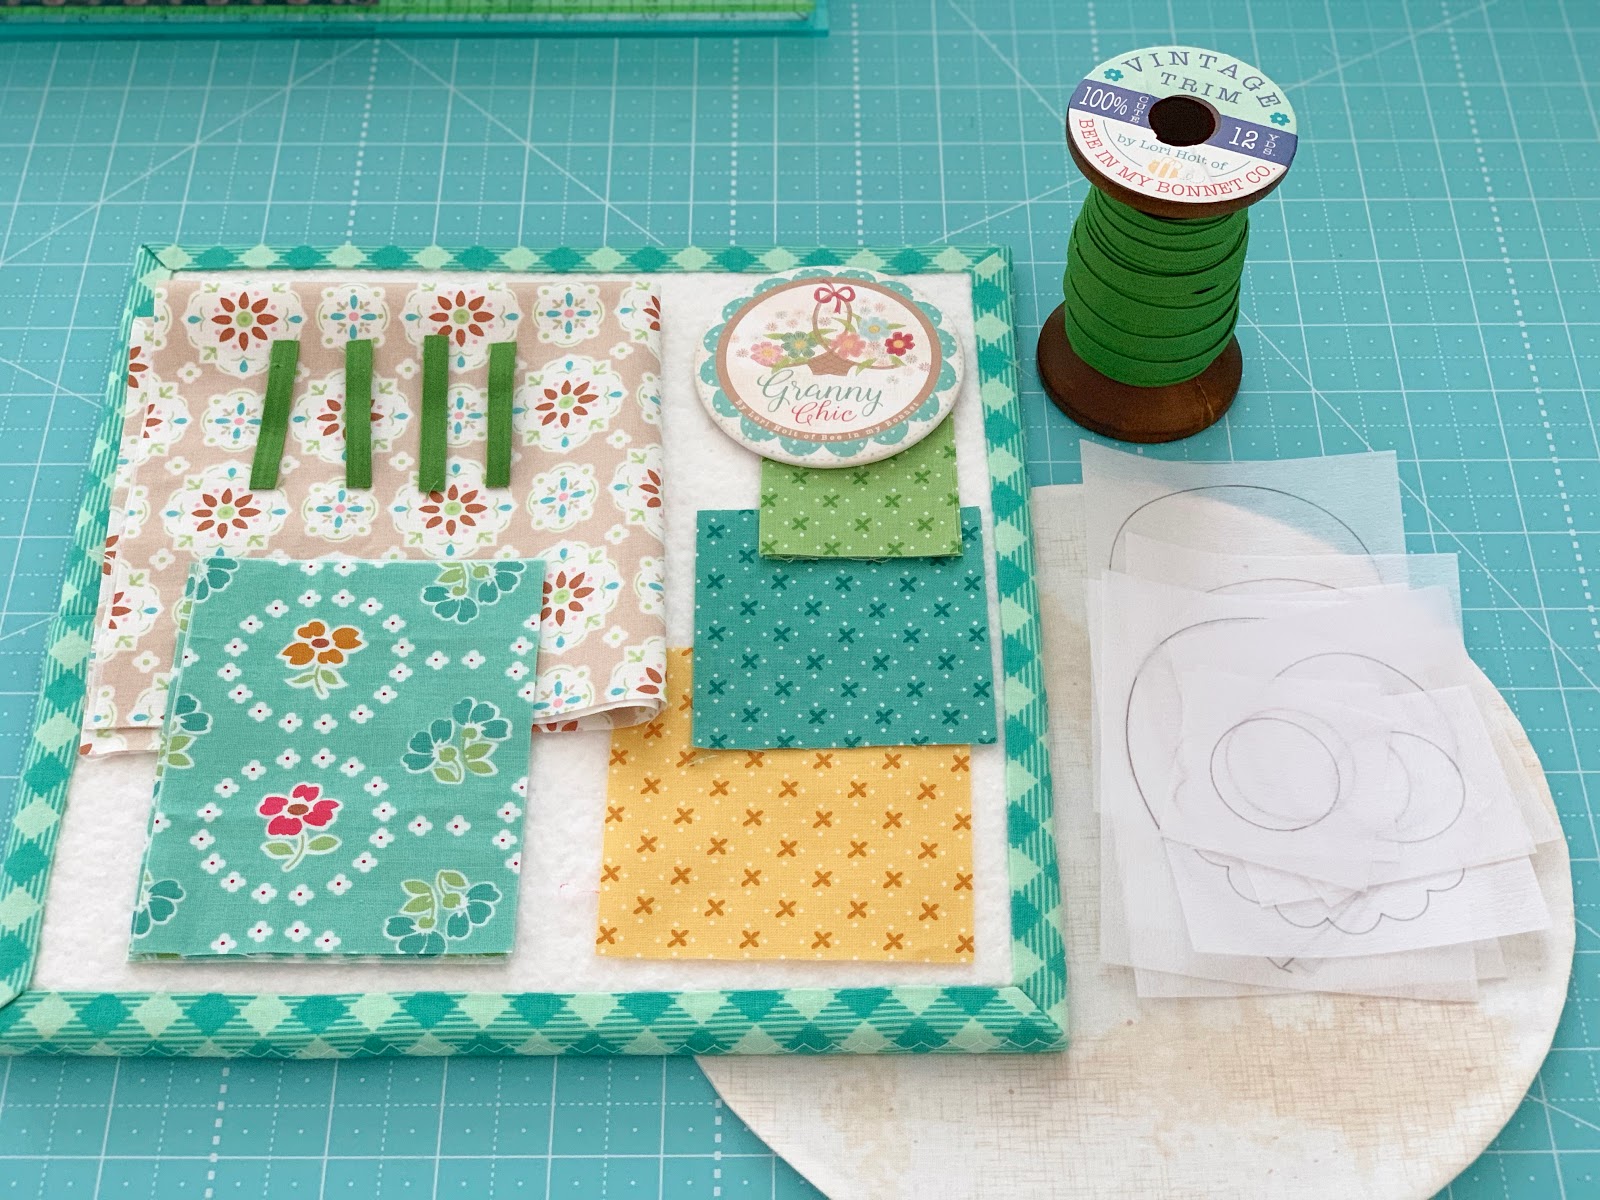
We are using Granny Chic Fabric and...

Sew Simple Shapes
to make the...

76" x 86"
Today's tutorials will be
Blocks Nine - Ten - Eleven and Twelve:)
Here is a link to the
week one video
if you would like to reveiw.
Grab your garden tools
and let's get planting:)

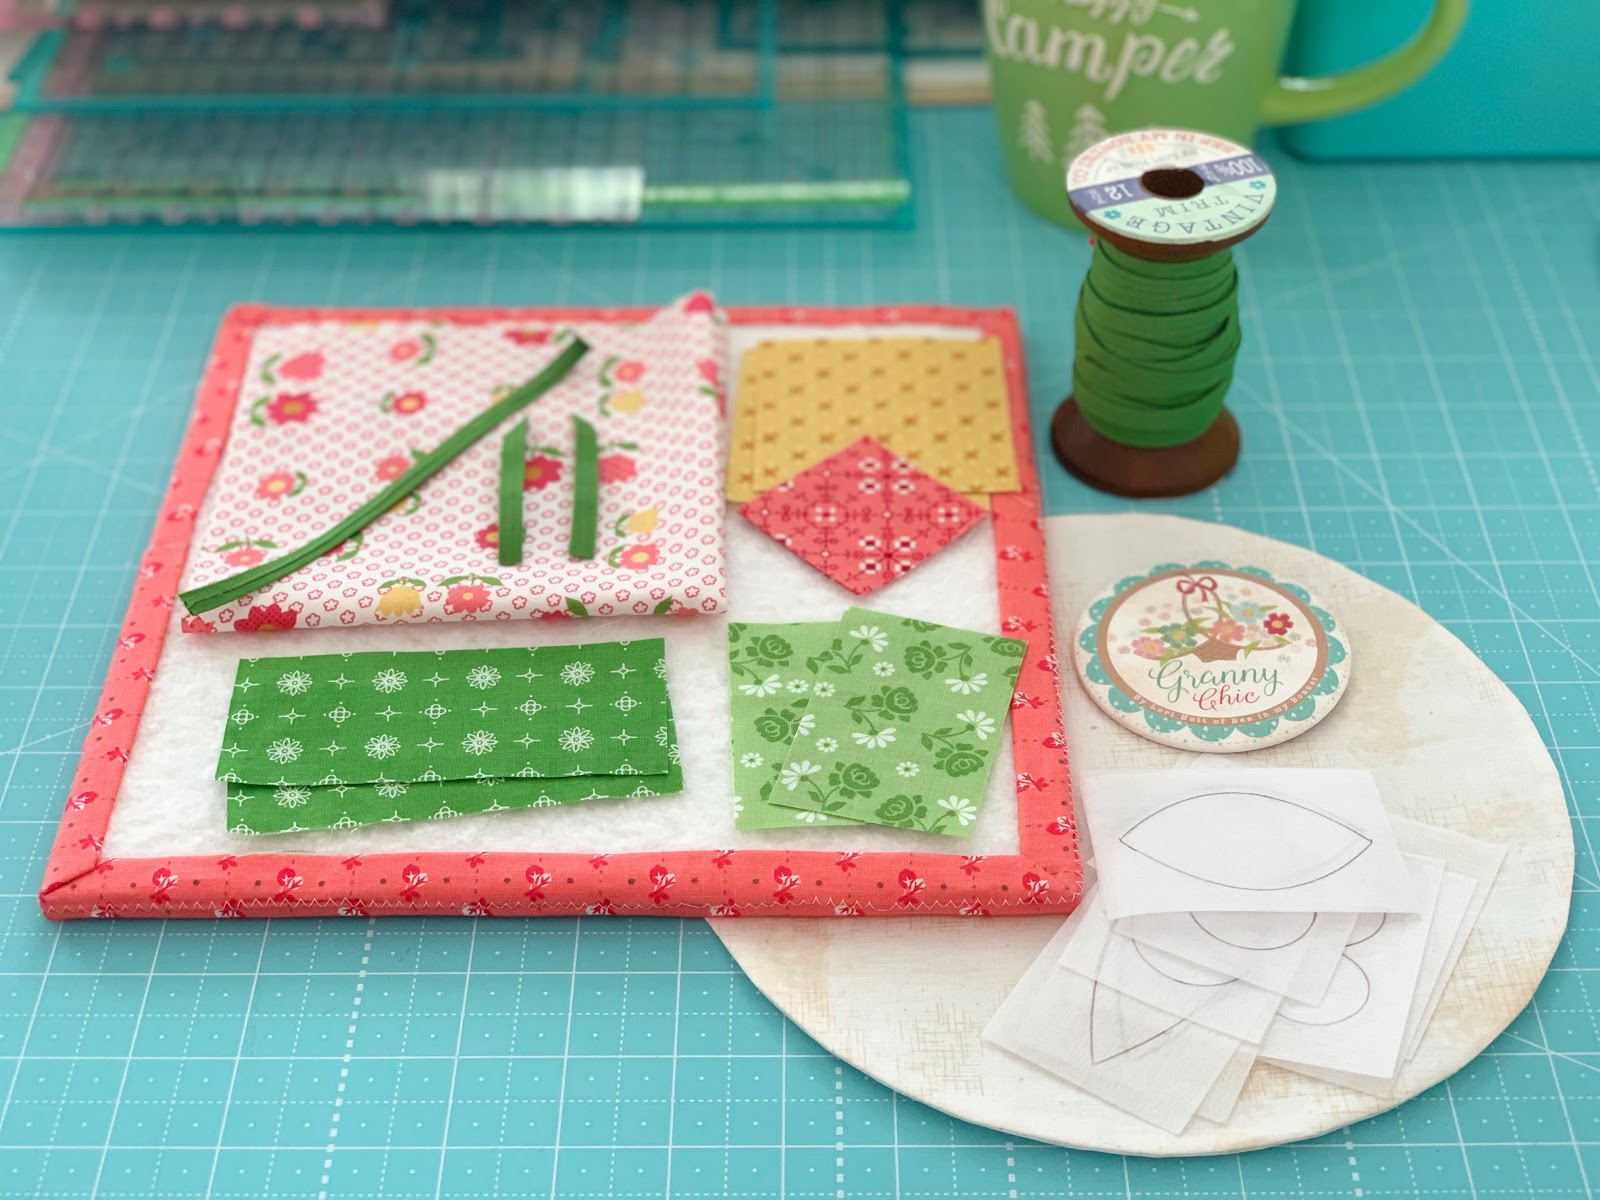
Sew Simple Shapes for Block Nine:
4 - I 2
4 - I 14
1 - I 21
1 - I 28
Along with the 9" Circle from the
Cloud Shabby you will need a
6" Circle...
both using the Circle Ruler set.

Sew your shapes...

and after trimming you will
need to clip the cleavage areas
in the hearts and the large scallop circle:)

Remember it's just one clip
right to the thread but not into it.

Turn and shape...
and now for the glue basting:)
TIP: When I am turning narrow shapes
like the yellow I 2...
I often just turn one end at a time
and use the shaping tool
to gently push out both ends.
Always remember that on the shapes
that the point will not be showing...
meaning they will be covered
by another shape...
you don't have to get too fussy
about shaping those points.

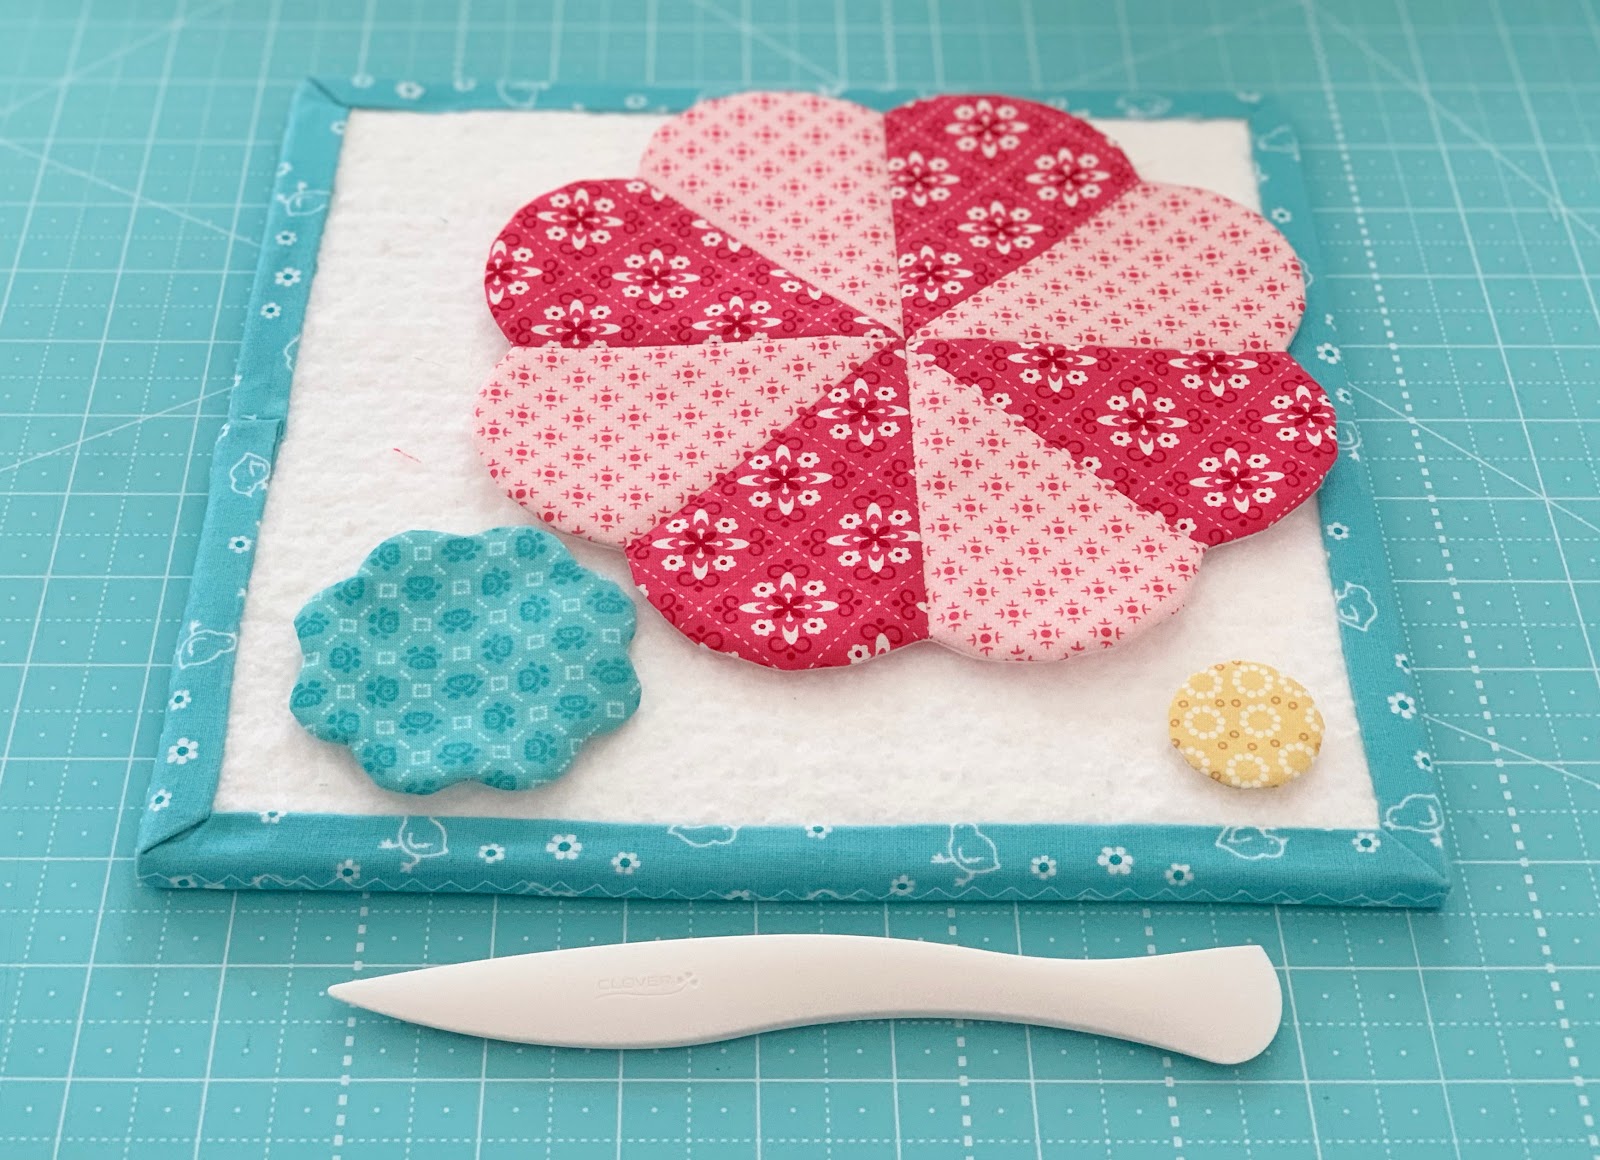
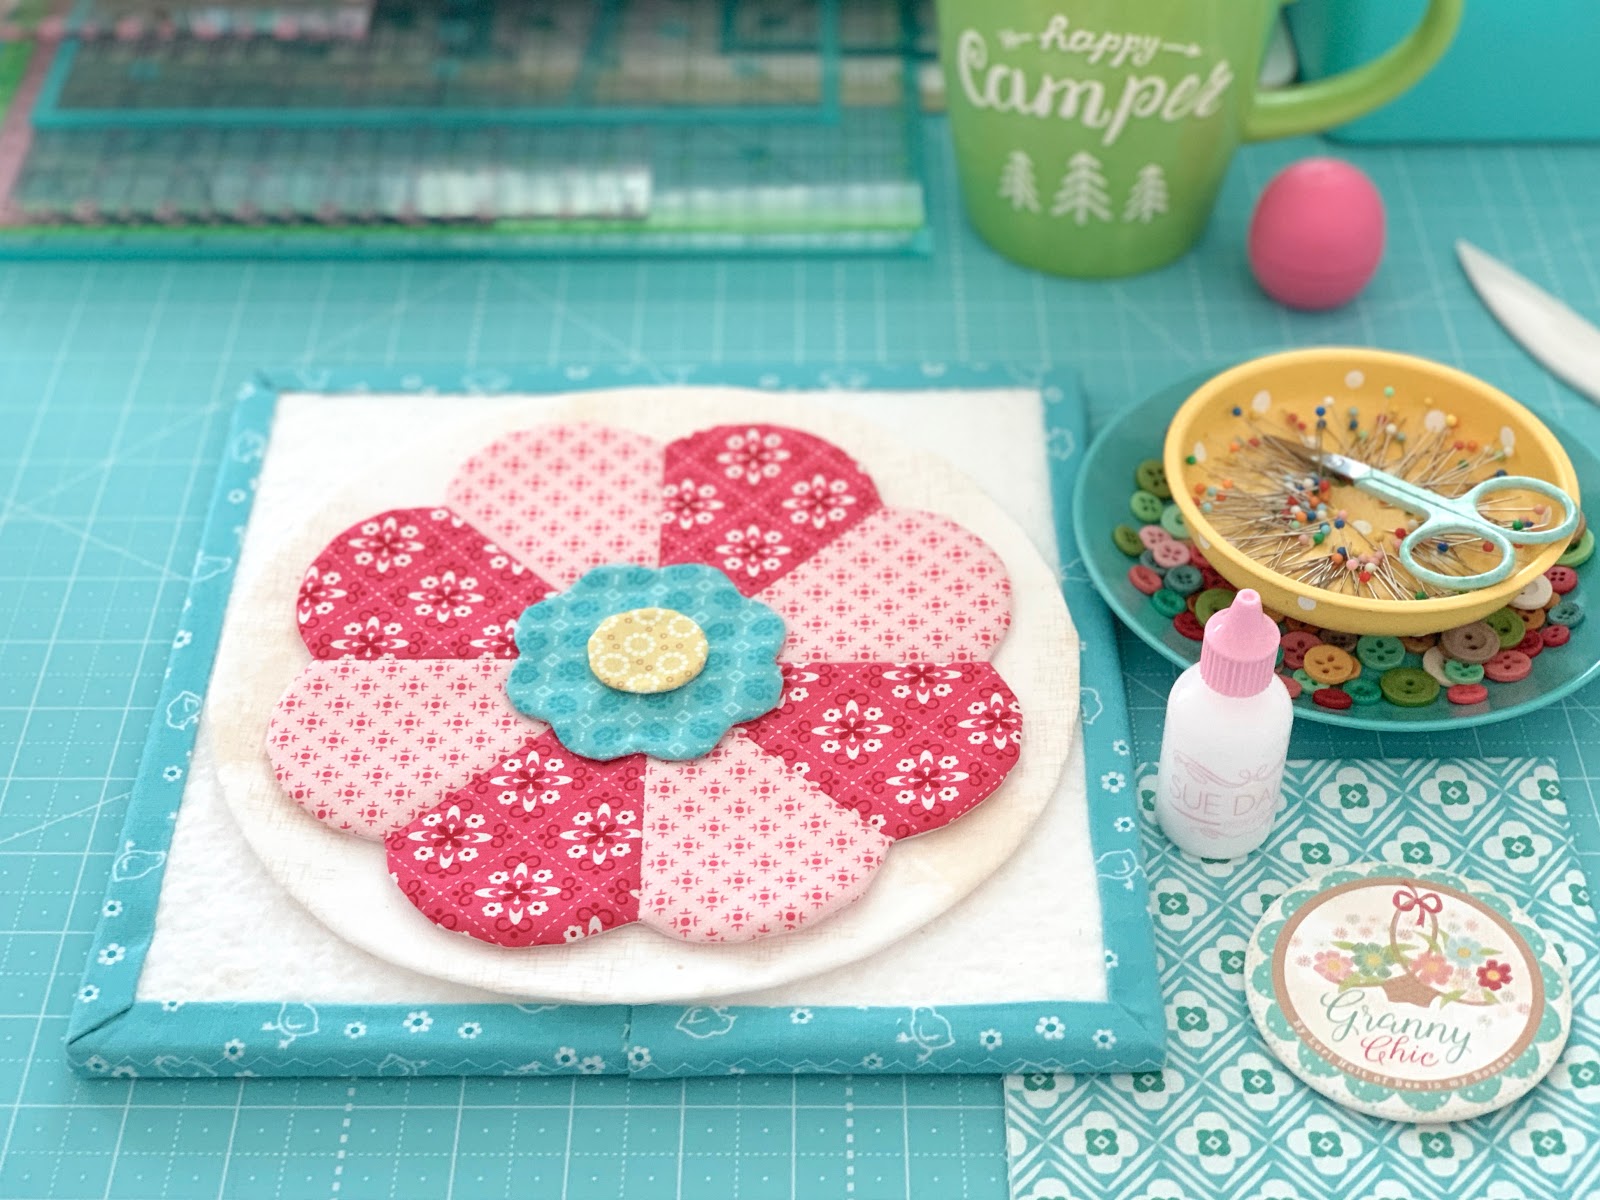
I glue basted my shapes onto
the 6" circle first...

And then glue basted that
onto the scallop circle...

And finally onto the the 9" Circle:)
I used my 10 1/2" Trim-It Ruler
for every step.

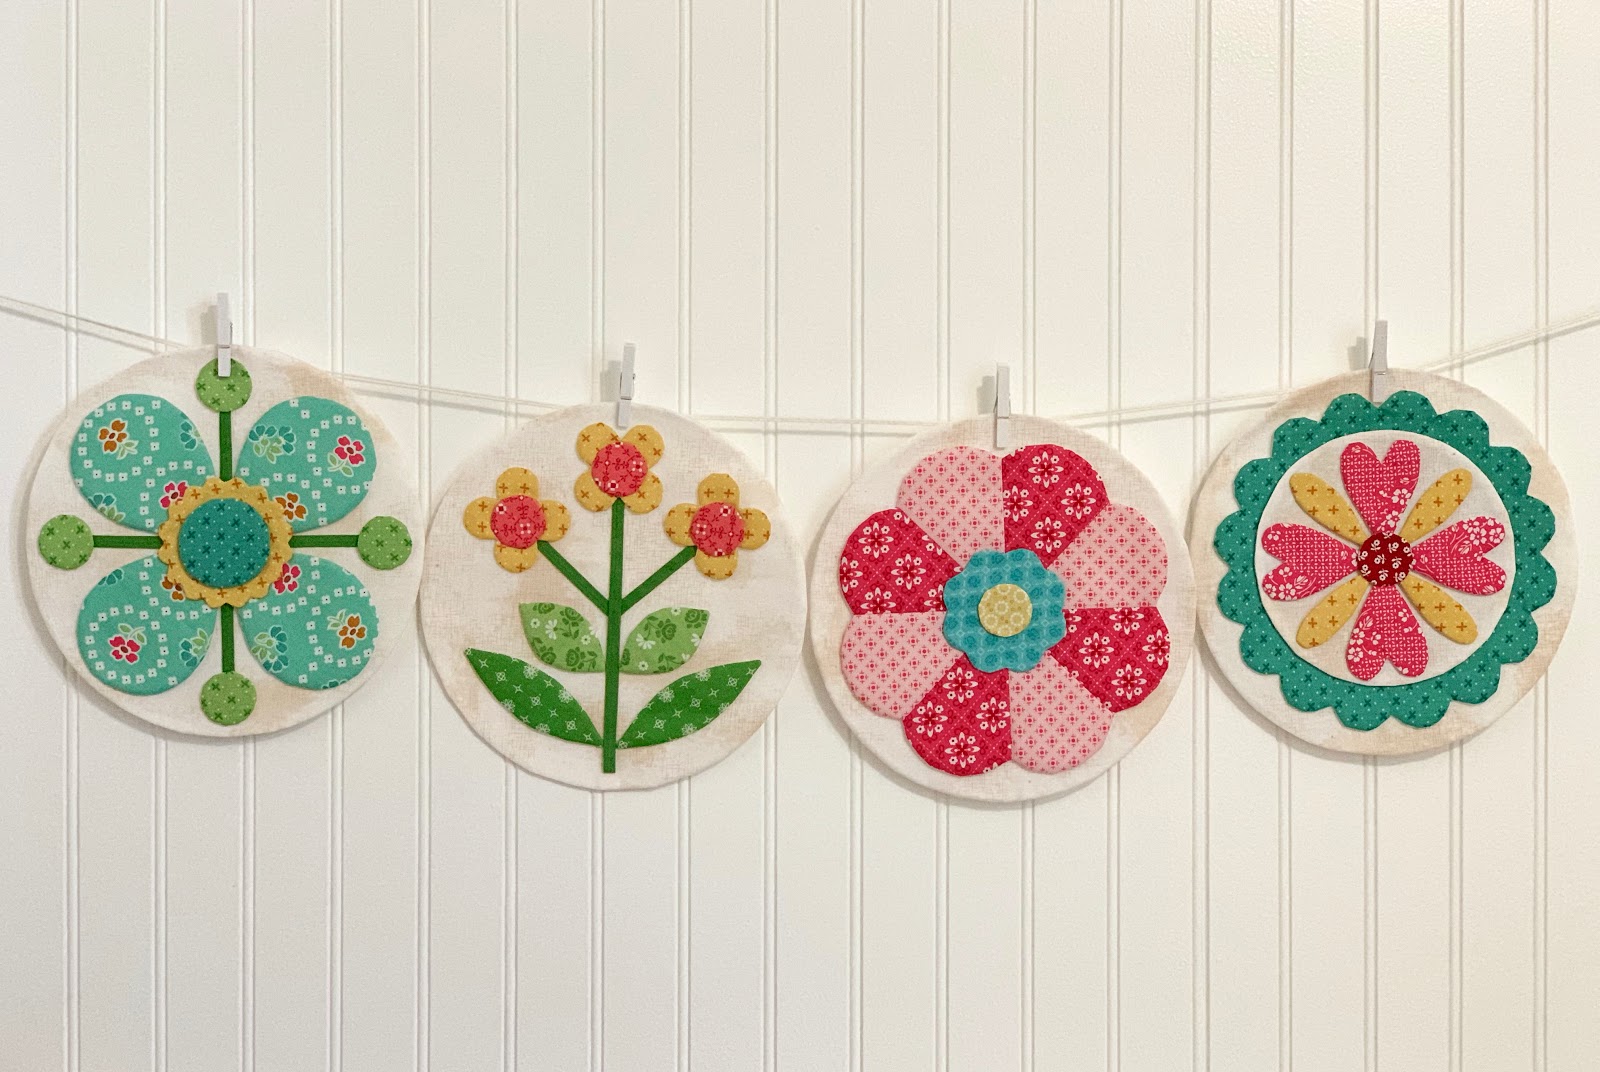
Block Nine all ready for appliqué:)
Sew Simple Shapes for Block Ten:
2 - I 8
2 - I 10
3 - I 18
3 - I 21
Cut the main stem 7" long
and press one end under.
Cut the shorter stems 3" long
and trim the tops in opposite diagonals
to tuck under the main stem.

Sew your shapes and clip the
4 cleavage areas in
each of the three flowers.

Turn and shape...
and grab your circle for glue basting:)

Nothing different here...
just use the 10 1/2" Trim-It
to align everything correctly:)

Now you have Block Ten
all ready for applique!

Sew Simple Shapes for Block Eleven:
1 - I 21
1 - I 23
1 - I 25
You should have 4 - 4 1/2" squares each
of the dark and light pink prints.
We are going to piece them together
for the large dresden shape.

Draw a line from point to point
on the back of each light pink square.

Pair the light pink up with the dark pink
by placing them right sides together
and stitching directly onto your marked line.

Trim off leaving a 1/4" seam allowance.

I like to cut leftover squares
from my easy corner triangle trimmings
and add them to my scrappy squares stash...

I use them to make
scrappy happy quilt blocks:)

Press all four of the seams open ...
this will help the dresden to lie flat.

Each half square triangle
should measure 4 1/2" square.
Lay them out like this and
sew them into a pinwheel.

Press those seams open as well.
Your pinwheel block should
measure 8 1/2" square.

Now place the large dresden (I 25)
onto your block and pin for sewing.

You want to make sure each
cleavage point ends up on a seam...

Like this.

Clip these cleavage areas as usual...
it just happens to be right on the seam.
Clip the cleavage in the
smaller scallop as well.
Turn and shape.
YAY!
I've just shown you an
easy peasy way to make
dresden blocks very quickly...
isnt it fun!?
I plan on using this method
and making several cute dresden projects.

Pin and glue baste:)
And just like that...
your Block Eleven is
all ready for applique:)
Sew Simple Shapes for Block Twelve:
4 - I 7
4 - I 21
1 - I 26
Use the 2" Circle Ruler
from the set for the
center circle on the flower.
Cut 4 stems - 2 1/2" long

After sewing and trimming...
clip the cleavage in the scallop circle.

Turn and shape...now to glue baste.

Under the ruler:)

Block Twelve ready for applique!

That does it for this weeks
flower block tutorials...


I hope that you are
having fun with them...
taking your time...
and enjoying each block...
I know that I sure am!!


Please continue to share your
progress using the hashtag
We all love to see your photos
and to know who is sewing along with us:)
I will be right back here next week
with four more flowers
to plant in our garden.
xx
Lori
P.S. If you are just joining us
be sure to click on the links below
for the previous Granny's Garden
posts and tutorials.
1. Bee Prepared
2. Week One
3. Week Two

No comments:
Post a Comment