Welcome back for another episode of the
I'm sharing another vintage block
with you
from my Grandma's pattern basket.


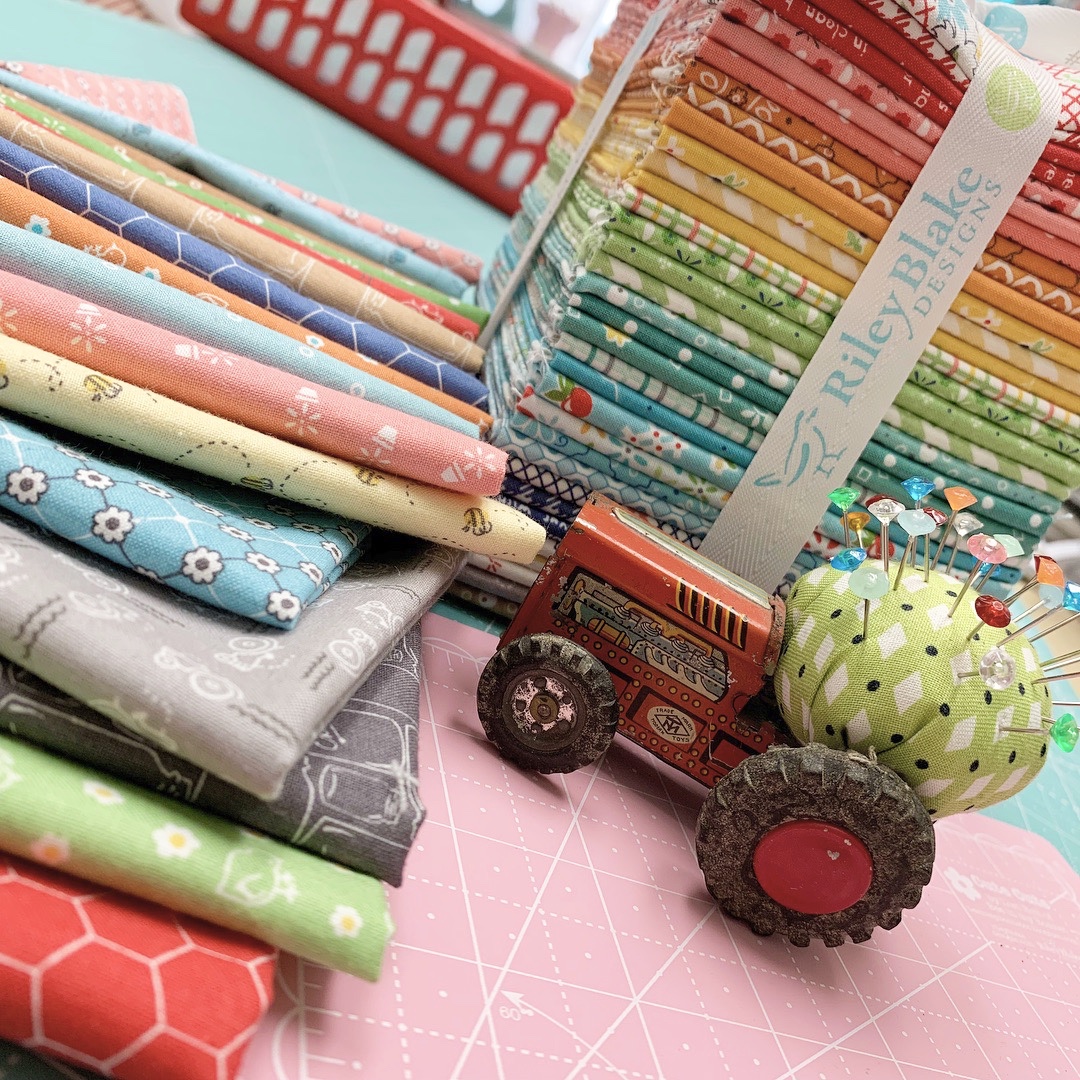
I'm using Farm Girl Vintage Fabrics
and Bee Backgrounds

Last week I did a block called
Fall Flower and this week it's
WINTER FLOWER!

Grandma absolutely loved a
Pink Poinsettia!
She always had one(a HUGE one)
on the round end table in the
corner of her front room.
On that table she usually kept
a beautiful doily made by her mother
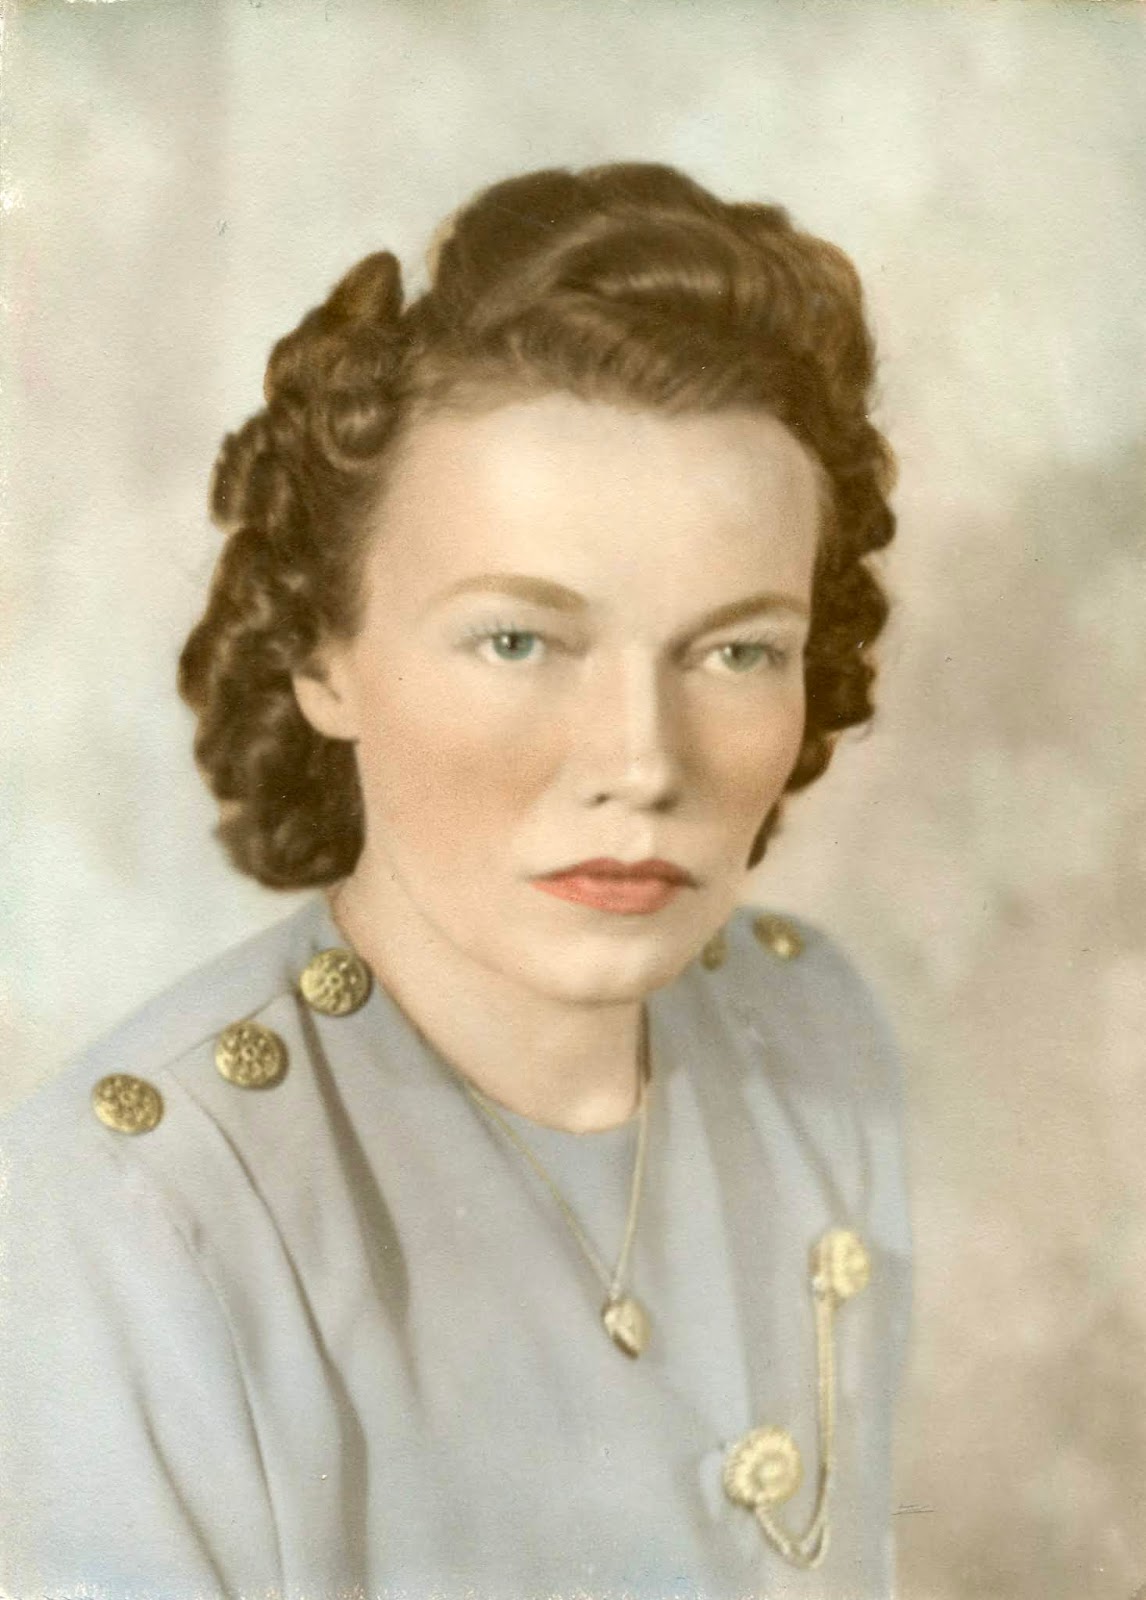
and a photo of her parents
on top and a pretty candy dish.
But at Christmastime those were moved
to the bookcase and the giant
Pink Poinsettia took it's place:)
Grandma also loved a beautiful
Christmas Card.
It was always a big decision which
design that she would choose
from the store each year.
Every time they were beautiful.

She enjoyed filling them out
and sending them...
she had quite a long list
and it always made her feel good
once they were all sealed...
stamped and given to the postman!

Grandma also received many cards
each year and she put them all
on her fireplace mantel..
then hang them clothesline style
on string across her walls.
After the tree was taken down and
when the holidays were over
she would keep them in a big bowl
on the end table next to her sofa.

She would keep them close by to
read over and over and we
would all read them too.
She would keep them there
until Valentine's Day ...
when they would be replaced by
all of the Valentines
given to her by friends and family:)
After that it was Mother's Day
and then her birthday etc.
Grandma really loved the tradition
of picking out a beautiful card.
To her it meant that extra time taken
to find just the right one was
thoughtful and kind to the
receiver as well as the giver:)

Are you ready to make your own
Winter Flower?

I used yellow for my center
but it would look pretty in a
lighter green as well!
I chose red for the center
of petals and pink for the petals.

From the background you will need to cut:
4 - 1 1/2" x 3 1/2"
4 - 1 1/2" x 2 1/2"
8 - 1 1/2" squares
8 - 1 1/4" squares

For the center cut:
1 - 2 1/2' square

For center of petals cut:
8 - 1 1/2" squares

For the petals cut:
4 - 2 1/2" x 3 1/2"
4 - 2 1/2" squares

First step is to grab the pink rectangles
and sew easy corner triangles
onto each corner.
The easy corner triangles are
1 1/2" squares.

Mark your stitching line or use the

This is what you rectangles
should look like now.
They should each still measure
2 1/2" x 3 1/2"

Now for the other pink petal squares
you will sew easy corners triangles
onto each side using the 1 1/4" squares...

like this!
They should still measure 2 1/2" square.

Now take the remaining background
rectangles and sew them to these
pink petal segments...

like this!
These should now measure 3 1/2" square.

Now lay your pieces out and
sew them together like a nine patch.

So pretty!

This Winter Flower would be beautiful
in any color...
don't you think?
WINTER FLOWER
should measure 8 1/2" square
before we sew it into our quilt.

You guys!!
We only have one more block
and it's an easy peasy one...
then we can start sewing our quilt together:)
I'll meet you back here
on Thursday for that tutorial.
xx
Lori
If you are just joining us...
click on each block that we have
done so far to go to the tutorial:
5. Rhinestone
6. Vintage Lily
7. Star Shine
8. Humble
9. Egg Money
10. Quilting Bee
11. Sunday Star
12. Sweet as Honey
13. Bear Hug Block
15. Memory
16. Farmers Daughter
19. Picnic
20. Sparklers
21. 4th of July Flag
22. Playing Card
23. Penny Candy
24. Mercantile
25. Family Reunion
26. Parade
27. Shade Tree
28. Wildflowers
29. Crossroads
30. Leftovers
31. Peony
32. September Star
34. Six Sisters
35. Twirl
36. Wash Day
37. Fall Flower
38. Fall Social
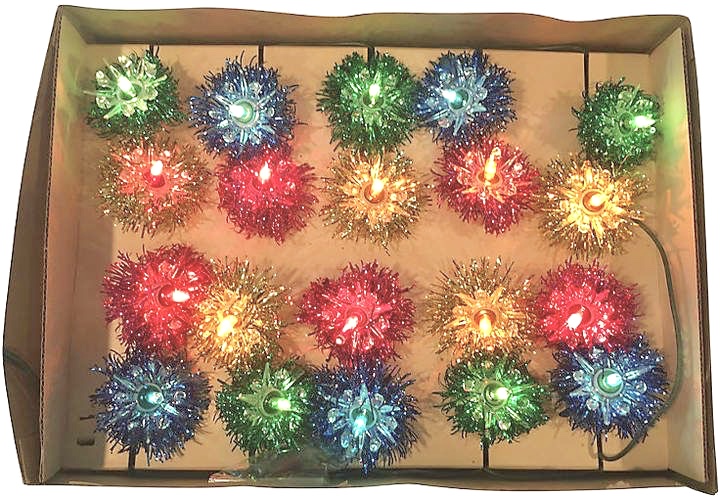
39. Holiday Lights