

Hello there!
I'm back for another episode of the

I'm sharing another vintage block with you
from my Grandma's pattern basket:)
I named this block
"STAR SHINE"
and the name comes from my memories
of camping under the stars:)

One of the things that we did
as a family when I was a girl
was go camping...
usually 3 - 4 times every summer.
When I say family...
I mean grandparents...aunts and uncles
and cousins included!
We would load up the station wagon
and head up to the mountains
of either Utah or Idaho:)

We all loved it and looked forward
to every single trip.
I remember that one year
when we were little...
grandma and grandpa gave each of us
grandkids a green folding camp chair
just like these in the photo.
Grandma wrote our names on them
and we used those chairs
every night around the campfire.

During the day we would fish...
play and hike...

And when the stars came out at night
we would sit around the campfire
and roast hot dogs and marshmallows
and most of all...
listen to campfire stories.
Grandma was the story teller:)
She would tell us about her childhood...
tell us stories that she had read
and some that she had written.
Grandma often wrote short stories and poems.
I loved gazing at the night sky
and feeling closer to the stars
(being high up in the mountains)
than I did when we were at home.
Those nights around the campfire
are some of my fondest childhood memories
and I still love camping to this day!

I love this vintage ad...
it's so typical of how things were
for us back then:)

I had such a great time going through my
Farm Girl Vintage fabric
choosing prints for the block!
I decided to make more than one...
even though we will only be
using one for the quilt...
so take note that you only
need to make ONE.
I on the other hand...
want to make one more for a total of 4
because then I'll use one for the quilt...
and I want to use the other 3 to make a
table runner for my kitchen counter:)
Of course you could do the
same thing if you wanted to!!

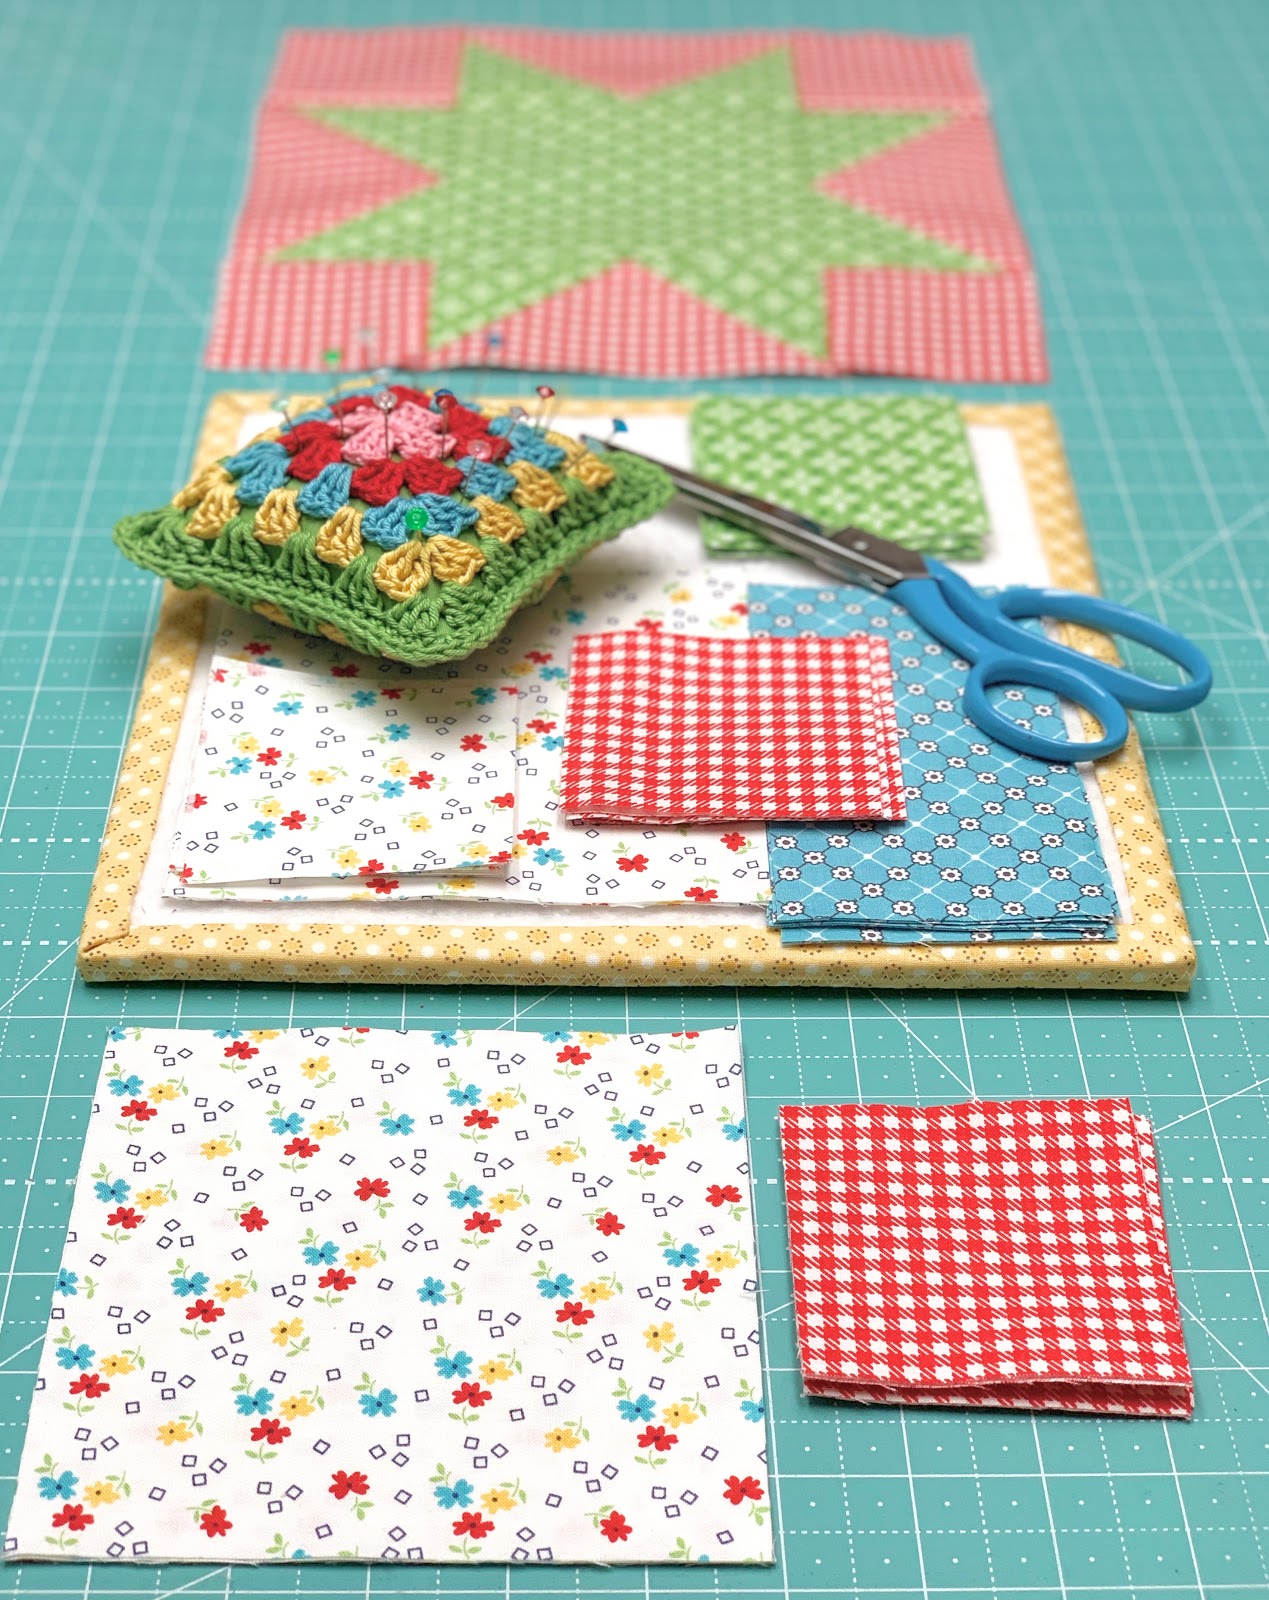
For this block you will need 3 colors
that contrast nicely from each other
and one background:)

Because the block finishes at
20" x 20"...
I thought it was a great opportunity
to use this cute little floral
for my background and I love the way
it looks in the blocks!
From your background cut:
8 - 5 1/2" squares
8 - 3" squares

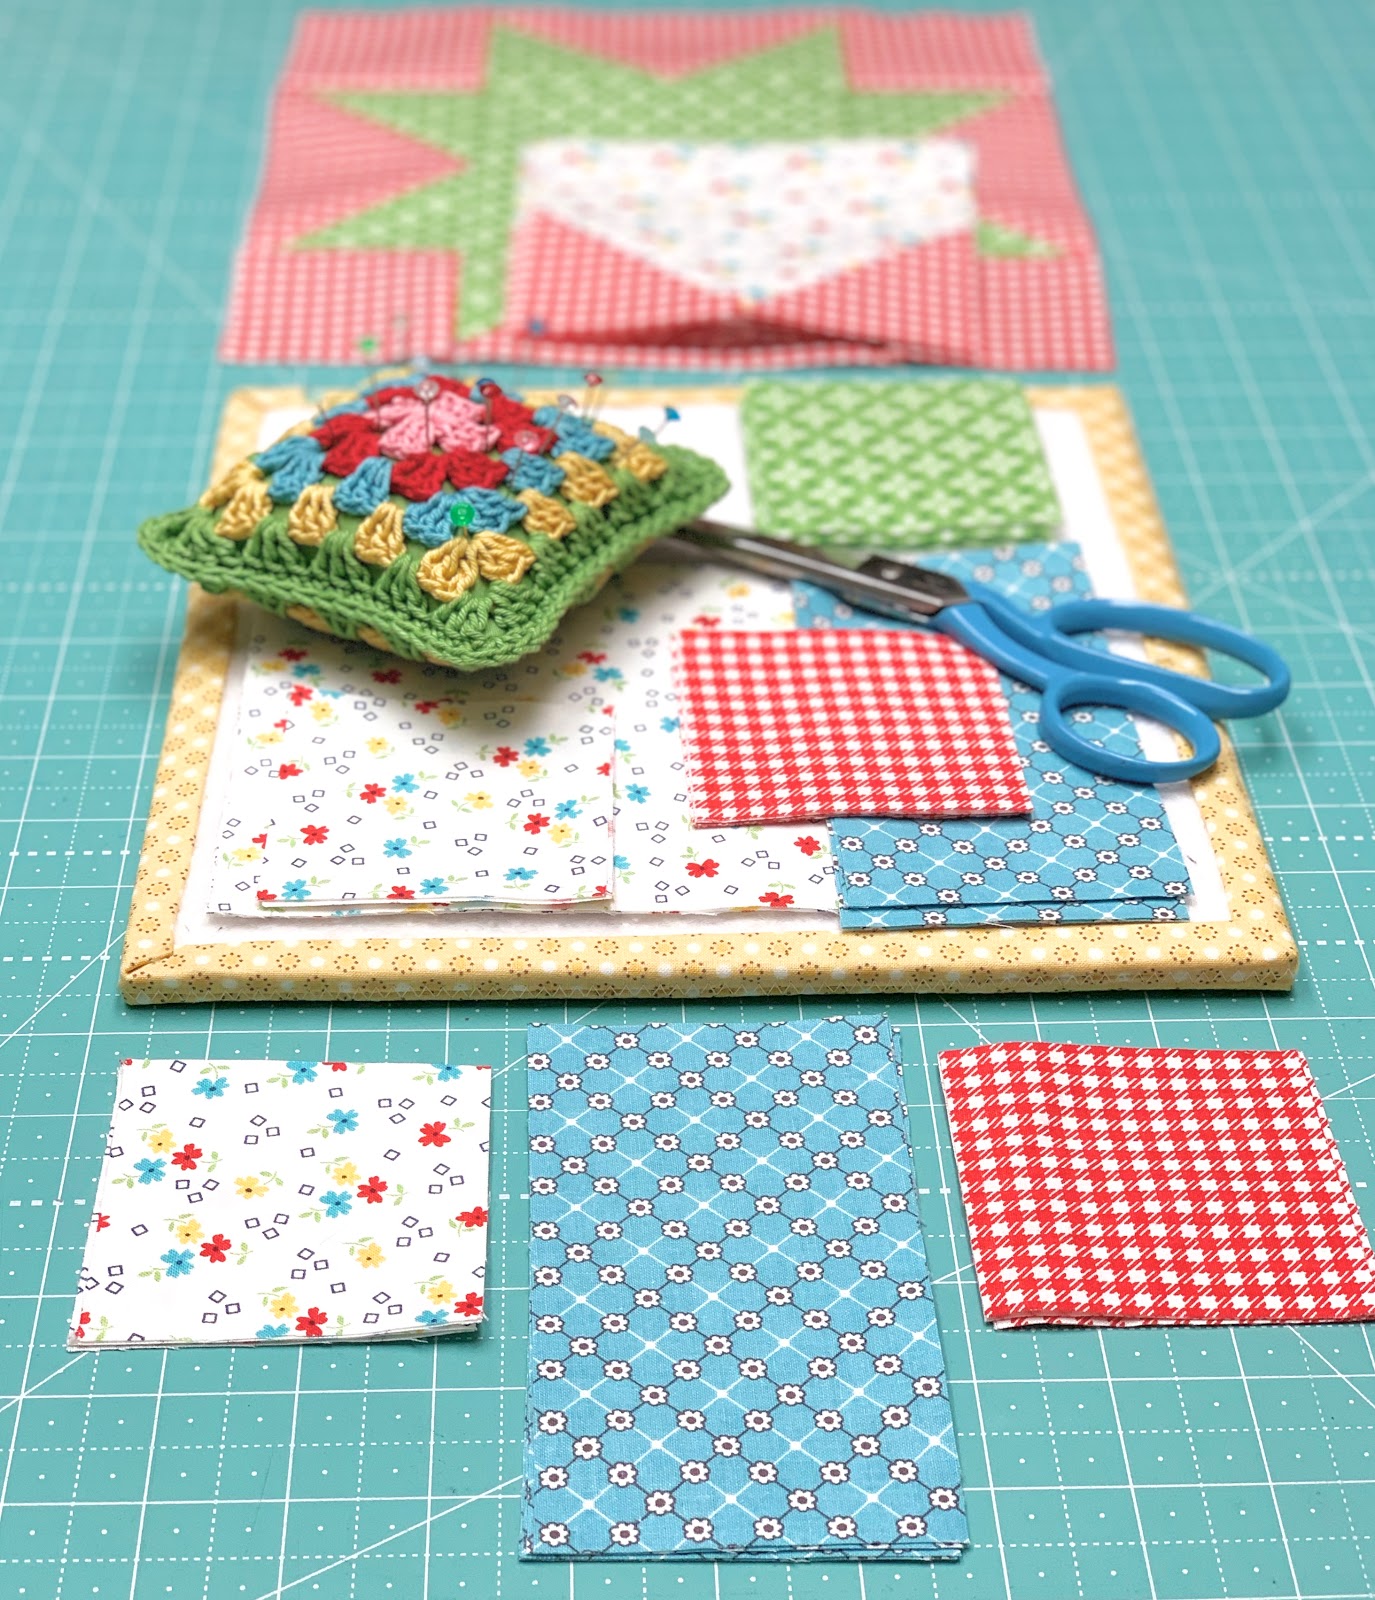
For the star in the center cut:
1 - 5 1/2" square
8 - 3" squares

For the "star shine" cut:
4 - 3" x 5 1/2"
20 - 3" squares

For the points of the star shine cut:
8 - 3" x 5 1/2"

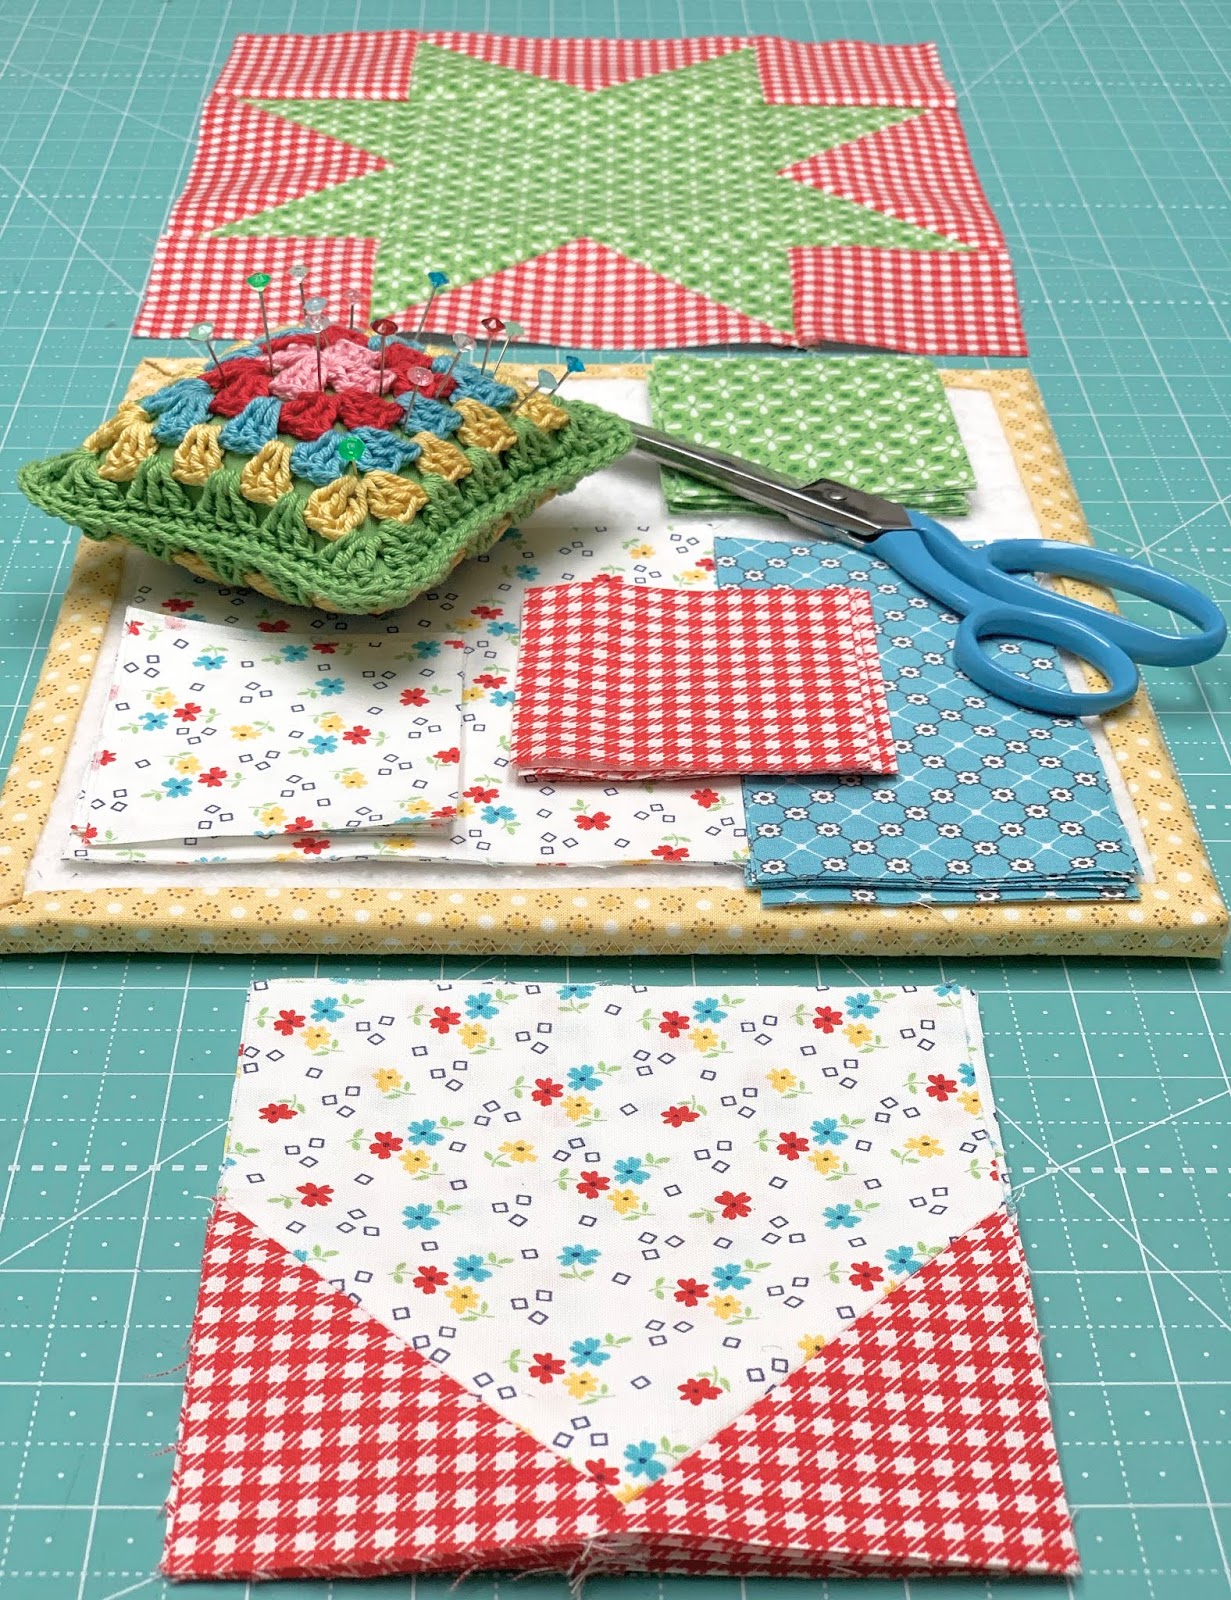
First thing up is flying geese!
Grab 4 of the star shine rectangles
and the 8 center star print squares.

With right sides together like this...
sew from corner to corner
on the back of the square.
Mark the sewing line onto the squares
or use the
For the directions on how to
put it on your machine...

Trim off the excess and press.
You have to do the easy corner triangles
on one side before you can
do the other one...

Like this!
You should have 4 flying geese
that measure 3" x 5 1/2" at this point.

Now lay them out like this
along with the center square and
4 of the star shine 3" squares
in the corners...
and sew them together!

Your center star should measure
10 1/2" square at this point.
Okay...now grab 4 of the
5 1/2" background squares and
8 of the 3" star shine squares.
You are going to do
more easy corner triangles!
Do one on each corner like this...
just like you did with the
flying geese except that you are
sewing them onto the bottom of a square instead of the sides of a rectangle:)
You should have 4 total
that measure 5 1/2" square.
Now let's work on the 8 star shine points.
We will do 4 at a time
because the easy corner triangles
will face one direction
on four of them and the
opposite direction on the other four.

Make the first four to look just like this.
The background ECT should be
at the top and the star shine
ECT on the bottom.

Now grab the remaining 4
star shine point rectangles...

And sew them exactly like this.
These star shine points should
measure 3" x 5 1/2" at this point...

And each set of four should
look just like this.

Now place these segments
together like this...

And sew!!

Now it's time to sew the entire Star Shine Block together.
Sew it into 3 rows first...

And then sew it together
and make it shine!!
Your Star Shine Block should
measure 20 1/2" x 20 1/2"
right now...
BEFORE we sew it into our quilt:)
Remember...you need ONE block only
for the quilt:)

Here's a close up of the
second one that I made...

And the third:)

I'm going to make these three
into the table runner so I
will be sewing the another block
probably this week.
I may use one of these same fabric
combo's again or make a
completely different one...
with Farm Girl Vintage fabric of course:)
This is block seven in our
Vintage Block Along!
Click on the links below for
each of the first six block tutorials:
5. Rhinestone
6. Vintage Lily

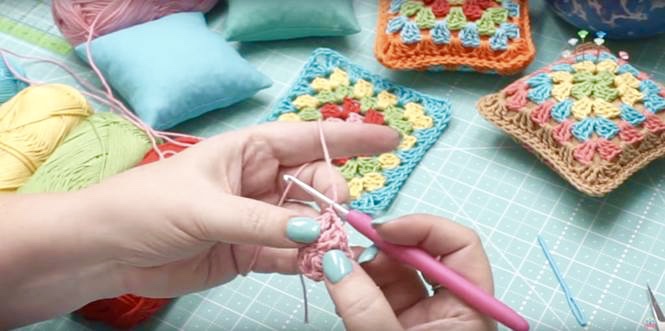
Did you notice the cute
granny square pincushion
that I used while making this block?
When Kimberly and Lily came to my house
a few months ago...
I did a 3 part crochet tutorial
on how to make a
granny square pincushion.
to watch part one:)
A granny square was the
very first thing that I learned
to crochet when I was 6 years old
and my other grandma taught me how
after I asked her pretty please:)
They are very easy to make and
once you learn how they are so addicting!
You only use 3 basic stitches:
a chain stitch...double crochet
and a slip stitch.
In my first tutorial I show how
to make the granny square itself...
it's a project for those who have just learned the basics of crochet.
If you don't know how to do
those 3 basic stitches
there are many other YouTube tutorials
on just those stitches alone but
I think if you watch closely and
pause it in the right places etc...
you can see how those stitches are formed.
You may have already watched it
and made one because I have loved
seeing a lot of them popping up on

The second part of the tutorial
shows how I block my granny squares
to get them all the same size
before joining together for the pincushion...pillows...scarves etc.
to watch part two:

The third tutorial shows you how I
use the two granny squares
and make the pincushion.
to watch part three:)

when I crochet.
Here you see the first 14 colors...

but now I have 6 new colors to add for a total of 20 so far.
(More are coming)
that holds a little bitty skein
of all 6 new ones.

I find crocheting very relaxing...
probably because of the repetitive motion
and the adding on of new colors
until it grows into a cute little granny:)
At night I love to relax and unwind
with yarn and a hook...
with hubby and Netflix:)
I love making granny squares
and I made several pincushions because
they all look so cute
displayed together and...
you know...
all the possibilities of
different happy color combinations!

Thanks for coming along with me
on this trip down memory lane
and learning how to make
another Vintage Block:)
My goal is to post one every Thursday
until I have enough for the quilt.
There are several more blocks
I want to make so we are not
even close to be finished yet:)
However...my Farm Sweet Farm Sew Along
starts on Monday and I'm crossing
my fingers that I'll be able to
keep up with the Thursday posts.
Just know that if I miss a week...
I'll be right back and will not miss
two weeks in a row.
Until then...enjoy sewing vintage!!
xx
Lori

6 comments:
Love your posts and reading about your grandma and family. Sweet!
I also love your little crochet pincushions. Think I’ll have to make a couple!
Your star blocks are beautiful.
Have a good Saturday. ❤️
love all three of those blocks. And also love the pin cushion. thanks for the tutes. hugs, lj
Your post was so much fun to read this morning! The star block looks challenging! I am going to give it a try! Sew excited to try this! 🥰🧵✂️
Hi Lori
I love all your memories of your Grandmother and the wonderful experiences you are sharing with us! I'm saving all this information on this quilt because I know I want to make it. I'm still finishing up your Autumn quilt, but only have 3 more blocks to go! I'm so tempted to do you granny square pin cushions too. What cute little gifts those would be.
I'm relating & loving all the stories. We used to go what we called "the country" with our grandparents. It was a rustic house by a lake in VA. There was a pier where Granddaddy tied his boat. We had the same camp chairs for when we sat out around a campfire. So much fun remissness!!
I am having a blast with this! It's the first QAL I've ever done. I've made several FGV quilts and projects, Lori you make the cutest patterns. I am making this quilt as a surprise for my awesome mom, who does not quilt but is amazing at sewing clothing. Can't wait to see how all the blocks will come together!
Post a Comment