

Welcome and thanks for tuning in to the

Today I am sharing another vintage block
with you from my
grandma's pattern basket:)
Grandma was a farm wife...
so of course behind the house
in the pastures there were
vegetables...fruits and grains to grow...
but she always grew flowers
and flowering shrubs in her
front and side yards.
Her yard was pretty and well kept
with one very large shade tree
and the flowers always smelled so sweet!

All of her flowers were the
tried and true old fashioned kind
that her mother grew in her garden.
My Great Grandma Martha not only was a beautiful quilter but grew and lovingly tended large flower gardens.
I love old fashioned flowers and we grow several in our little garden:)
The lily has always been a cottage garden favorite and that's why I chose this block...

And chose to name it Vintage Lily:)
I decided that mine needed to be orange
and of course green for the leaves:)
Keep in mind that any color of
lily that you choose to do
will be beautiful as well!

I do have several orange prints
in my Farm Girl Vintage collection
and so I chose 2 oranges and two greens
for a scrappy happy combination:)
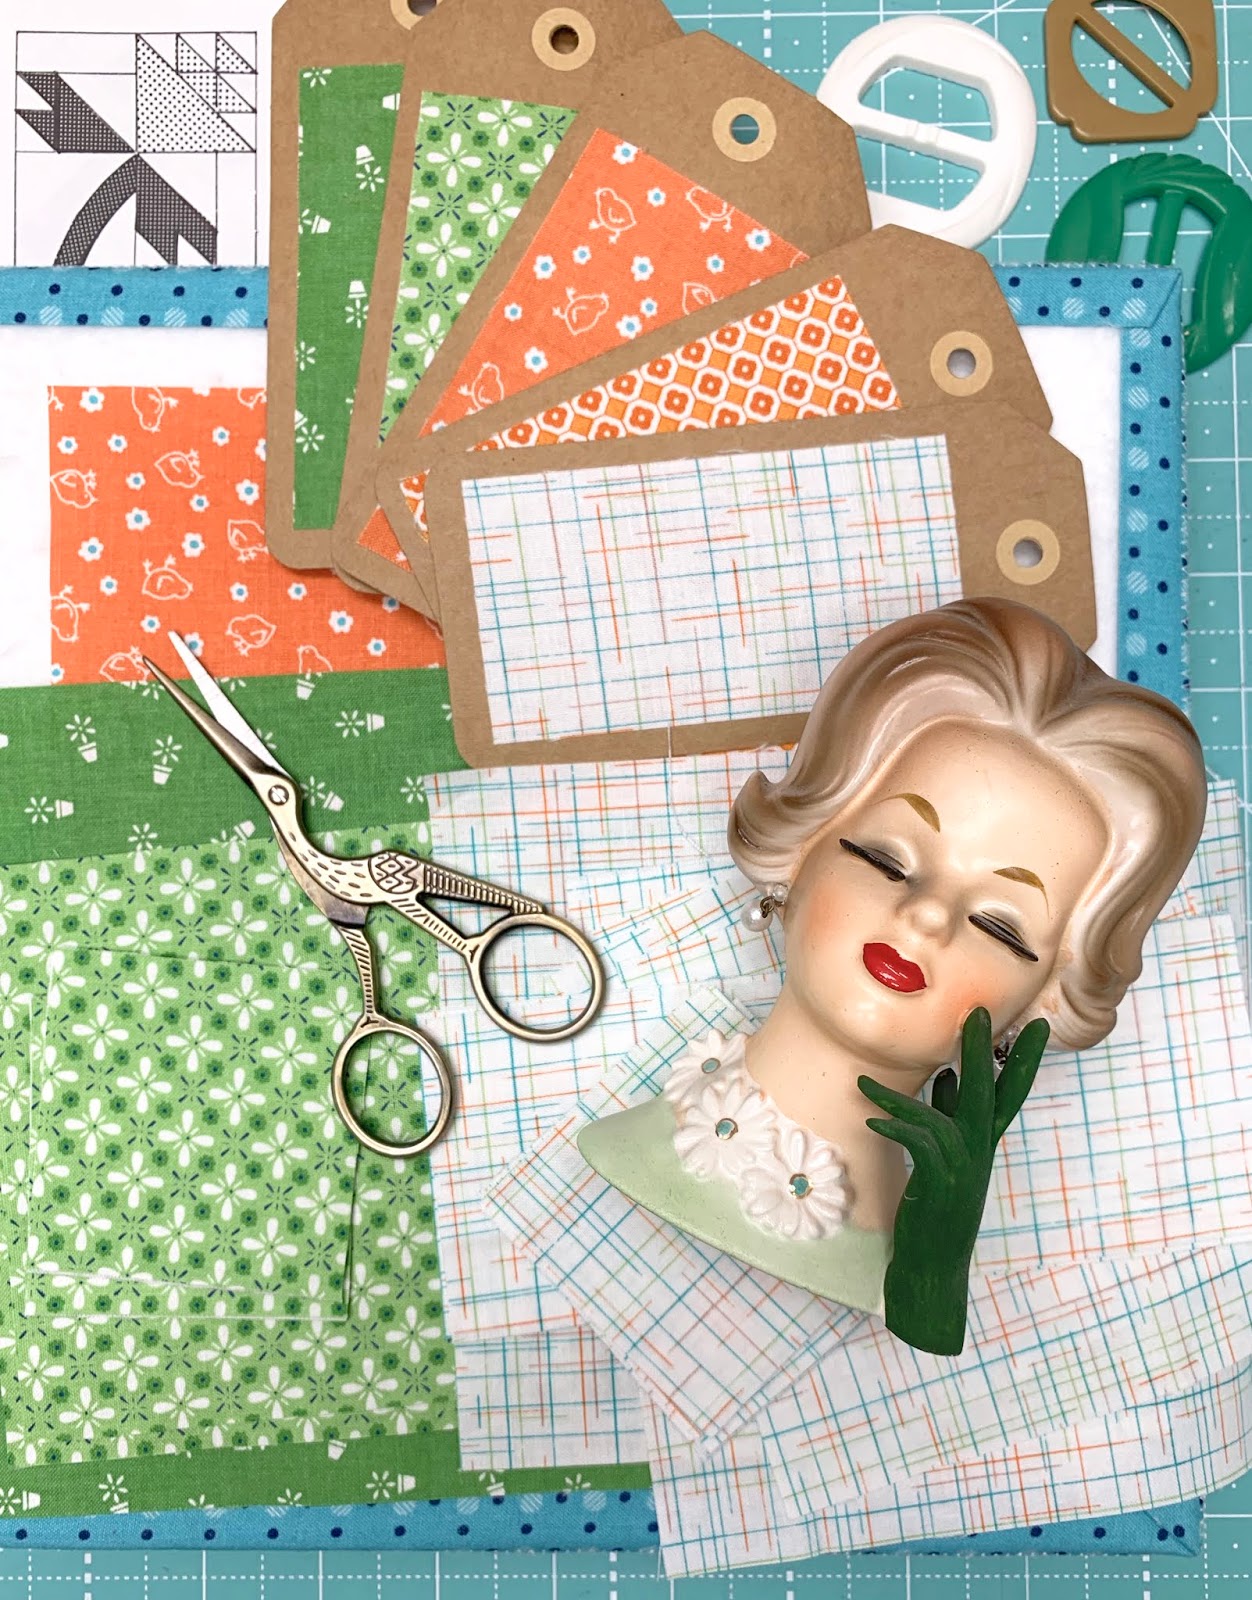
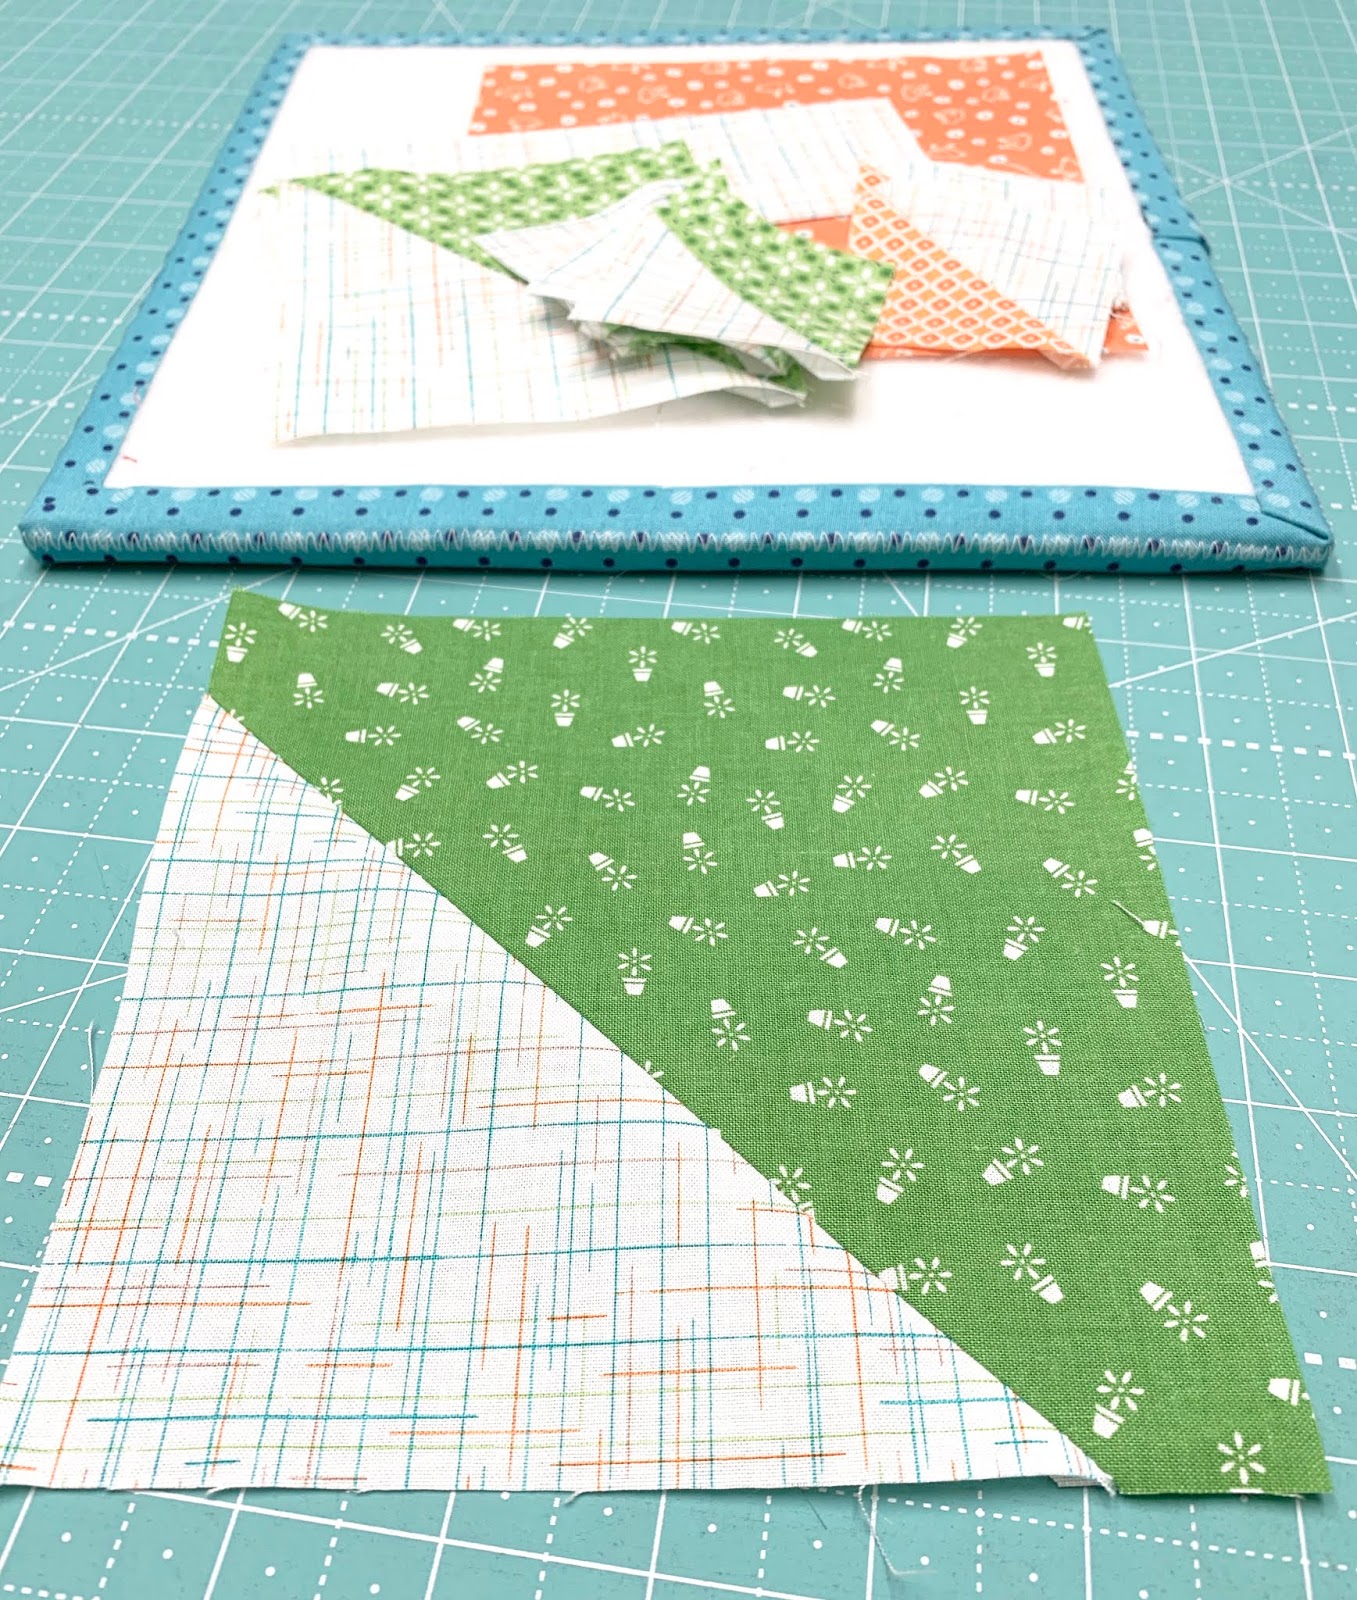
The original vintage pattern
(upper right corner)
has a curved appliqué stem.
I drafted it so that we could use
2 easy corner triangles and
easily sew a straight stem.
Notice the adorable vintage
lady head vase in the photo....
it's so easy to turn it into a pincushion
and I'll show you how
at the end of the tutorial:)

I chose to use this
gunny sack background print
from my Autumn Love collection.
From your background
you will need to cut:
2 - 5 1/2" squares
3 - 4 1/2" squares
2 - 2 1/2" x 6 1/2"
9 - 2 1/2" squares

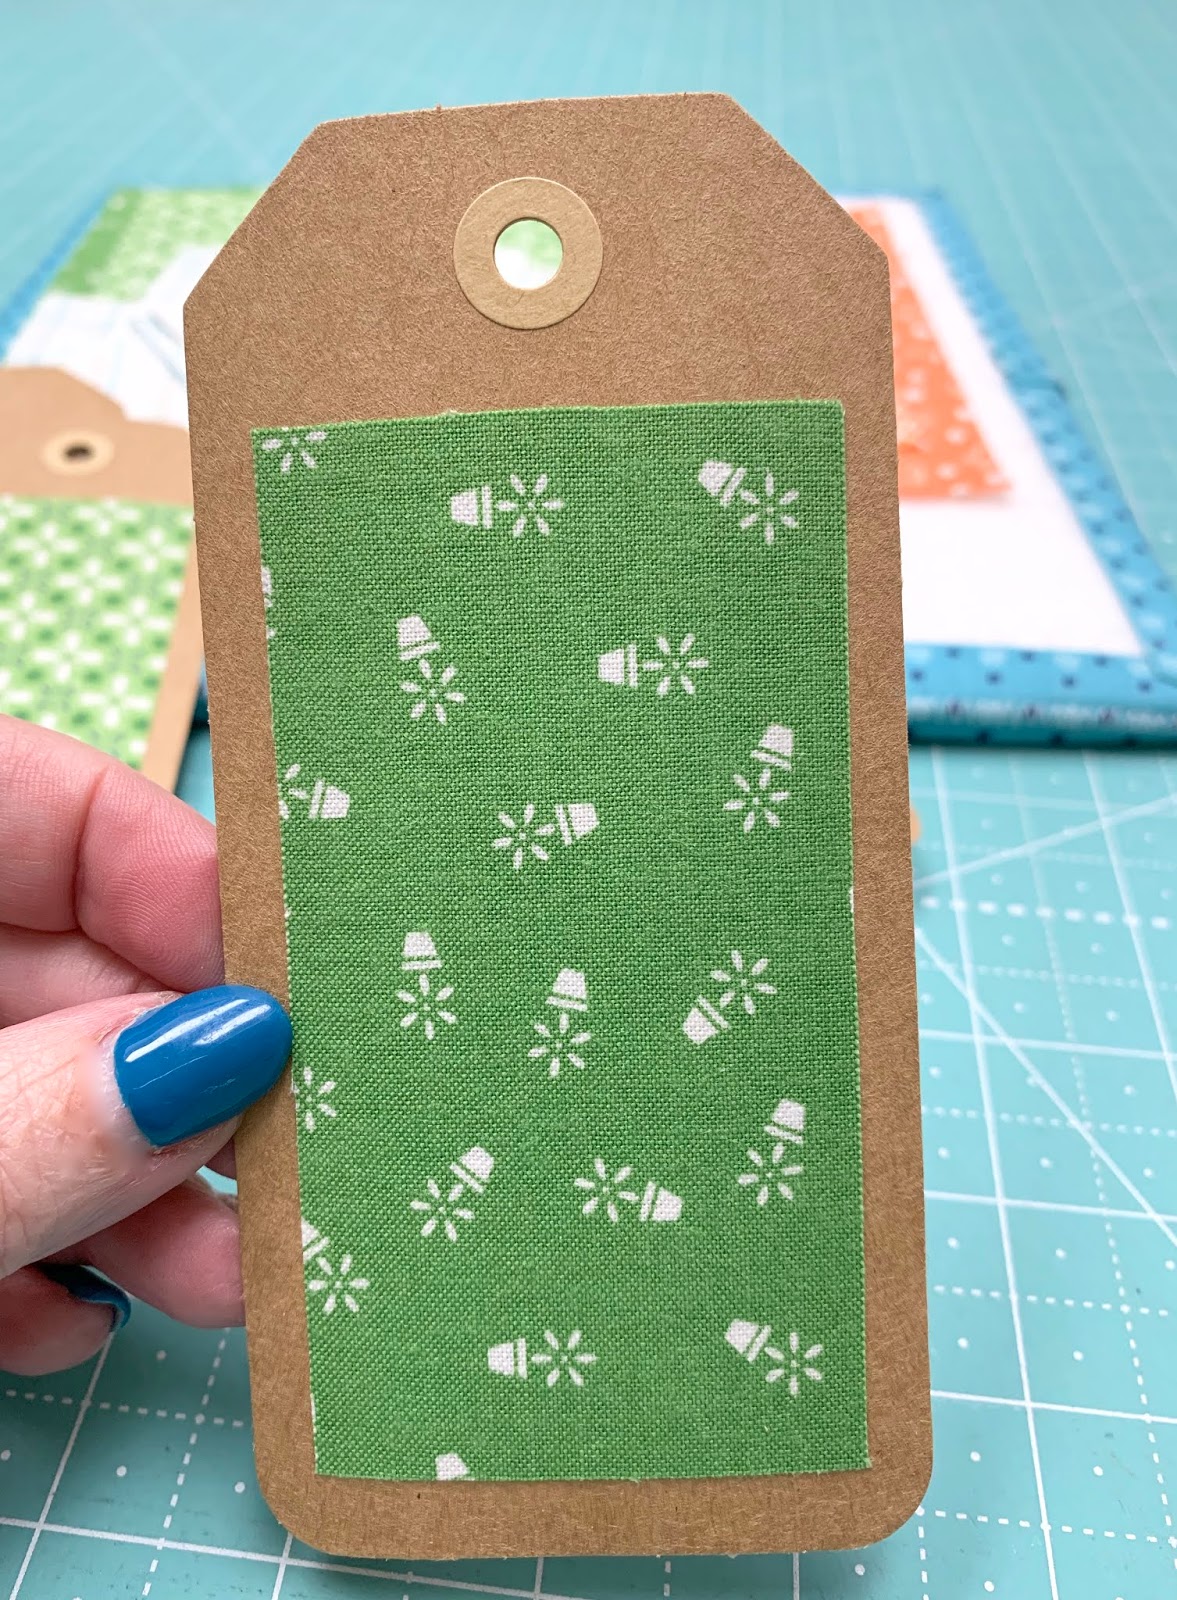
From the leaves fabric cut:
2 - 4 1/2" squares
4 - 2 1/2" squares
For the stem cut:
1 - 6 1/2" square

For the main part of the lily cut:
1 - 6 1/2" square

For the top of the lily cut:
3 - 2 1/2" squares

Now it's half square triangle time!
Pair up the 2 1/2" squares with
a background square to make them.

Sew from corner to corner
with right sides together.
Mark your lines or use the
to find out how I use it
and put it on my machine.
Trim the excess off one side...

And press!
Set these aside for a bit:)
Now make 2 more half square triangles
exactly the same way...
and use these 4 1/2" squares.

Sew...trim...

And press!
Set these aside as well.

I cut 2" squares from those trimmings:)

For the stem...
mark a line down the center
of each 5 1/2" background
square like this.

Sew one onto one corner of
the 6 1/2" square stem fabric.

Trim excess...
And press.

Now do the same thing for the other side:)

You now have a 6 1/2" square
with a stem going down the middle!
Easy peasy:)

I cut 2 1/2" squares from those trimmings.
Of course you don't have to...
but I'm just showing you what I did!

Let's make the lily section now:)
Lay these pieces out on your
design board just like this.
Sew the top pieces into a row and
sew the two squares on the right together
and add to the 4 1/2" square on the left.

And now you can sew top row to bottom....

Like this!

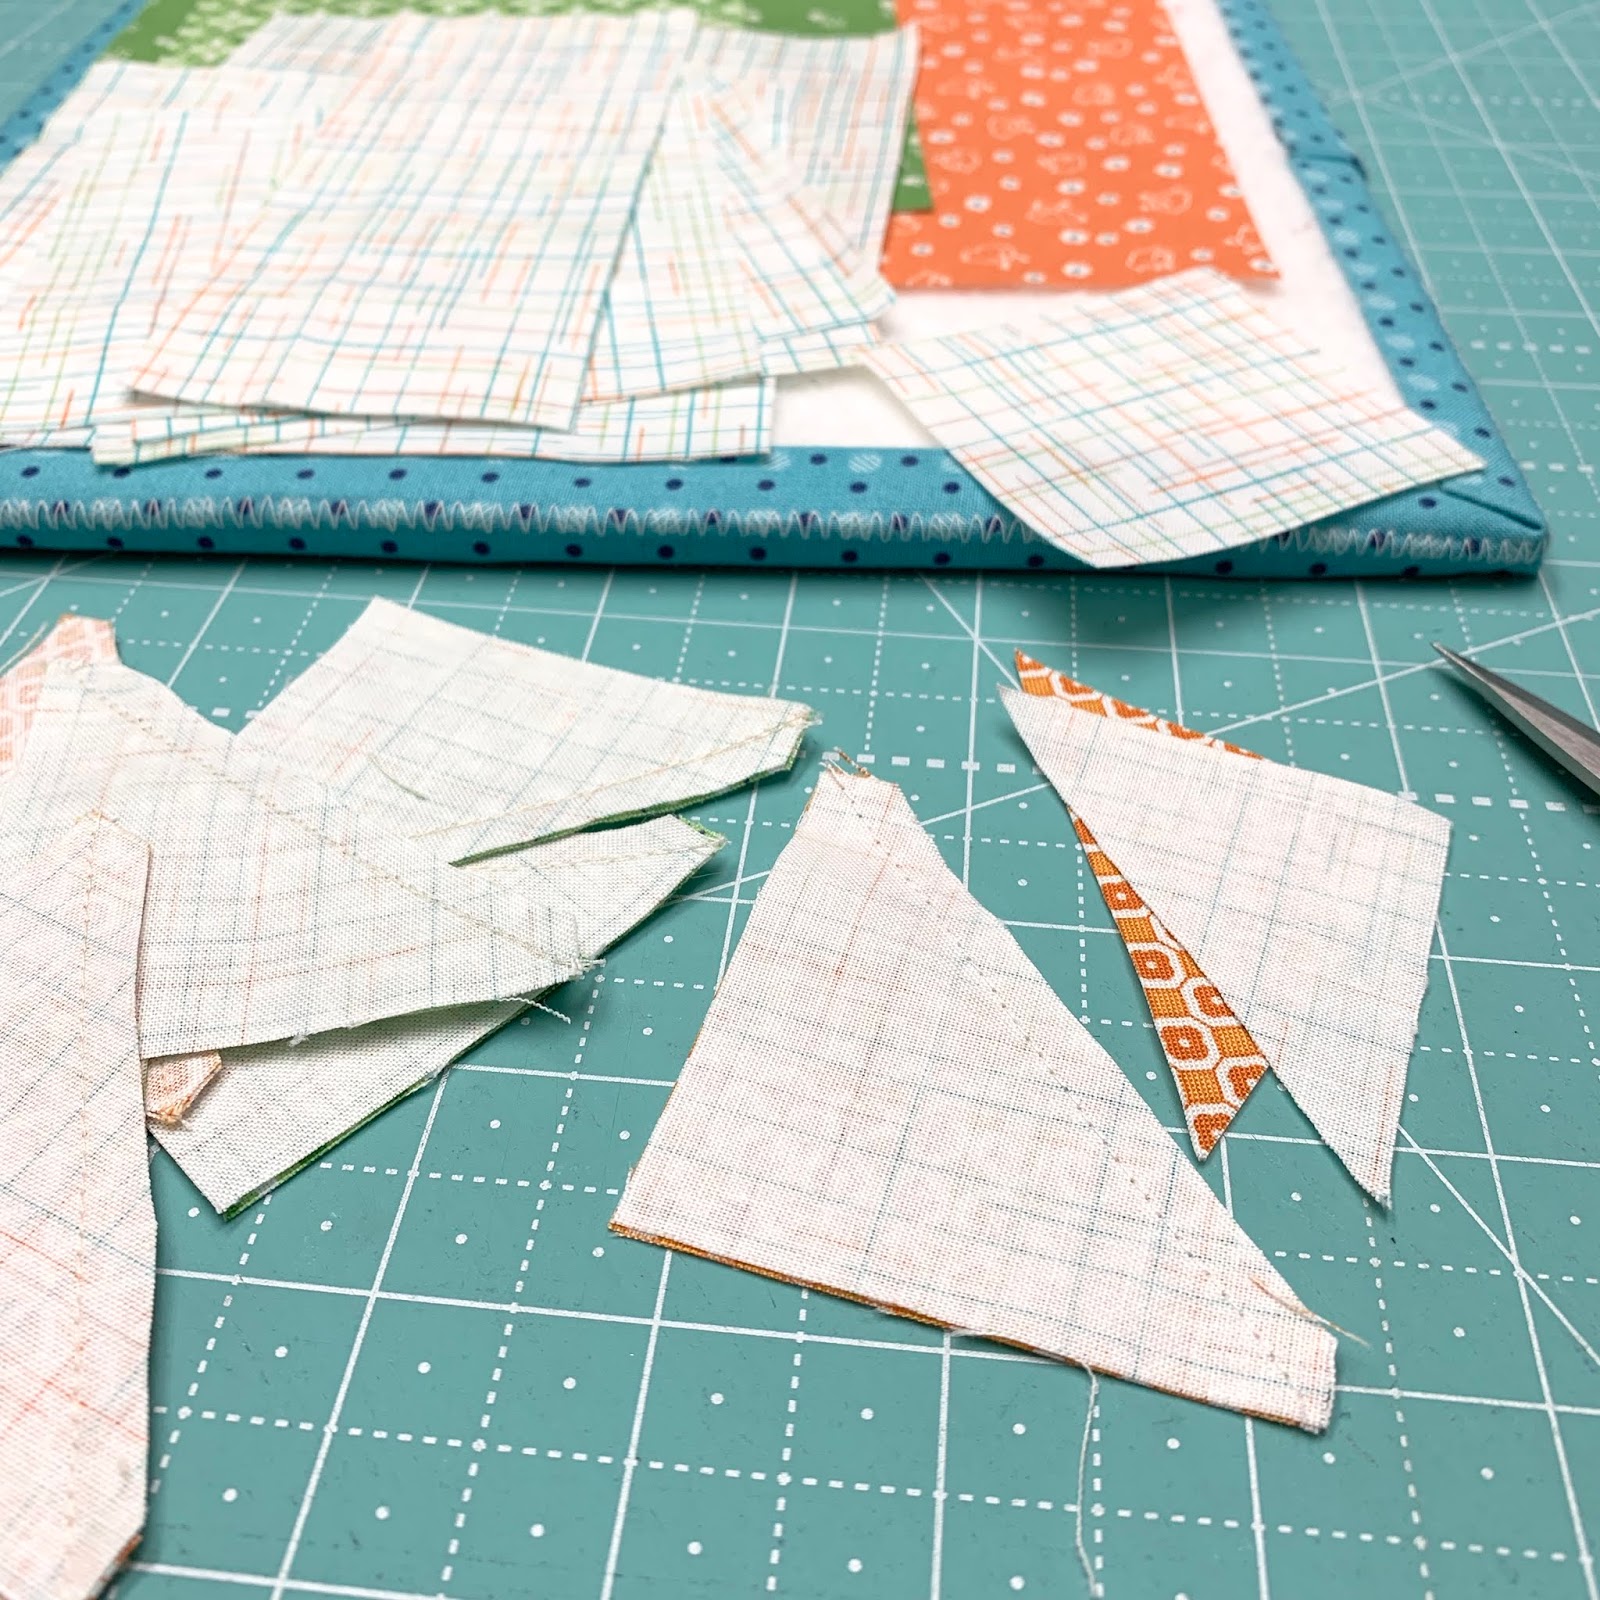
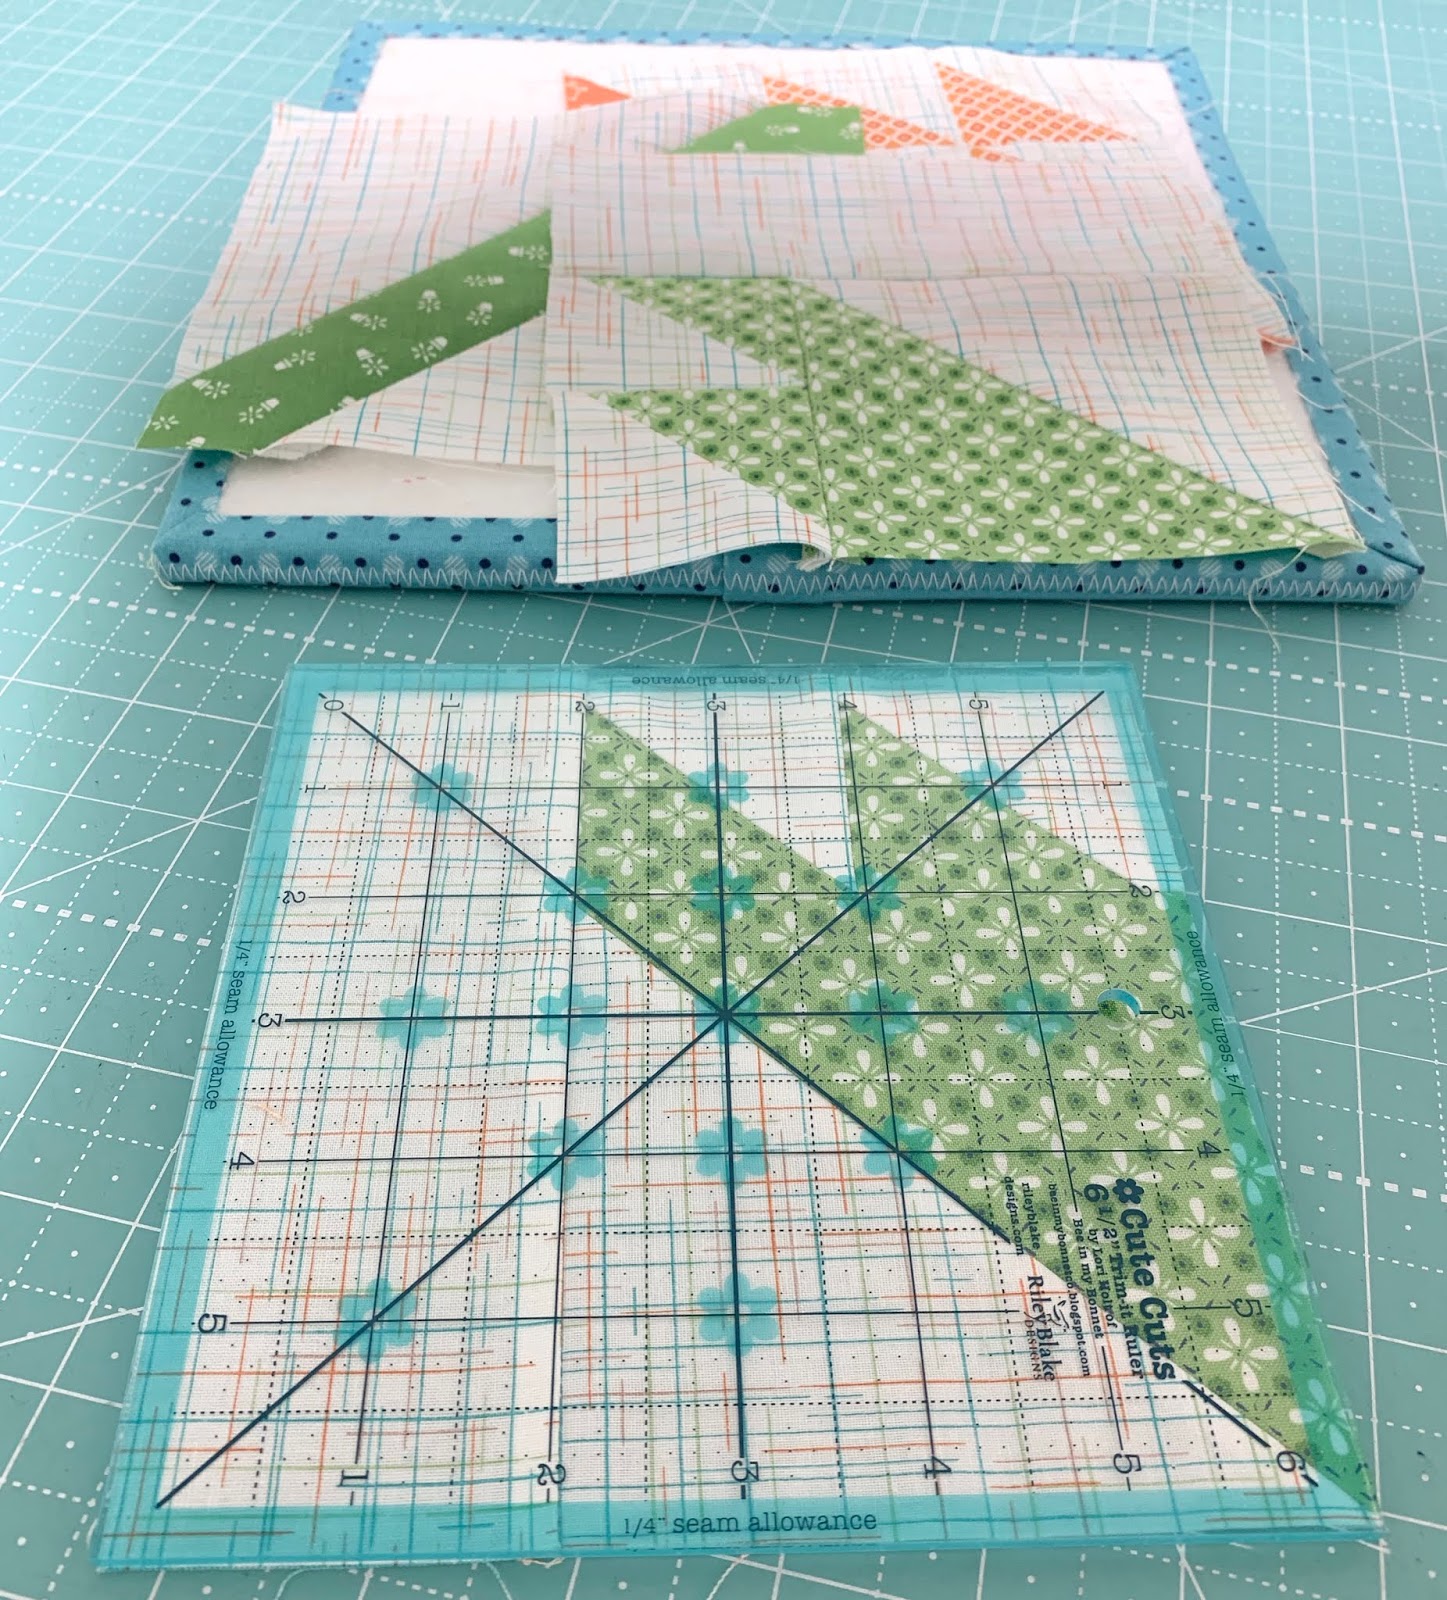
To add the easy corner triangle
on for the bottom of the lily...
you can mark a line from
corner to corner on the lily print...

But I like to mark my line
on the pieced square instead
so that I can see exactly where
I'm sewing on that side
and to make sure not to
sew my points off!

I just line them up... and pin...
and sew on my marked line.

Before I trim off the excess...
I check to see if my points are still there:)

Then I trim!

And after pressing...
my lily portion is completed.
Set it aside while we do the leaves.

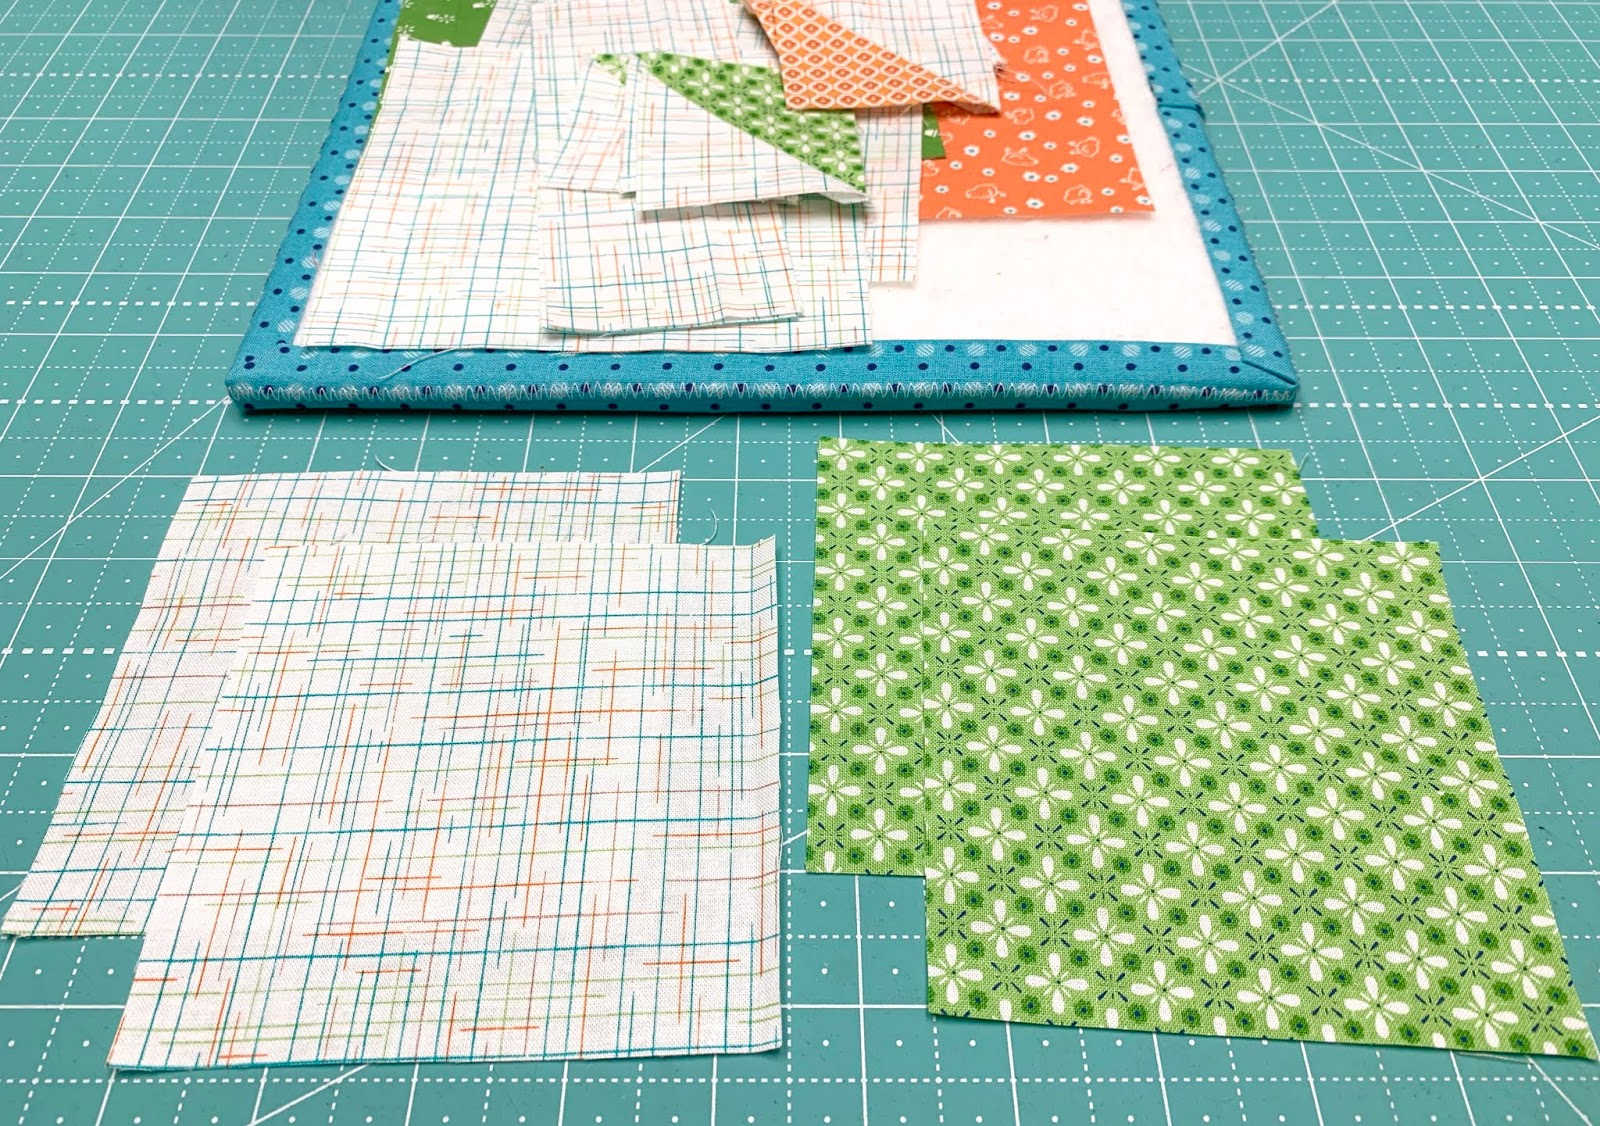
But first...
if you want to...
quickly cut squares from your trimmings and
add them to your scrappy stash:)

Lay your leaf pieces out like this
and sew them together.
*Take Note:
This is for one leaf only...
the other is sewn opposite.

This is the left side leaf....
now for the right side.

Those pieces are laid out and
sewn just like this.

Right side finished!
You should now have 4 sections that
each measure 6 1/2" square at this point.

Lay them out...

And sew them together to make your block!
VINTAGE LILY
Your block should measure
12 1/2" x 12 1/2" at this point:)

This block looks so vintage to me...
and maybe because it is!
I love it sew much.
Back in vintage land they used to
make a lot of blocks that
leaned to one side like this
and I think they are just charming:)
Of course a leaning block can be
set on point and they
did that a lot as well.
So far we have made 6 blocks...
YaY!
If you would like to make the
first five blocks in this series
just click on the links below:
5. Rhinestone

Right after sewing the block together
I got right to work/play on
making this vintage lady head vase
into a pincushion:)
If you are not new here...
you know that I often re-purpose
vintage things and especially
to use in my sewing room.
One of my favorite things to do
is to make pincushions out of them!
One can never have too many pincushions
and I love the extra sweetness that
a thrifted vintage object adds:)

Here she is ...
Milly the pincushion lady.
Named after grandma:)
Grandma always had potted plants
in her kitchen and front room...
she also loved fresh flowers in vases
and had several vases of different kinds
...including lady head vases.
Head vases were so popular
back in her day and there
were so many styles...
below are a few that I love!


First up is fabric choice for the pincushion.
This print looks so cute with her
and would have been perfect!...
but I only have this swatch because
it's from my next fabric collection
and it won't be here until July.

That collection is called
I haven't announced this yet...
so I guess I will now!
Above is the Granny's Garden Quilt
that we will be doing for the
sew along that will start in August.
We will be using a new set of
Sew Simple Shapes called Granny's Garden
and it will work just like my
previous appliqué sew alongs:)

Because I didn't have a
big enough piece of that print...
I went through my stash and found
this print from one of my previous
collections called Flower Patch.
Grandma Milly looks like
she is thinking it over...lol
and I'm pretty sure she approves!
I wanted to find a print that had
all of the colors from the vase in it
and a vintage style as well.
This one is a winner!

Next...I grabbed a few of my
Circle Rulers to cut a
circle from the fabric.
I have two sets of Circle Rulers
in several sizes
that I use on a regular basis.
These are the two largest sizes...
a 10" and a 12" and they
come in a set along with an 8"
The 10" or 12" size would probably work
for this but I chose the 12"
because it's easier to
cut it smaller later if needed:)
for the set of larger size
Circle Rulers

Other supplies you will need:
1. Cotton Stuffing
2. Perle cotton or #3 cotton crochet thread
(it needs to be strong)
3. Large eyed needle for the thread
(I use the Chunky ones from my
Nifty Needles - they are the ones in red
and they come in a tube in several sizes
as well as the sampler pack)
if you need a sampler pack:)

I'm kind of a "stuffing snob" and
like to use natural fiber stuffing
for most things.
This one I'm using is my
current favorite and is 100% wool.
I snapped a photo of the box label for you:)
It's amazing to work with
and I'm always happy with the results.
It's more of a dense finish than you get
with poly fiberfill and it fills out
corners nicely when I'm doing squares:)

Okay...so I have a 12" circle cut from my
fabric and all my supplies are ready.

I just leave the edges unfinished and
gather the circle with a large
running stitch about 1/2" from the edge.
Make sure you make a big knot
at the end of your thread.

Before pulling it up into a ball
I put some stuffing in the center.

As I'm gathering it tighter I can sew
if it is too much or too little
according to the size of the vase.

I took quite a bit out because I want this
to be looser and shape it
like a tall oval not a circle...

Because that is the shape of the vase inside.

So this is what I end up with
before knotting off.

I begin placing it inside
all the way down as far as I can...

And trying not to mess up her hair-do:)
All of the stuffing automatically goes
to the top for a nice full look
which is what I want.
I just keep tucking it in
all the way around:)

is helpful for tucking it even farther down.
The fabric will stay in very well
but I can carefully pull the
whole thing out if I want to.
I do not want to use glue on
perfect little vintage pieces like this...
just in case I want to revert her
back to her original use.
On some pieces...
that is not the case and
I'll just glue the fabric ball
in at the bottom with a glue gun.

Milly is deciding if she likes her
"new hat"...

She does...and I do too!
Now for the pins:)

I have several Pretty Pins...
these are just a few.
I decided to use the ones in the
pink package because they are
very vintage looking.
From them chose the colors that
matched Milly's hat:)
for the Sewing Pretty Pins

Here is Milly hanging out
with my record player
deciding what to play next.
Doris Day or Nat King Cole???
Hmmm...tough decision.

Will this pin look nice
on the dress that I'm planning to wear
to the Garden Club social?

I love how my Milly Pincushion
turned out and she was
so quick and easy to make...
just like this shoe one
that I've had for a while.
I love making pincushions
out of shoes as well.
So vintagey cute!

I hope you enjoyed both of my
vintage tutorials today
on this episode of the
Vintage Block Along.
Thanks for listening!!
xx
Lori

5 comments:
Milly Pincushion is gorgeous and I love your quilt background fabric.
Thanks for the fun tutorial, especially the head vase pincushion tutorial. I have several of them in a box and am going to get one out and make a pincushion. I loved that you don't glue in the cushion cause that's exactly what I would have done! Never seen the shoes. Cute too! Can't wait to buy some of your pins too...
I just love this Vintage Block series and the stories you tell about your grandmother. Plus, you have so many great tips, suggestions for notions, and extra little projects like the vintage vase pin cushion. Thank you so much for sharing your creativity with us!
I love everything you do!! I started a high heel pin cushion (that I need to finish).. just wanted to say Thank you for all your tutorials I would of never thought of the running stitch, I was just gonna hot glue it.. Great tip Thanks
Hi Bee in my Bonnet,
I saw this post a few days ago, and got intrigued with the Vintage head vases!! OMG, I am now obsessed with them. They are so awesome!! I just had to buy some off of Ebay. It's all your fault, lol!! I'm going to try making the pin cushions, too:)
I'm waiting for my Farm Vintage kit to get started sewing. I love all of your patterns and books.
Thank you.
Post a Comment