

Good morning cute people!!
We are moving right along
and are already on week nine:)
Are you ready to roll?

Grab your fabrics and your...


And let's finish up row four:)
The last block in that row
is this one...
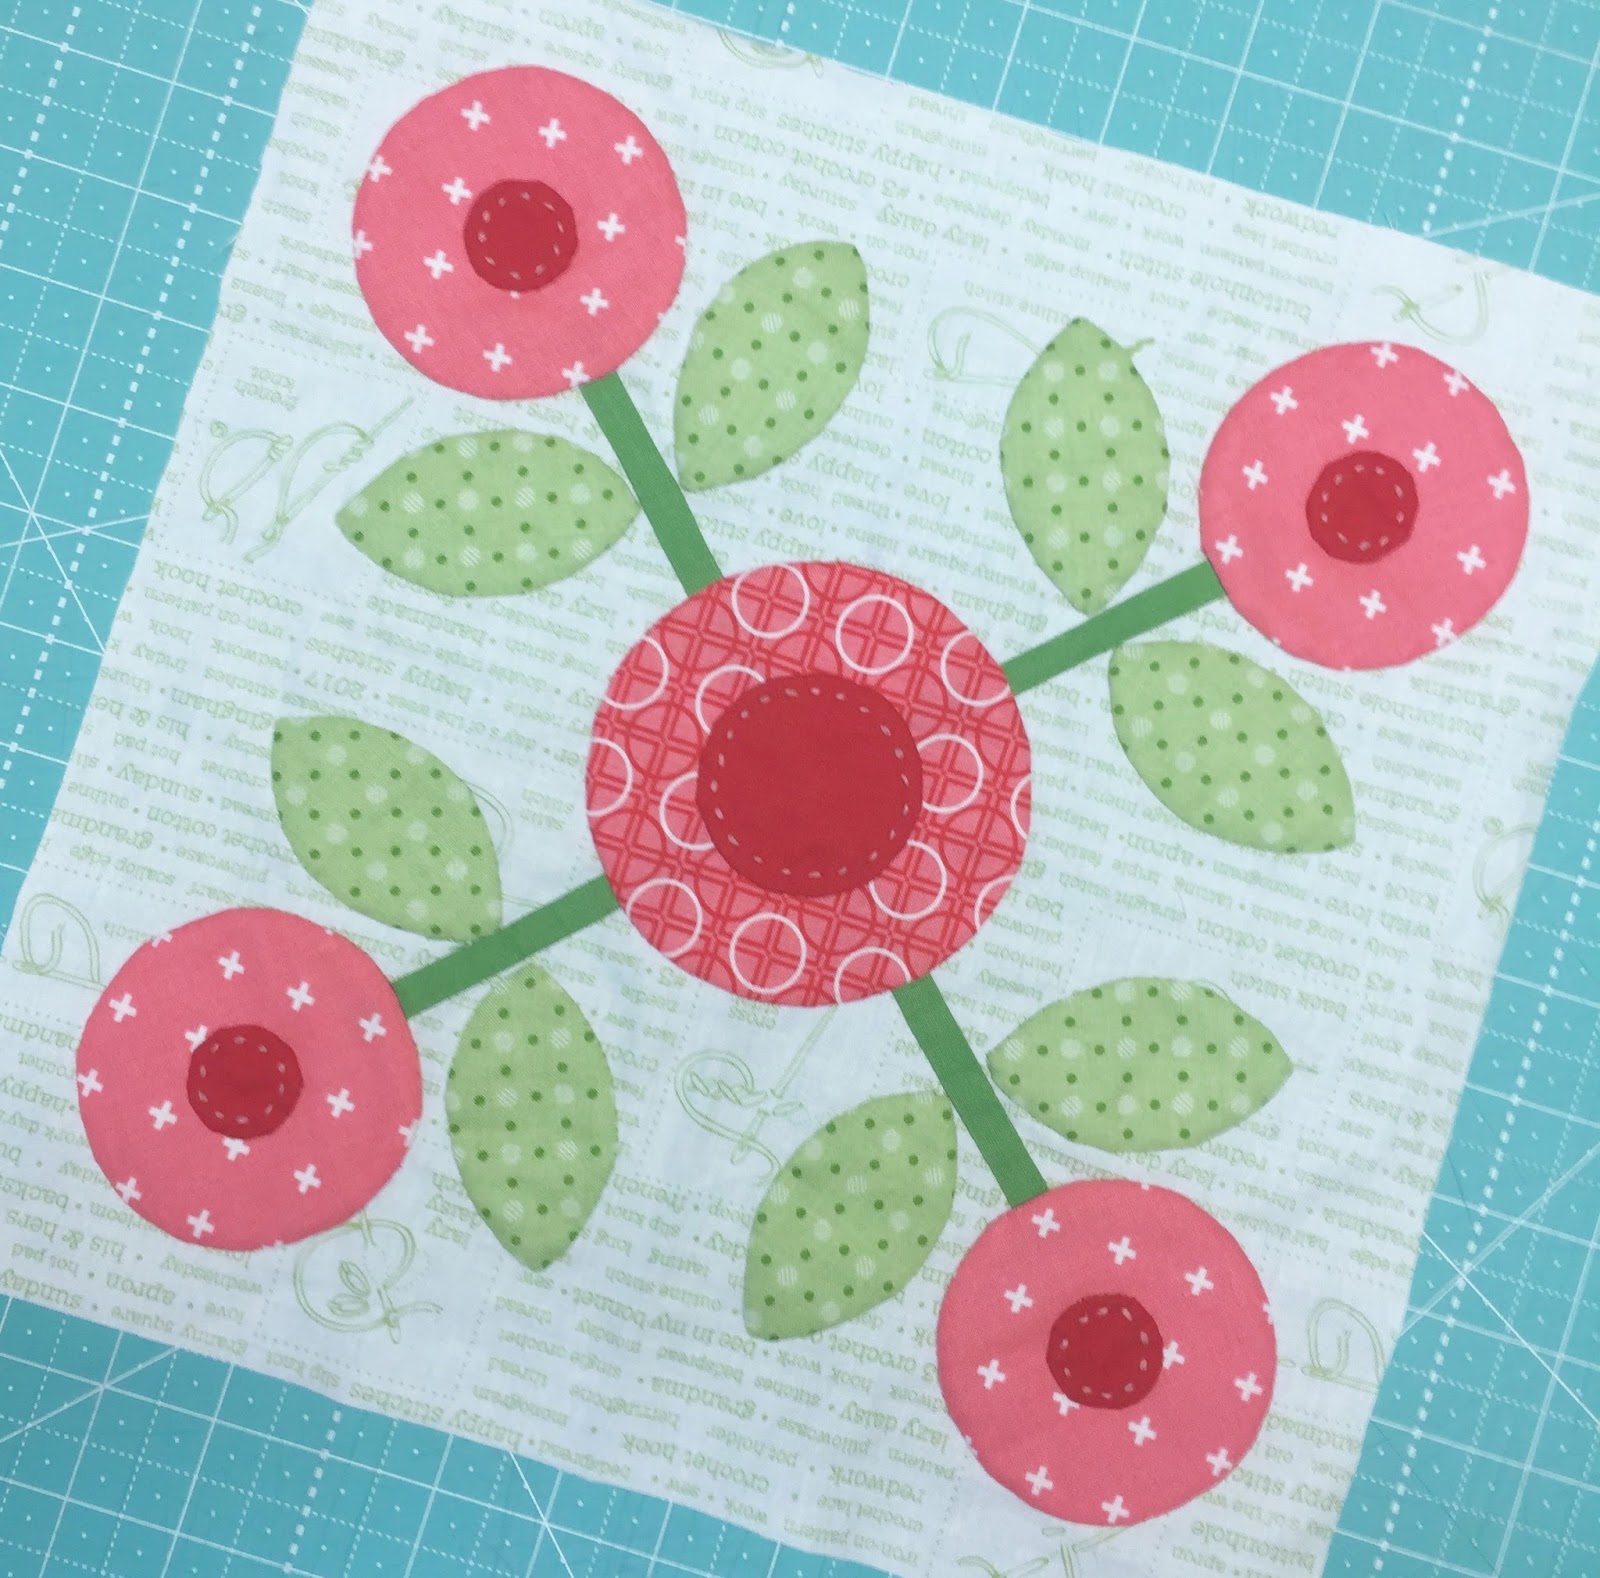
Coral Flowers:)

The Sew Simple Shapes from the set
that we will be using are:
D1 D2 D3 D4 D20
Run the 2 "Holly" solid strips
through the 3/8" bias tape maker
(remember that's the purple one that looks
a little different from the others)

Press your background fabric
in half both ways...
and then again in half diagonally
both ways as well.

Sew and prepare your appliqué shapes
using the same steps that
I have given in all of the other blocks:)

Cut your stems to measure 9" long
and glue baste right down
the center of the diagonal like this.
Next...
place the large flower right
in the center and top it
with the circle center.

The flowers measure about
1 1/8" from the outside edges after trimming.
I trimmed my block down first
to show you placement.

Make sure you are keeping
all five flowers straight
and in the correct position
by using your rulers to check:)

Pin on the remaining flower centers
and then begin pinning your leaves.
Again...
use your ruler to make sure
that they are all symmetrical.

Cute...
and ready for appliqué!!!

Use your 12 1/2" ruler when placing your pieces because after applique...
you will trim it to measure 12 1/2" square.
Use all of the center and diagonal lines
on the ruler to trim it up perfectly!

You can do your embroidery on the
flower centers before or after appliqué...
whichever is your favorite:)

Now you can add your coral flowers block
to the picnic basket and the cupcakes:)
That means you can
sew row four together...
YaY!!

Let's work on row five now
by doing the Three Trees block.

We will be using the
D4 and D13
Sew Simple Shapes
Run the widest Cinnamon solid fabric strip through the 1/2" bias tape maker and use it for the trunk in the center tree only:)
The two medium strips are for the other two tree trunks and the branches on the center tree.
Run them through the 3/8" bias tape maker.
The smallest one goes through the 1/4" maker and is the branches for the two outside trees.

After sewing your appliqués...
you will need to clip the
four cleavage areas
in the two outside trees.

Turn...shape...press!

Place your blocks for basting.
Take note that the tree on the
left appliqué lies tall and
the tree on the right lies wide.

Prepare and glue baste the trunks
and branches exactly the same
as I showed you previously
on the Two Trees block:)

Now it's time for appliqué!

Fun and Done:)
It should measure
6 1/2" x 10 1/2"
to sew into the quilt.

Just one more block
tutorial for this week...
the Pincushion Jar!
You will need D-2 and D-9
Sew Simple Shape
Run the gray polka dot
fabric strip through the
1/2" bias tape maker.

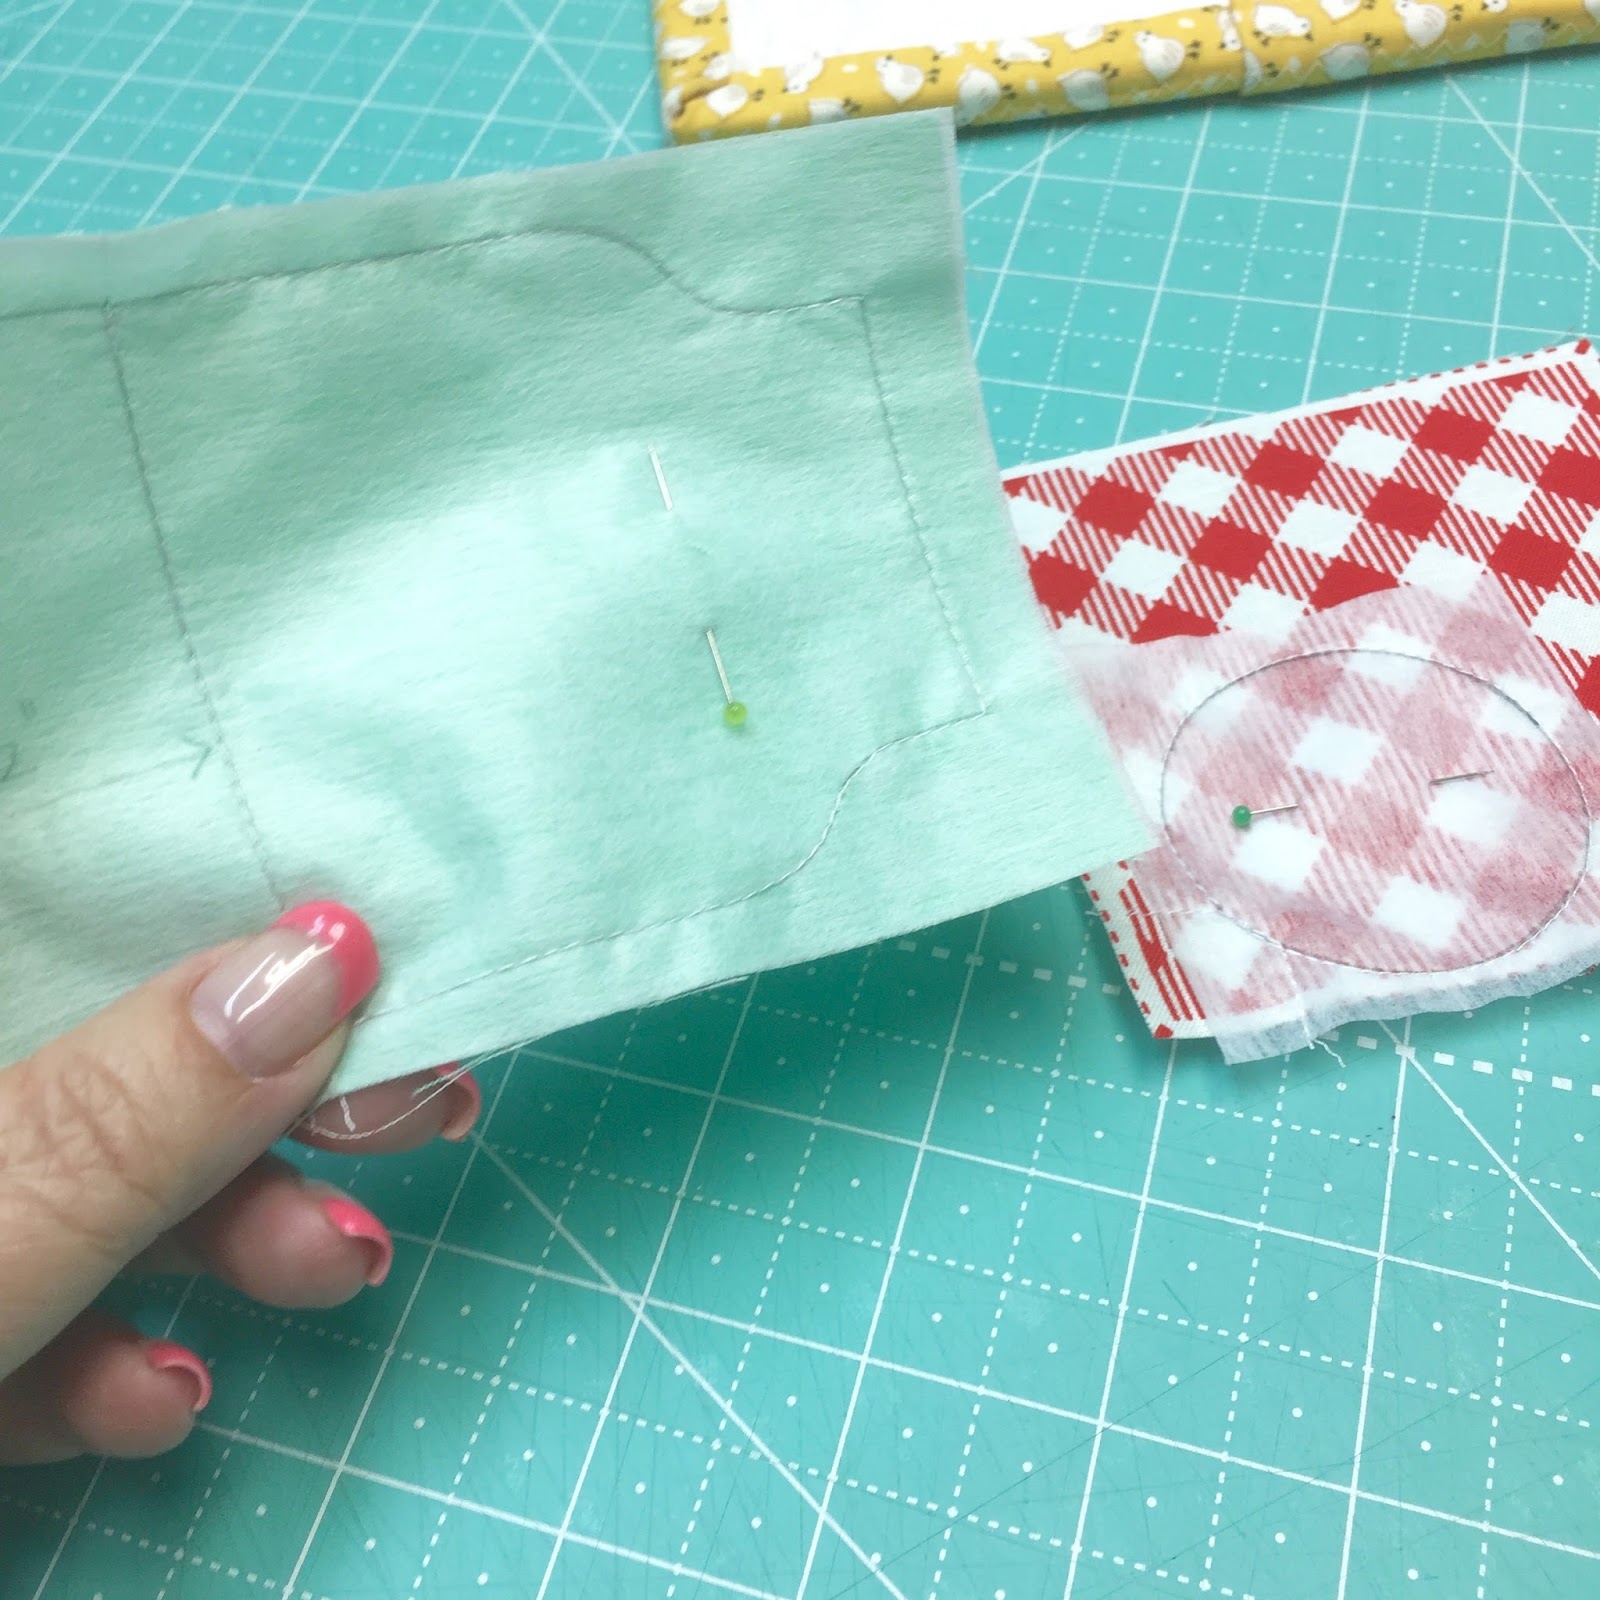
Before you sew the jar...
measure in 1 1/2"
from your bottom traced line...

Like this.
This is your sewing line
to make the jar shorter:)
Sew...

and clip the inner curves
on the neck of the jar.

Turn...shape and press.
Trace your "Bee" embroidery pattern
on and embroider it before appliqué.
I did mine first as well...
but I'm just showing you
placement photos first:)

Tuck the gingham circle underneath...

And trim off the excess for less bulk:)

Press under the bias tape ends
and glue baste into place.

Now you can trace your
pin lines on as well.
(your pincushion block should
measure 4 1/2" x 6 1/2"
to sew into your quilt)

I used 4 strands of my
Aurifloss for the "Bee"
and all 6 strands for the pins.

I used the tiniest
Cute Little Buttons
for the pinheads
from the

and the

I use my Aurifloss
to sew on all of the
buttons in the quilt...
the 20 colors match
all of my fabrics:)

After quilting photo...
looky how cute!

Now you can sew this section
of row five together.

Thanks so much to everyone
who has shown their progress on
They are so fun to see!!

If you are just getting started...
remember that there is
a link to each and every blog post
of this sew along...
right here on my blog.
Simply look on the right side bar
and scroll down to find the
Bee Happy Sew Along...
and click on the post
that you would like to read!
xx
Lori

1 comment:
Thank you Lori. Only two blocks to go!!!
Post a Comment