Welcome back to the
Vintage Block Along
Today I'm sharing another block
with you from my grandma's patterns:)

Traditionally this vintage block
is called
Tree of Life
But I'm choosing to call it
Shade Tree

Grandma had a big...
I could even say huge tree
in her yard that must have been
very old to get that big.
She always called it the shade tree.
That's where we went
to have our picnics...
to count behind during hide and seek...
for shelter from the rain
when we were playing outside
and of course when we wanted some shade.
Trees have always been important to me...
I just simply love them.
As a girl I was known to
climb all the trees
but grandma didn't want us
to climb in this one.
It was so big and tall and
she didn't want us to fall out
and get hurt...
and to be honest we would have
needed a step ladder to reach
the lower branches to climb it.
There were always birds singing
on the branches and building nests
in it and I even remember
that sometimes wild peacocks
would find their way
to grandma's tree and roost in there:)
It was always fun to watch for them
to fly out and fan their feathers.


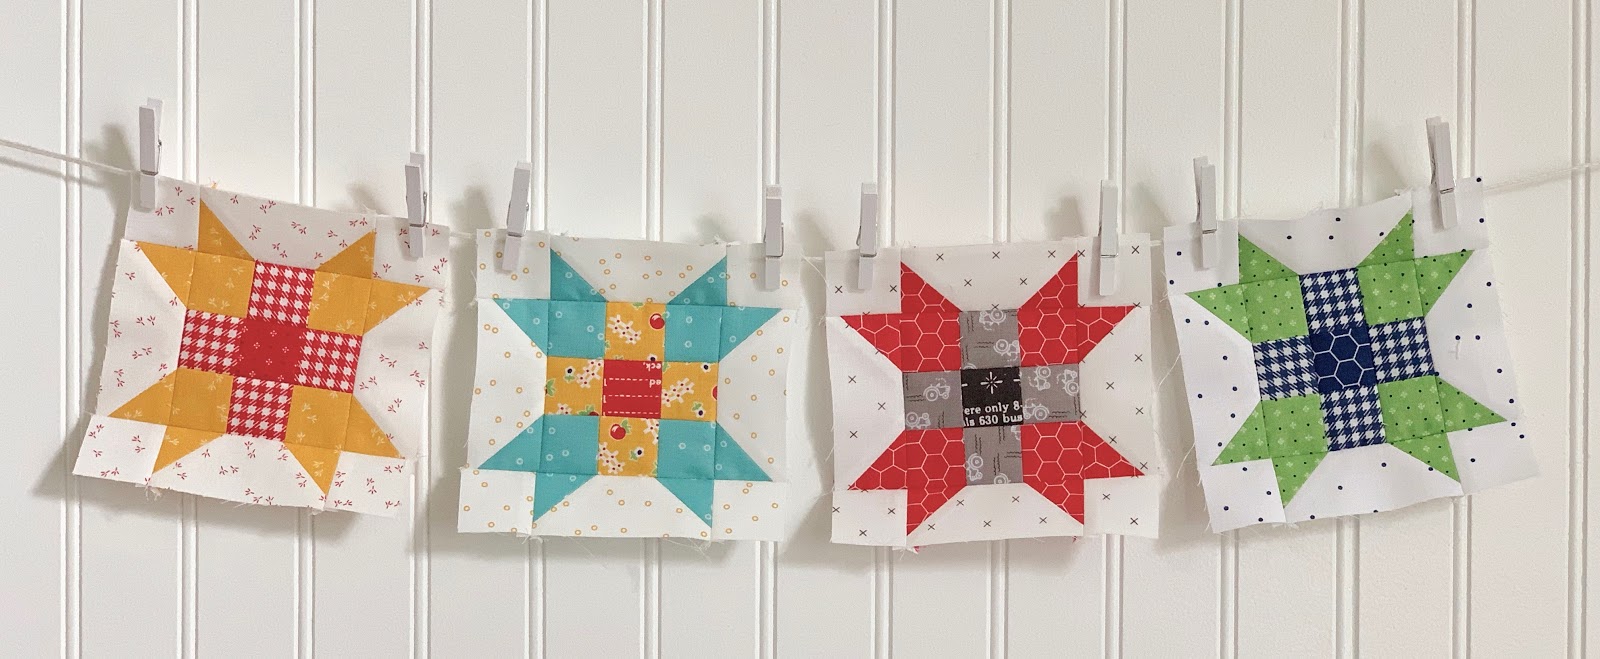
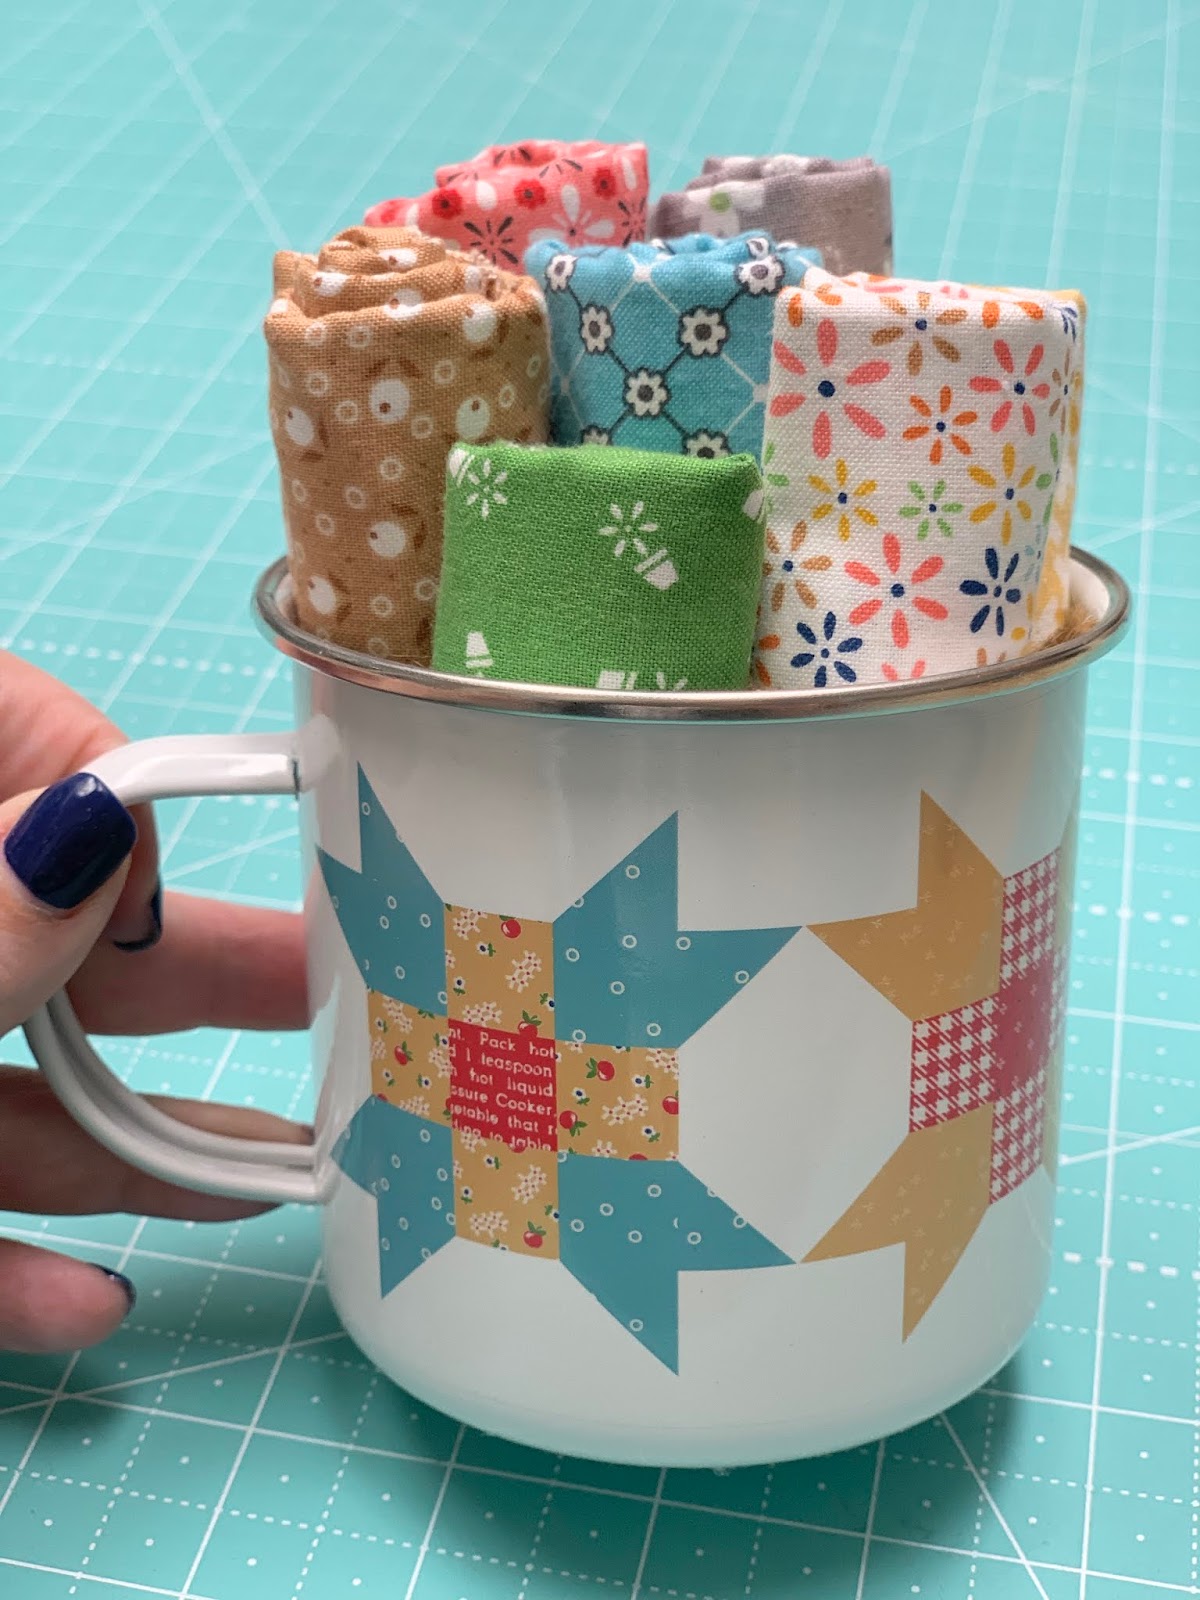
Because this is a scrappy happy block
I got to use lots of prints from
Farm Girl Vintage

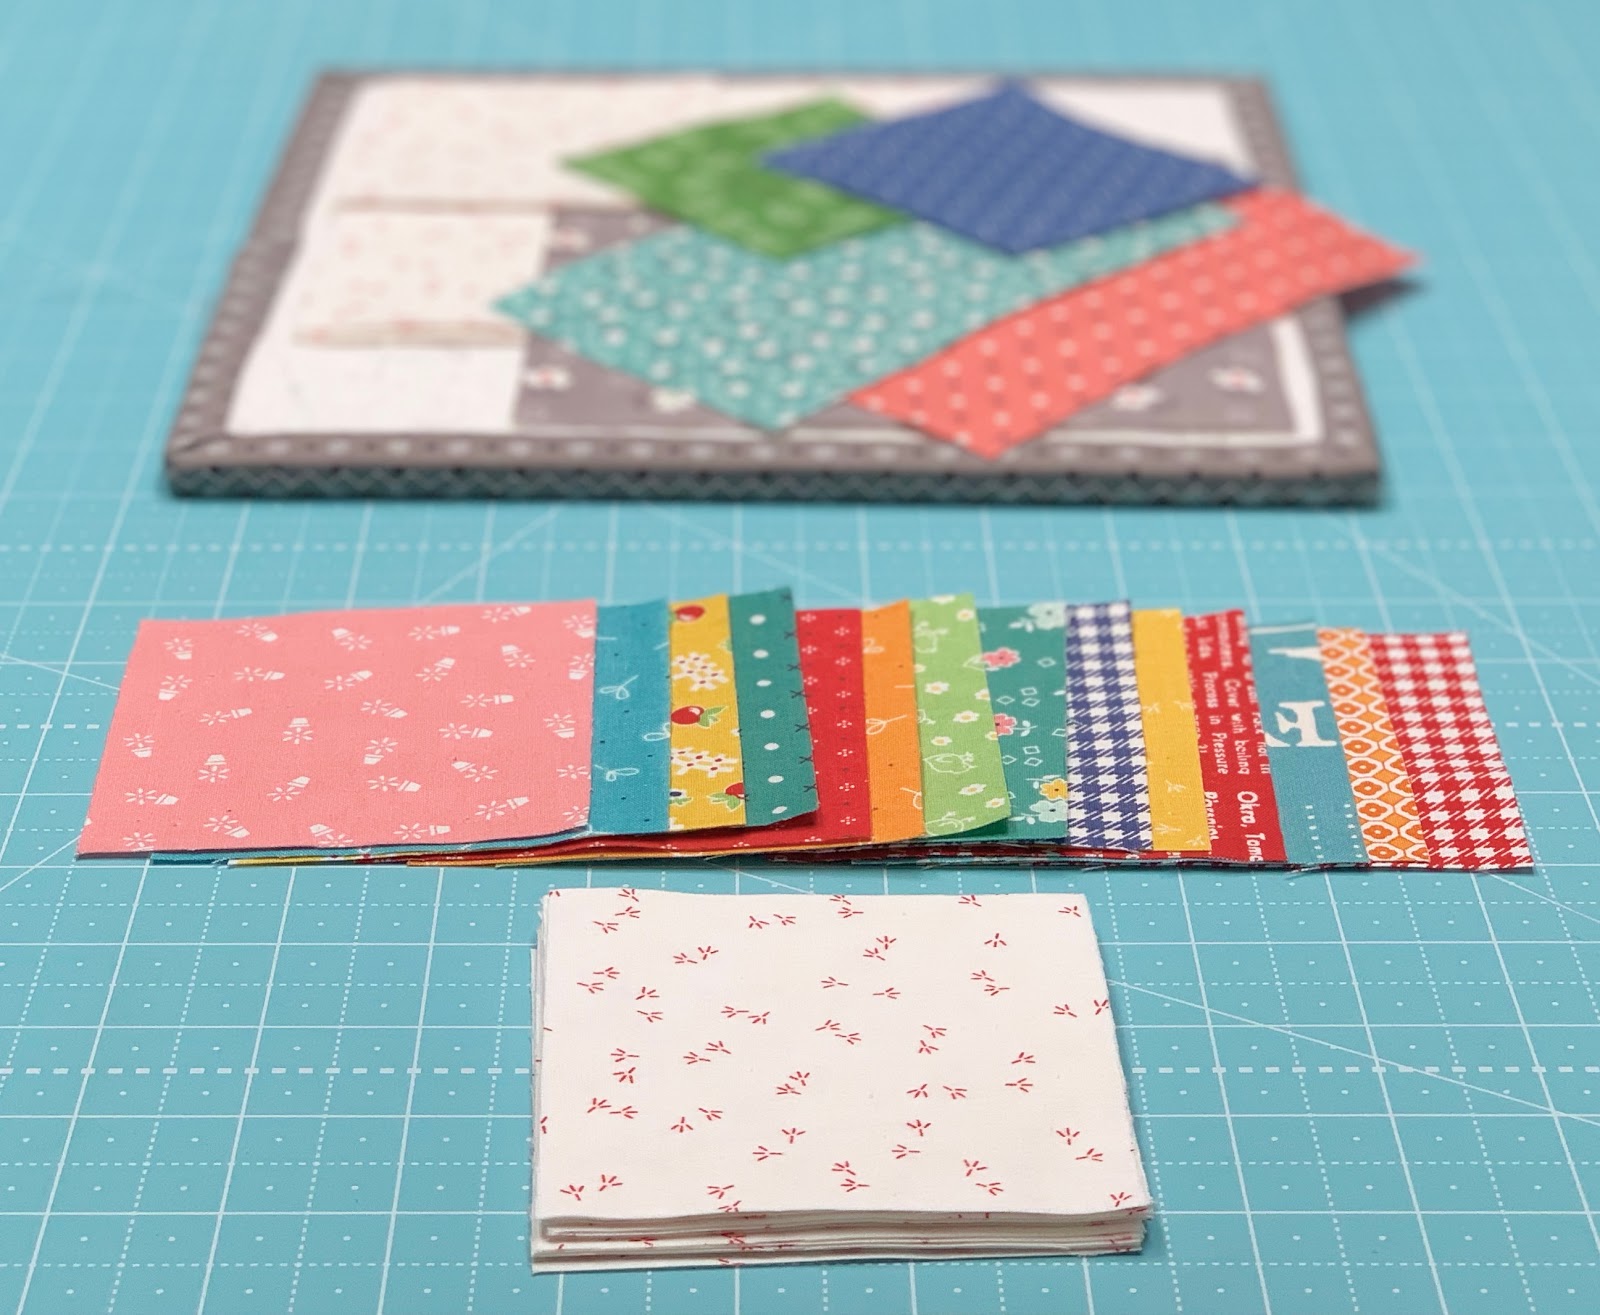
I cut 16 different 3 1/2" squares
and cut 2 - 3 1/2" x 6 1/2" rectangles
to use for all of the leaves.

From the red chicken tracks
background fabric cut:
5 - 6 1/2" squares
17 - 3 1/2" squares

From the trunk print cut:
1 - 6 1/2" square
3 - 3 1/2" squares
Begin by setting aside 2 of the
3 1/2" squares from the 16
that you cut so that
you have 14 remaining.
Grab 14 of the 3 1/2" background squares
and pair them up to make
14 half square triangles.

Mark a line or use the

Sew from corner to corner...

Trim off excess leaving an
approximate 1/4" seam allowance.
Of course I cut 1 1/2" squares
from my trimmings and added them
to my 1 1/2" scrappy squares bin.
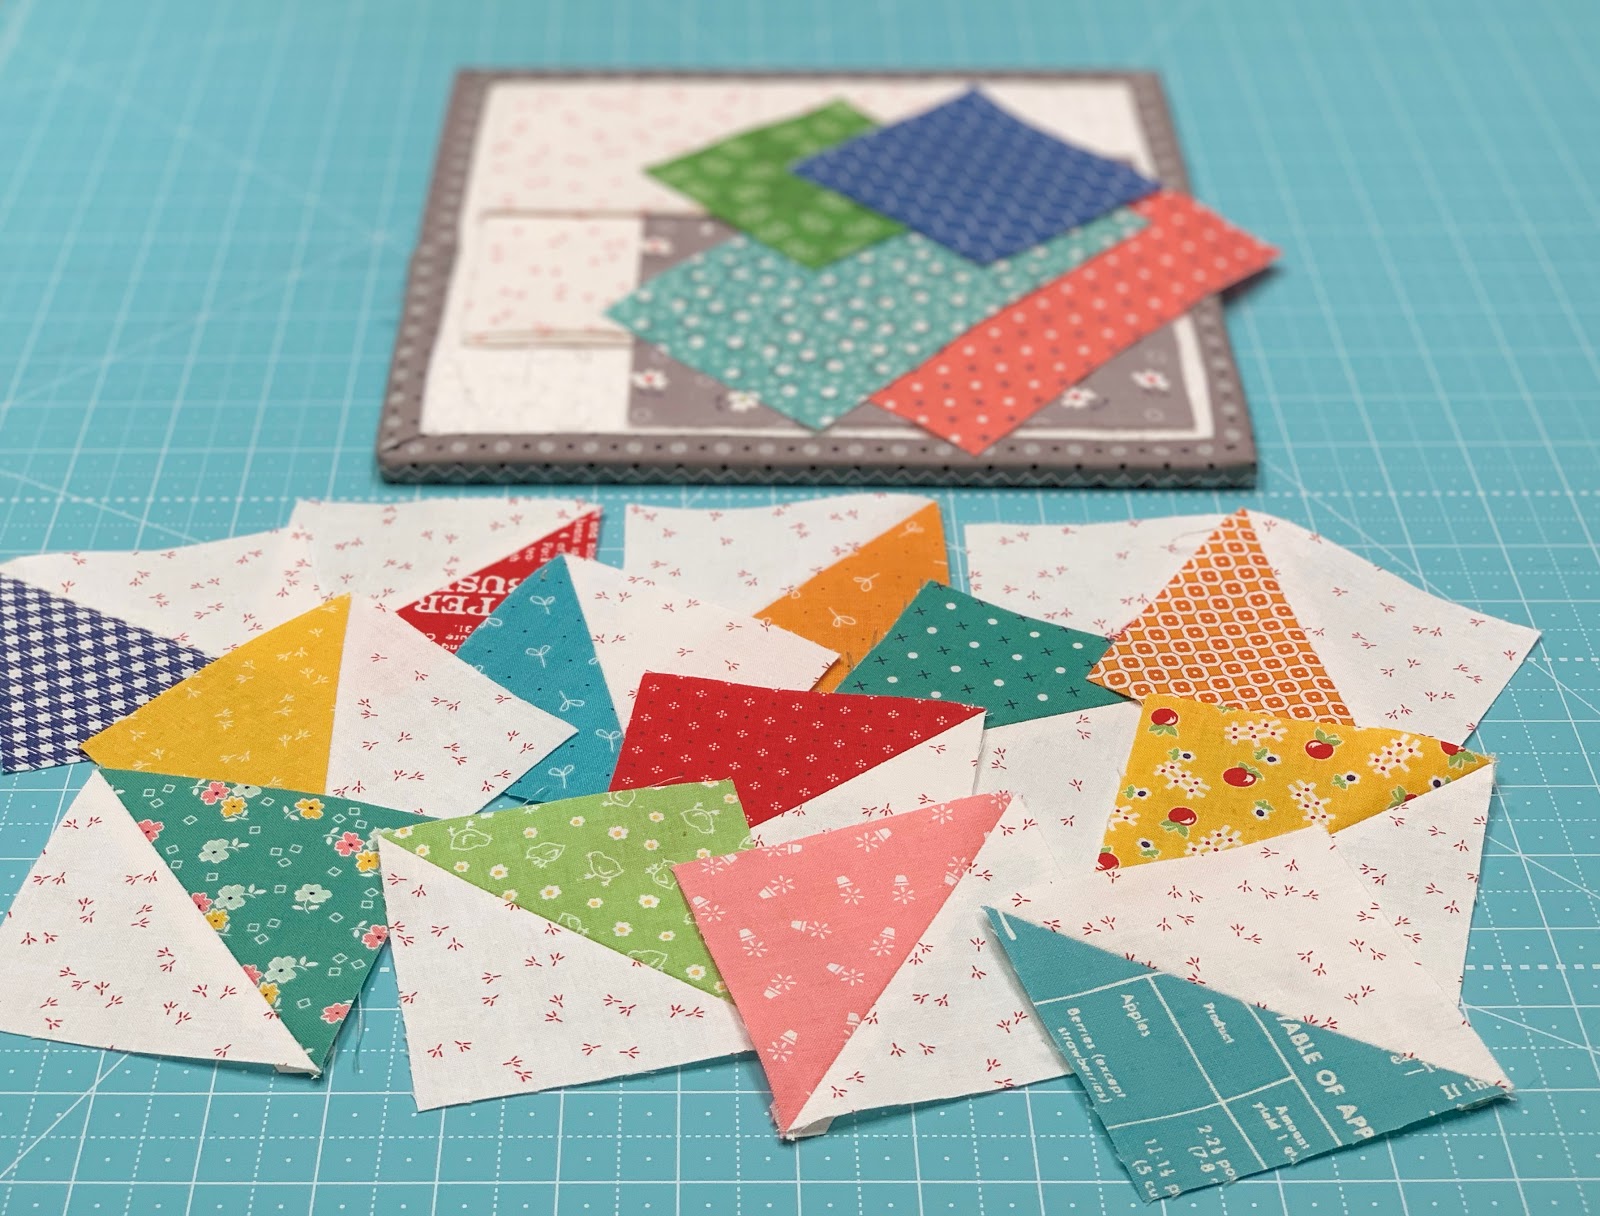
After pressing open...
you should have 14 half square triangles
that measure 3 1/2" square.

Now take one of those half square triangles...
and one of the 3 1/2" squares
that you set aside and
one of the 3 1/2" x 6 1/2" rectangles.
You will sew them together like this...

And grab the remaining
rectangle and square...
along with another half square triangle
and sew another
segment together like this.

This is what your two segments
should like like.
They should both measure 6 1/2" square.

Mark a line from corner to corner
on two of the 6 1/2" background squares.
Lay them on top of these
two segments and sew a big
easy corner triangle onto each one....

Like this:)
Trim and press.
Set these aside and
let's make 4 more segments fo the tree.

Use the 12 remaining
half square triangles and
3 background squares and
one trunk square to make
these four segments.

Each of the 4 segments should
measure 6 1/2" square also.

Now take 2 of the
large background squares and
2 small trunk squares...

And sew an easy corner triangle
onto each one like this.

Make a large half square triangle
from these 2 remaining squares.

Mark a sewing line onto
the wrong side of the
background square first.

Trim off excess
(and cut into squares)

And press open.
This should also measure 6 1/2" square.

Now all of you segments are completed
and you can lay them out like this...

And sew your Shade Tree block together!

Here's the back of mine:)

YAY!!
You grew a tree!

SHADE TREE
should measure 18 1/2" square
before we sew it into our quilt.

I really wanted to make this block big
to represent Grandma's tree:)

Thanks so much for chatting with me
about my grandma this week:)
Come back next week
for another of
grandma's vintage quilt blocks!
xx
Lori
If you are just joining us...
click on each block that we have
done so far to go to the tutorial:
5. Rhinestone
6. Vintage Lily
7. Star Shine
8. Humble
9. Egg Money
10. Quilting Bee
11. Sunday Star
12. Sweet as Honey
13. Bear Hug Block
15. Memory
16. Farmers Daughter
19. Picnic
20. Sparklers
21. 4th of July Flag
22. Playing Card
23. Penny Candy
24. Mercantile
25. Family Reunion
26. Parade