

Good morning cute people...
it's time to sew vintage today!

I'm sharing another
vintage quilt block with you
from my grandma's pattern basket:)


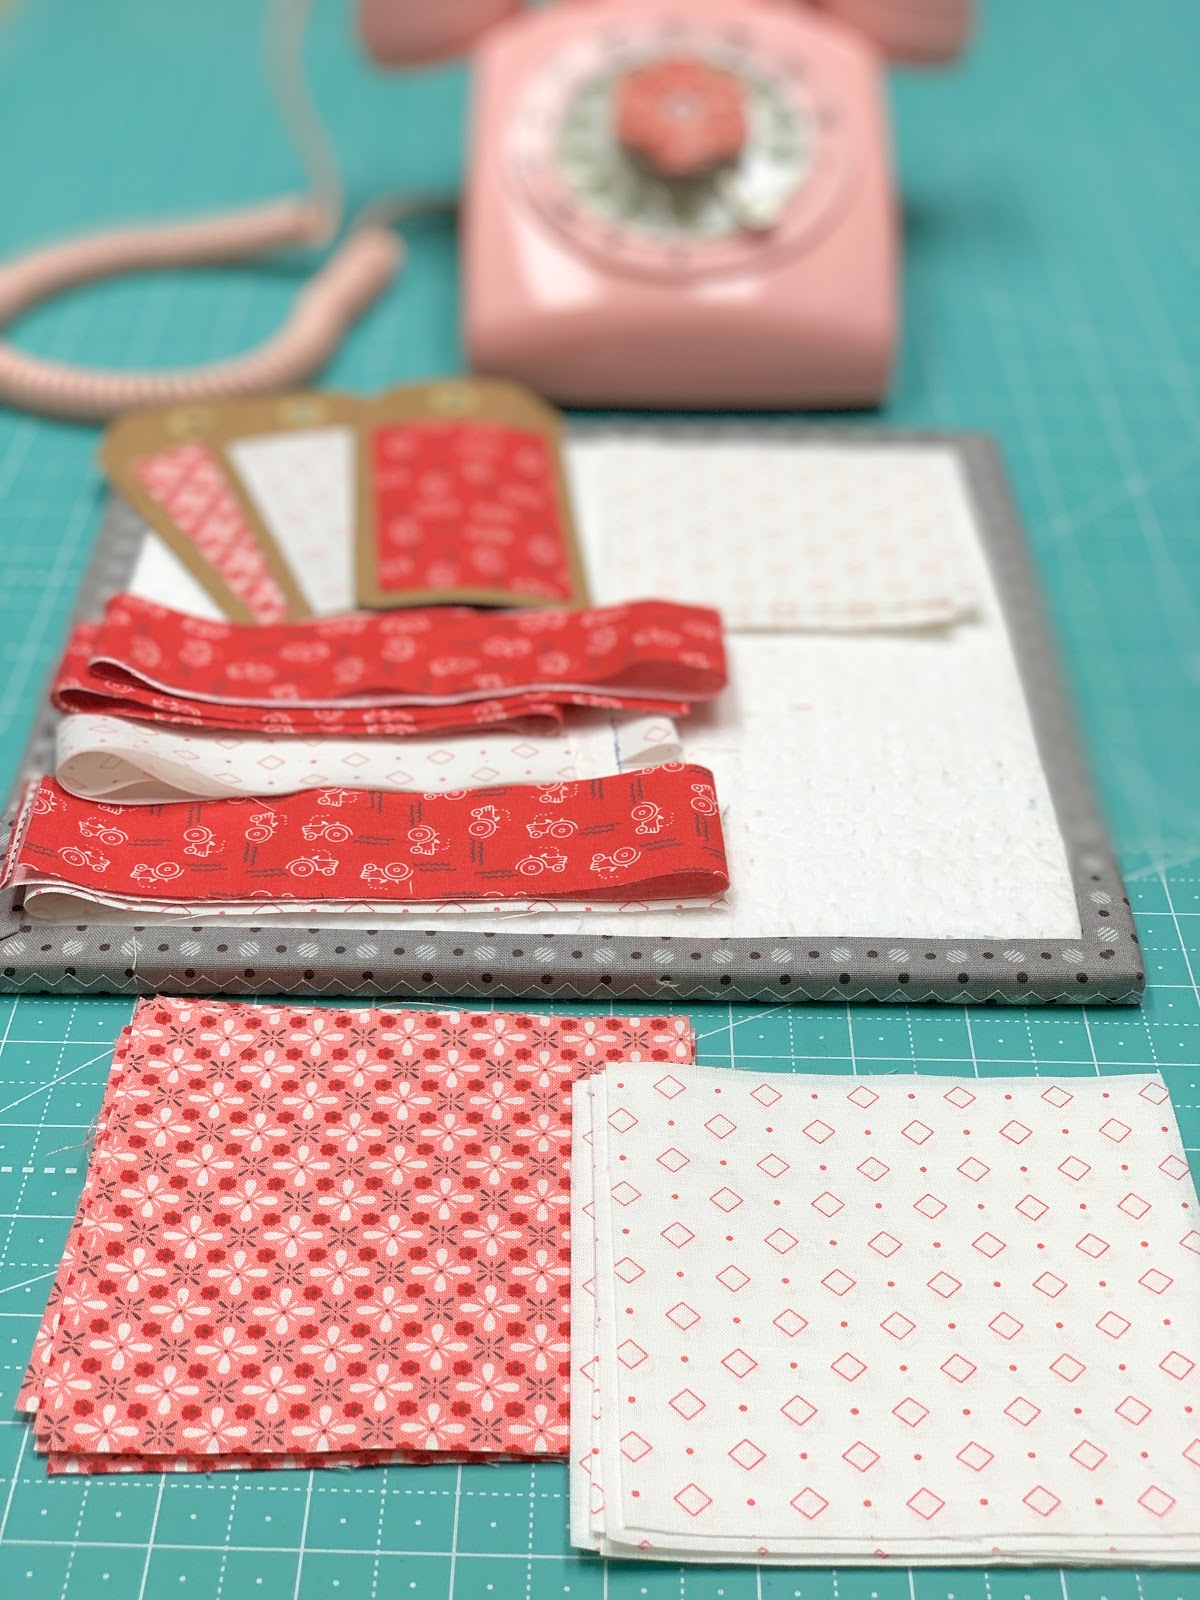
I chose a red and a coral pink from
Farm Girl Vintage
to use for todays block:)

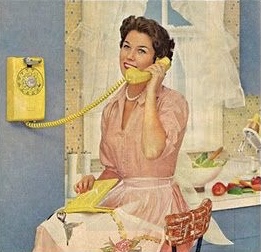
I added the pink vintage phone
in the photo ...

And the pink thimble...

And I'm going to explain
what these two things have in common
and why I'm calling this
traditional vintage block
"QUILTING BEE"
Of course you know by now
that my grandma and all 5
of her sisters were quilters.
Anytime that there was a special occasion happening
in town like a wedding
or a baby announcement...
well of course that meant that
it was time to make a quilt!
Many quilt tops were already completed
by grandma and my aunts
and were just waiting
for the right occasion:)
Grandma would get on the phone
and let everyone know when
the quilt would be
"on the frames"
Of course living in a small town...
back then we were all
on a party line and so the word
would spread quickly and within
a day or so the
Quilting Bee would begin!

Everyone showed up with
their own needles...thimble and scissors.
I love seeing everyones
"sewing kits"
And I still love sewing kits
and containers to this day!

Of course everyone also brought a
covered dish for the potluck:)
It was my grandma that most often
organized the quilting bee because
it was at grandma's house or at our house.
Both of our front rooms were situated
so that you could walk around the frames
and also have easy access to the kitchen.
Because the quilt remained on the frames
for several days until it was completed ...
it was important to be able
to get around it:)

I just love rotary phones:)
This pink one is just like the one
that was on grandma's kitchen wall.
She had a pink desk top
rotary on her bedroom side table.
I mentioned that we were on a party line
when I was a girl...
and most of the time you had to wait
to use the phone because when you
picked it up someone was already on there!
We would sigh and roll our eyes
when we recognized the voice of
certain people because we knew it would be
a while until we could make our call lol.

This is what the phone on our
kitchen wall looked like.
It had a super long cord.
Most of the time when mom was
on the phone she held it up to her ear
with her shoulder because she would be
doing the dishes or cleaning
the kitchen or baking.
When we wanted to go downstairs...
we had to go through the kitchen and
that meant we needed to
lift up the cord and go under it.
But obviously to "some" of us kids
it was an invitation to play jumprope
and if we missed our jump...
the phone would be
suddenly snatched away
from moms ear...whoops! lol

Anyhoo...sorry I was so "chatty"...:)
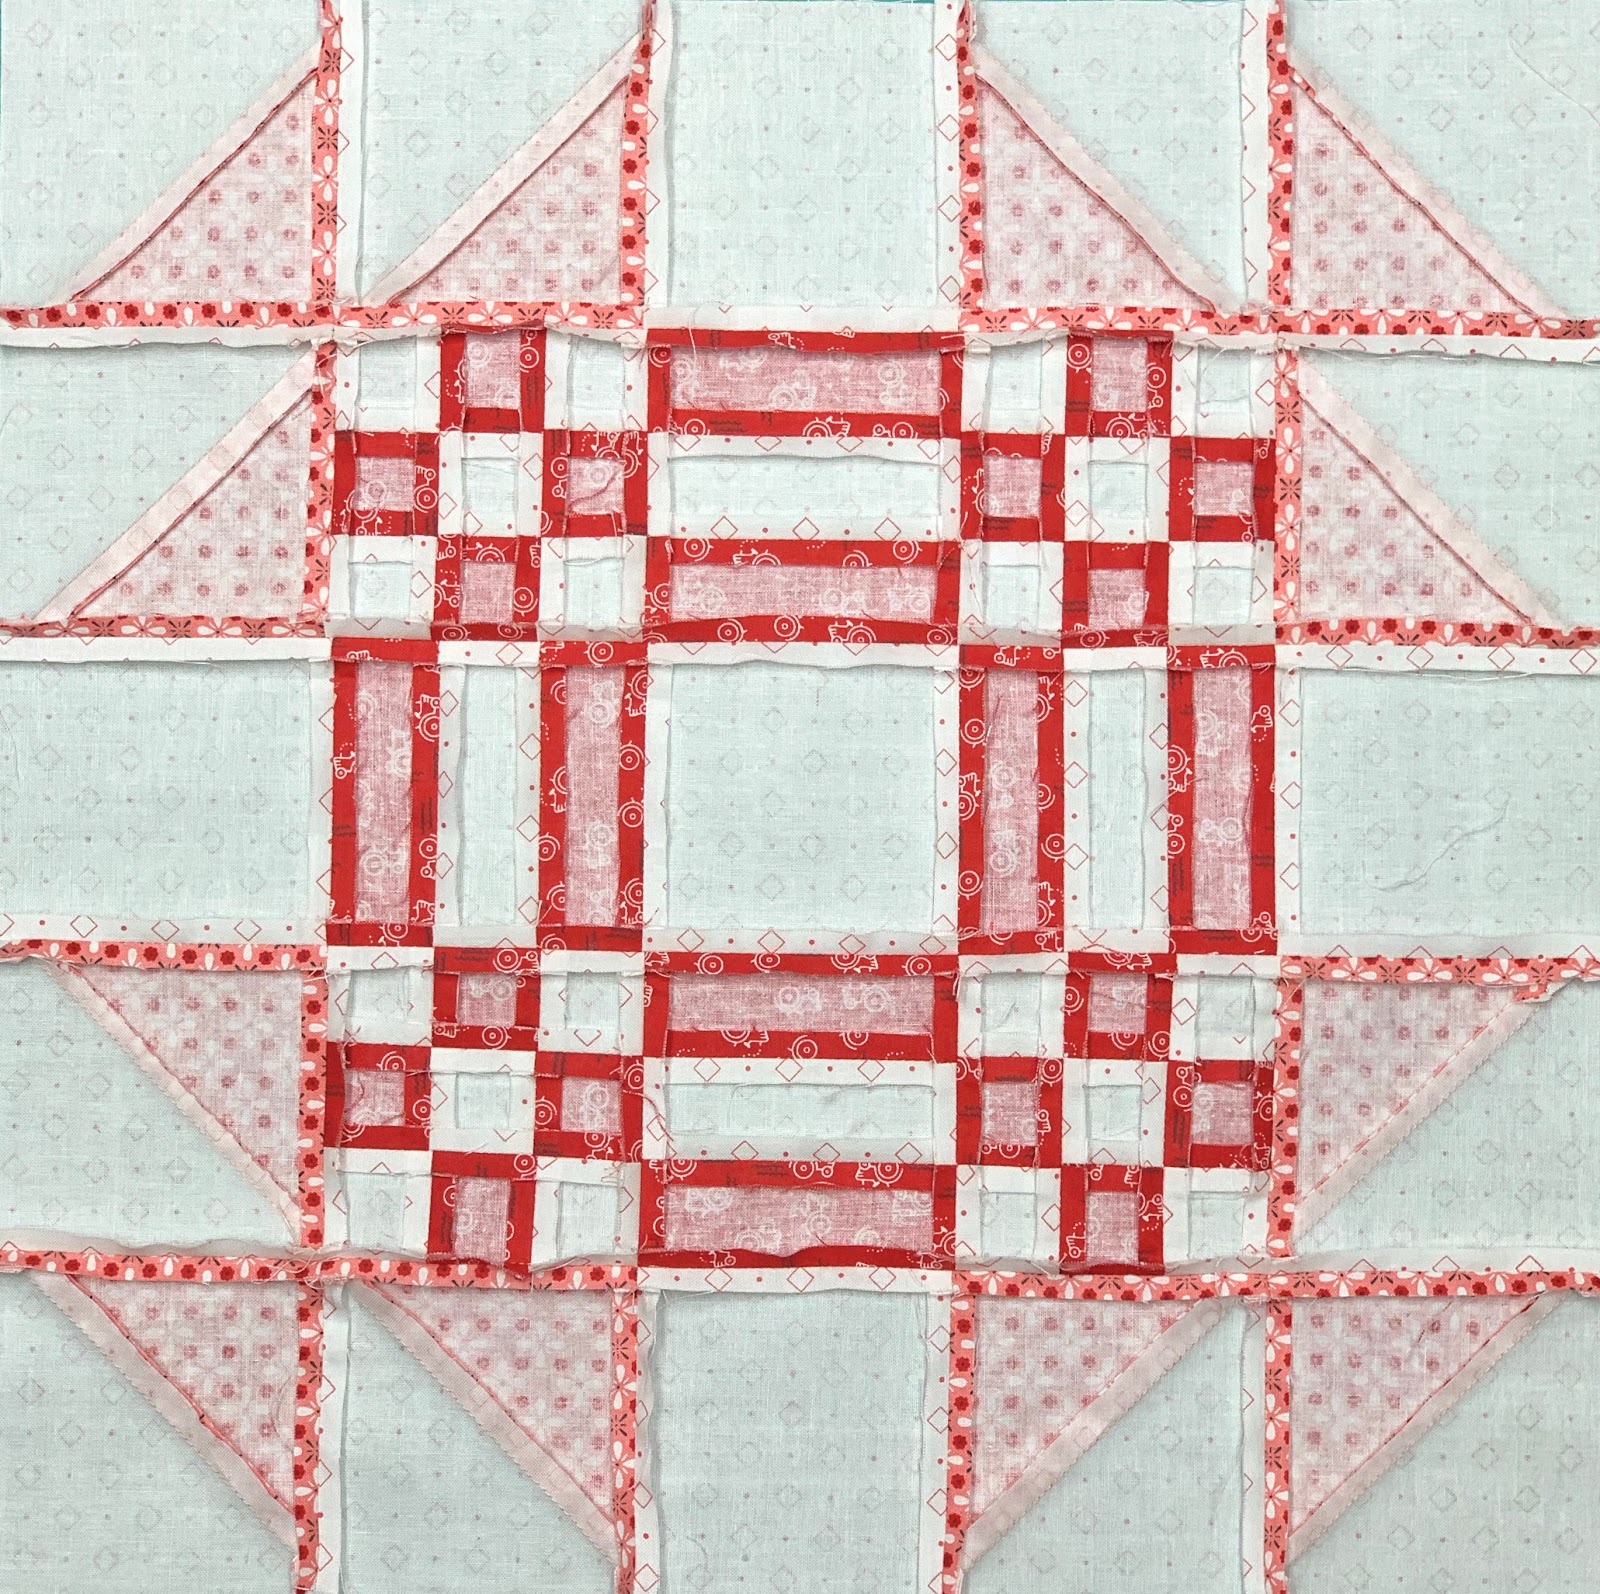
I named this block Quilting Bee
because I think the red center looks
like a quilt and the coral pink triangles
represent all of us
sitting around the frames
and quilting and talking and laughing:)
That's how I grew up!
First...playing under those frames...
threading needles for grandma and my aunts...
until I was old enough to
put my own stitches into the quilt:)

Okay...enough of the vintage memories...
let's talk about todays tutorial.
If you know anything about me...
you know that I love to sew scrappy.
That's how grandma did it.
She did it out of necessity...
I do it out of the simple pure love of
fabric... color... and prints!
Scrappy patchwork is my favorite:)
This photo is from my
Scrappy Project Planner
and it's a photo of my
scrappy stash baskets that I sew from.
To watch this video if you want to
see my sewing room and how
I store my scrappy stash.

Whenever you see photos of my
scrappy sewing you can bet all of the fabrics came from those baskets.

I usually buy fat quarters or half yards
and then cut them into the strip sizes
that I use most often...
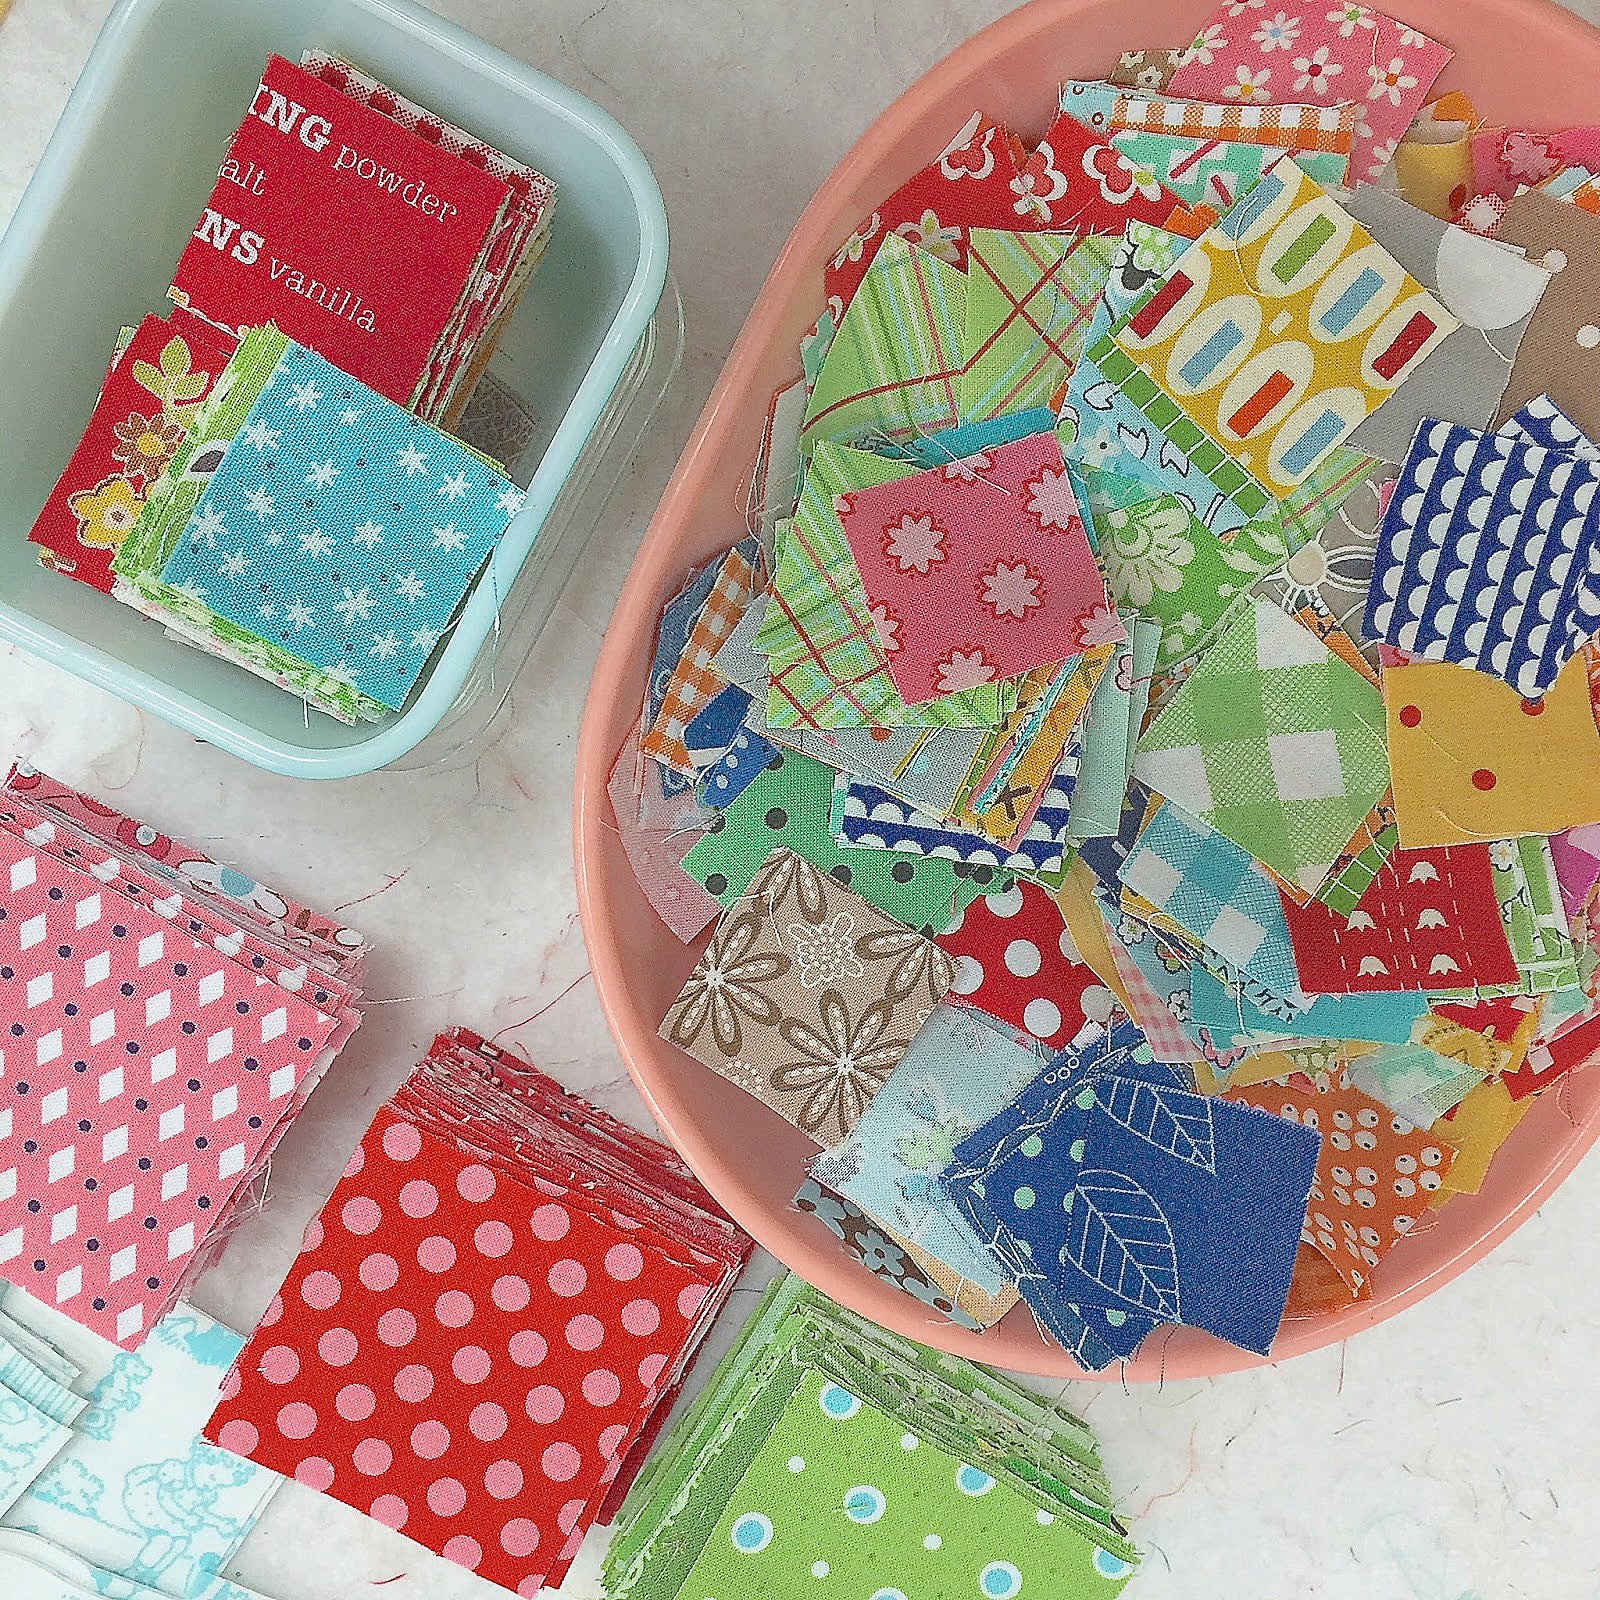
And from those strips I can
easily cut squares or rectangles
or whatever shape is needed.
I have sewn all of the
scrappy projects for my
books from my baskets:)

I love my method and have done
tutorials and blogged about it...
taught workshops about etc.
It works perfectly for me
and I continue to sew in this way.
I outlined my complete how and why method
in my Scrappy Project Planner
that has been out for quite a while
and I still use it everyday as well.
It has many different sections in it...
along with scrappy quilt patterns too.
if you want to know more about it.

This is a photo from one
of my pages last year....

But what I especially want to
show you today is this section
where my scrappy method is and also my
"short cut methods"
for making popular quilting segments
like half square triangles...
flying geese etc.
I'm telling you about this today because
I'm going to use my
half square triangle method
from my planner for the
Quilting Bee Block tutorial.
There are so many ways to
piece a quilt block and I wanted to
show you an example of that.
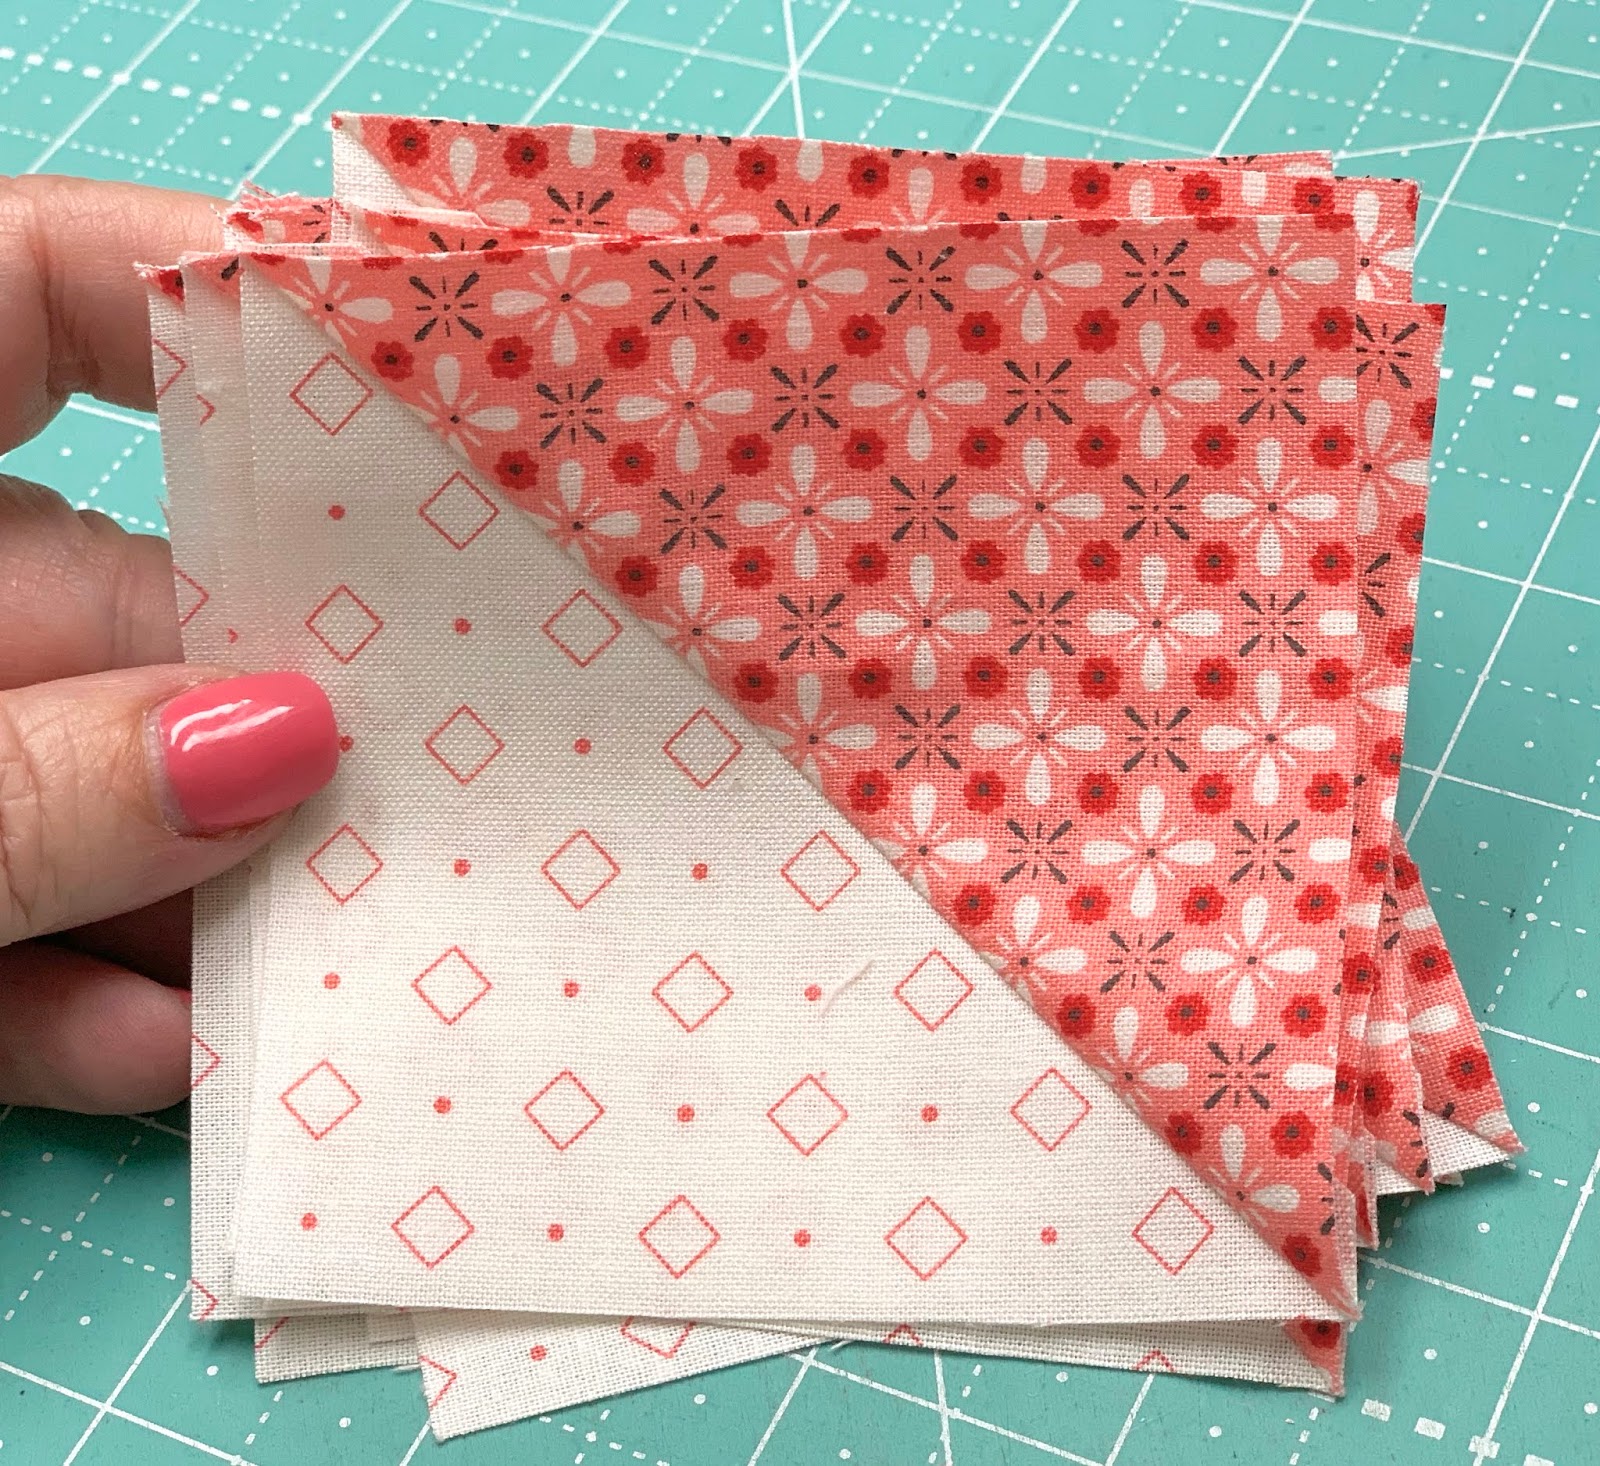
So far I have had you cut 2 squares
that results in 1 half square triangle.
This time I'm going to show you how
to cut 2 squares but get
TWO half square triangles.
Sew...on to the cutting!

From the background cut:
6 - 4 1/2" squares
5 - 3 1/2" squares
3 - 1 1/2" x 20" strips

From the medium print cut:
6 - 4 1/2" squares

From the dark print cut:
3 - 1 1/2" x 20" strips
Let's make the half square triangles
first using the short cut method.

Mark two lines 1/2" apart onto the
back of the background square
and pair it up with a print square
with right sides together.
You will sew on both marked lines.
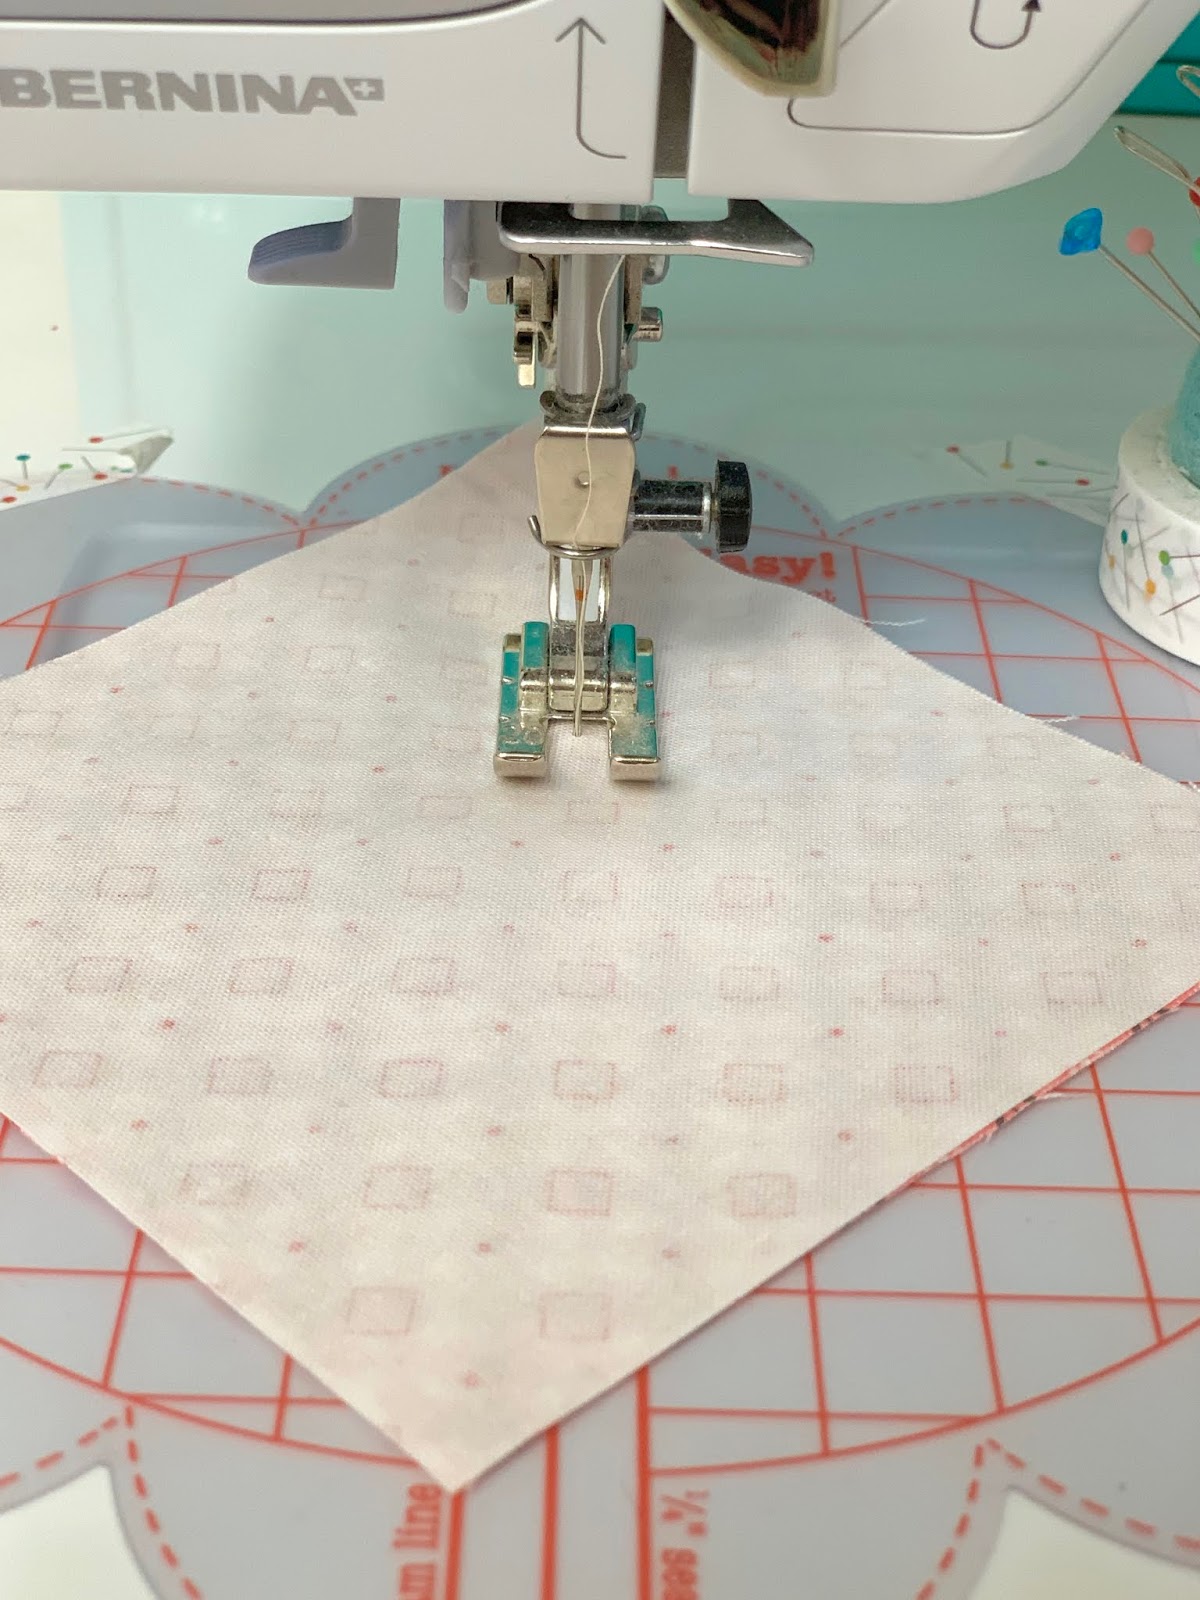
Or you can do like I do and instead
of marking lines I just place the point
of the squares on the line to the left of my
and follow it while sewing...

And then flip it around and
sew the other seam.
Because the lines on the guide
are 1/4" apart...
I automatically have 2 seams
sewn 1/2" apart without marking:)
Easy Peasy!

Cut them apart like this.

Grab a 3 1/2" Trim-It Ruler
and lay the diagonal line on
the ruler directly onto
your stitching line like this...

And trim all the way around
holding the ruler in place and
turning the Cute Cuts mini mat
as you go.

Press it open...
and repeat for the other one.
You now have two half square triangles:)

You could also press first and then
trim like this...
but I find it faster to trim first
before pressing open.

Continue trimming up for all
12 half square triangles.
They should each measure
3 1/2" square at this point.
This method causes some fabric waste
just like the one I have been
having you do before when you
trim off one half and discard.
The only difference is ...
the shape of the waste!
You could cut triangles and
sew them together and
there would be no waste...
but that is cutting and sewing
on the bias and is very difficult
to get accurate.
I would rather have easy cutting and
a little fabric waste and be accurate...
as well as enjoy my sewing!!
You of course are free to do
any method out there that you like best!

Okay lets work with the strips now.
Sew a 1 1/2" background strip
onto each side of a print strip.
Press your seams open for
accuracy and less bulk.
Measure in 1 1/2" and cut.

Do this 8 times for 8 segments
that measure 1 1/2" x 3 1/2"

Now sew two print strips
onto each side of a background strip.
You will need to cut
4 - 1 1/2" x 3 1/2" segments.
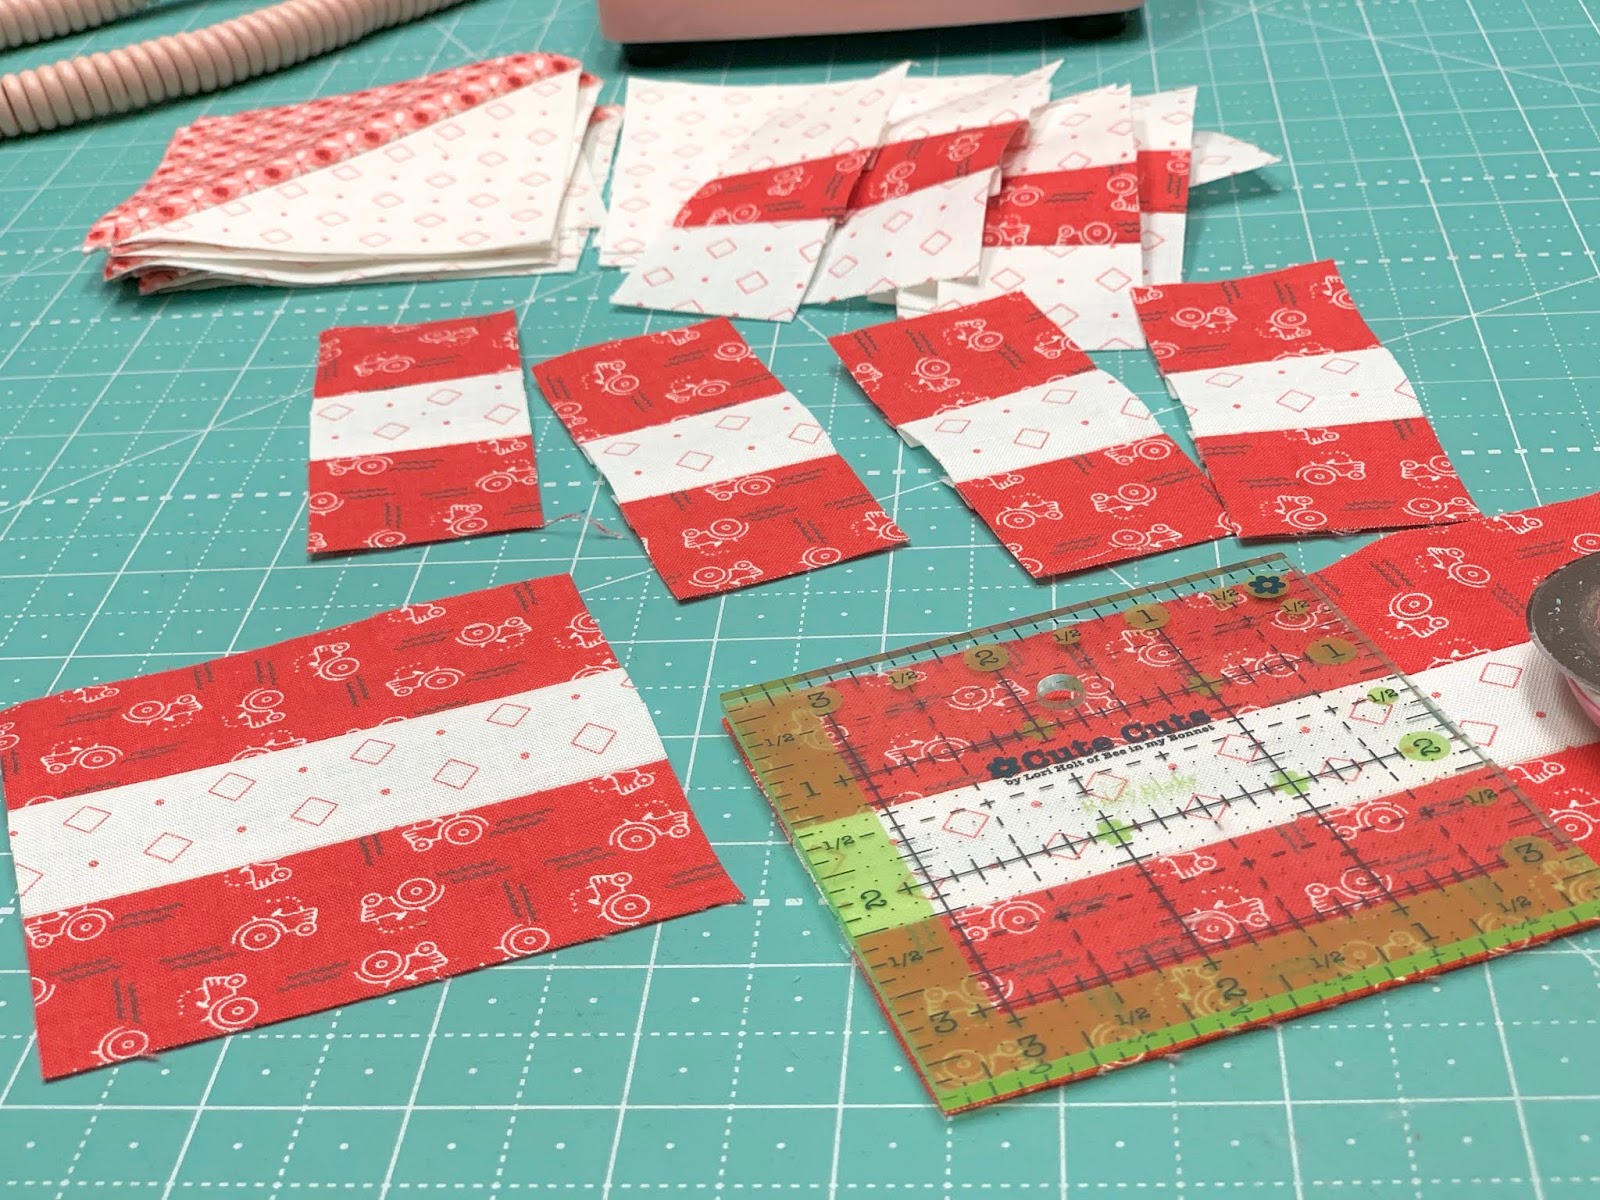
You will also need
4 - 3 1/2" x 3 1/2" segments
that look like this.
I had you cut an extra set
of strips in case you need it:)

All of you segments are almost ready
to make your Quilting Bee Block!

First you will need to
sew the strips together
into 4 nine patch blocks like this.
These four segments should measure
3 1/2" square at this point.
come in handy when piecing
to line up the seams perfectly.

Just giving you another option:
If you wanted to cut
all of these squares separately
instead of using the strip method
you would cut each square
1 1/2" x 1 1/2"

You would cut each rectangle
1 1/2" x 3 1/2"
and sew them together.
You would cut 2 squares
3 1/2" x 3 1/2"
and sew them together to make
ONE half square triangle
like I have been showing you
in my other block tutorials
in this series.

Of course...the other 5 background
squares would still be cut 3 1/2".
I'll continue to show you how to cut
in this simple way that
I have been doing from the beginning
for the remaining block tutorials.
Today I just wanted to tell you about
my shortcut methods that I use
in my Scrappy Project Planner
so that you could choose.
I always use those shortcut methods
when making several blocks
at a time for a quilt or runner...
but when I'm just making just
one or two blocks...
this simple cutting and sewing is
the way that I love the best!

Lay your segments out onto
your design board like this.
There are 5 rows to sew across.
After sewing those...
sew those 5 rows together
to form your block!
Here is the back of mine
in case you want a peek:)

I LOVE this block!!!
I have so many fond memories of
sitting around the quilting frames with family and friends.
Perhaps this corner of my block can
represent grandma.
I miss her so!!
QUILTING BEE BLOCK
should measure 15 1/2" square
before we sew it into our quilt:)

If you are just joining us and want to sew vintage blocks with me...
click on each block
that we have already sewn
for that tutorial:
5. Rhinestone
6. Vintage Lily
7. Star Shine
8. Humble
9. Egg Money

Thanks so much for chatting with me
today on our own
Vintage Block Along Party Line...
and for sewing vintage!
I'll be back next week
with another vintage block
to share with you:)
xx
Lori

P.S. Inside of my book
I have a block pattern for
a vintage rotary phone...
just in case you feel
the need to sew one:)

It looks like this and there are
instructions for both a 6" and a 12" block.
I'm making an entire quilt
out of the 12" size in all
different colors and calling it
"PARTY LINE"
I'll show you someday when it's finished!

11 comments:
Another beautiful block - and I love how you break it down into simple-to-understand segments. Love, love your tutorials!
Also, so enjoy your 'chattiness' and the memories you awakened with the party-line stories. Wonder what the present generation would do, not just without cell phones, but back to 'sharing' the one and only phone in the house with a few neighbors. Those were the days :)! I need to make a quilt with just telephone blocks on it now too.
Cute block and love your story. I smiled about the party lines. I remember that happening and always wanting to listen in, Mom would get mad 😡 at us. I had a pink princess in my teens that I was so proud to have and it was in MY room. Pretty special. Now up to sew my block. Fun sew along Miss Bee! 🧵✂️🧵
This is a great block! What makes it so special are your memories! I could see this block being very scrappy and a whole quilt made up of them. Thanks for sharing!
I love your stories of your Grandma and family! Cute block also!
I love this block....I've always known it as Goose in the Pond but I love your choice of name too. Many moons ago I used to teach a beginning rotary cutting and piecing class in which I used this block. It had many of the basic piecing units in it, a rail fence, nine-patch, half-square triangle, and plain block. This block brought back many pleasant memories. Thanks.
Another block and story to LOVE! Yes, the party line story brought back lots of memories, as did the sweet stories of your Grandma's quilting bees! I can see where you get your energy and sense of color! Love it that your Grandma had a pink phone! Might be a rotary dial quilt in my future too, but first...that beautiful Quilting Bee block!
Thanks again, Lori!
I am loving these blocks and the stories that are behind them. Some I can relate to. Like the rotary phone with the long stretched out cord. I am enjoying making them and sewing along with you. I love all that you do your quilting, cross stitch, tutorials blogs, books. I have all of the farm girl vintage blocks almost made I have two more to do and then will be putting that together. Thank you so much you are an inspiration to me. Mary
My gosh, this post took me back to my grandma's when she had the party line. As kids we thought it was fun to eaves drop on conversations. I miss my grandma too. She just passed away in January at age 96. She was a wonderful human being! Miss her homemade meals especially her fruit pies!
Loved your story of the quilting at your grandma's and mom's. It painted such a nice picture. Love this block!! 💟
I am loving the stories that go along with each of these blocks. And this one with the old rotary phones and those mile long cords they had; took me right back to my teenage years. We didn't have a phone until I was around 13 y/o, my Aunt and Uncle did that lived right up the road and if we needed to call someone we just went to their house. But around the time I was 12 or 13 my parents got a phone. One phone and it was tan and hung on the wall near the laundry room door, or back porch as we called it. As I was reading your post, I had this flash of memory: Mom was cooking dinner and talking on the phone, I'm gonna guess to her mom, my Grandma. I was probably about 15 or so, and like most kids that age I was trying to get out of the house as quickly and quietly as possible but the back porch was my only route out of the house. Which meant getting past Mom. I thought I was being sly, I stepped over the cord as quietly as possible and as soon as my second foot cleared the cord and hit the ground ... wack! Mom had whipped that cord on my rear end and mouthed the dreaded words, Curfew-10-Do-Not-Be-Late!! With that she turned around to her cast iron pan and her conversation. Oh' what I would give to have that lovely lady wack my rear again. Thank you so much for that memory, had you not have told that story along with your post, it might have kept sealed away forever.
I am hooked. I love this block too. I grew up with two grandmas that quilted and all the aunts too. The quilt frame at Dad's mom was suspended above her dining table. They moved the table and lowered the quilt frame to stitch it.
Post a Comment