
Welcome to another episode of the

I'm sharing another
vintage block pattern from
Grandma's pattern basket.


I'm using my
Farm Girl Vintage Fabric
to make each block.
All of the blocks that
we are making will eventually
make their way into a quilt!

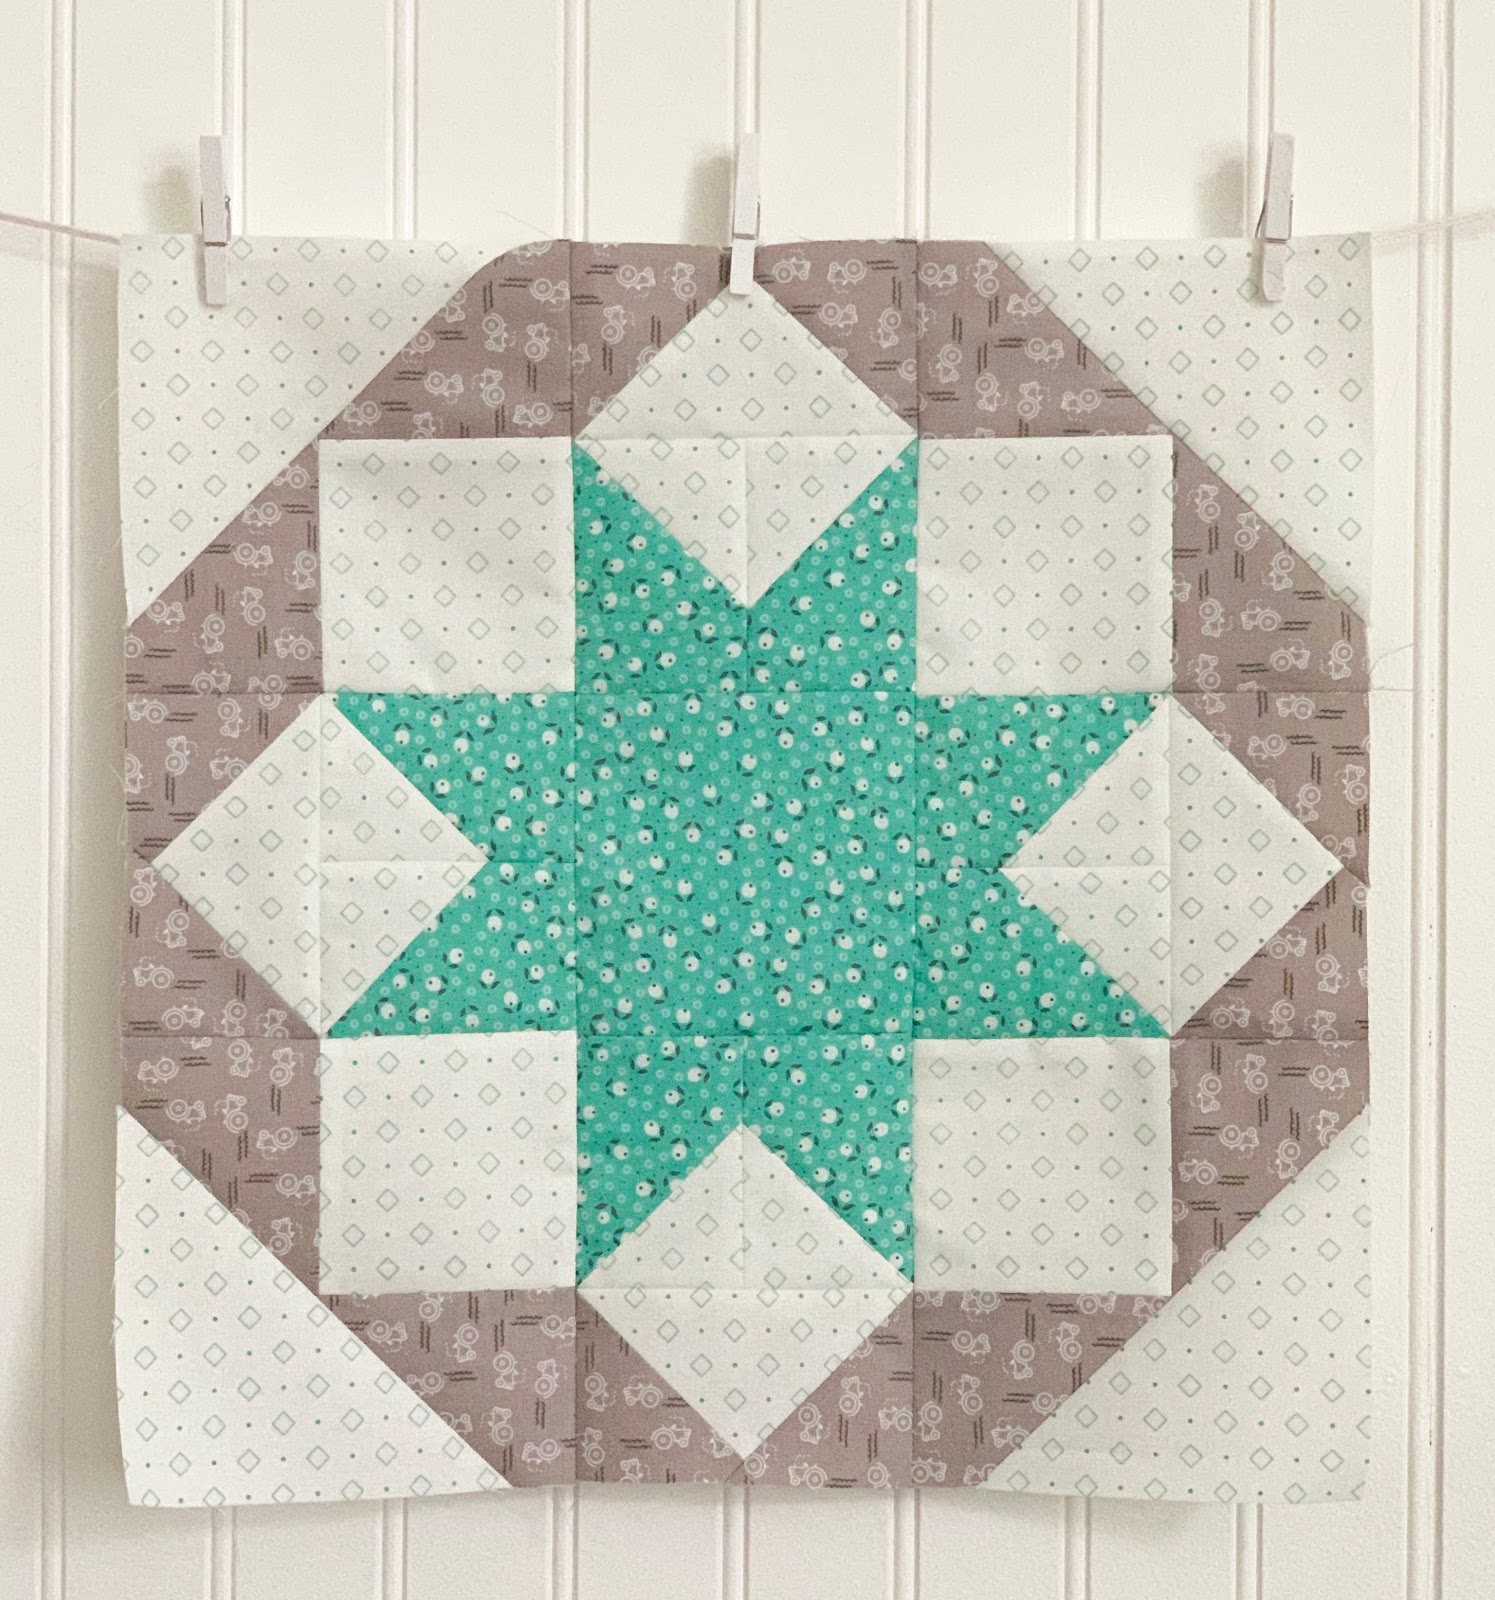
Todays block finishes at
14" and is called
SUNDAY STAR

This photo may look familiar to you:)
It's me when I was 3 years old!
This is where you would find me
every Sunday morning
when I was little.
Sitting under the hairdryer...
with pink curlers in my hair.
When my hair was dry
Mom would comb it out..
put a dress on me
and get me all ready for church:)
The pink bonnet hair dryer
hooked up to the vacuum!
There was a switch that would
blow air out and that's
what it was used for.
And yes...
the air was clean and NOT
hooked up to the vacuum bag lol.

If you didn't have time to
hang out with these vintage ladies
at the beauty parlor...
then having the convenience of
a portable hair dryer at home
was the way to go!

That's me on the end...
singing and holding a flower
and after the hair dryer
on an Easter Sunday morning.
My hair never did hold a
curl very well and still doesn't:)
My 3 older sisters and I
spent a lot of time
under the hair dryer for
many special occasions...
but every week it was for
church on Sunday.
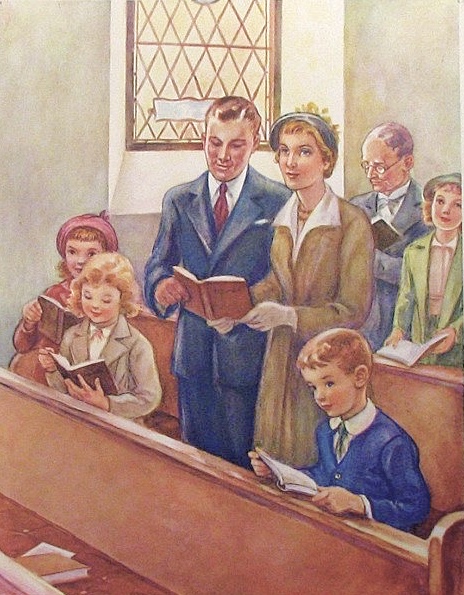
Of course grandma was already there
when we arrived...
saving a place for us
on the long wooden benches.
We all wanted to sit next to her.
She would help us to
be reverent and sit still
by doing small things for us.
She let us wear her necklace
for a few minutes...then she
made dolls from our hankies:)

Grandma always kept her purse
stocked well with
fruit flavored Certs and
plenty of Life Savers:)
My favorite was butterscotch and still is!
Afterwards we always had Sunday dinner
with Grandma...
either at our house or at hers.

And after that...
all of us cousins would play outside
until it was dark:)
Then it was time for
board games and cards.
When I say "we"...
I mean Aunts and Uncles
and cousins as well.
Sunday was a day for family!
Some of our favorites were
Rook...Pit and RACKO!

So I named this block Sunday Star
because I loved Sundays
and I loved that we
spent them with Grandma.

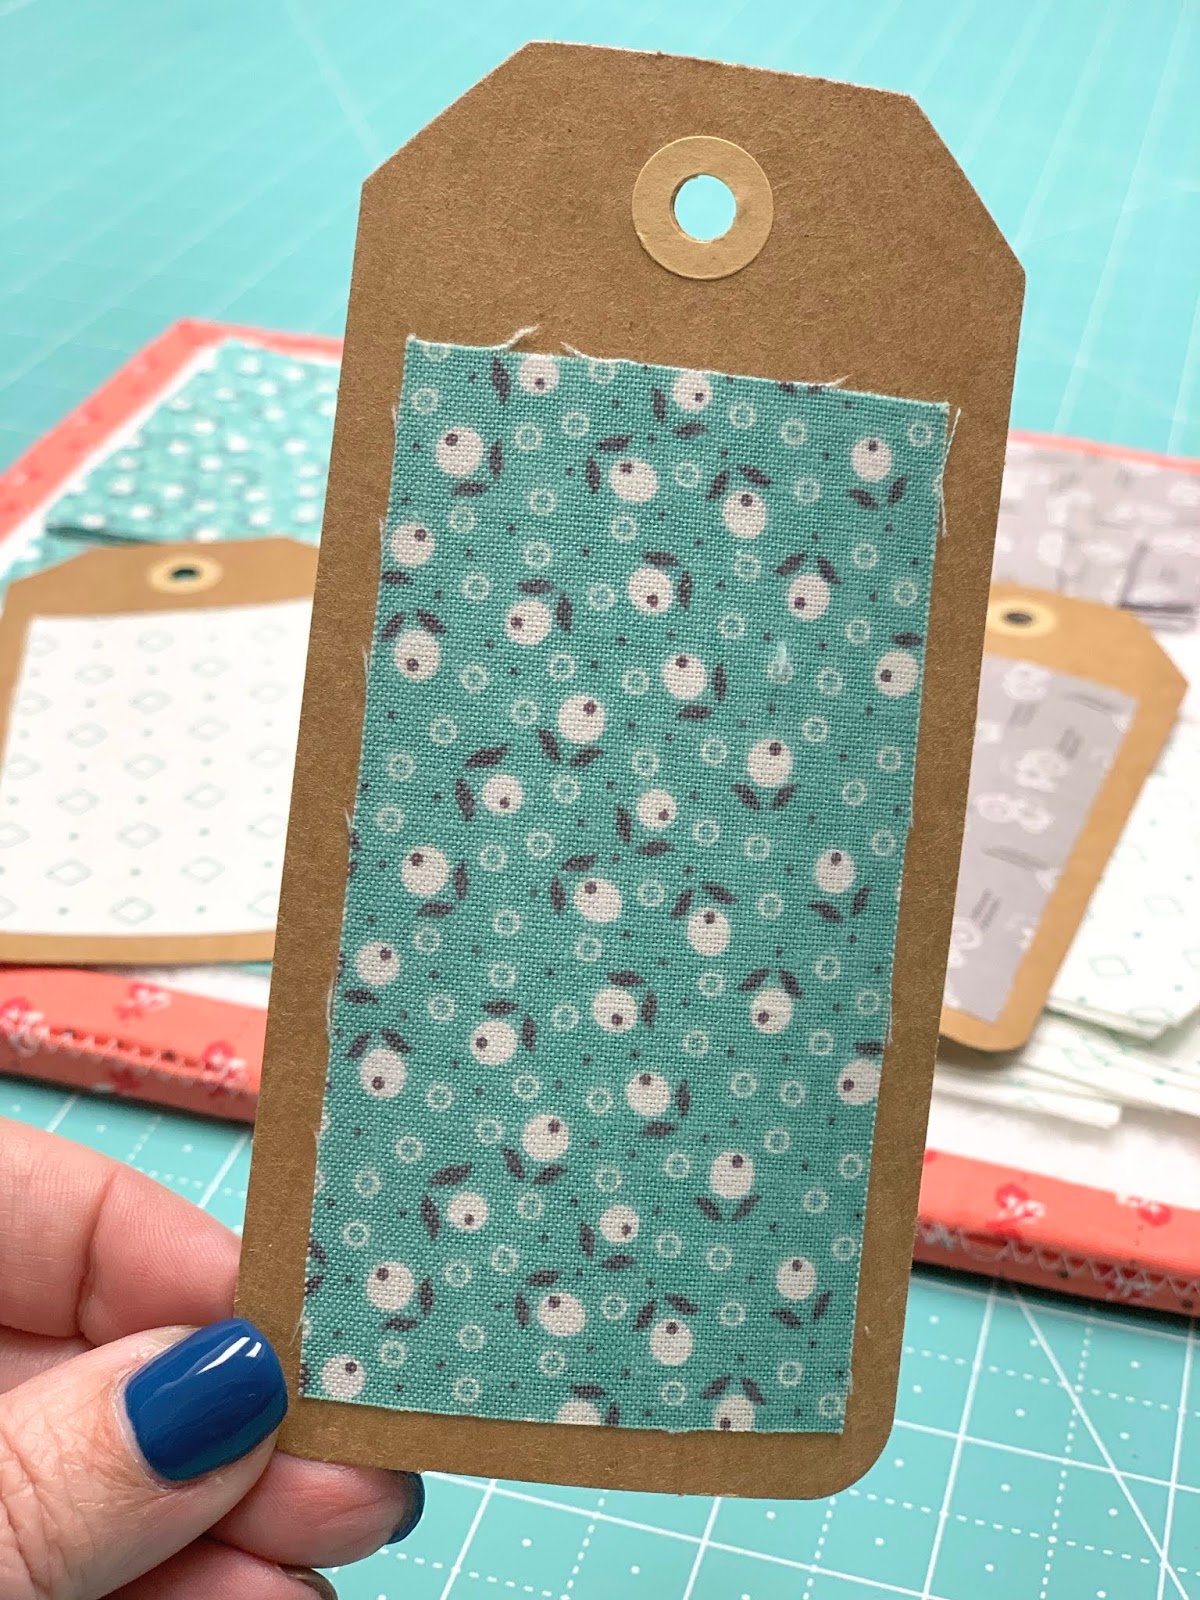
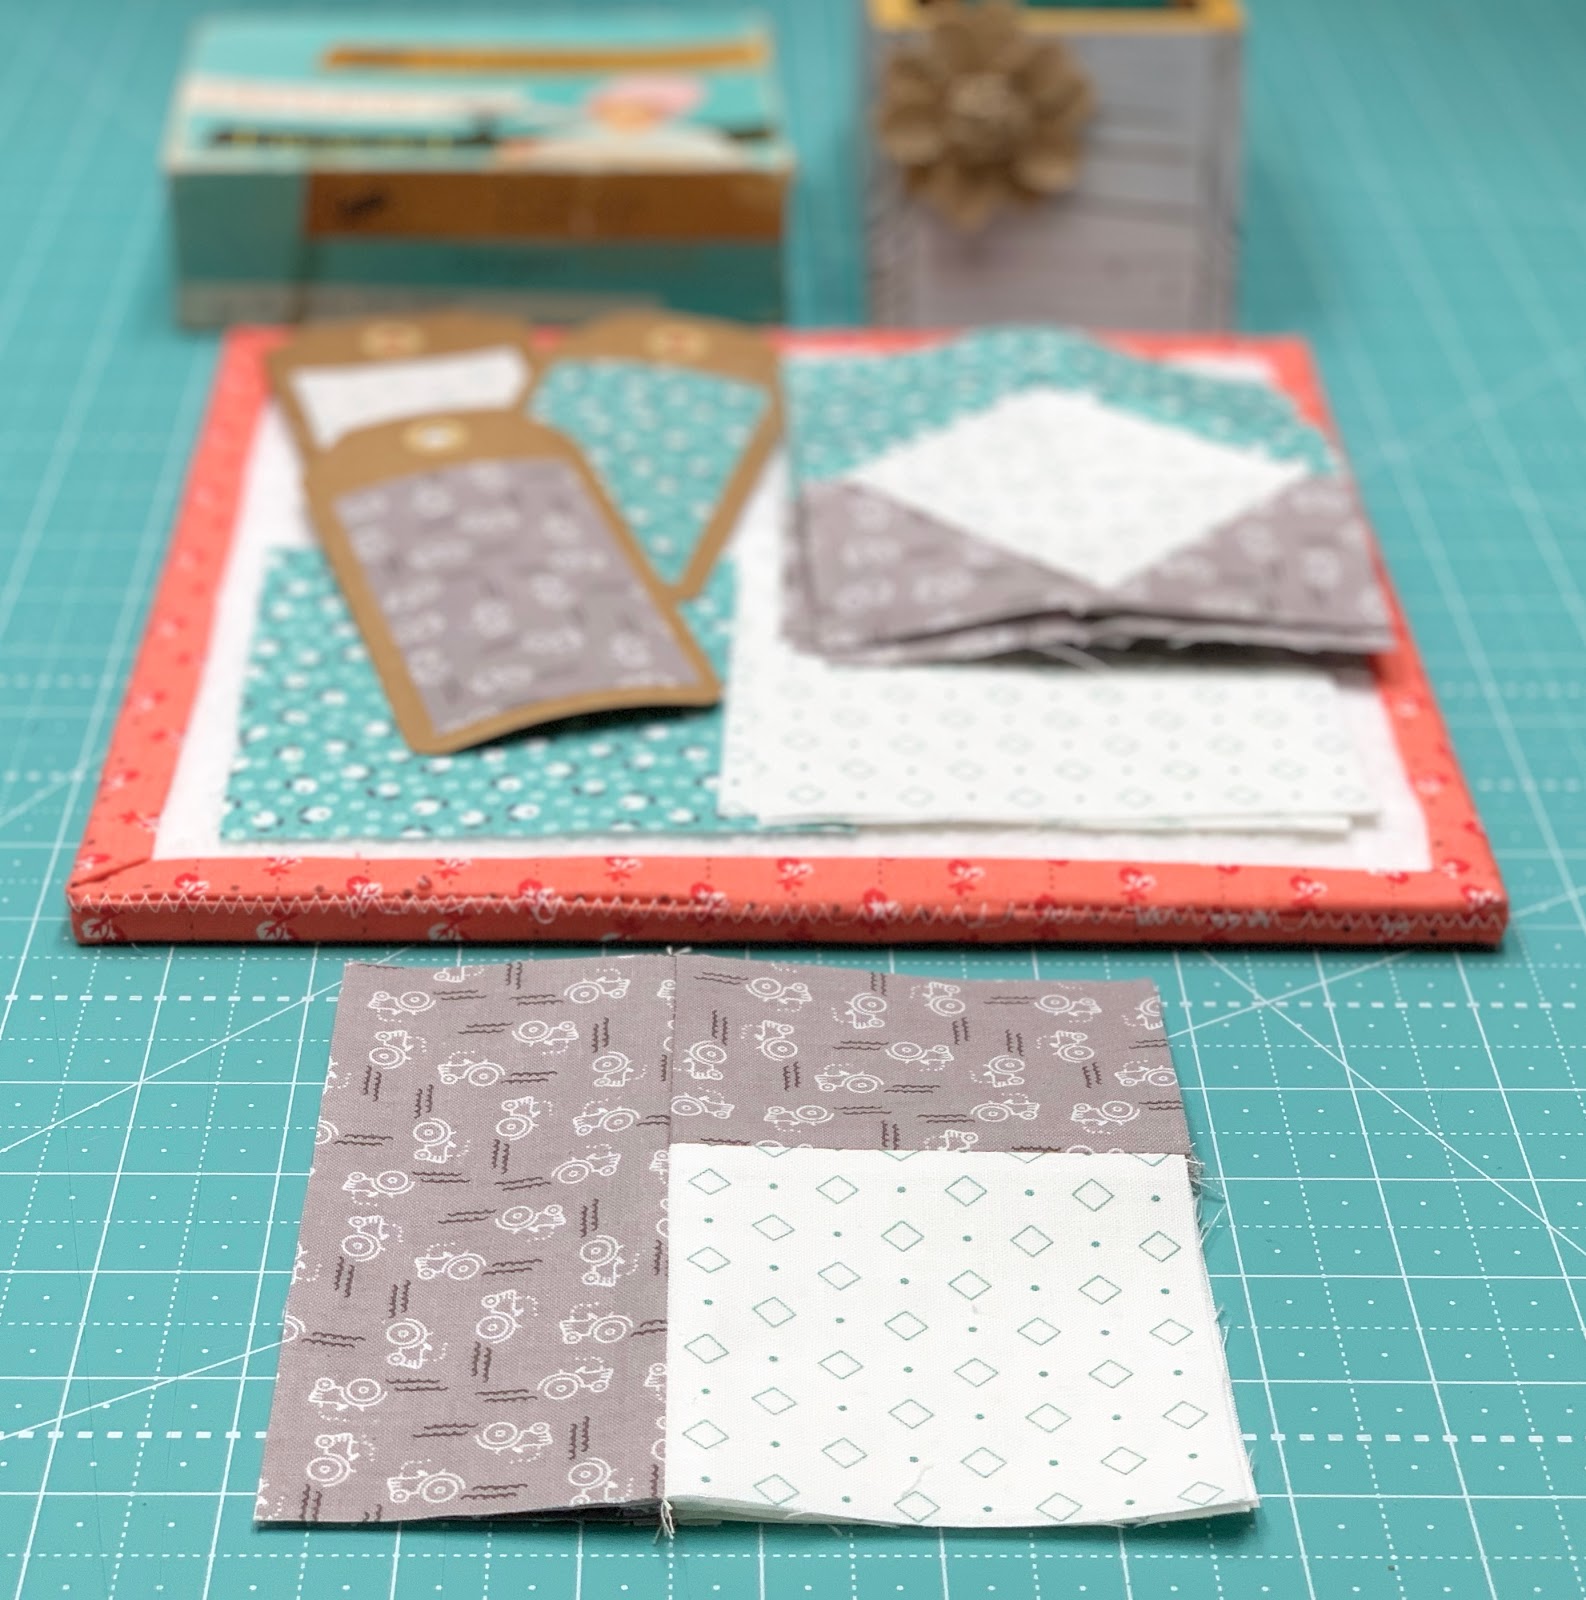
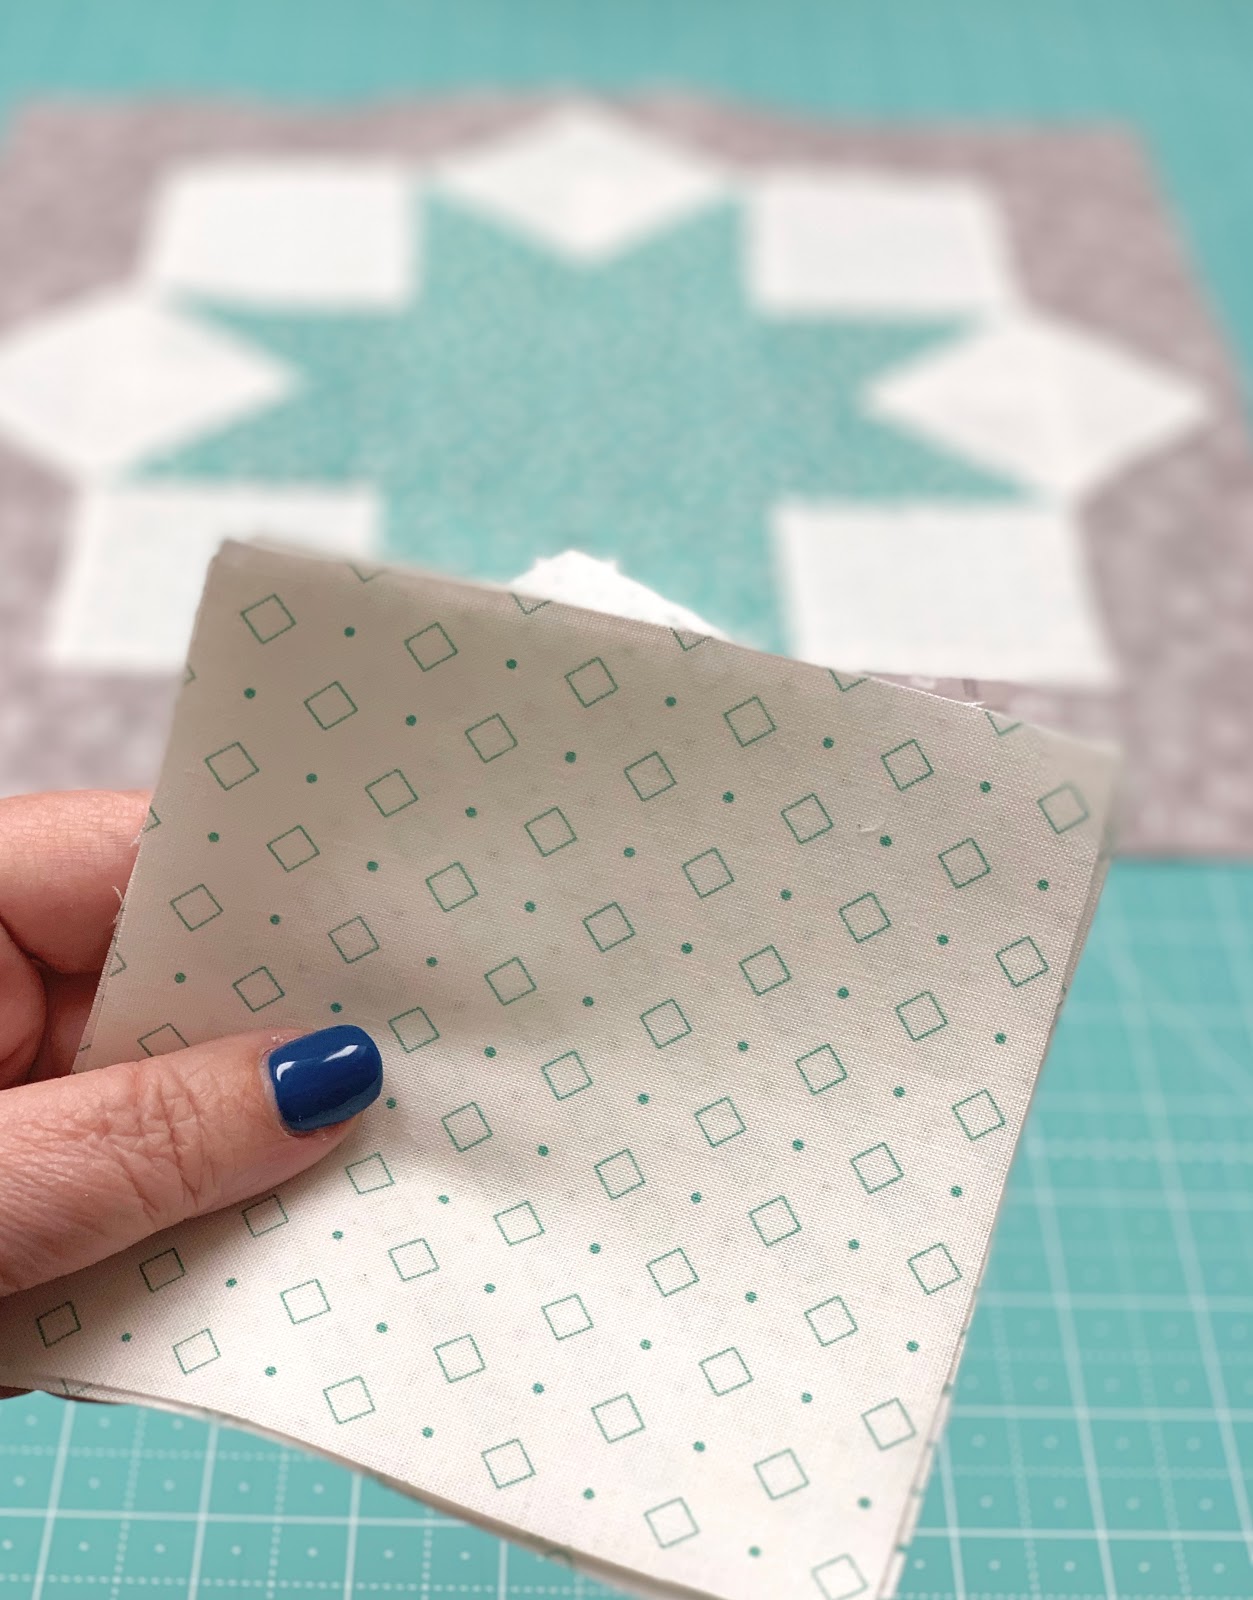
I chose this teal diamond print
from my Bee Backgrounds collection
for this block:)
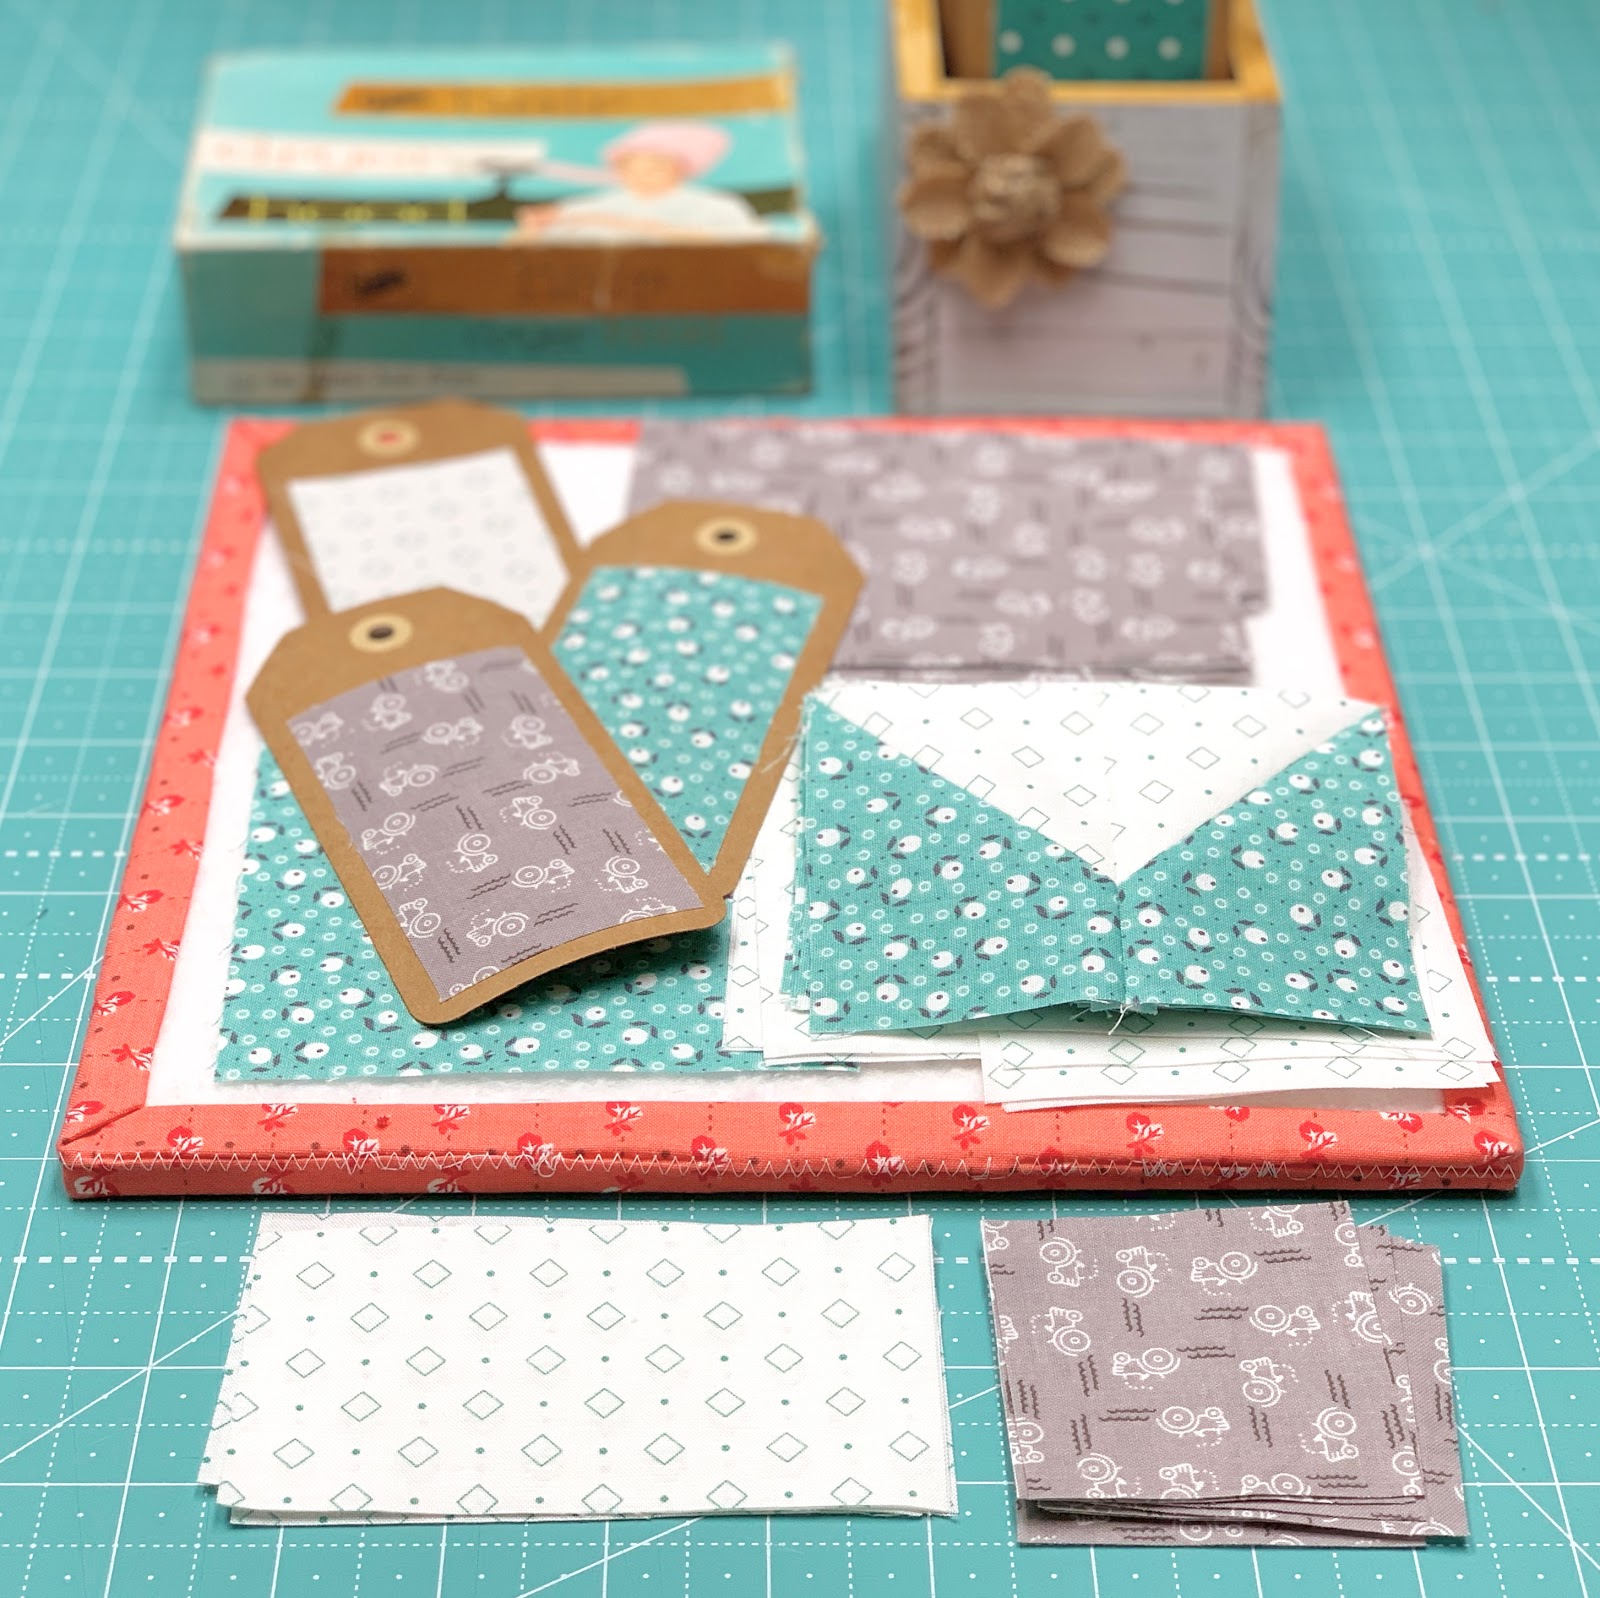
From your background you will need to cut:
4 - 4 1/2" squares
4 - 3 1/2" squares
4 - 2 1/2" x 4 1/2"
8 - 2 1/2" squares
From the center fabric cut:
1 - 4 1/2" square
8 - 2 1/2" x 3 1/2"

From the outside fabric cut:
4 - 2 1/2" x 5 1/2"
4 - 2 1/2" x 3 1/2"
8 - 2 1/2" squares

Grab the rectangles from the
star print and the 8
smallest background squares.
You will make the star points
by sewing easy corner triangles
onto one end of each rectangle.

Mark a line on the background squares
or use the
If you need to see how I
put mine on my machine...

Remember to sew 4 going one way
and 4 going the other like this.
Trim off the excess...

press and trim for a total of 8.

Now sew them together and
set aside for a minute.
Now grab the 4 background rectangles
and the 8 smallest gray squares
to make 4 flying geese.

Remember that you have to sew
all of the easy corner triangles
to one side before you can
add the other sides.

You should have a total of 4
that measure 2 1/2" x 4 1/2"

Sew the star points segments
on top of the flying geese
like this and set aside.
You should have a total of four
that each measures 4 1/2" x 5 1/2"

Now grab the remaining pieces
(EXCEPT for the 4 1/2" background squares)...
Ans sew four segments like this.
You should have a total of 4
that measure 5 1/2" square.

Now lay them all out onto
your large design board.
Sew the 3 rows together first ...
and sew those rows together.

This block is cute...
but to finish for a Sunday Star
you will need to add the
easy corner triangles onto each corner.

Draw a line from corner to corner
onto the wrong side of the
background square and sew it on.

Trim off the excess and press!

Now those gray prints form a circle surrounding the star.
I love it!
An entire quilt of this block
would be gorgeous...but I have
said that about every vintage block
we have done so far lol
This is a great vintage block
and it was fun to figure out the
redrafting it so that we can
rotary cut it instead of
using templates like grandma did:)
Your Sunday Star Block should
measure 14 1/2" square at this point:)
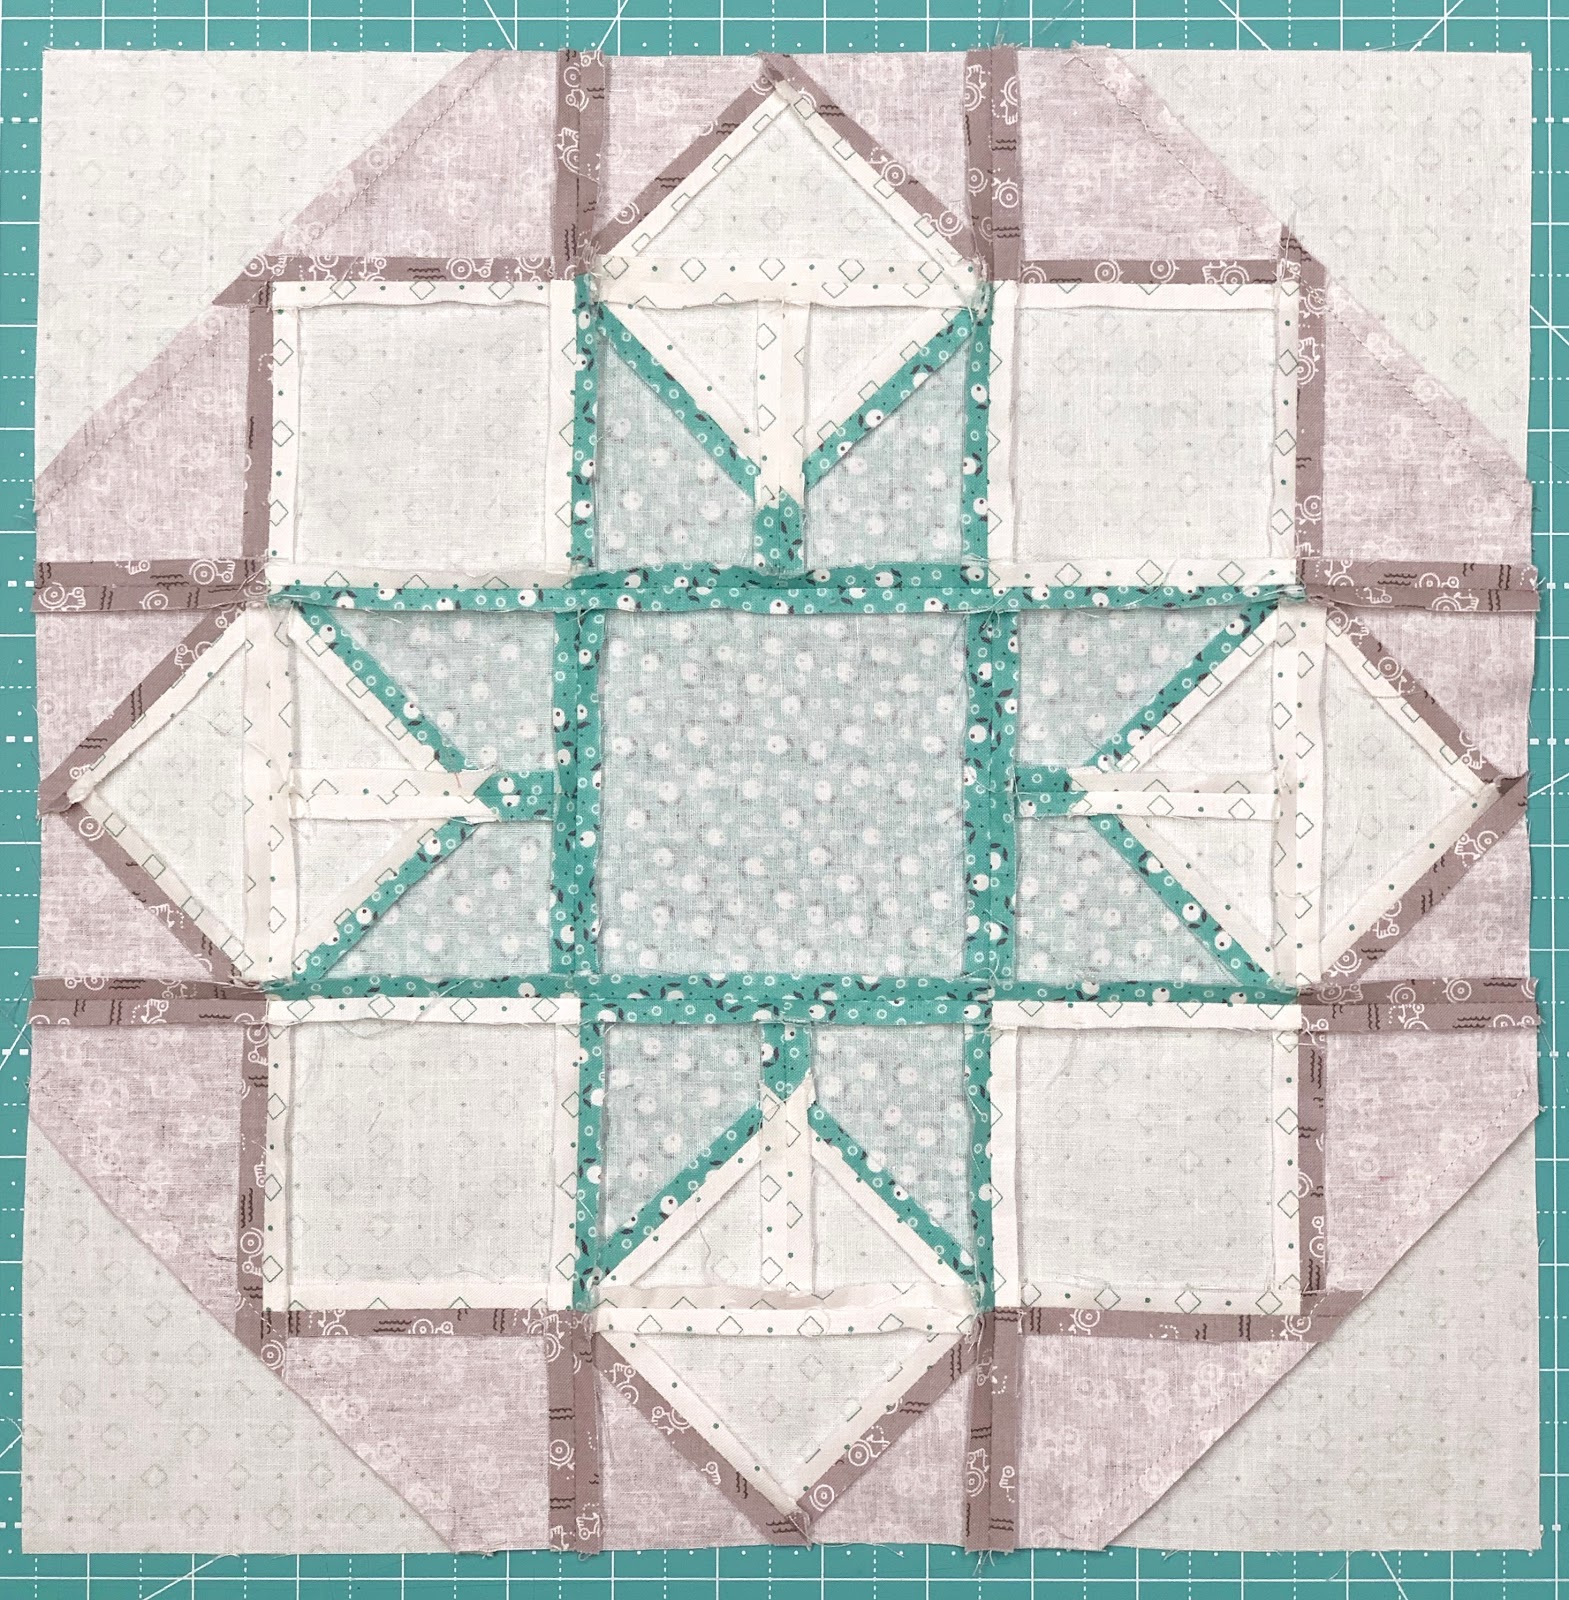
Here's the back of my block
if you want to see how I pressed it.

Thanks for sewing vintage
with me today!!
See you next week:)
xx
Lori
P.S. If you are just joining us
and want to sew vintage blocks with me...
click on each block
that we have already sewn
for that tutorial:
5. Rhinestone
6. Vintage Lily
7. Star Shine
8. Humble
9. Egg Money
10. Quilting Bee

4 comments:
Thank you Lori! I am loving this sew along! 🥰
Lori, I just love reading this blog! I was born in 1957 and you seem to remind me of my childhood with all your gorgeous fabrics and pictures and stories. Keep them coming! I love the quilt blocks, etc. too!
I'm having a great time learning about your grandmother. Your descriptions are so vivid, I feel like I'm there. Also - Racko!! We played that game all the time when I was a kid! Thanks for the memory. :)
I am new to your blog and am enjoying your reminiscing. I was born in 54 so I can relate to your history. Brings back lots of wonderful memories.
Post a Comment