

Okay quilty peeps...
today I'm going to share
a cute little block
from my grandma's pattern basket
that I have named
RHINESTONE
It's the next block in our
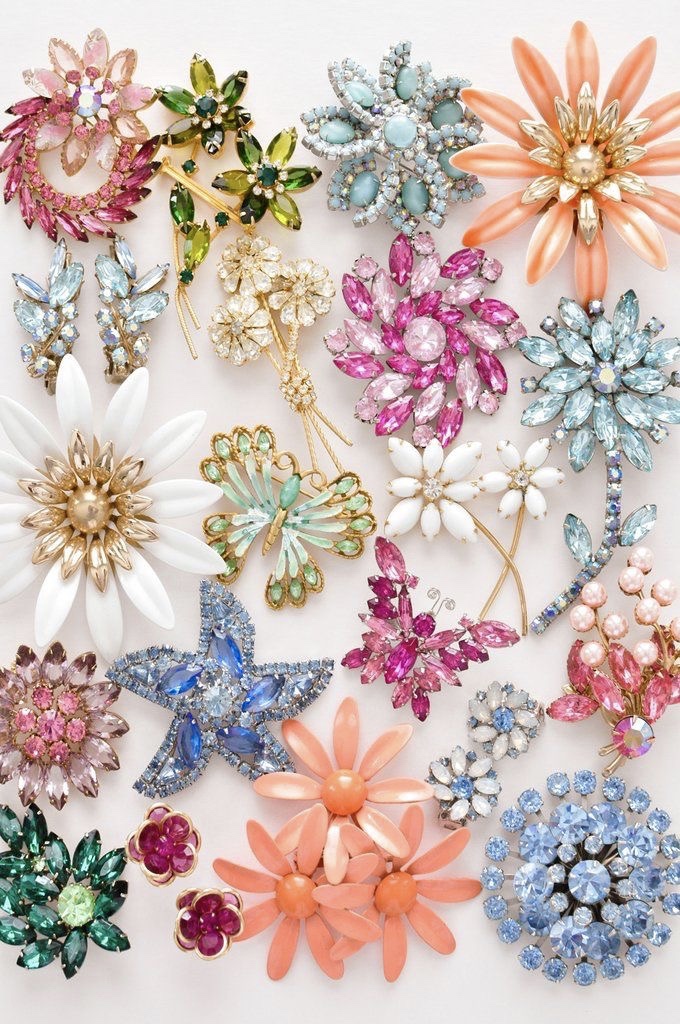
I think these blocks look like
colorful vintage rhinestone pins...
the kind that I told you about
in my last post
that grandma used to wear and
were so popular back then:)

This is grandma's recipe box that I have now.

She had lots of recipes that she
clipped from the paper...
and inside are a few
poems and notes as well.

This one is the recipe for the
Banana Drops
that she made often and
kept in her pig cookie jar.
(but not for long with 27 grandkids lol)

I love having her recipes
and in her own handwriting...
so very special to me.


Are you ready to make some Rhinestones?
These little 6" finished blocks
are scrappy happy fun:)

This was a classic and super easy block
that you see in many vintage quilts.
It was easy to use up small pieces
of feed sack for one of these blocks.
Today...
we still like easy scrap blocks like this!
All you need for each block is
a background and and two colors
so have fun putting your
fun combinations together!

I used 4 different Bee Backgrounds
for my blocks.
Of course have each of the prints
in this collection on
a fabric swatch tag.
A few days ago I did a tutorial
on how I make these...
and how I use them.
for the tutorial!

I'll just be showing you how to
make one Rhinestone Block...
obviously they are each
made the same way:)

From the background you will need to cut:
4 - 2 1/2" squares
8 - 1 1/2" squares

From Fabric One:
Cut 5 - 2 1/2" squares

From Fabric Two:
Cut 8 - 1 1/2" squares.

Easy peasy!!!
All cut and ready to
sew one Rhinestone Block:)

Pair up four of the 2 1/2" squares...

And make four half square triangles.
if you want to know about the

Trim the excess and press!
You should have a total of four
that measure 2 1/2" square
at this point:)

Pair up the 8 sets of 1 1/2" squares
and make four 4 patch blocks.

The four patch blocks should also measure
2 1/2" square each at this point.

Place the remaining 2 1/2" square
in the center of a small
Bee in my Bonnet Design Board.
Lay the half square triangles
and the 4 patch blocks around it
just like this.
The only tricky part about sewing
these pieces together is
making sure that they are all
going the right way.
Using the design board helps so much!
Now you basically have a nine patch
to sew together into 3 rows...
and then sew those 3 rows together.

YaY!

This little block is a gem lol
pun intended!

Here's the back of my block:)

Now sew the remaining three blocks
for a total of four.
We will use all four in the quilt.
I don't know yet if we will
sew them together into
one big block like this...

Or sew them into a row...
or scatter them throughout.
I'll know more as each vintage block tutorials keep coming!

I sure do love these little jewels
and wherever I put them in the quilt ...
I know that they will shine!

Each Rhinestone Block should measure
6 1/2" square unfinished
and will measure 6" square
when sewn into the quilt.

I will see you here next Thursday
for anther vintage block
or if I have time this weekend
I may do one then as well.
If you are just joining the
Vintage Block Along...YaY!
Here are the first four blocks.
Click on each one below
to go to that tutorial:

Thanks for sewing vintage with me
and we will chat again soon!
xx
Lori

7 comments:
Love the blocks. Great that you still have some of your grandma's hand-written recipes. So precious.
Cute blocks and Have a few of those pins too! Very special to have those handwritten recipes:)
Oh my gosh I love this block! Thanks so much for sharing and going into all that detail. I can't wait to try it. I am a little late in getting on board. thanks again
Thank you so much for this series! I have a lot of feedsack fabric (along with scraps and random pieced squares) for my husband’s grandmother. I am planning on using your grandmother’s patterns and the feedsack fabric. I have just taken 8 of her small pieced squares and framed them for all the granddaughters and great granddaughters.
I too, have my mother’s and grandmother’s recipe boxes. They are very dear to me.
Thank you for yet another precious vintage block! I can't wait to try it. I finally got my "chicken wire" fabric for my basket block, so can't wait to make that one and this one! Sew many possibilities ans sew little time!
Lori, what about creating some fabric with your grandmother's hand-written recipes?
Blessings,
Regina
I love these blocks and I love your stories I can so relate to some of them !!!!!!!! have some similar pins from my grandma and the recipes also!!!!!!!! love everything you make!!!!!!! I can't wait to make these. love your blog!!!!!!!!!!
hi lori i write from mexico city i love your work. i am working intis wonderfull proyect of vintage. i love the way you make the relation of the block with your history and the images you use
Post a Comment