Hi there and welcome to my blog:)

This is Week Ten in our
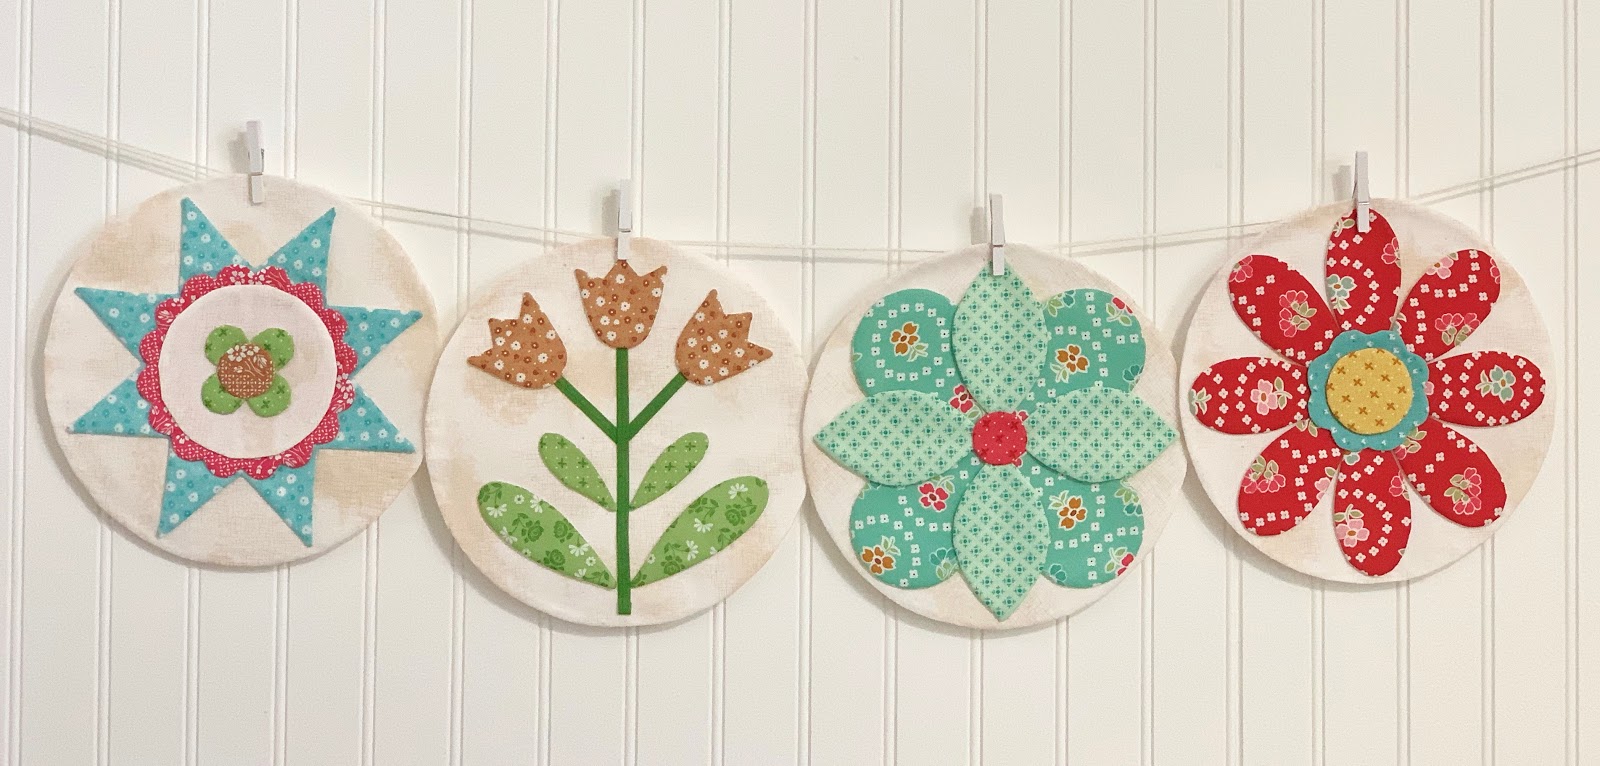
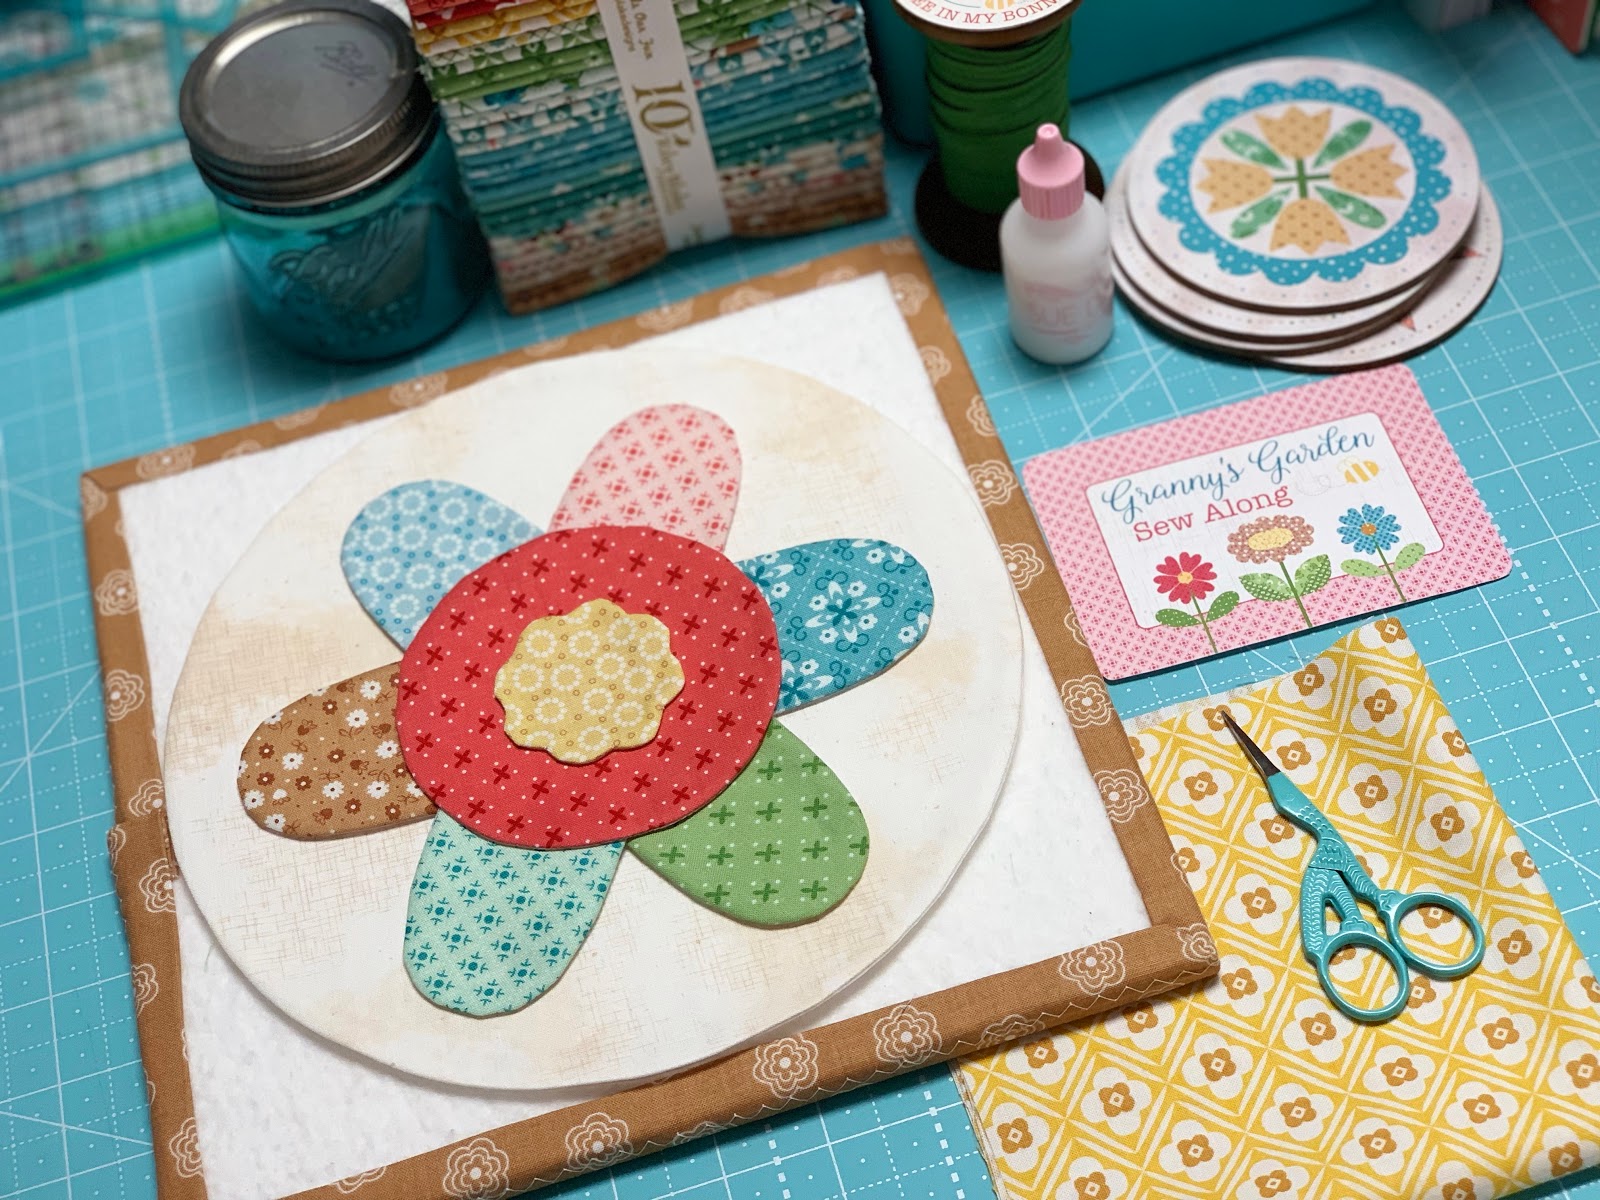
Granny's Garden Sew Along
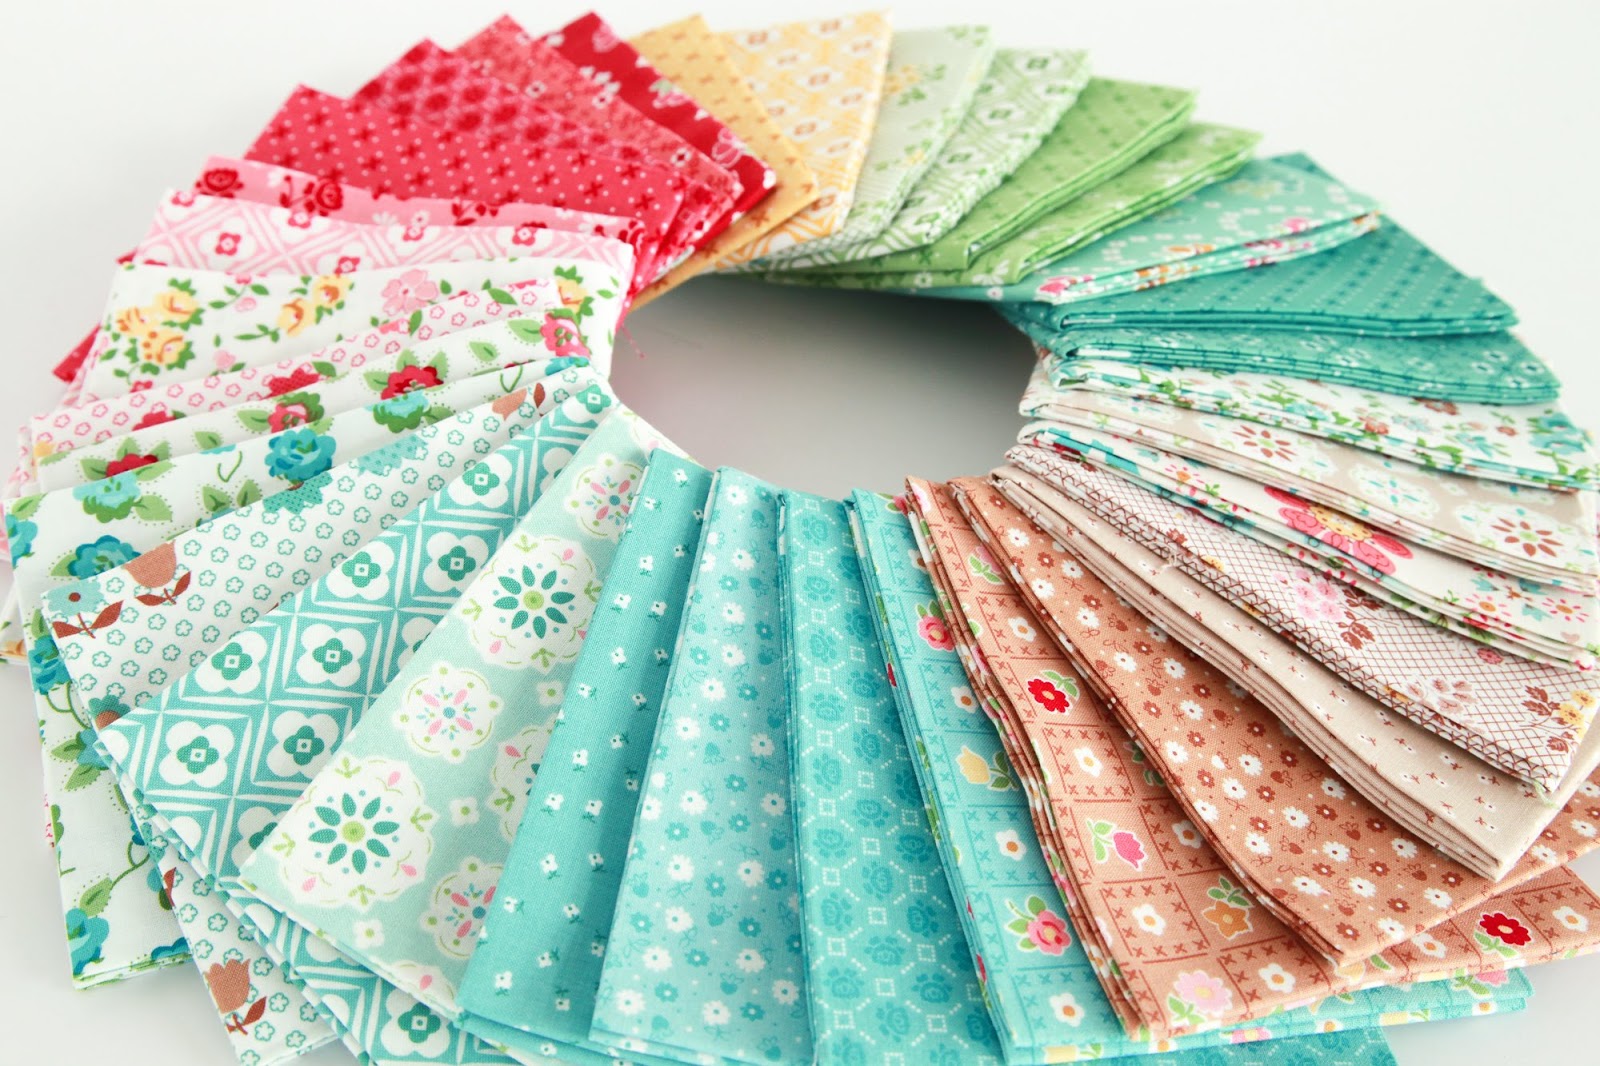
We are using Granny Chic Fabric...

And Granny's Garden
Sew Simple Shapes

To make the Granny's Garden Quilt

This week's focus is on
Flower Blocks 37 thru 40:)

Time to "sow"!!

Sew Simple Shapes for Block 37:
2 - I 3
2 - I 5
1 - I 17
1 - I 19
Cut the stem 5" long
and press one end under

After sewing and trimming you will
need to clip between the flower petals.
Shaped and pressed:)

Use the 10 1/2" Trim-It Ruler
to center it while glue basting.

Flower Block 37 is ready for applique

Sew Simple Shapes for Block 38:
4 - I 9
1 - I 21
4 - I 26
Use the 2" Circle Ruler
from the set for the flower centers.
Cut 4 stems 1 1/2" long

Shapes that need to be clipped
in this block are the four flowers:)

Shaped and pressed and
ready for pins and glue:)

Take advantage of all the lines on
the ruler and center all of your shapes.

Flower Block 38 ready for applique

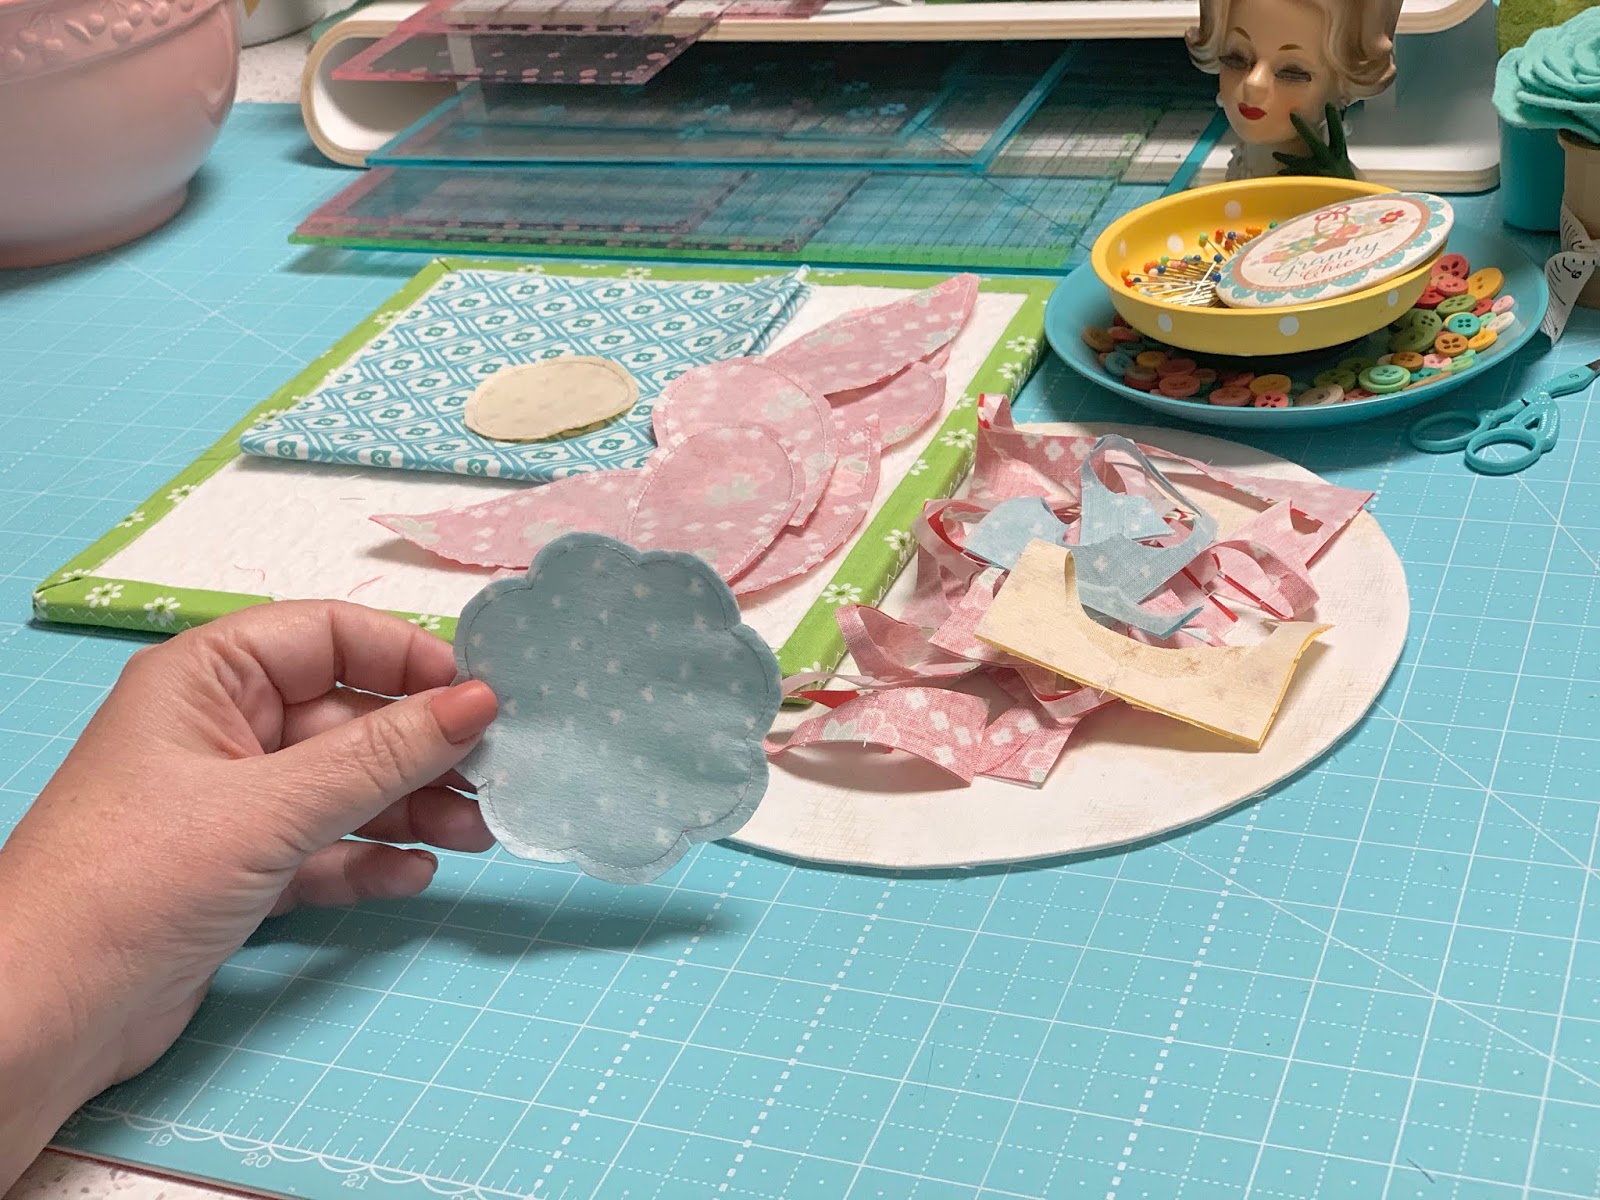
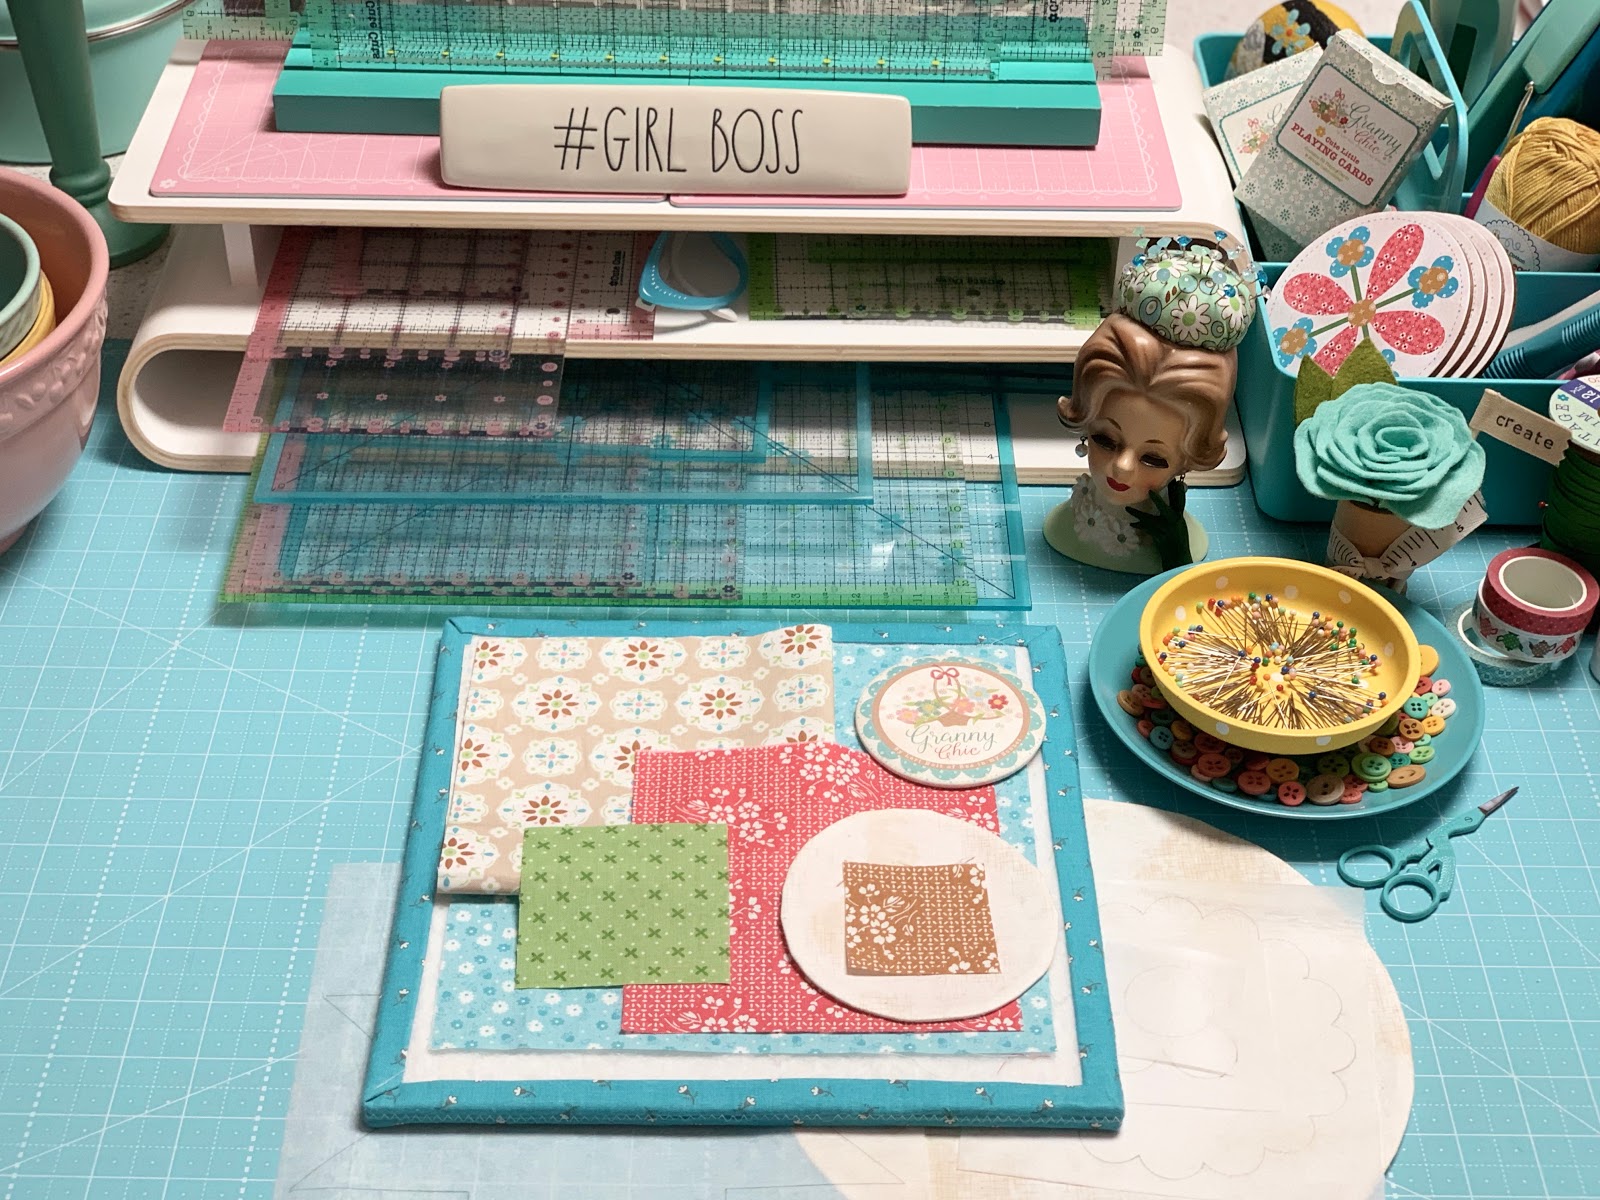
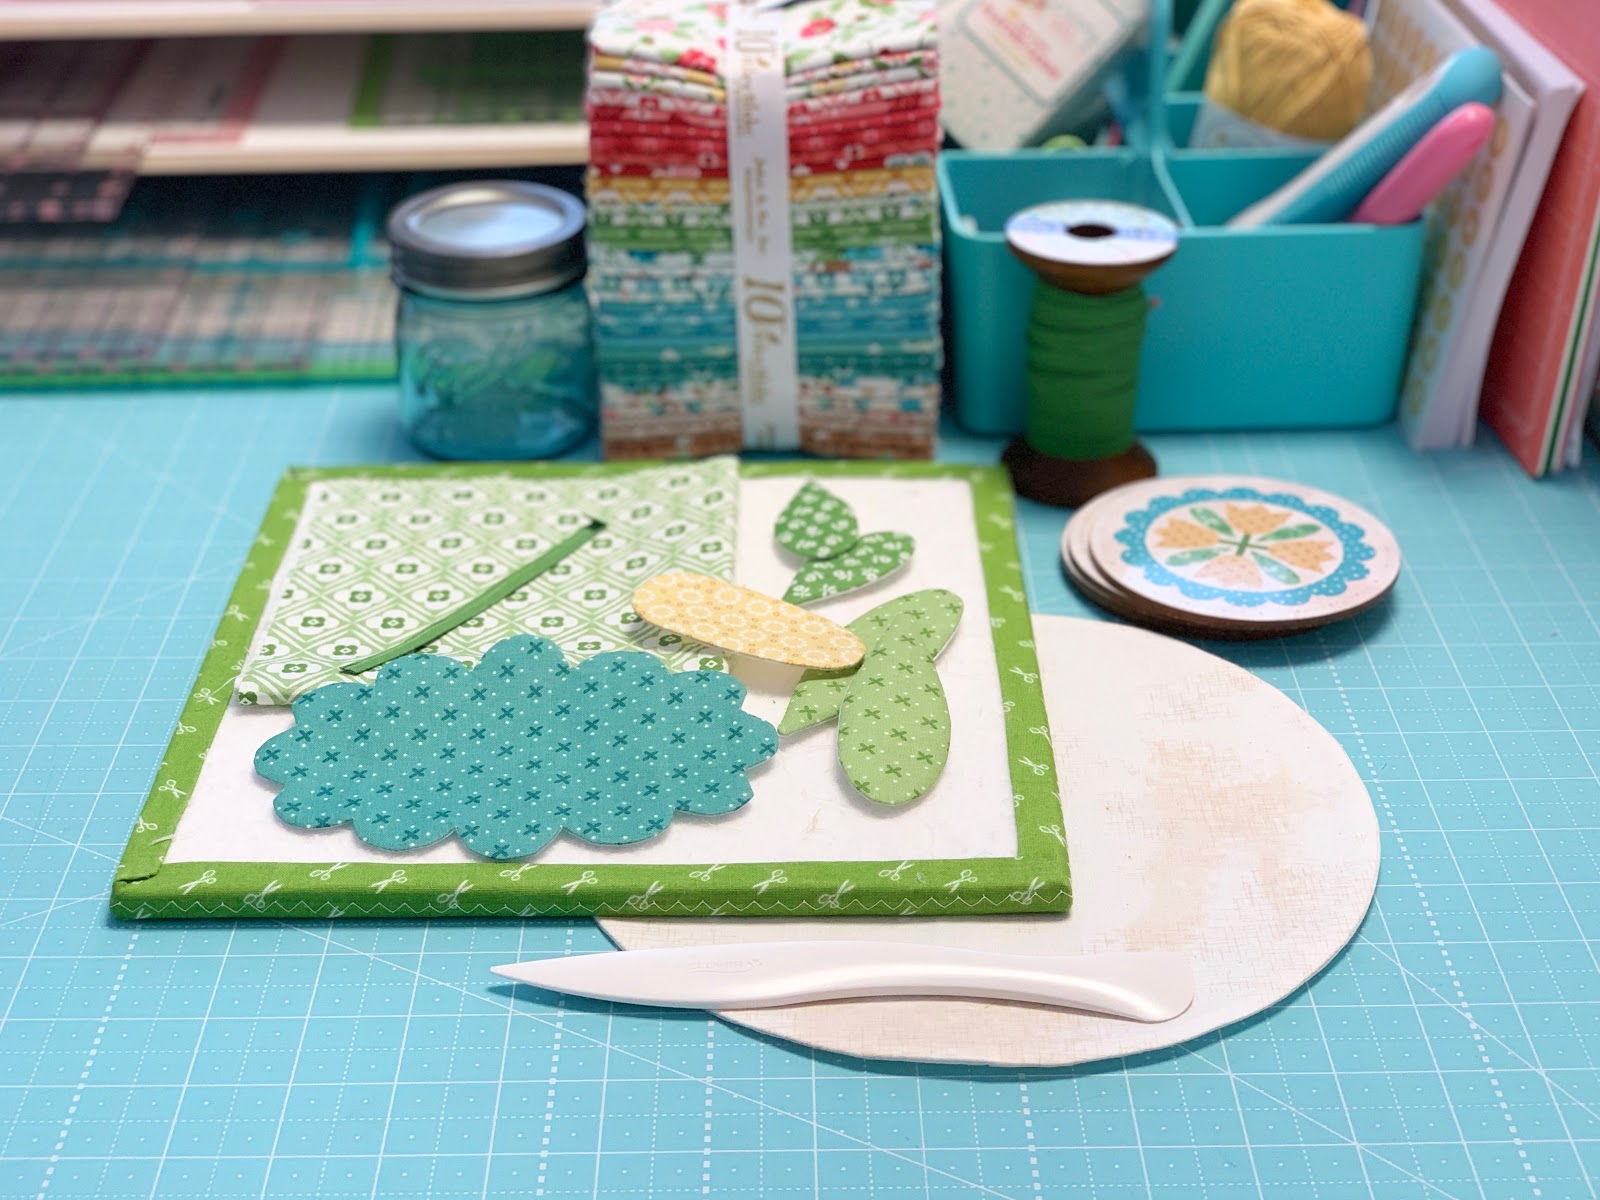
Sew Simple Shapes for Block 39:
4 - I 2
4 - I 15
1 - I 28
Use the 6" Circle Ruler from
the set to make the Shabby Cloud Circle.
Cut 2 stems 2" long
(for some reason I cut 4 but only need 2)

You will need to clip the
large scalloped circle and
the tulips before turning:)

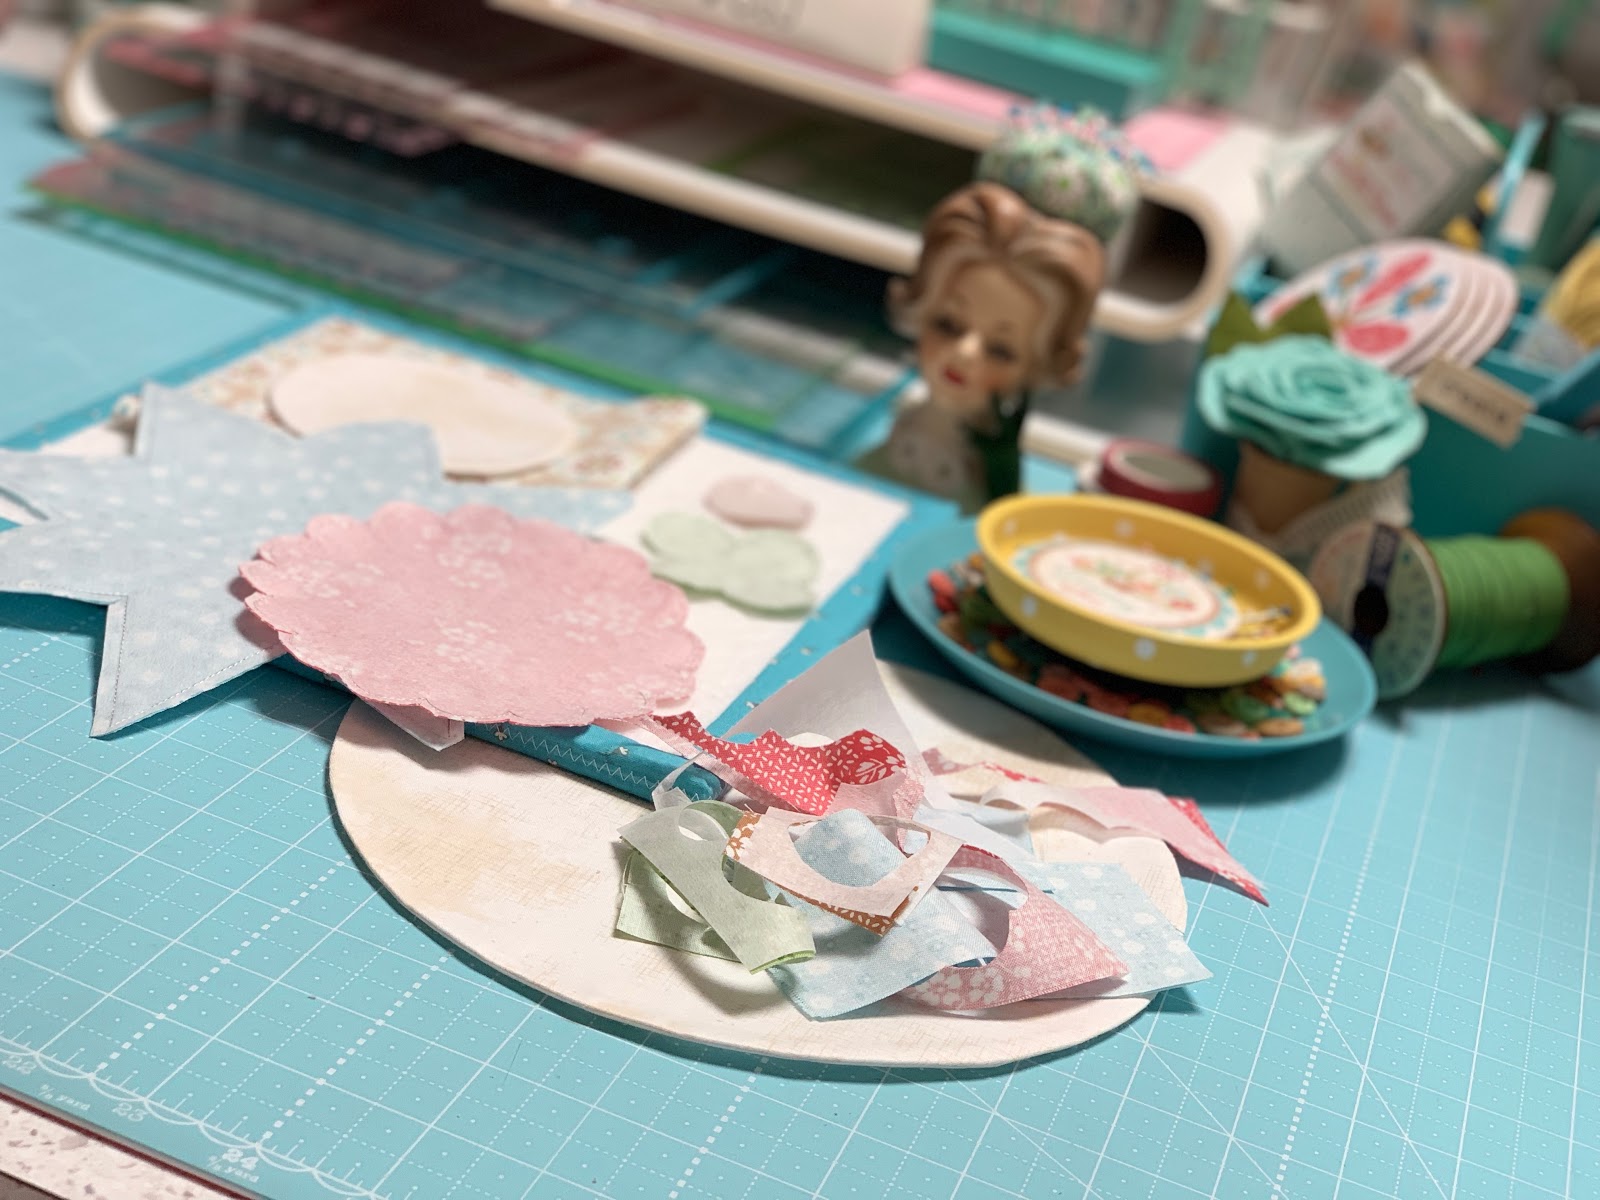
Shaped up and ready to go!

I did the tulips...leaves and stems
on the smaller circle first...

Then added that to the scallop.

I used the 10 1/2" Trim-It Ruler
to center onto the larger circle.

Flower Block 39 is ready for applique:)

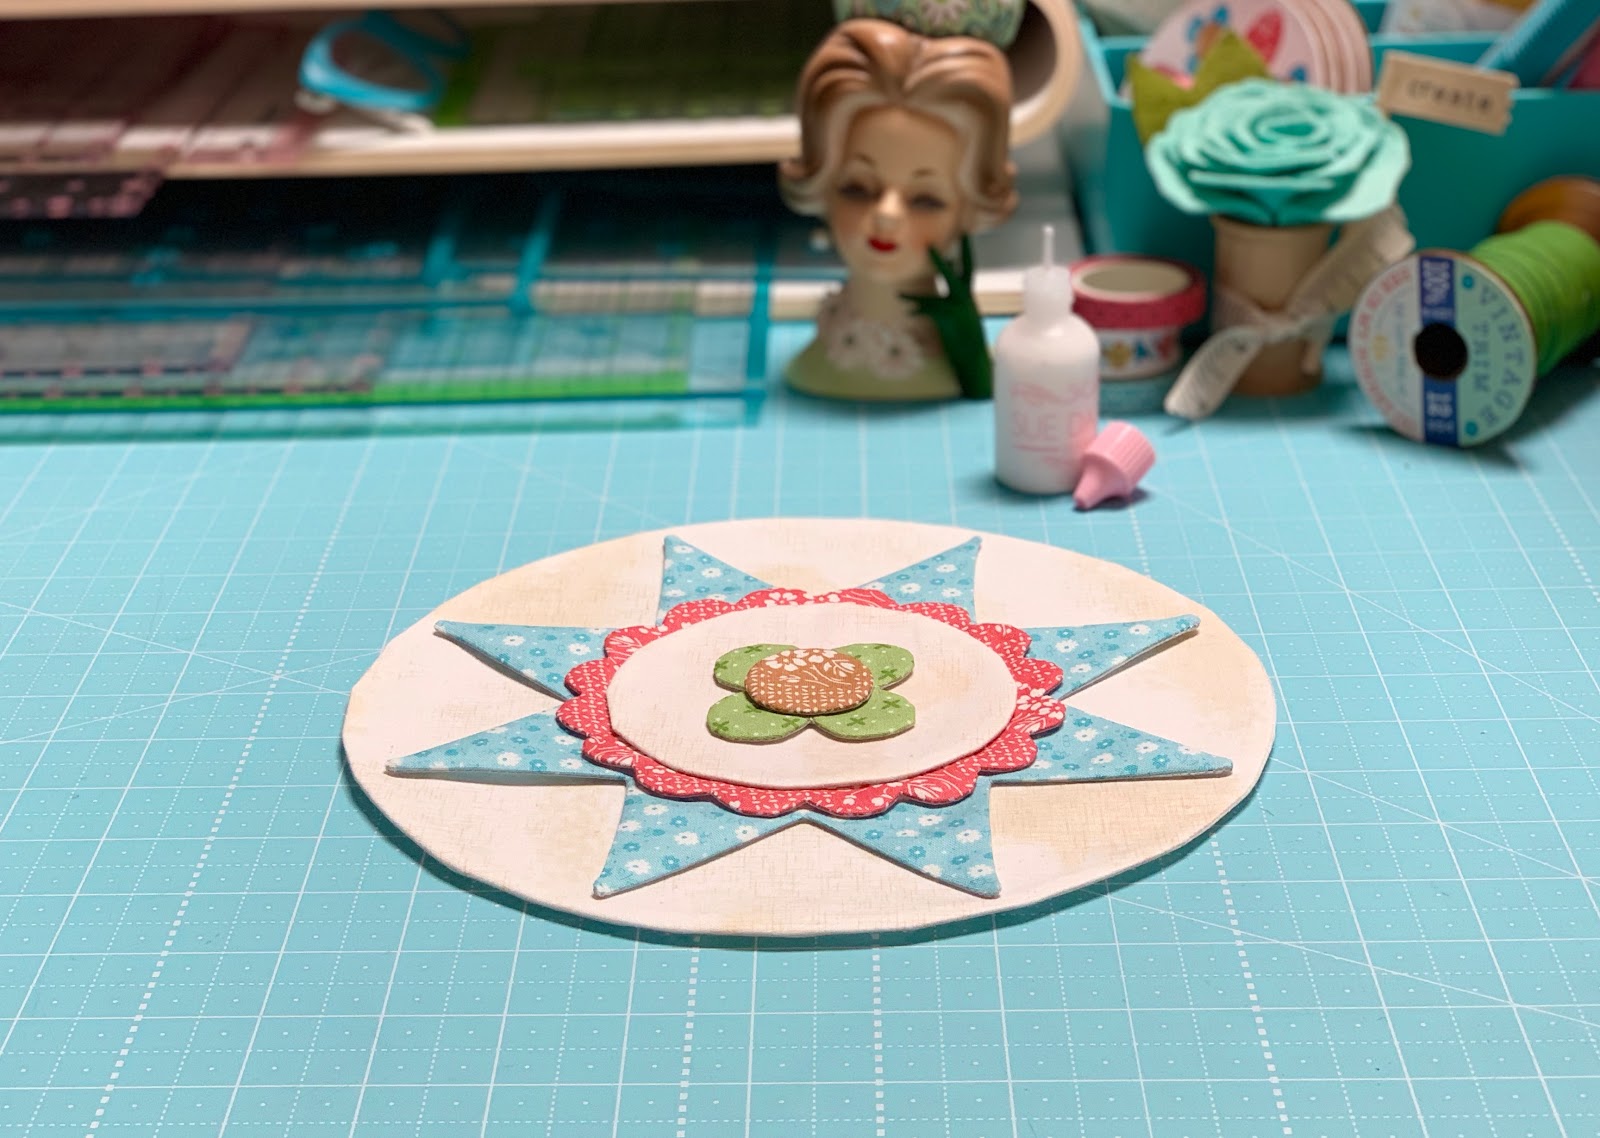
Sew Simple Shapes for Block 40:
6 - I 20
1 - I 22
Use the 4" Circle Ruler from
the set for the smaller circle

The only shape that needs clipping is the small flower on the center:)

Shaped and ready to go.

I used the ruler to line everything up
and I cut the end off each petal
to reduce bulk underneath the center circle.
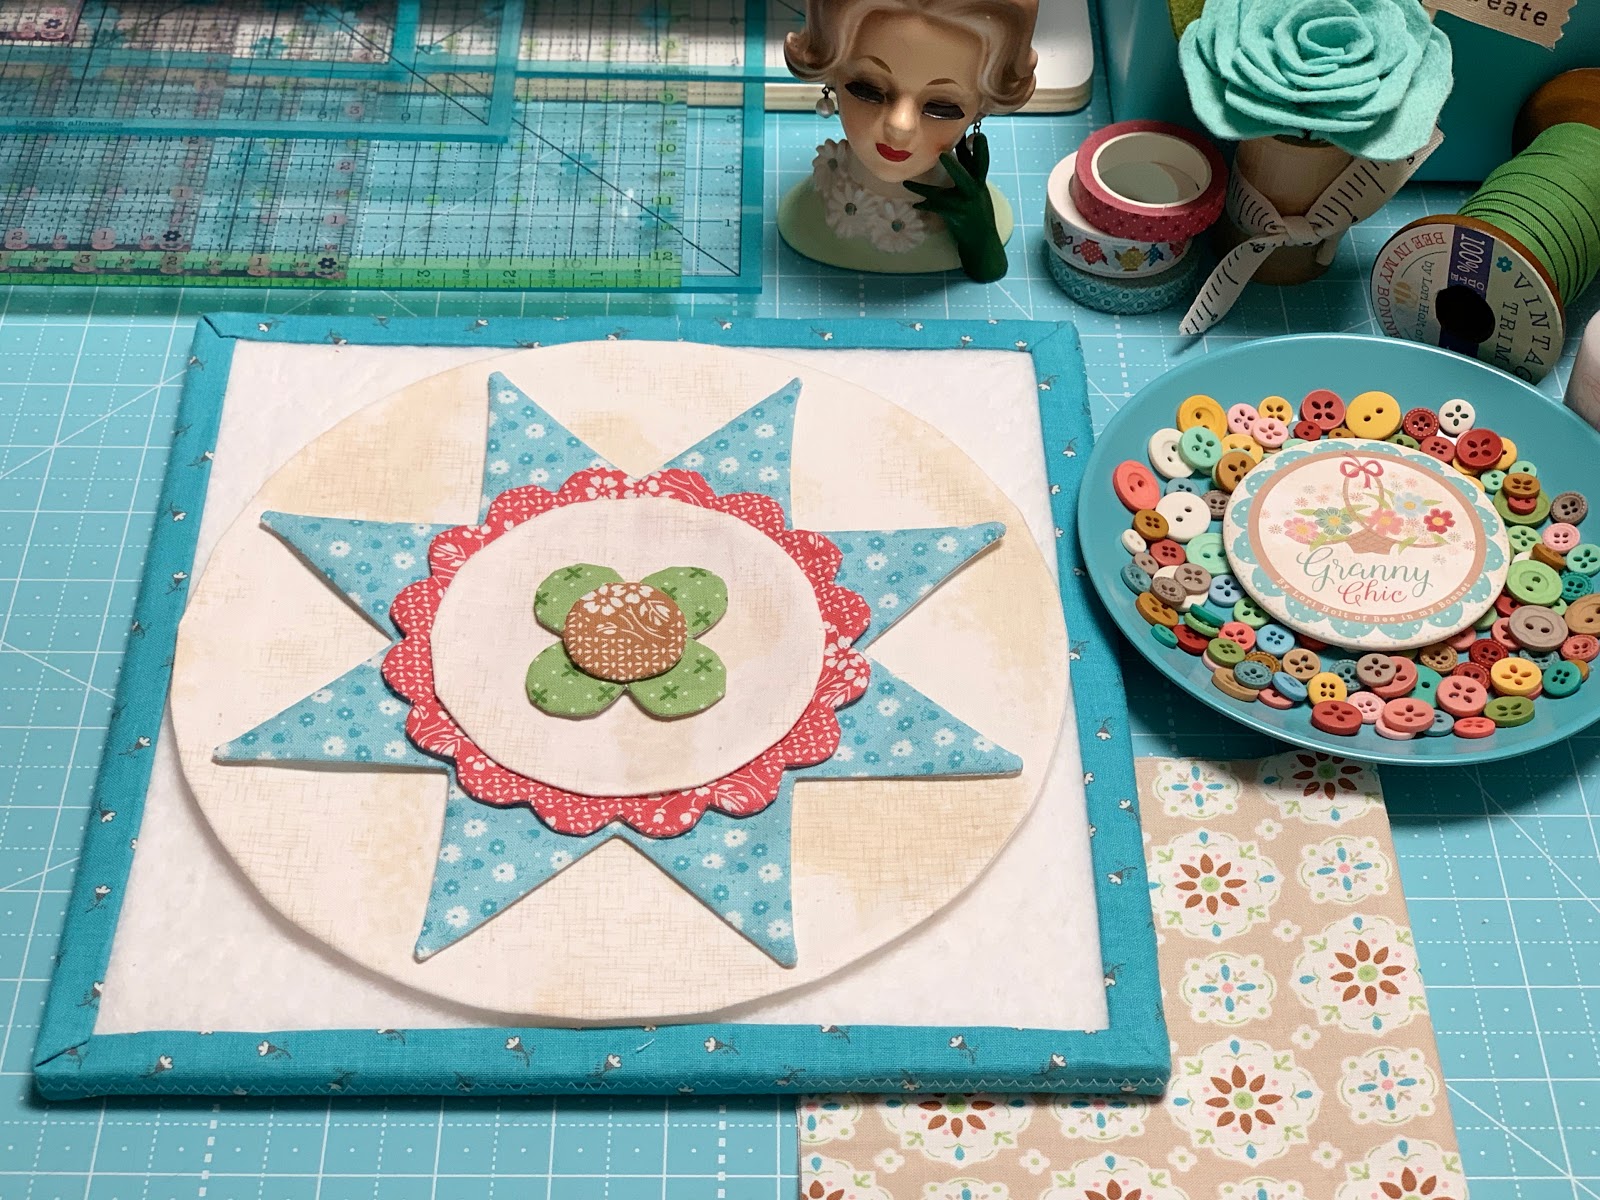
Flower Block 40 is ready for applique.

After quilting I'm going to add some
Cute Little Buttons
to this cute little block:)


After you have appliqued
all of the circles...
applique them onto
their background squares.

Whew!!
We are almost finished planting...
next week we will do the
last two flower blocks
and the border pieces.
Meet you right back here next week:)
xx
Lori
Click on the links below
to view each week of this sew along!!
1. Bee Prepared
2. Week One
3. Week Two
4. Week Three
5. Week Four
6. Week Five
7. Week Six
8. Week Seven
9. Week Eight
10. Week Nine