YaY!
My Granny's Garden Quilt
is finished and I can't wait to
show it to you up close and personal!!
This is the "Big Finish" post of our

I am not quite finished playing
with Granny Chic Fabric or with
Granny's Garden Sew Simple Shapes
so stay tuned for a few more projects!
Okay...now to show LOTS of photos
of my Granny's Garden Quilt...

And then I'm going to show you
how I made this
Granny Flower Quilt Label:)
PS. The quilt that you see underneath
is one of many that I've made
using vintage sheets...
I just love vintage linens:)

First I put my Granny's Garden Quilt
on the bed so that I could
take lots of close up pictures.
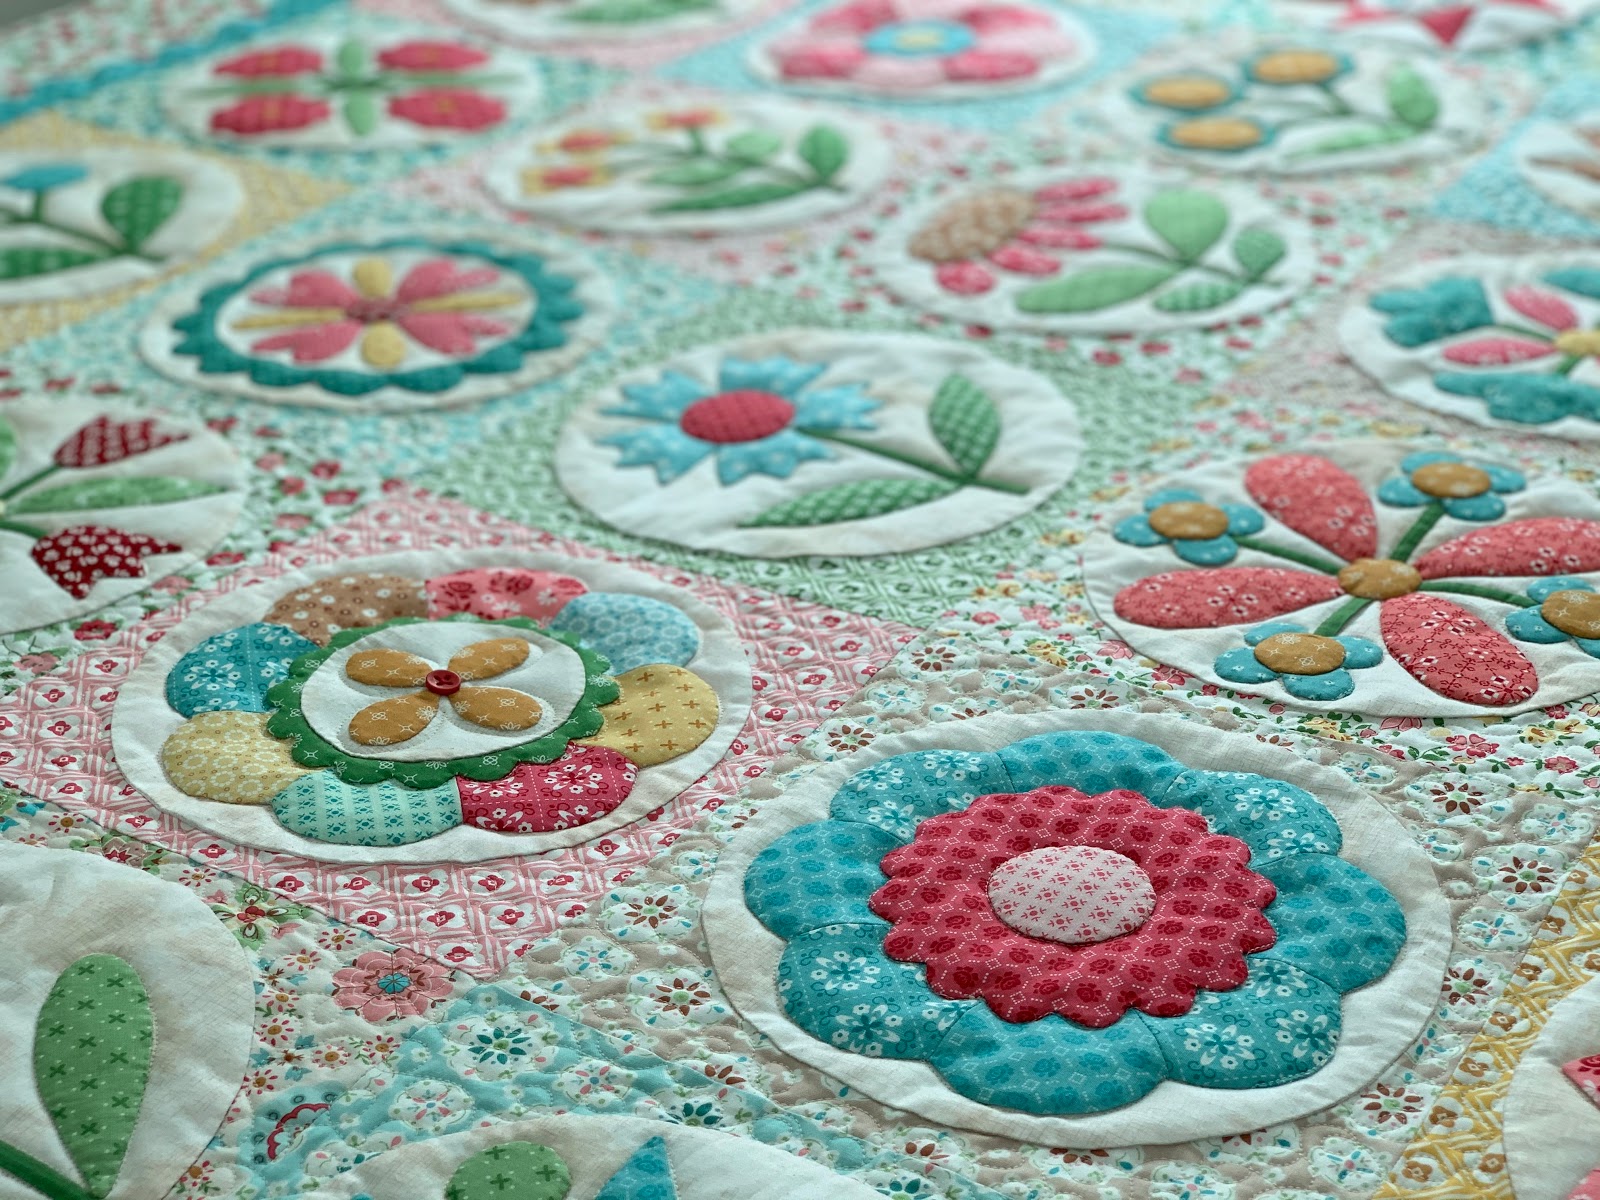
I want to show you so that you can
see the blocks and the amazing quilting
done my friend Juli Stubbs...
she is just so sweet and always does
such a beautiful job and on the
tightest of deadlines too!
On this quilt she did tight quilting
behind the large circles and then
simple outline around the
appliqué in each one.
By the way...
I'll be making some pillowcases from
Granny Chic Fabric but for now
I think this set of vintage pillowcases
looks great with my quilt.
Okay...onto the photo parade!!



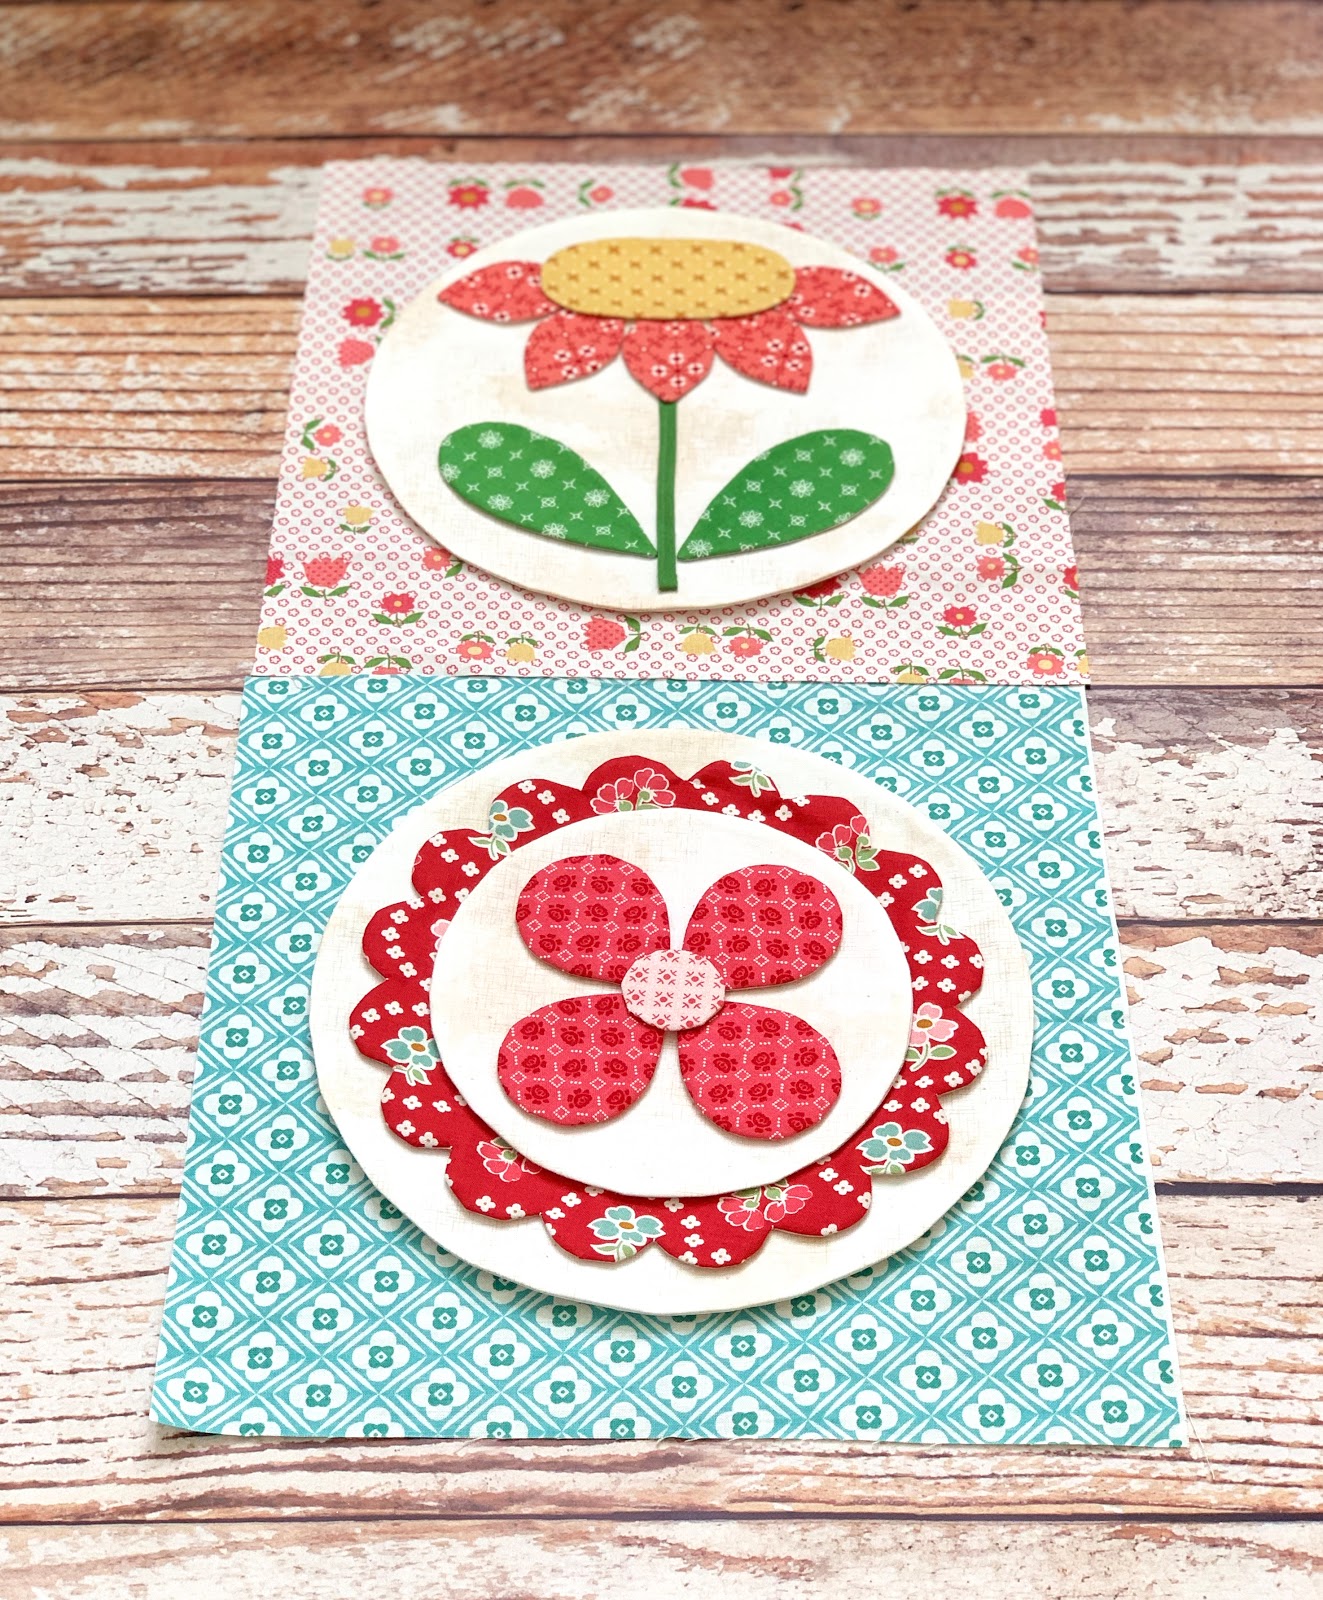
Now let's talk about the quilt label:)
I wanted to show you how you can
add a label to your quilt
AFTER it's been quilted...
as well as BEFORE.
The most common time to
add a label is of course before quilting...
but sometimes we forget...
or we run out of time before
we have to get it to the quilters...
or we didn't think it needed a label
and then afterwards decide that it did
but thought it was too late.
Well...no worries because
I've got you covered!
I'm going to show you how simple
it is to add a label afterwards
by using Sew Simple Shapes and "simply"
hand appliqué onto the backing fabric
of the quilt and not
through all of the layers.

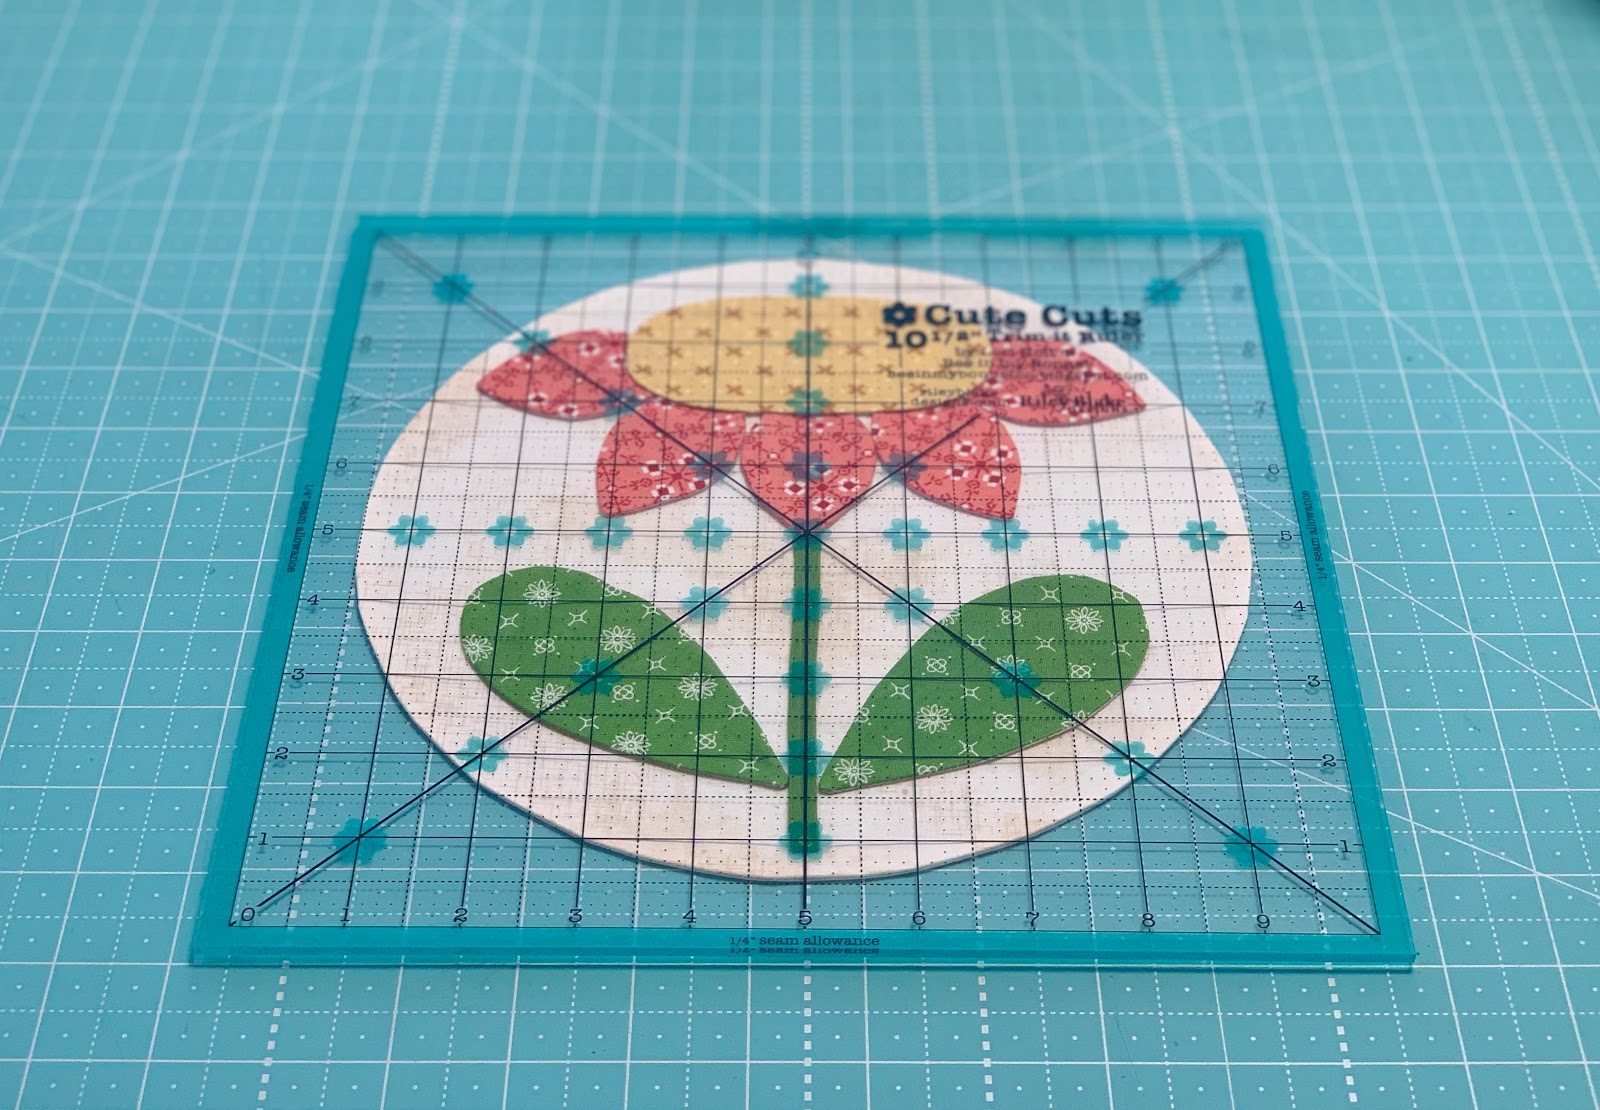
What you will need to cut
for your flower label:
8 - 3" scrappy squares for the flower
(we will use I-25 for these)
1 - 3" square from Shabby Cloud
1 - 2" square for flower center
2 - 2" x 4 1/2" for leaves

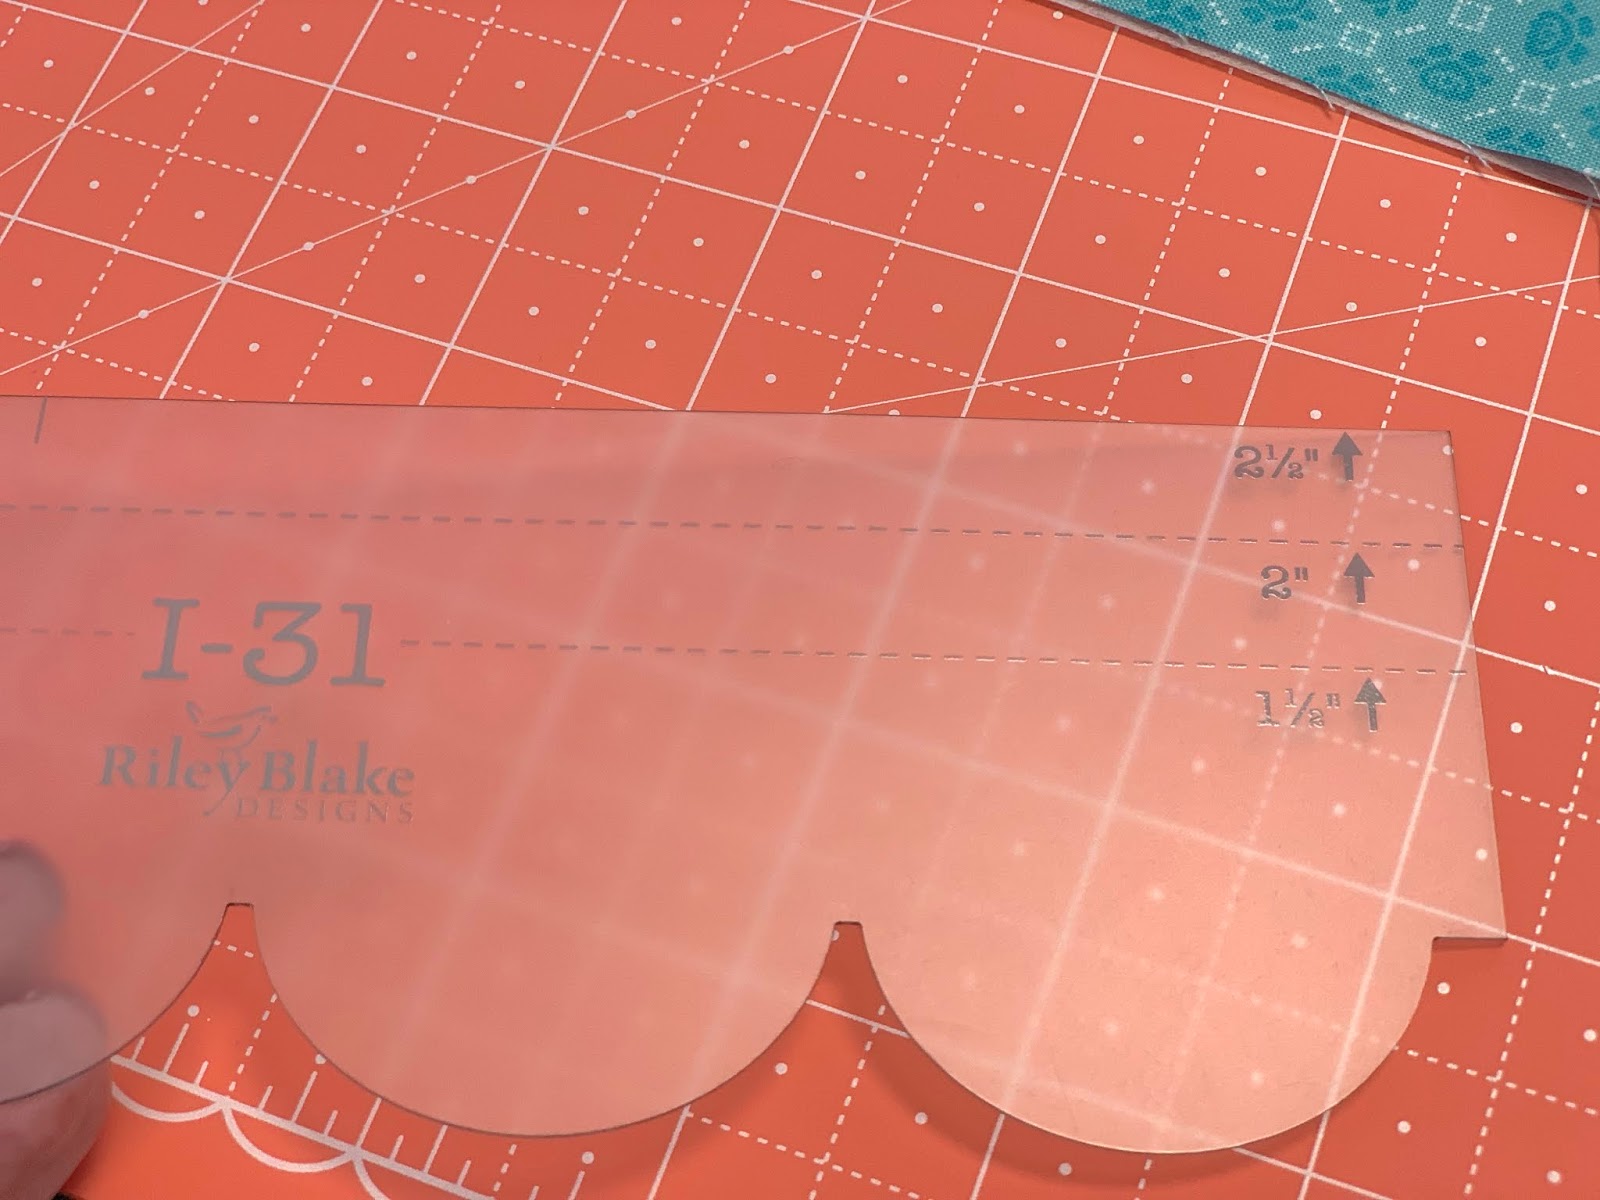
Sew Simple Shapes we are using are:
I-5 for the leaves
I-21 for smallest circle
I-24 for the dresden flower
and for the Shabby Cloud circle
use the smallest in the
Circle Ruler Set.
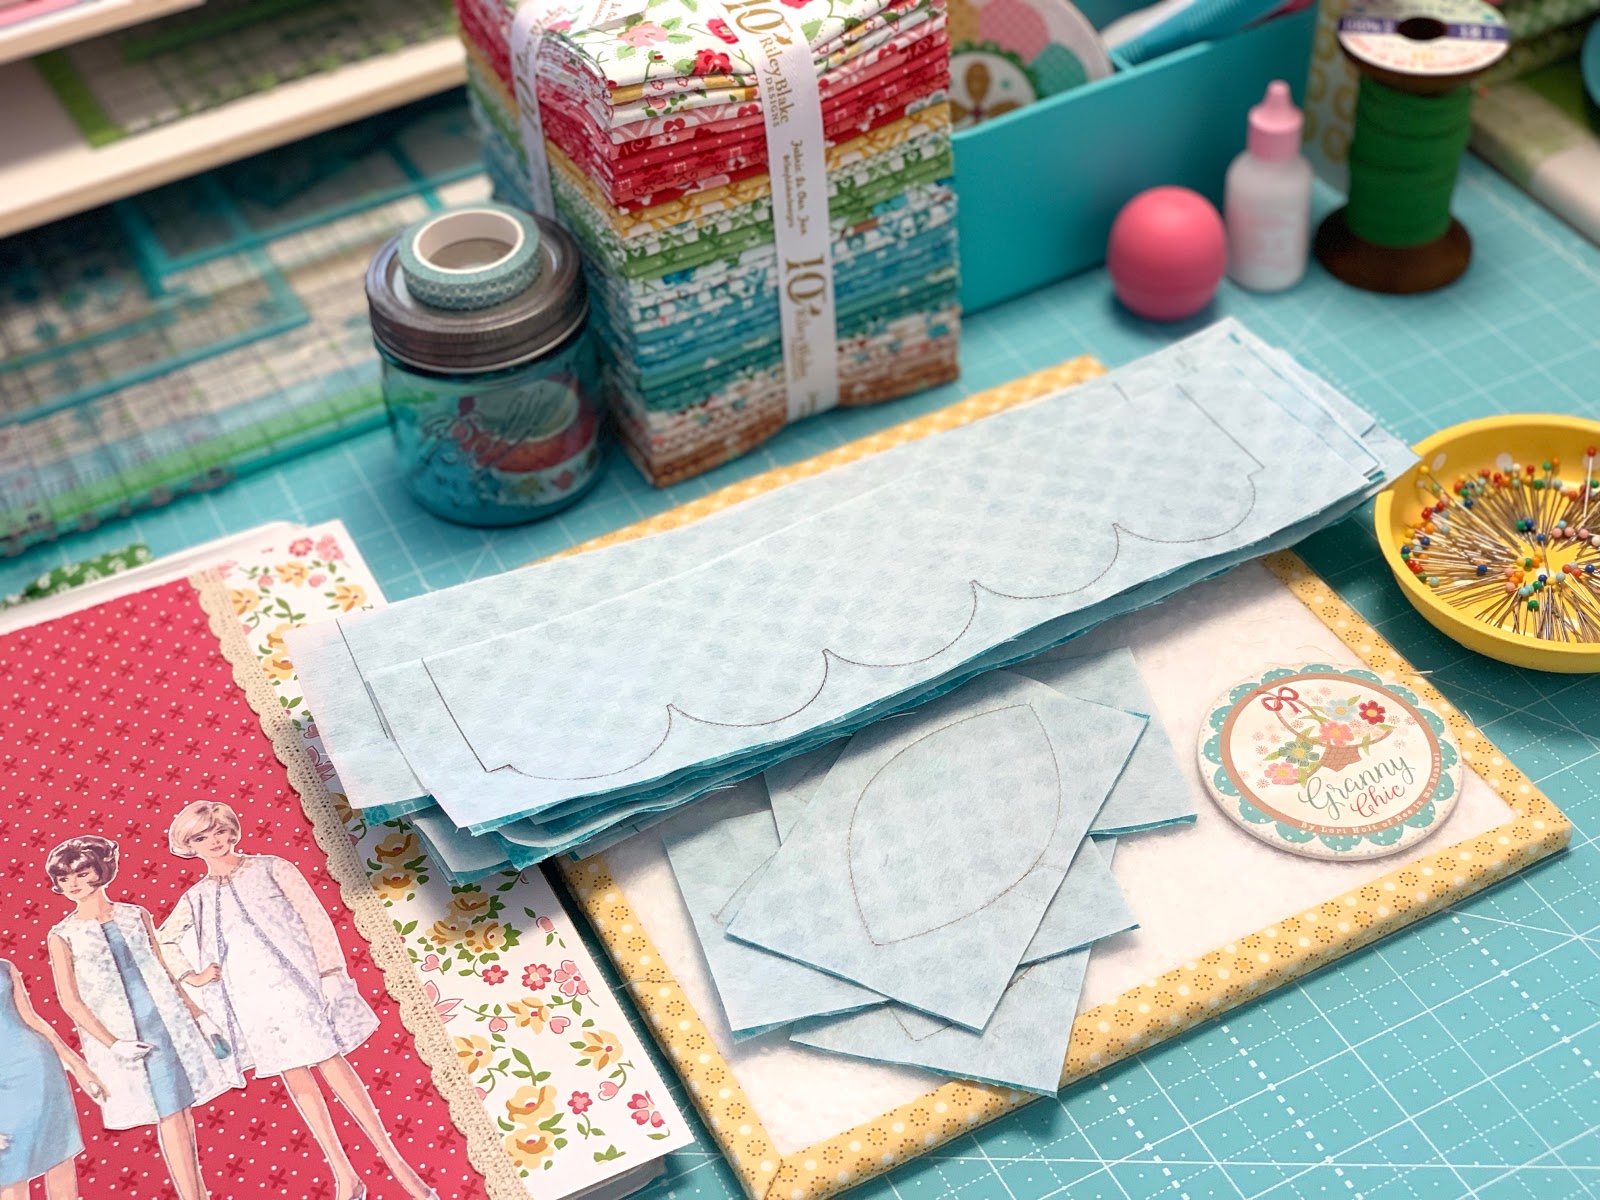
You will also need to cut the same size interfacing for the shapes with the
exception of the 3" squares...
just cut one 5 1/2" square
of interfacing instead.
Trace the shapes onto the interfacing.

You will need to cut a stem 6" long
and press one end under:)

Remember in week three when I showed you
how to make a dresden flower using 8 squares?
We also made a scrappy one
like this in week four.
(Link to each week
is at the bottom of this post)
Well...you make this one
in the exact same way...
the only difference is that you
start out with 3" squares
instead of 4 1/2" and
we will use I-24 dresden shape
instead of I-25 which is the largest.
So...after making 4 half square triangles...
sew them together into a
pinwheel block like this.
It should measure 5 1/2" at this point.

And don't forget to press your seams open
so that your flower will lie flat:)

Now it's time to sew all the shapes!

Make sure that each cleavage point
is on the seam when you are
sewing your dresden flower.

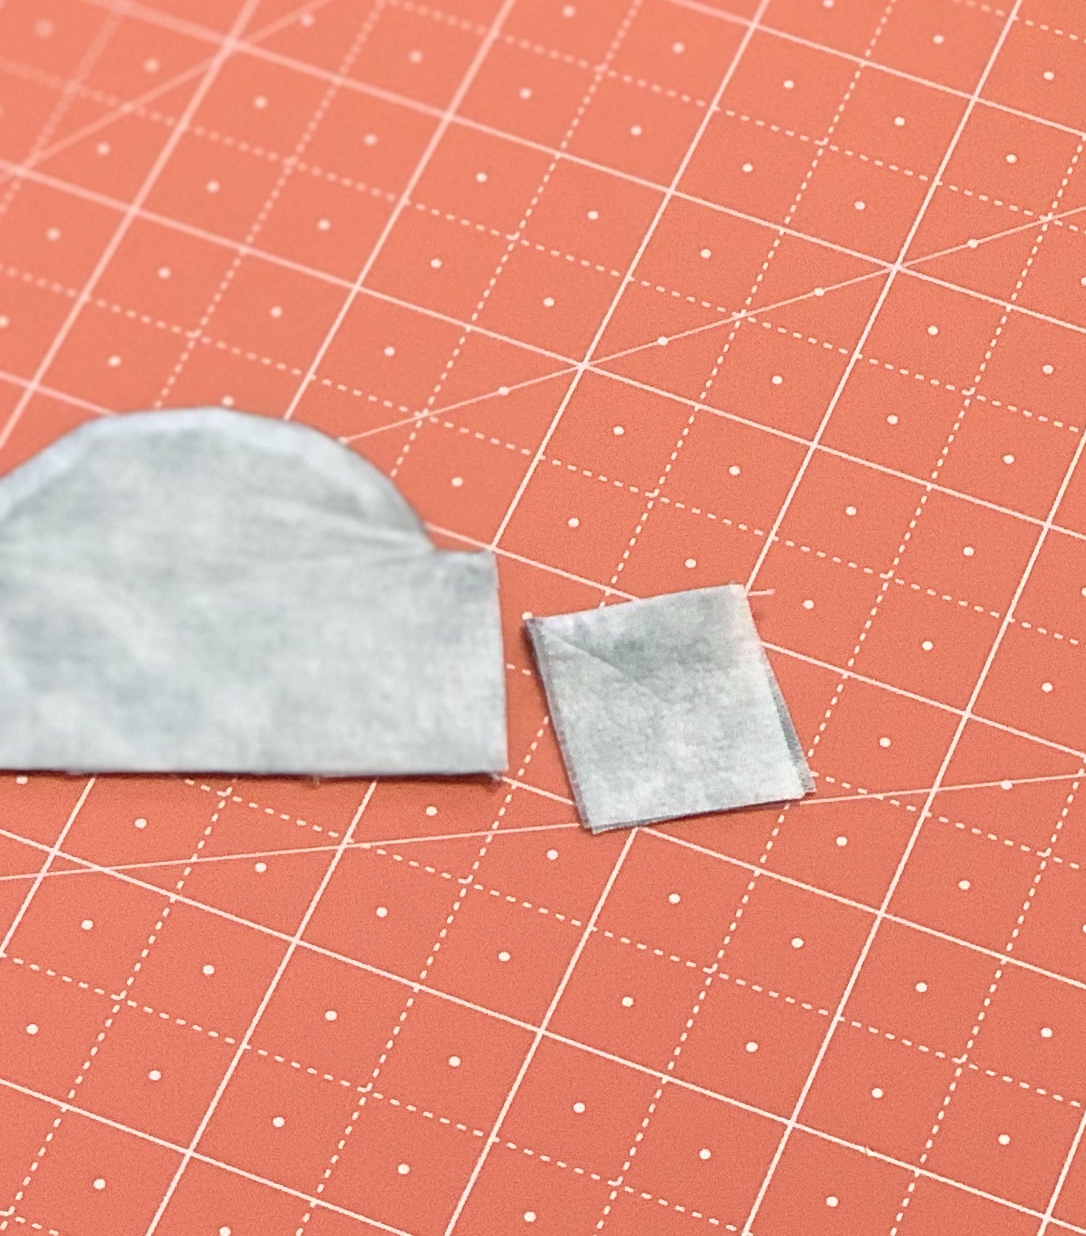
Trim them up and cut the "X" for turning...

Be sure to clip the cleavage
in the flower before turning.

Shape and press!

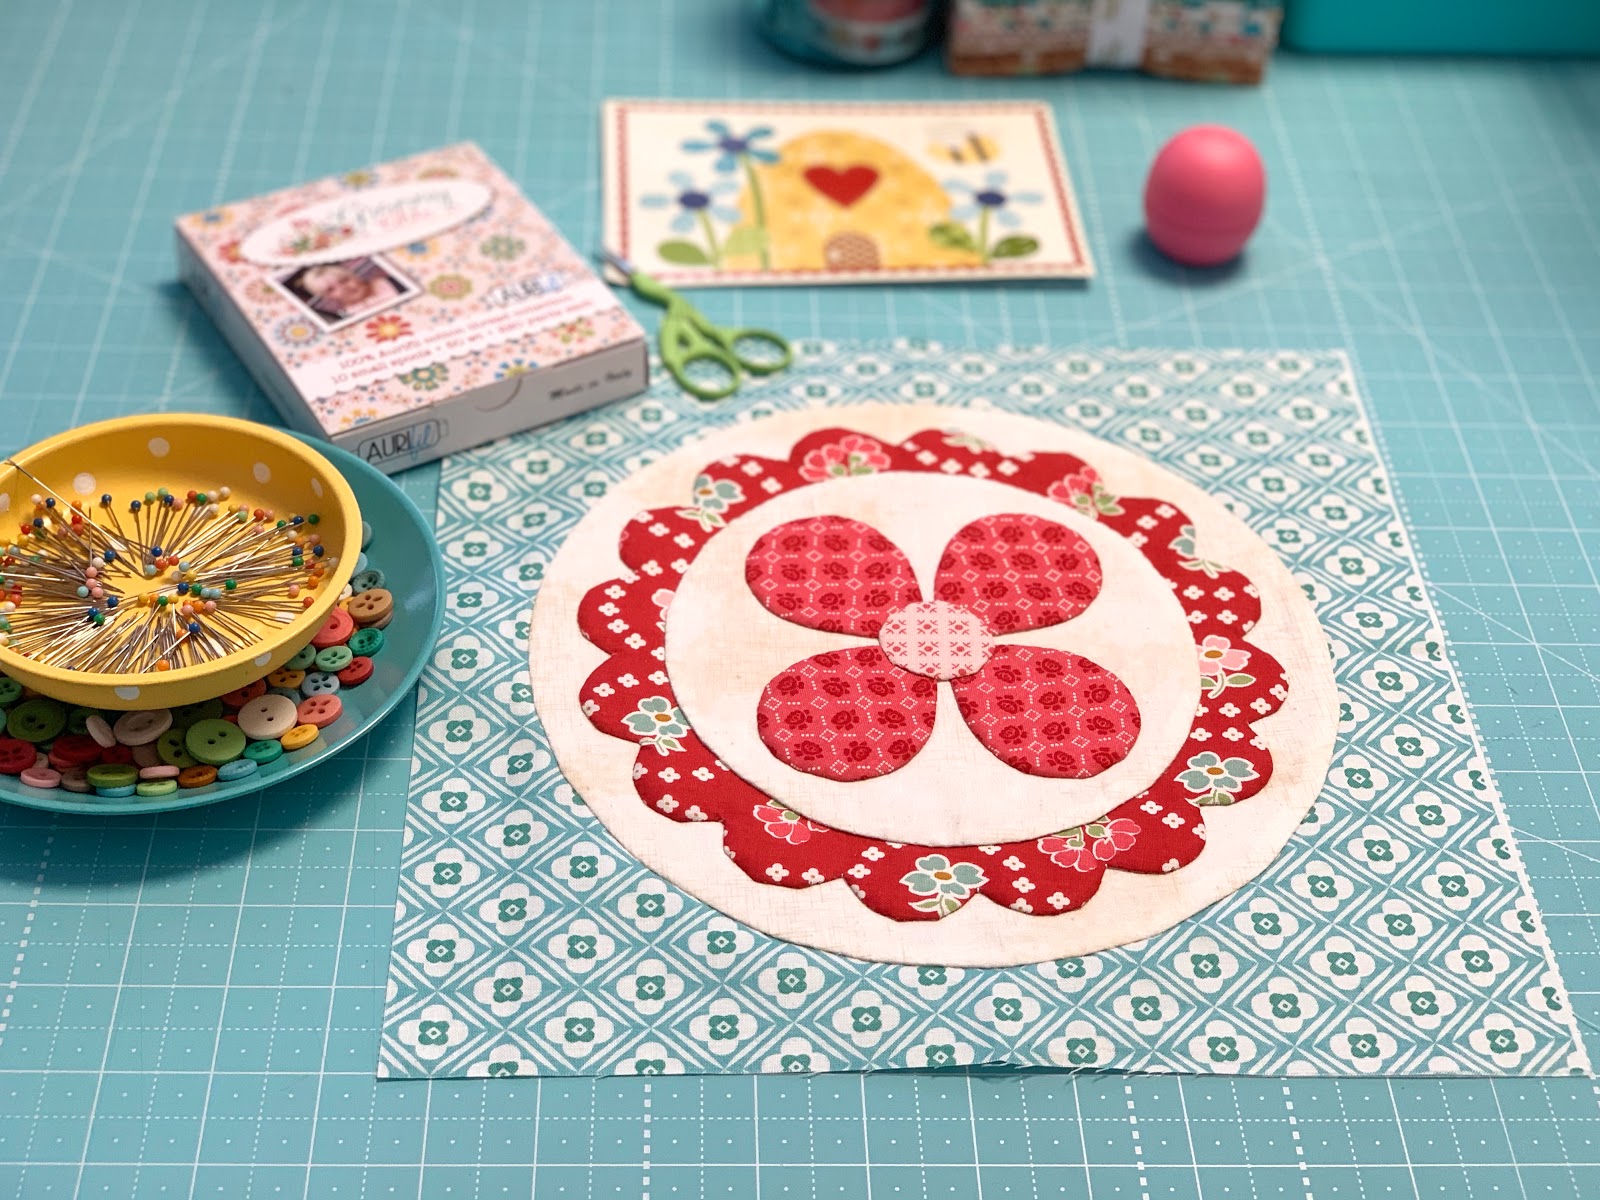
I Sue Glued my small circle in the
center of the Shabby Cloud circle first.
I'm using a Micron Pigma Pen
to write because it is permanent
on fabric and will not bleed.

I wrote the name of the quilt...
wrote my name and wrote the year.
Simple but effective in labeling
and documenting my quilt...
in a super cute way!

Then I appliquéd the circles onto
the center of the dresden flower.

Then I Sue Glued the entire flower...
stem and leaves onto the
bottom corner of my quilt.

Then I appliquéd as usual...
making sure that I only went through
the backing fabric and I hid
my knots underneath the applique.
I used the Cloud colored thread from
the Granny Chis Aurifil
to do the flower and did not
change color for each petal.

I love this cute little
Granny Flower Label
and I hope you do too!
Now for some outside quilt photo shots!

I always try to get some photos outside
if the weather permits because
I love the natural light.
Yesterday the weather here was
windy and cool but sunny and so
here is what we ended up with!

Of course Toby always has to be
front and center...
checking out the quilt
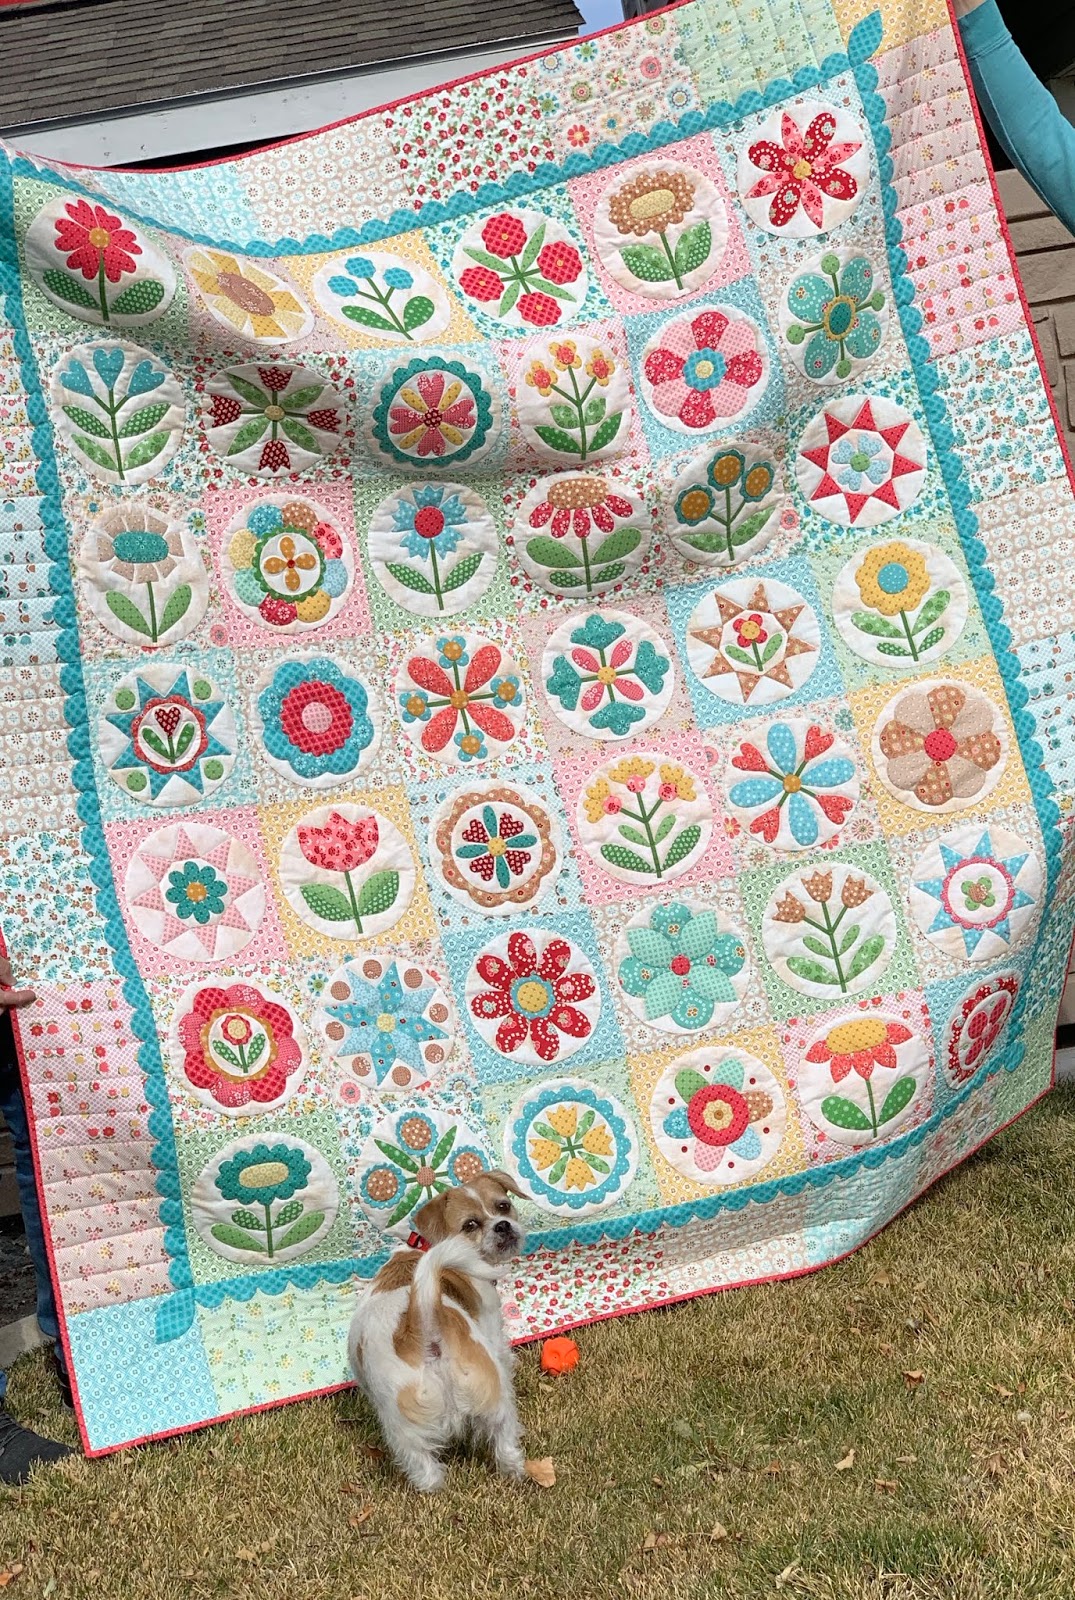
And expecting us to throw the ball
for him even though we are
obviously kinda in the middle of something:)

Wind is blowing and
Mr.Honey and Sterling trying
to keep the quilt straight...
Finally a pretty good shot of the entire quilt...as good as expected in the wind!

Oh my goodness!!!
I just can't tell you how much
I love and adore this quilt.
I love and adore that you are
making it with me...
I hope you are enjoying it
as much as I did.
Again...
stay tuned for more Granny Chic
and next week I'll show you
what I'm doing with the extra
"surprise" Sew Simple Shape in the set!
xx
Lori
Click on the links below
to view each week of this sew along!!
1. Bee Prepared
2. Week One
3. Week Two
4. Week Three
5. Week Four
6. Week Five
7. Week Six
8. Week Seven
9. Week Eight
10. Week Nine
11. Week Ten
12. Week Eleven