

Welcome to the farm!

It's week four in the
Farm Sweet Farm Sew Along
and we are going to make trees today:)


We are using Farm Girl Vintage fabric...


And making the
Farm Sweet Farm Quilt!
if you are just joining us
and want to know all about it!
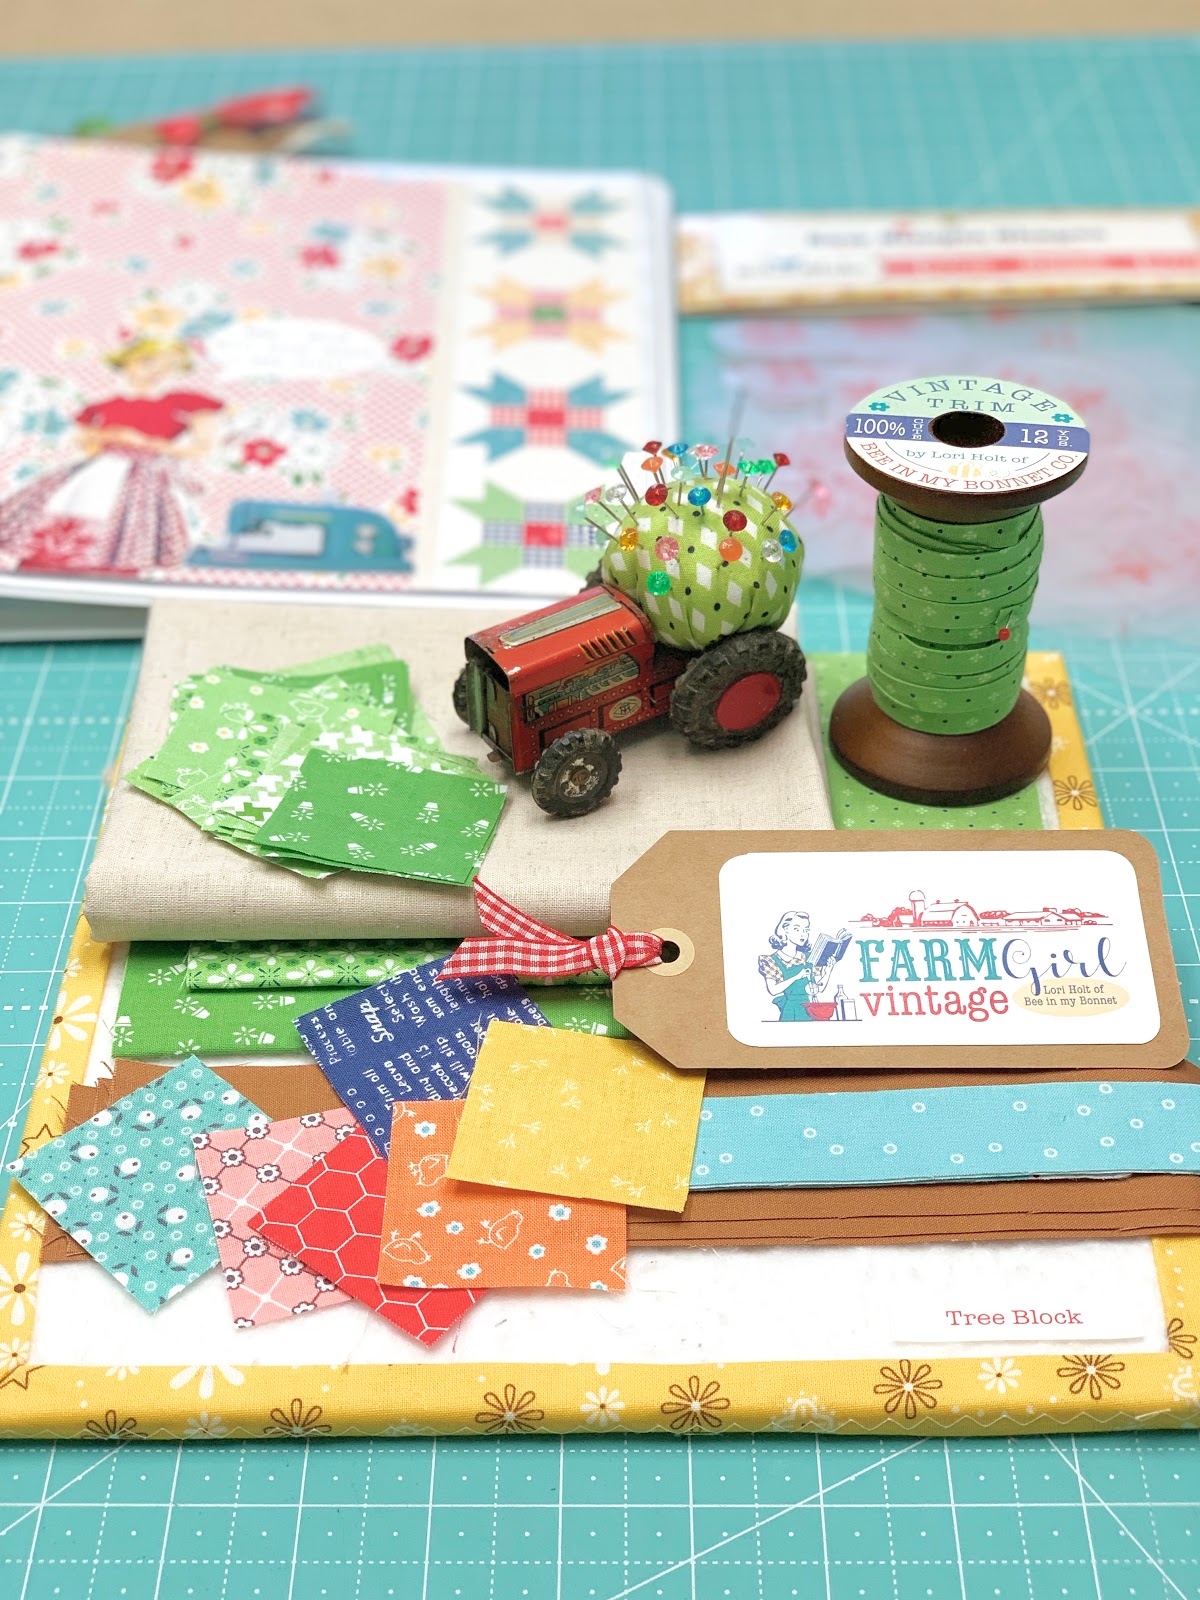
My tree block kit is all cut
and laid out on a small design board.
You should have all of your pieces cut by following the sew along guide...
easy peasy!!
Farm Sweet Farm
Sew Simple Shapes:
H4 - 3
H15 - 12
H22 - 3
H36 - 3
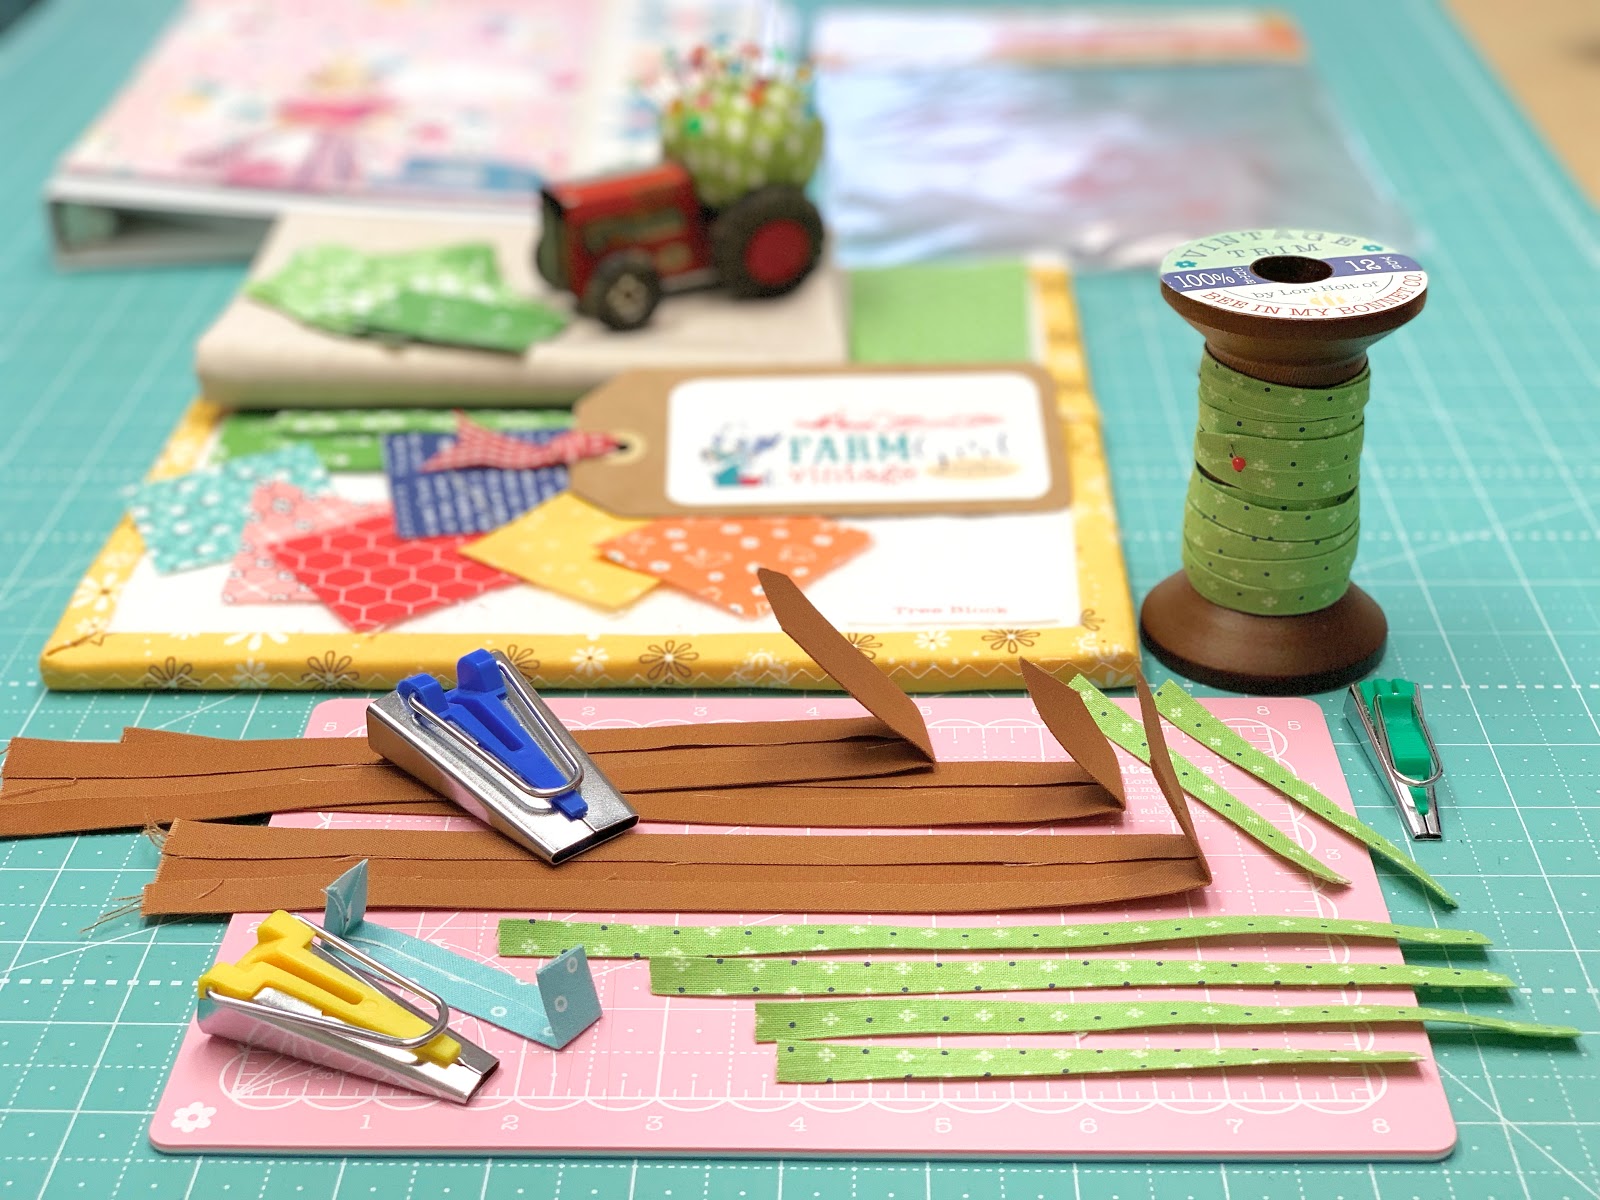
Let's talk about the strips:)
Run the tree trunk strips
through the 1" bias tape maker
and press one end under
for the bottom of each trunk.
Run the Cottage Circles strip
through the 1/2" bias tape maker
to use for the swing.
The swing will need to finish at
2 1/4" wide so cut it about 3" long
and press the ends under.
From your spool of prepared stem strips
cut a 7 1/2" - 6 1/2" - 6" - 4 1/2"
and two 3 1/2" for the flower stems.

Grab your traced interfacing pieces
because its time to sew the shapes!

Before you turn the tree and
the daisy shapes you will need
to clip the cleavage areas.

Turn...shape and press:)

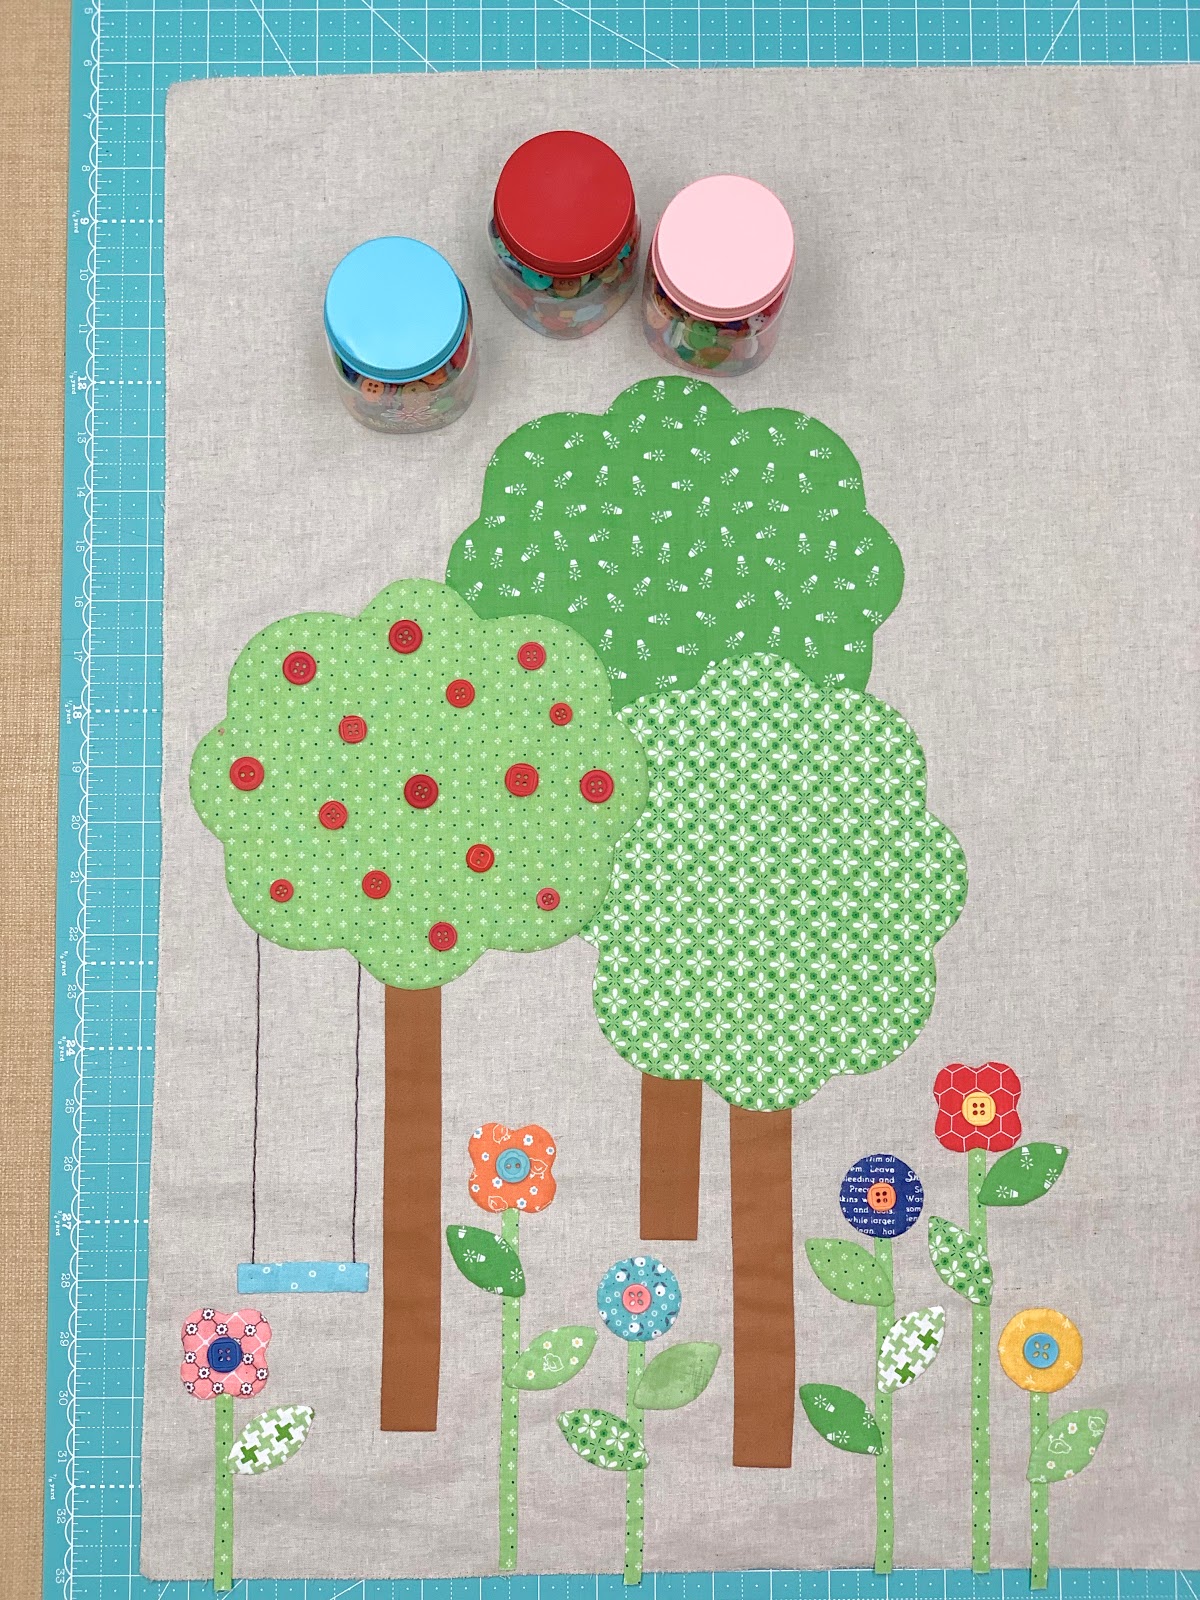
Here's what my block looks like
all pinned and ready for Sue Glue.
I used 2 large design boards
to lay out the block:)
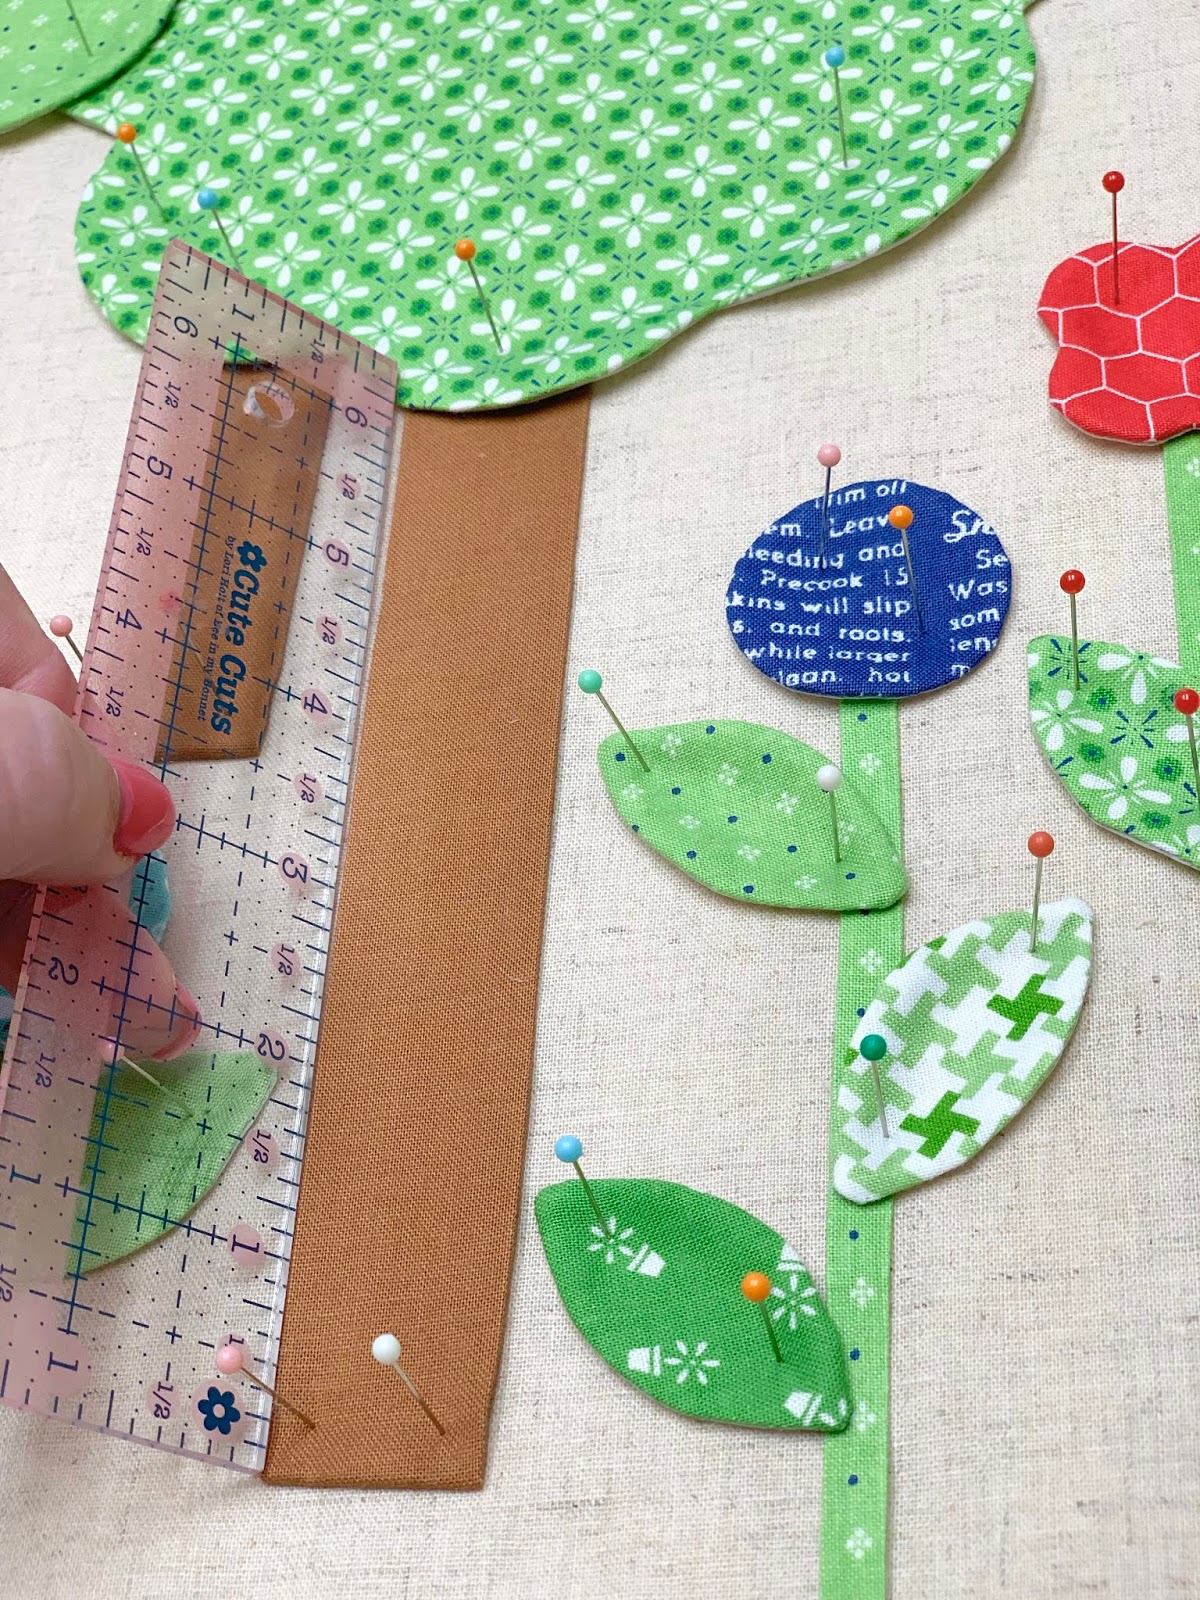
I took some close up pictures
of my block that will help you
in laying yours out:)

First of all...
I decided that I'm going to sew the
left side of the block directly
to the right side of the
barn block when it's finished...
without trimming any background
from the left side.
The tree is 1/4" from the edge finished...
so I pinned it 1/2" in from the edge
to allow for the 1/4" seam allowance
when it comes time to sew them together.

Same goes for the coral daisy
on that same side...
I pinned about 1/2" in from the left.

By the way...
this extra leaf will be appliquéd
over that seam after sewing
to the barn block
so I put it aside until later:)

The measurement from the left edge
of the background to the
leaf outside edge on the right side
(the one on the stem of the yellow flower)
is 16 3/4"...
so don't let your design
go any wider than that:)
I measured up 2" from the bottom edge
of my fabric and pinned the
lowest tree trunk bottom there.
When I trim off the
bottom background edge after applique...
I'll trim off about 1 1/4".

The shortest trunk measures
about 2 3/4" up to
where the treetop is.
The trunk for that tree
measures about 6" long.
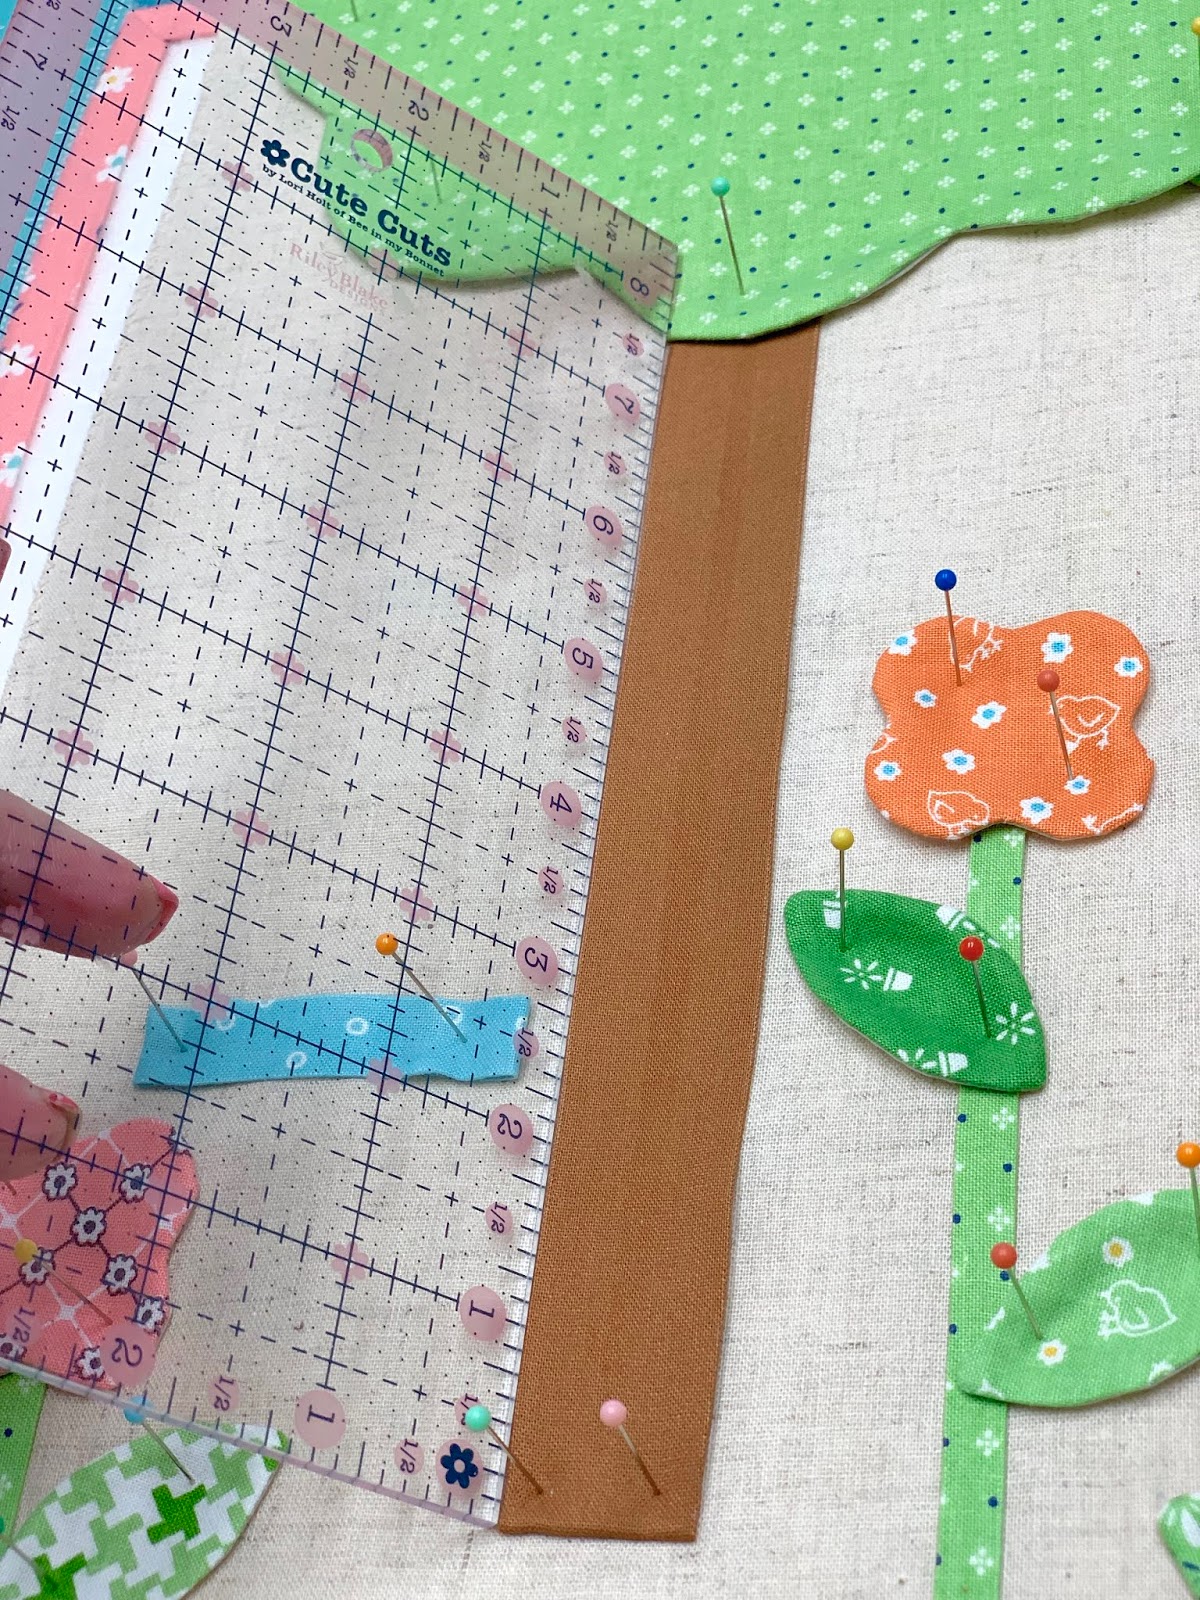
The tree trunk on the left
measures about 7 1/2" long.

It measures about 7" wide
from the outside edges
of all three tree trunks.

The entire height of this tree
from the very top to the bottom
of the trunk measures 15"

The center tree measures 15 1/2" tall...

And the far right tree measures 14" tall.

You can use these measurements
to see how I spaced
the flowers in between the trees:)

After I glued everything
I took out the pins and
put on the rulers and my heavy
bumble bee rock so glue can dry.

I pinned my leaf in the
tractor pincushion for safe keeping!
Fast forward a few days...
and the applique is now completed!
Let's talk about the
Cute Little Buttons
for the flower centers and apples.

Oh wait...before that I almost forgot
to tell you that I used 3 strands
of the dark gray Aurifloss
for the swing ropes.
Above are the colors of buttons
that I'm putting on the flowers:)

For the apples...
I'm going to use several sizes
and styles of red buttons from
all 3 of my Cute Little Button jars.
I'll sew these on after quilting because
they are close enough that it will
be hard to quilt around them.

Before sewing on the buttons
you will need to press your block
from the back and trim it to
17 1/2" wide x 24 1/2" tall.
I haven't trimmed my block up yet...
I'm waiting until I finish the barn block
and then I will sew it to the left side
of that block and trim it up afterwards:)

As a reminder...
instead of starting on the barn block
next week as planned...
I switched it to doing the
chicken coop block first:)
Have fun making your trees this week...
and I'll meet you
right back here next week!!
xx
Lori

No comments:
Post a Comment