

Welcome to week ten of the
Vintage Housewife Sew Along


if you need to download the
Sew Along Guide and
if you are just joining us and
need to read the Bee Prepared post
that tells you all about this sew along:)


We are using Vintage Happy 2 Fabric...
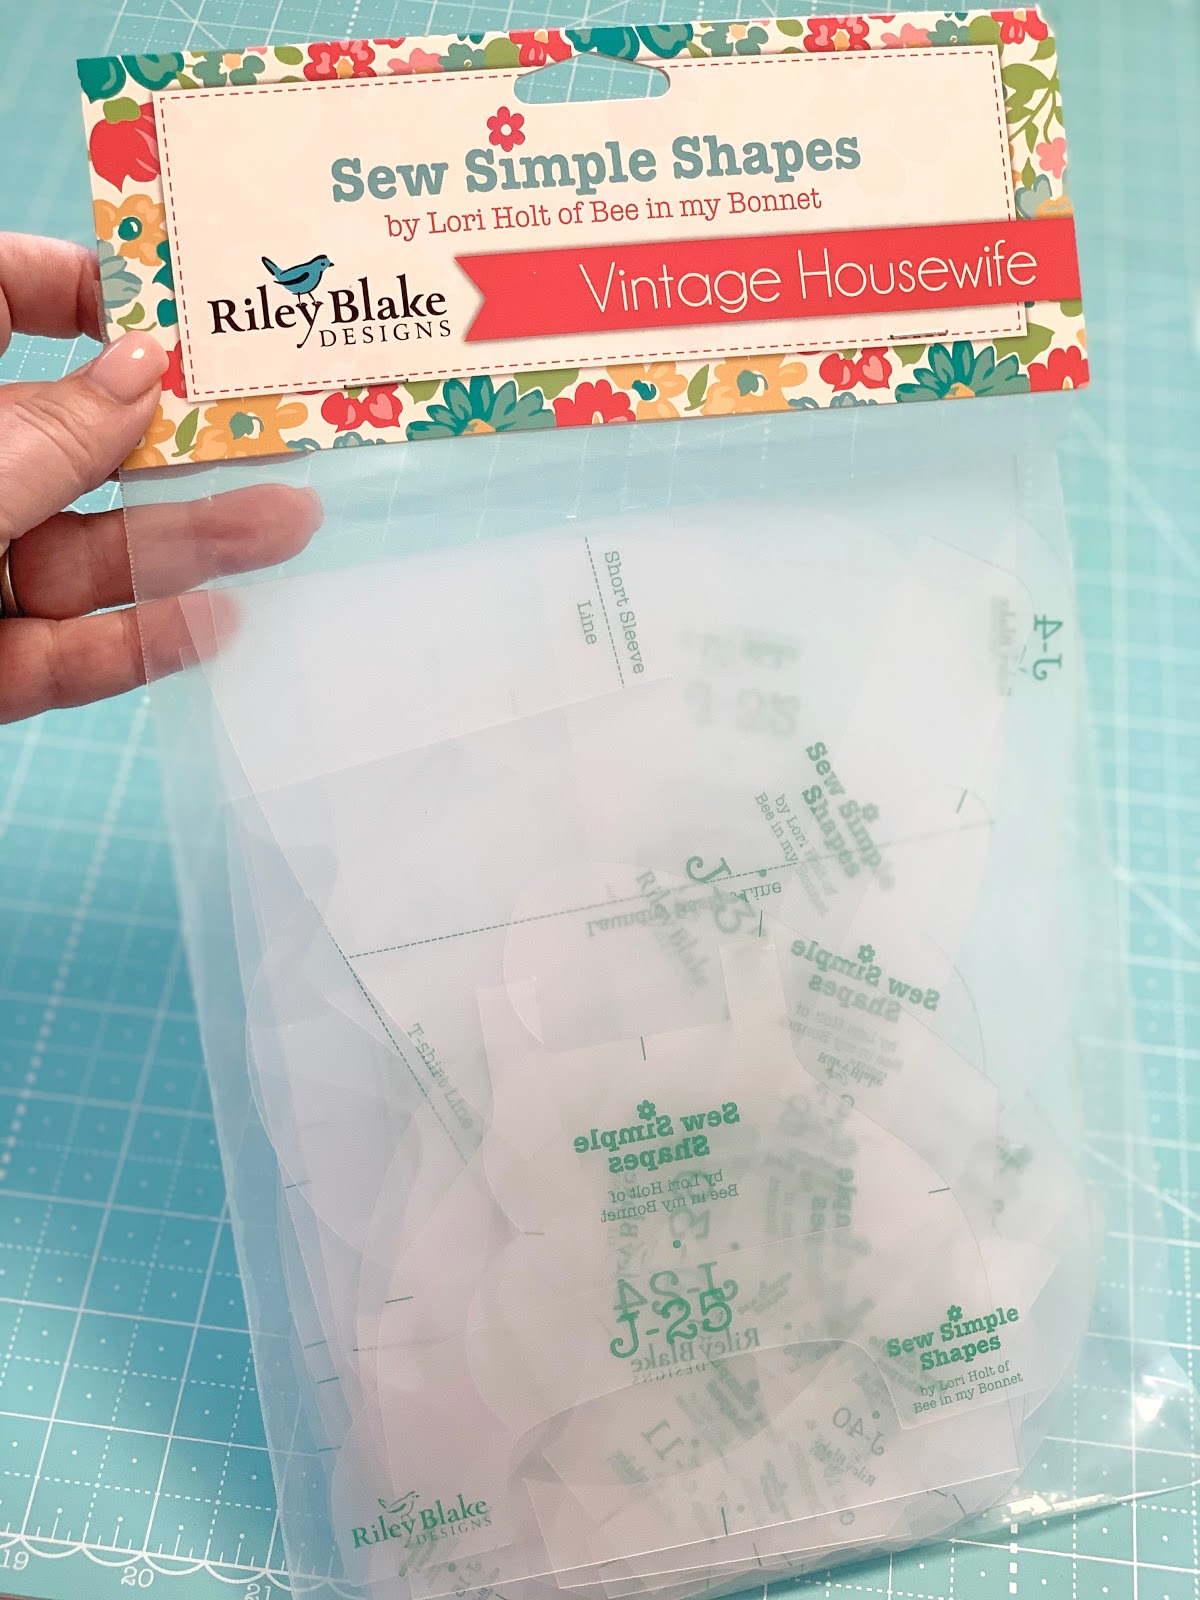
And my new Sew Simple Shapes

To make the
Vintage Housewife Quilt
74" x 82"

These are the blocks that
we have done so far:


Today we are going to hang the clothes
for the Clothesline Block!

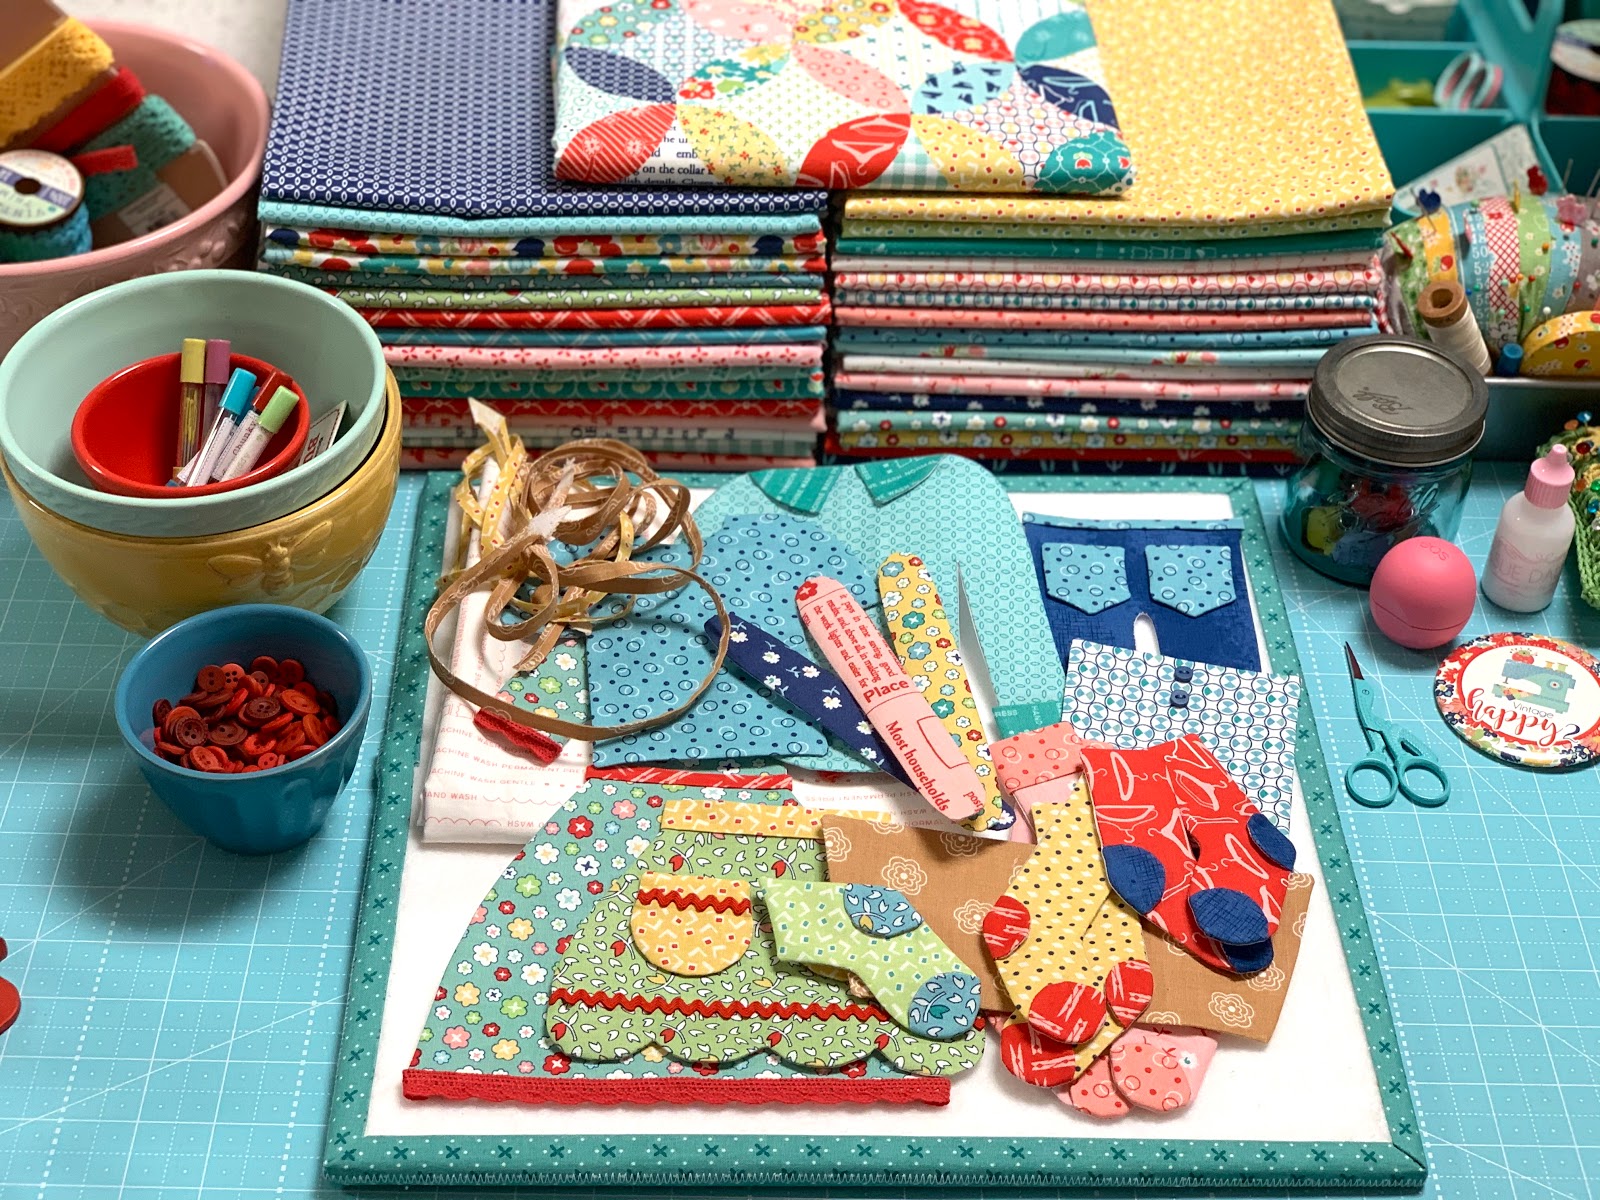
Okay...lets get started!
All of your clothes should be prepared
and ready to glue baste
if you followed last weeks tutorial:)

***NOTE***
It's very important that your
background fabric for this block is
cut 14" x 60" exactly
as called for in the sew along guide.
I am telling you where I am placing
the clothes according to that measurment.
Time to start!!
First measure 1" down
from the top and draw a line.
This line will need to be drawn
along the entire width of the fabric.
This is your top CUTTING line
for AFTER your appliqué is completed.

Okay!
Now from that line measure down 1 1/4"
and draw another line
across the width of fabric as well.
In other words...
2 1/4" from the top edge.
This second line is for the clothesline
and where you will
stitch the small Songbird Vintage Trim.

Let's do the dress first.
It's almost right in the center.
What I did is to find the center
of the block (30" in) and place a pin...
you can see it in the photo above.
Notice that the center of the
right collar aligns with the pin
and that's where you will
glue baste the dress.
Also...
I place all of my clothes 1/2"
down from the clothesline.

Glue basted into place!

Now let's do the left edge of the block.
Grab the yellow socks and measure
1/2" down from the clothesline and
3 1/2" from the side edge...
just like in my photo.
It looks like my socks are
a little under 1/2" apart.
Glue baste into place!

The jeans...shirt...and nylons go
in-between the yellow socks and the
dress so you can go ahead
and glue them down:)

Just lay them out spaced
the way that they look nice...
remembering to measure 1/2" down
from the clothesline.

Half of the block is glue basted!

Now for the remaining half:)

Start with the right edge this time...
and the red pair of socks.
Again...
measure in 3 1/2" from the side edge
and 1/2" down from the clothesline.

Next place the laundry basket.
The BOTTOM of the laundry basket
should measure 10" down from the
clothesline and measure
4 1/2" in from the edge.

Add the folded clothes and the
very curvy 1/4" strips that have been
cut on the bias for the handles.

I glued the boxers next just
a little to the left of the
laundry basket handle and
1/2" down from the clothesline.

Three down on this side and two to go!

I placed the t-shirt next about
1/2" away from the dress.

Now for the apron:)

Place it in the center
so that you have room for the apron strings.
I cut my tie piece in half
so that I have two!

Press one end of each apron string under
and then place the raw edges
under the waistband first.

I placed little drops of glue
onto the back of the apron string...

and shaped my apron string
curvy like this and glued down...
now repeat for the other side.

The bottom of my apron measures
6 3/4" up from the edge.

Apron is glue basted!

Entire block is glue basted...
YaY!!!

View from the other end:)

Now for the basting the clothesline:)
Remember that I used aqua because
the Songbird was not available yet.

I lightly glued mine down and then
stitched it down with matching thread
during the applique.

Clothesline on!

Now for the clothespins:)
You will need to prepare 18
that measure 1 1/2" long after
pressing each end under.

All ready to pin the clothes to the line!

Measure 3/4" down from the CUTTING LINE
(your first line that you drew)
and glue baste your clothespins
in the center of each sock like this:)

Continue on down the line
LOL pun intended:)


Clothes are all hung on the line
and now we are ready to applique.
YaY!

After applique it's time to trim up
so that you can add the borders.
You will need scissors and the
12 1/2" Trim -It Ruler.

Start by using the scissors to
cut on the top line that you marked.


Now use the ruler and place it
on the top edge and trim the
bottom edge all along the block
so that it all measures 12 1/2" tall...

Like this!
Now for the sides.

Place the center of the block
onto the your cutting mat like this.
I placed pins on my center again
so that I know where it is.

Use the mat lines to measure and cut
28 1/4" from the center of the block...

Like this.

Repeat for the other side.
Your block should measure
12 1/2" tall and 56 1/2" wide
at this point...before borders!

Sew the two 1 1/2" x 12 1/2"
side borders on first.

Sew the 3 - 1 1/2" x Width of Fabric
strips together.
I like to join mine on the
diagonal and press my seams open.
Sub cut into 2 strips that are 58 1/2" long.

And sew to the top and the bottom.

Oh my goodness!
Our clothesline block is
completed and I love it!!


Next week we will piece the apron
and sew the border squares.
I'll be right back here then with
the tutorial for you:)
xx
Lori

4 comments:
Yay!! Thank you for all the pictures Lori! Hope to finish this Clothesline block today. Your sew along was just what I needed to keep me busy at this unsettling time with the Virus. Loved the extra intricate work with these super cute and vintage blocks - bringing sweet memories back along the way! You are such a blessing with your work.
Love this block! Reminds me of playing in my mamas sheets on our clothes line when I was little...they always smelled so fresh! Hope ur are well!!
I just had to tell you how much I enjoy your work. It takes me right back to childhood. I hanged tons of clothes on the line. We also had tall poles to help keep the clothes off the ground...the lines would get stretched from all the weight of the wet clothes. The poles had a forked end to push the line up then wedged on the ground. When they weren’t being used for clothes the lines held up old blankets that were anchored to the ground by clothespins. We spent hours in our “tents”. Such sweet memories. You have an amazing gift of detail and recall!! Thank you so much. It is always a joy to see what you create next.
Glady
I remember Mom hanging clothes on the line for our family of seven mid winter, freezing her fingers and hurrying to get all hung before the clothes froze, down in Sanpete County, Utah
Post a Comment