

"Picket Fence"
and
"Grass and Soil"

Welcome to the first part
of week six in the
"CALICO GARDEN"
Sew Along!
Join me here each week
when I will be doing tutorials
on the blocks for the quilt.
Of course because we are all sewing
from all around the world
we all have different time zones...
But I will be posting each Monday
right here on my blog
and you can follow my tutorials
any time each week that
is convenient for you.
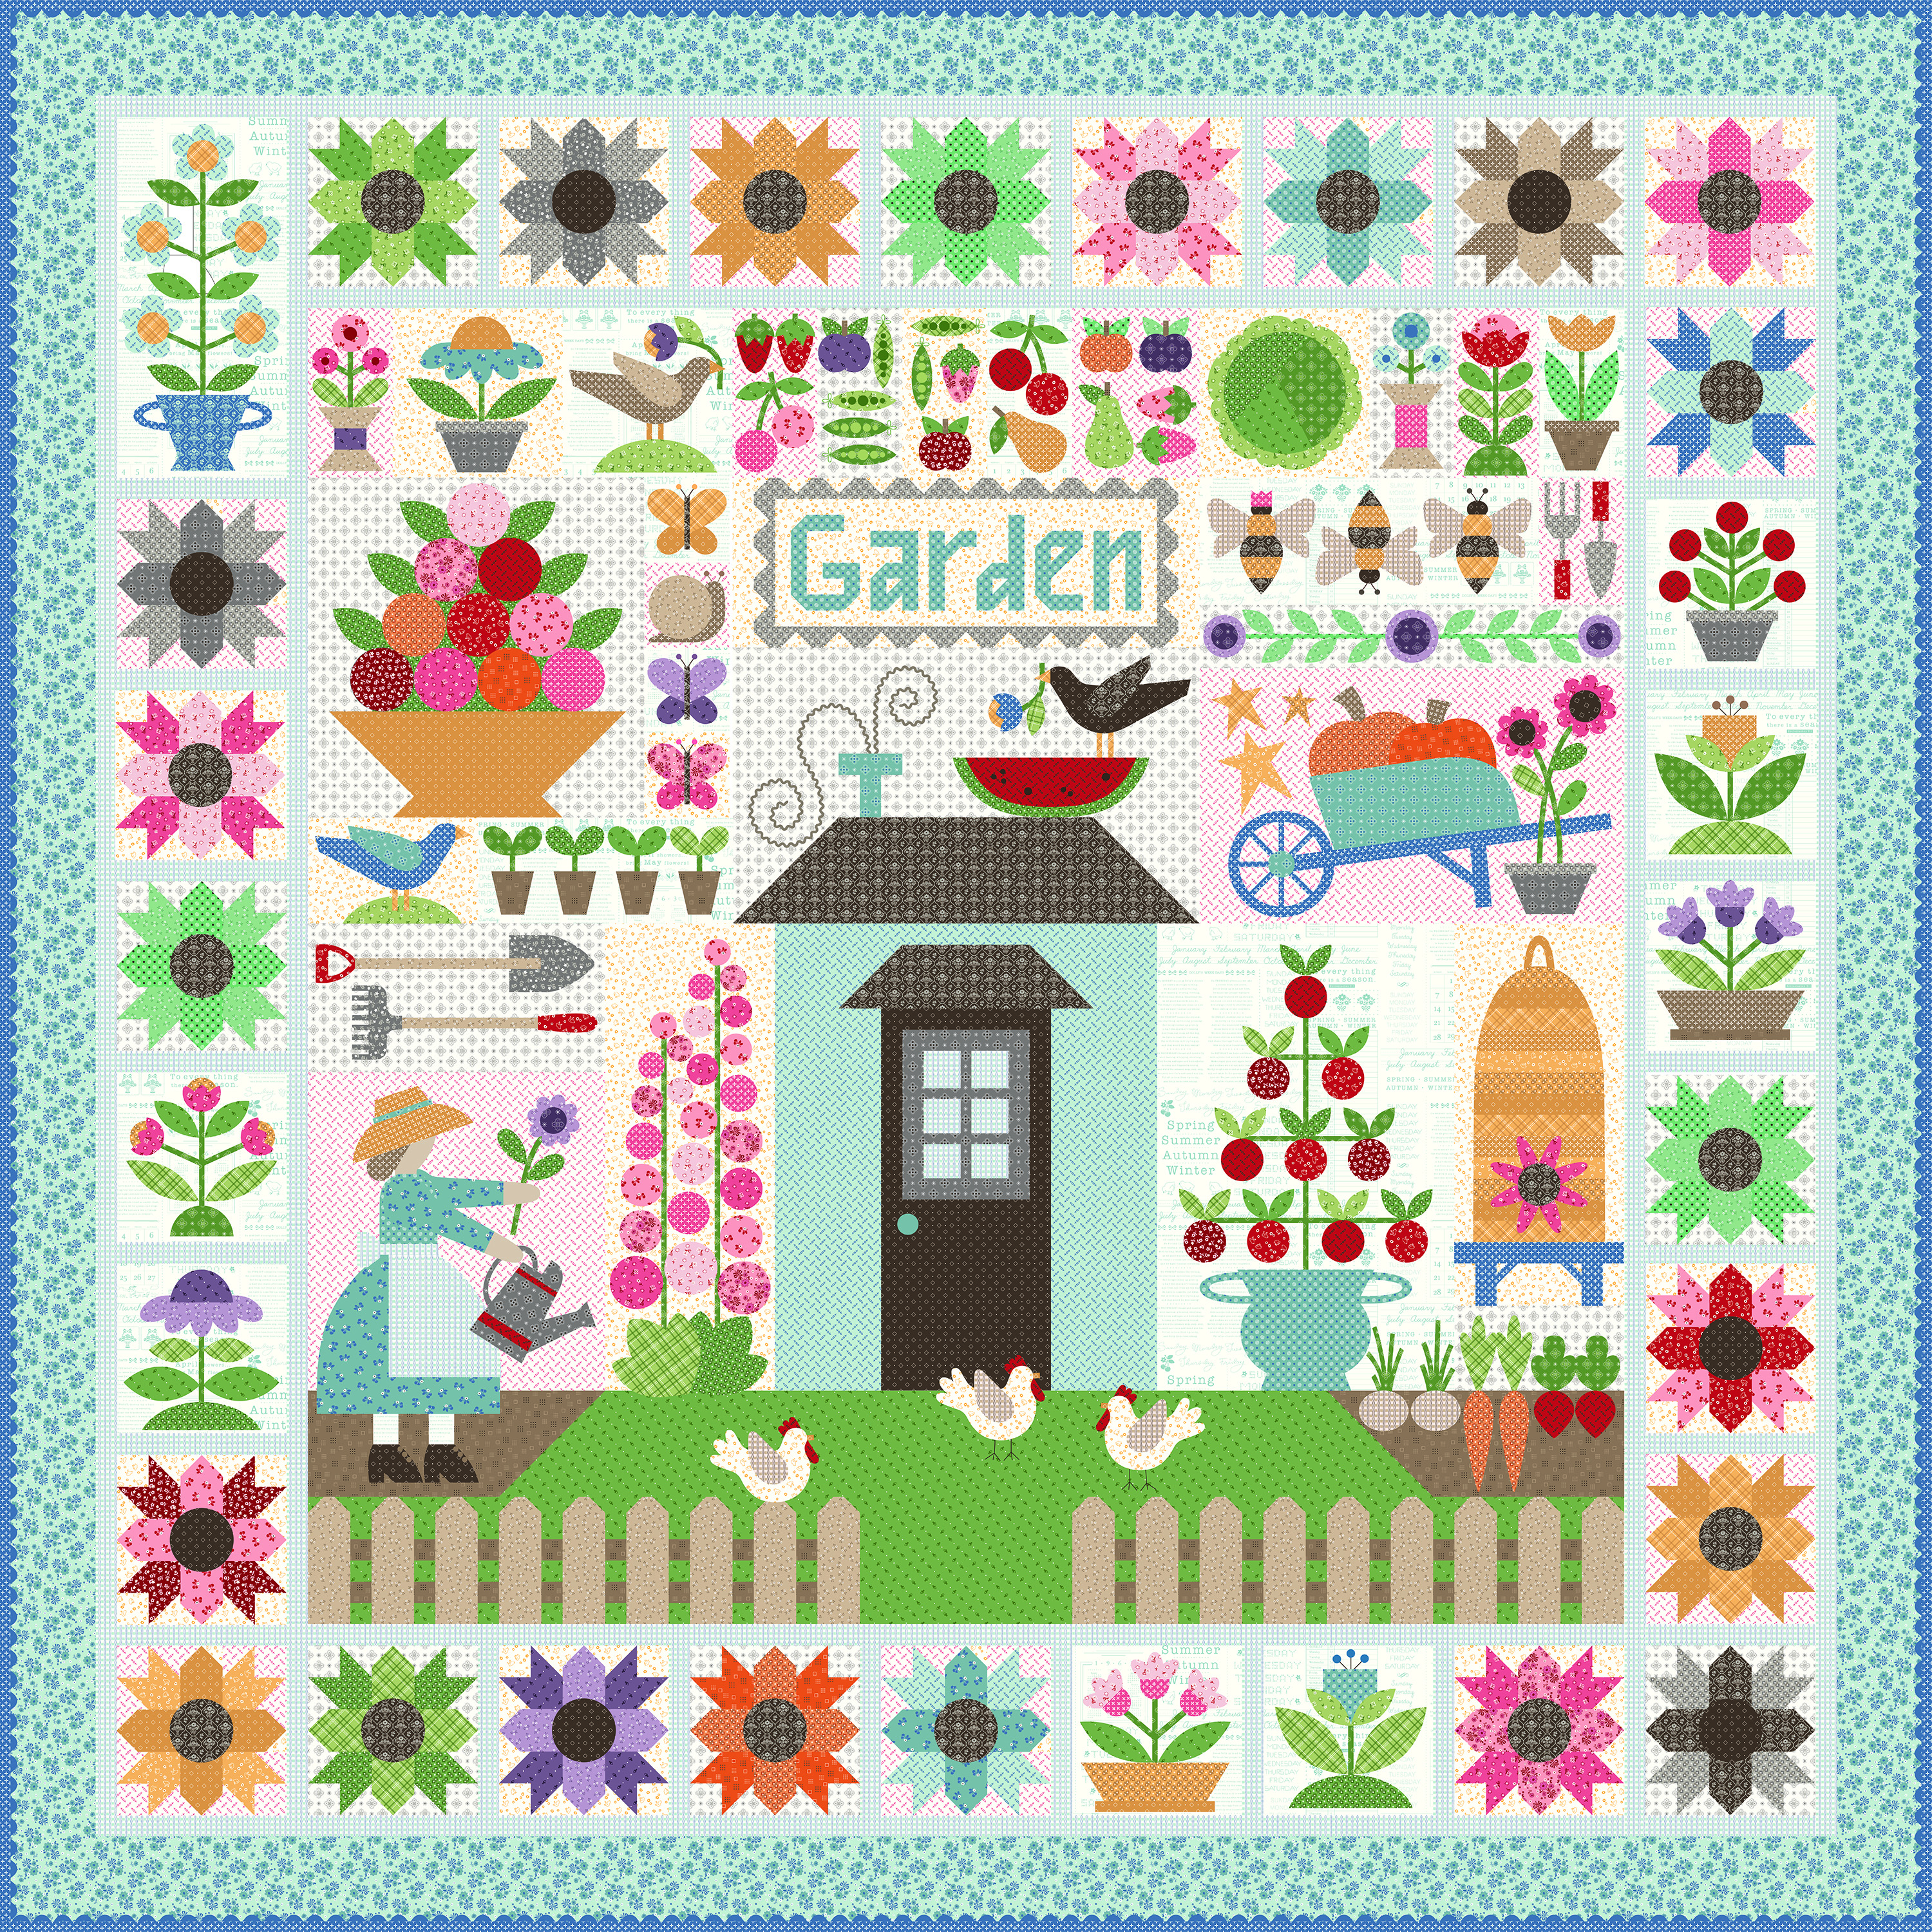
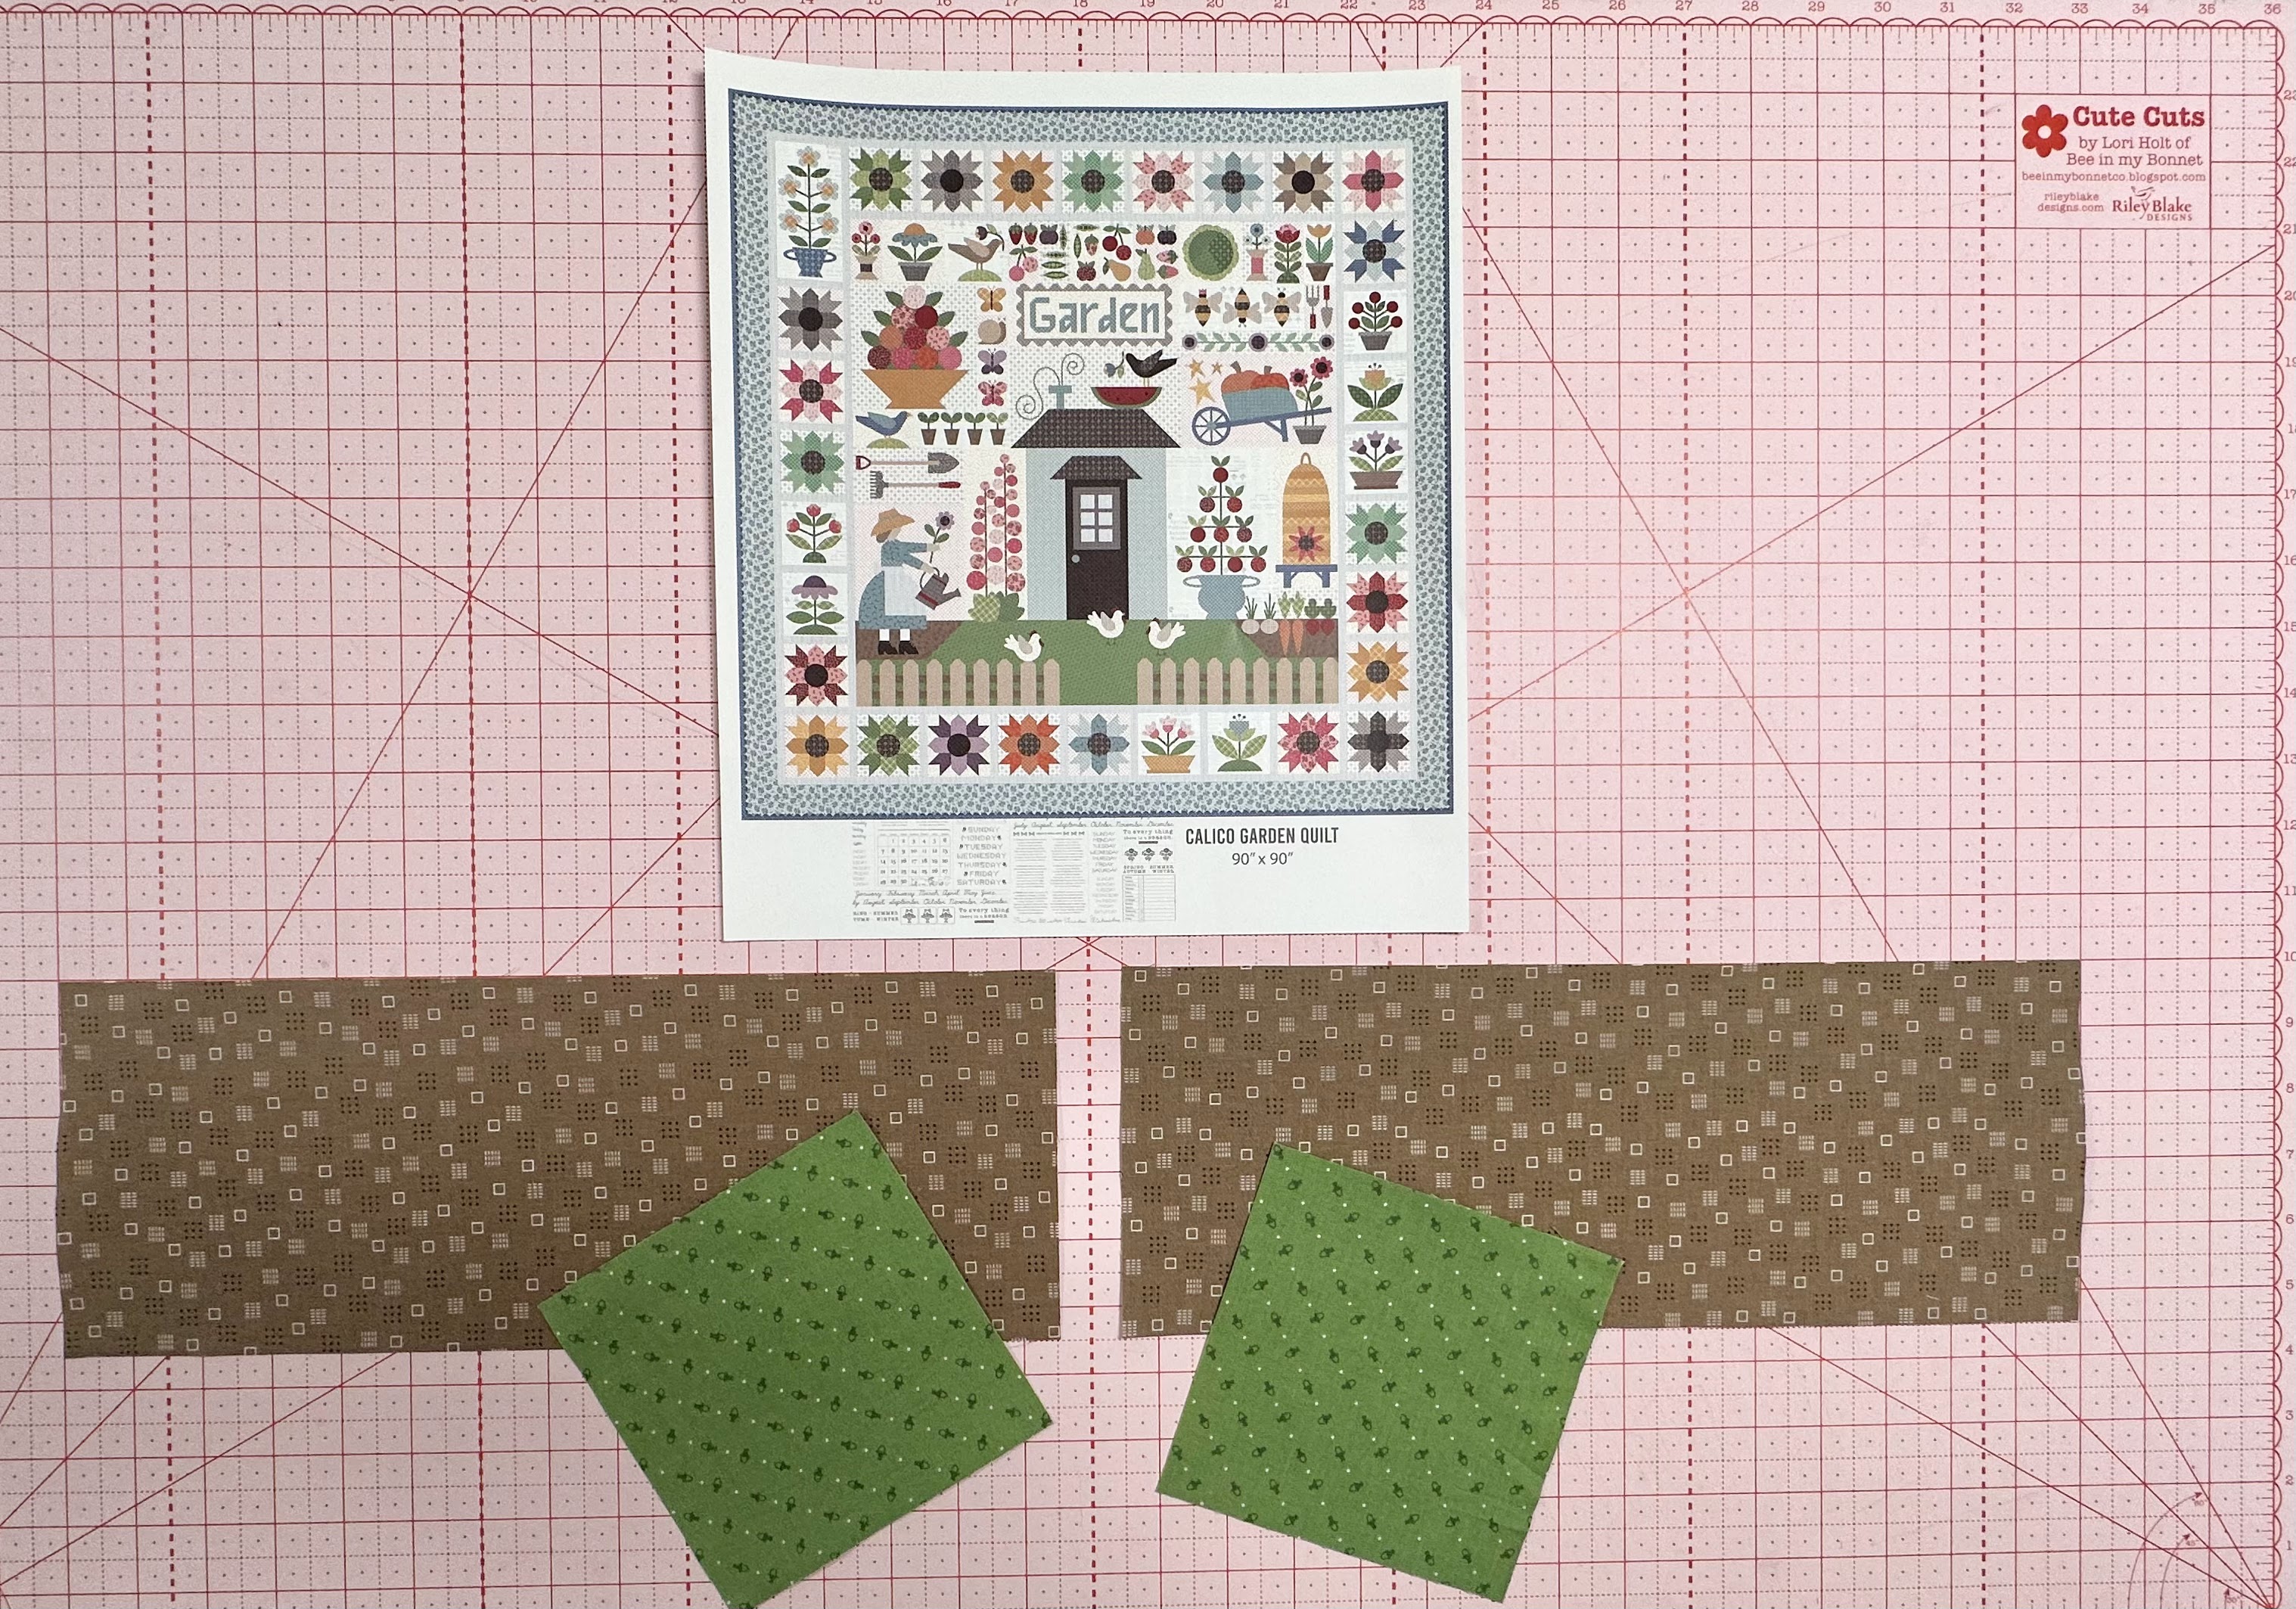
We are making the
Calico Garden Quilt
90" x 90"

The quilt is made with my latest fabric
collection called Calico...
I hope that you all have all
received your templates and
fabric kits by now...
and that we are all ready to begin!!
If you still need them ...
just do a quick google search for
"Calico Garden Quilt Kit"
to find shops who still have some left.

We are also using the
Calico Garden
Sew Simple Shapes
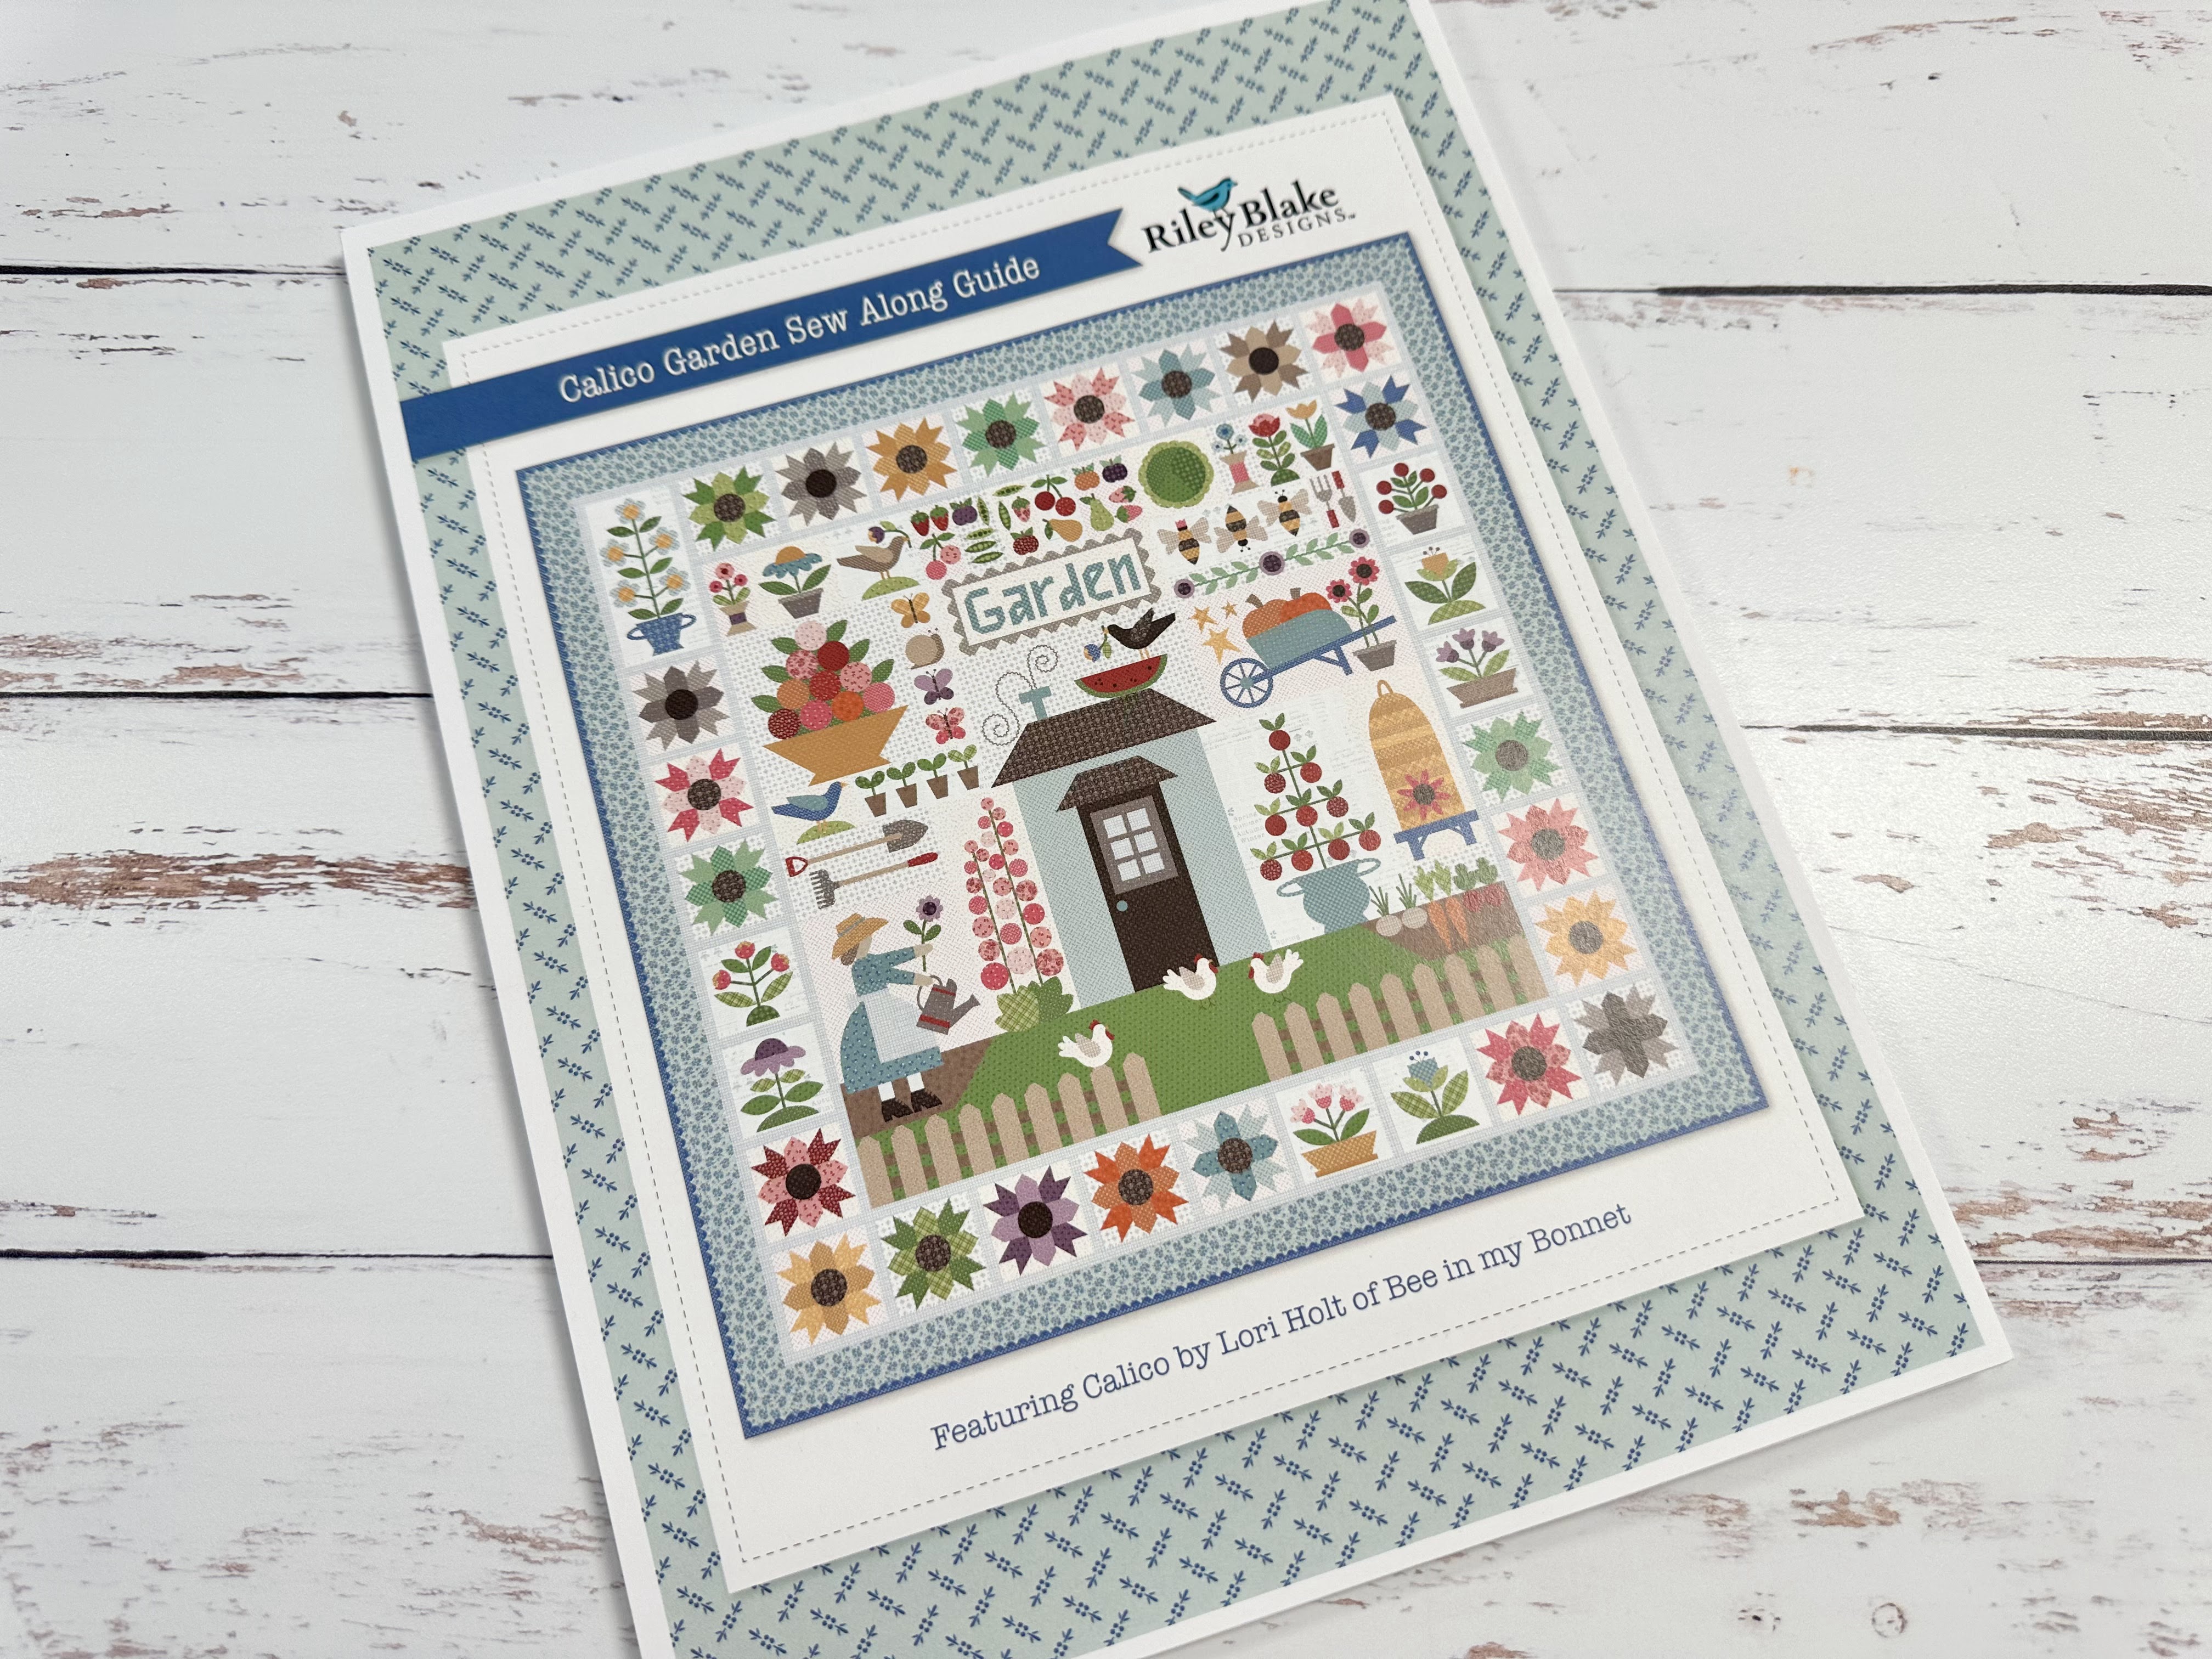
I have posted the
post which details all of the supplies
for the sew along and how it works.
I have also given the link there
for the free PDF Download
of the Sew Along Guide
to download the sew along guide.
As per the sew along guide
cutting instructions
you should have everything for your
Picket Fence and Grass/Soil Blocks
all cut and ready to go!
I will also list the cutting
for these blocks here:)
As per usual for week one in my
Sew Simple Shape Sew Alongs
the FIRST week tutorial is a video.
Because I now have my own
I have posted the
Blue Coneflower Block
Tutorial there.
to visit my channel and watch the
tutorial and I hope that you love it!
Pretty please leave me a comment
over there and let me know:)
If you like what you see
and my other videos there...
click on subscribe and click on the bell
to be notified whenever
I post another tutorial:)

that I showed you
how to make in my video:)

for the tutorial on my
PURPLE CONEFLOWER BLOCK

to go to my tutorial for the
CALICO STAR FLOWER BLOCK

to go to my tutorial for the
Morning Glory Blocks

to go to my tutorial for the
PRIMROSE BLOCKS

to go to my tutorial for the
RED ROSES and MUMS BLOCK

to go to my tutorial for the
Forget Me Not Block

For Week Six I decided to post the
pieced blocks in a separate post
and also post them a day early.
Today I'm showing you how I made my
Picket Fence and Grass/Soil Block
and in tomorrow's post I'll
talk about prepping the Hens and the
Root Veggies for applique.
Let's get started!!

Here I have all of my fabrics cut for
Picket Fence and Grass/Soil Blocks
all together on one of the large
Calico Design Boards.
For the Picket Fence:
Cut 18 Fence Posts - 2 1/2" x 6 1/2"
Cut 36 - 1 1/4" squares (green fabric)
Cut 1 - 6 1/2" x 10 1/2" (green fabric)
Cut 1 - 2 1/2" x WOF (green fabric)
Cut 2 - 1 1/2" x WOF (green fabric)
Cut 2 1 1/2" x WOF (brown fabric)
For the Grass/Soil:
Cut 1 - 5 1/2" x 34 1/2" (green fabric)
Cut 2 - 5 1/2" x 5 1/2" (green fabric)
Cut 2 - 5 1/2" x 14 1/2" (brown fabric)
*NOTE about this last cut...
In the guide I had asked you to cut
2 - 7" x 17"
One for the Roots and Veggies Block
and the Garden Girl Block
I called for that because normally
when we are going to appliqué
as you know I cut the background
larger and then trim down after
applique is completed...
but as I was doing this tutorial
I could see that it was going to be
much easier to cut these two pieces
from the brown print the size that they
should be when piecing.

The reason is because
we won't be able to applique anyway
until these background blocks
are sewn together (you can see in
quilt photo applique overlap)
and you can also tell in the
sew along guide page for finishing of
the sections of the quilt
how those sections go together.
So if you happen to have pre-cut
these 2 pieces 7" x 17"
simply cut them down to measure
5 1/2" x 14 1/2"
Sew sorry for the long explanation
but I wanted to explain it
completely...I hope it makes sense!!
Okay...with that being said...
lets start by sewing the Picket Fence!

to both top corners of the pickets.

Remember that I showed you how to make
easy corner triangles in my tutorial
for the Calico Star Blocks
and you can always watch my many
quilt block piecing tutorials
on my YouTube channel.
Bee sure that you sew each one with
the diagonal going the correct way.

easy corner triangles.
Set them aside...
and let's do the fence rails!
You should have 18 fence rails that
still measure 2 1/2" x 6 1/2"
but now they have a pointy top!
*NOTE*
When Grass/Soil Block is sewn
to the top of this block
you will sew across the points
of the fence so that they DO NOT
finish pointy so don't worry!!!

We are going to use an
easy strip piecing method
for speed and accuracy:)
Sew all five of the
Width of Fabric strips together
in the order pictured above.
The 2 1/2" green strip is the
widest and so it goes on top.
Bee sure
and use an accurate 1/4" seam allowance:)

Press the seams open
so that they will lie flat.

The five strips together should
measure 6 1/2" tall:)
All pressed and ready to sub-cut!

I used my 1 1/2" x 6 1/2"
Cute Cuts Ruler to sub-cut.
It's very handy because
that's the exact size that we need!
As you go along make sure that the
seam lines line up with the
straight lines on the ruler
so that your fence rails are not slanted.
You will have plenty of room
from this strippy segment to cut
16 - 1 1/2" x 6 1/2"
fence rails

Now it's time to
sew the pickets to the rails:)


Sew two fence sections like this!
Each should measure
6 1/2" tall x 26 1/2" wide
at this point.

Now sew these two sections together
with the 6 1/2" x 10 1/2" green print
in-between so that you can walk through
to get to the Potting Shed lol
This block should now measure
6 1/2" tall x 62 1/2" wide
at this point.
Okay let's make the Grass/Soil Block.
It's easy peasy to sew with
only 5 pieces of fabric...
start with these four.

Because these squares are 5 1/2"
they are large enough that you will
need to mark a diagonal line
on the back from corner to corner
instead of using the
Seams Sew Easy center line as a guide.

Sew directly on the line
to form your easy corner triangles.
*NOTE that you are sewing each
in a different direction like this.
Trim away excess and press towards
the easy corner triangle...

like this:)
Each soil section should still
measure 5 1/2" x 14 1/2"
but will have a
triangle of grass on the corner!

Now add the
5 1/2" x 34 1/2" grass in-between...

like this!!!
Press seam allowance towards
the center grass section.
Your Grass/Soil Block should
measure 5 1/2" tall x 62 1/2" wide
at this point:)
You can go ahead and sew it
to the top of your Picket Fence Block
I just didn't do that yet because
I wanted to show them to you
separately for the tutorial.
Bee sure to use an accurate
1/4" seam allowance and I will
press towards the Grass/Soil Block.

YaY!!!
We have now built a fence...
planted our grass and laid our sod
for the bottom of the quilt.

It makes me happy to sew
these 2 blocks plus the applique blocks
that we have done so far
on my design wall.

I'm slowly but surely working on
getting all 23 of my
Calico Star Flower Blocks sewn:)
Join me back here tomorrow
and I will show you how I prepped
the Hens and the Root Veggie
Sew Simple Shapes for applique!!
xx
Lori

No comments:
Post a Comment