

Hello quilty friends:)
I'm sew happy that the
Calico Garden Sew Along
will begin on Monday!
If you need all the info
on this sew along
to read my Bee Prepared Blog Post:)
I've been prepping like crazy
and have been cutting cutting cutting
and working a few weeks ahead of you.
I have sewn 13 of the
Calico Star Flower Blocks so far...
and I thought that I would surprise
you all and post the tutorial
for these blocks five days early!

There are 23 total of the
Calico Star Flower Blocks
and they all go in the border
of the quilt along with a few
appliquéd flower blocks in-between.
The 23 Calico Star Flower Blocks
are all rotary cut and machine pieced
with the addition of an
applique circle in the center.

I have been enjoying each step
of the preparation and I am
sew loving each print of
while preparing each of the blocks:)
A big thank you for all
of your kind words
and excitement about this collection...
you certainly know how to make
my designing heart happy!
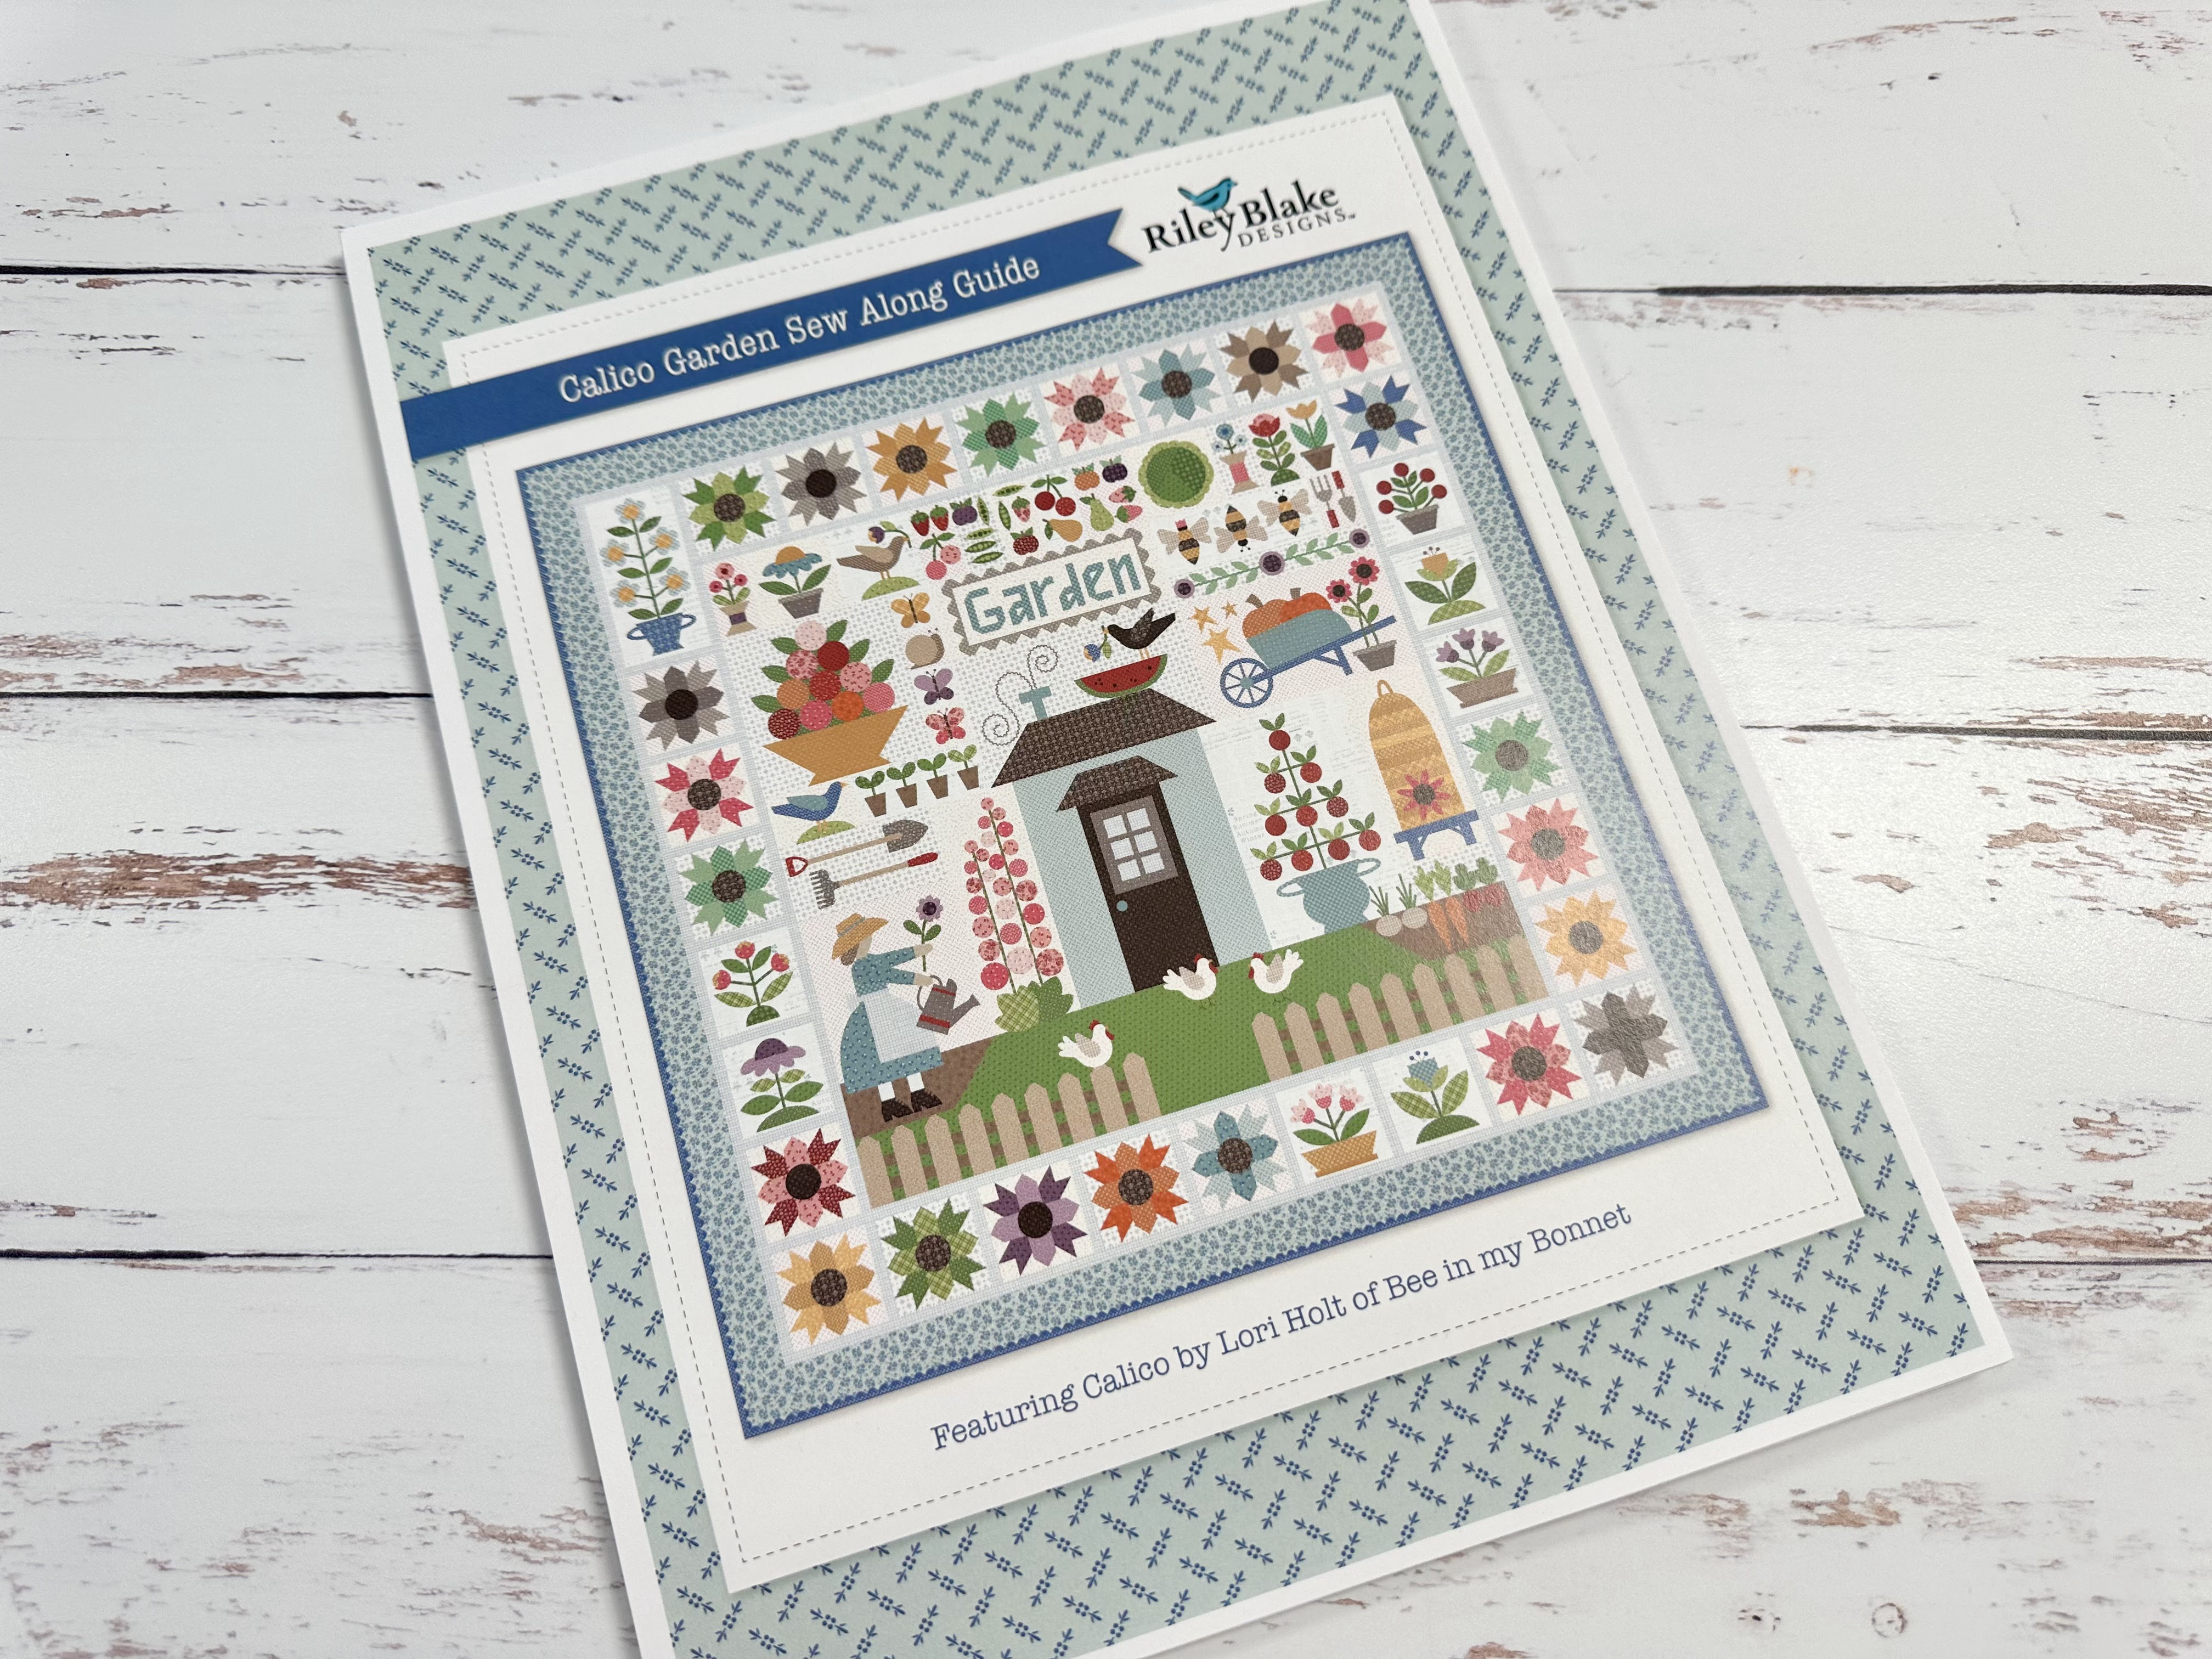
Of course you will find the cutting
for these blocks inside the
Calico Garden Sew Along Guide
if you still need to download

I had made 6 of these blocks
back in November so that I could
show you during the filming of my
and so that left 17 more
blocks for me to make.
Here they are...when they were
all cut and ready to sew.
I also cut and traced
17 more circles for the centers
using the O-6 Sew Simple Shape
from the Calico Garden Set.
I used the red number stickers
from my Sew Handy Stickers set to
keep track of which blocks I have cut.

Just so that you know
how I numbered the blocks...
I started with number 1 on the
top row left (green block)
and going clockwise...
I continued all around the quilt
ending on the top of the left side border
with that gray block being number 23.

This is Calico Star Flower Block 15
and you can see in the quilt photo
that it's place in the bottom border
exactly in the center.
Each block measures
8 1/2" x 8 1/2"(UNFINISHED)
and all are sewn the same way.
I'm going to take you step by step
while I make this block
so that you can see how I do it!

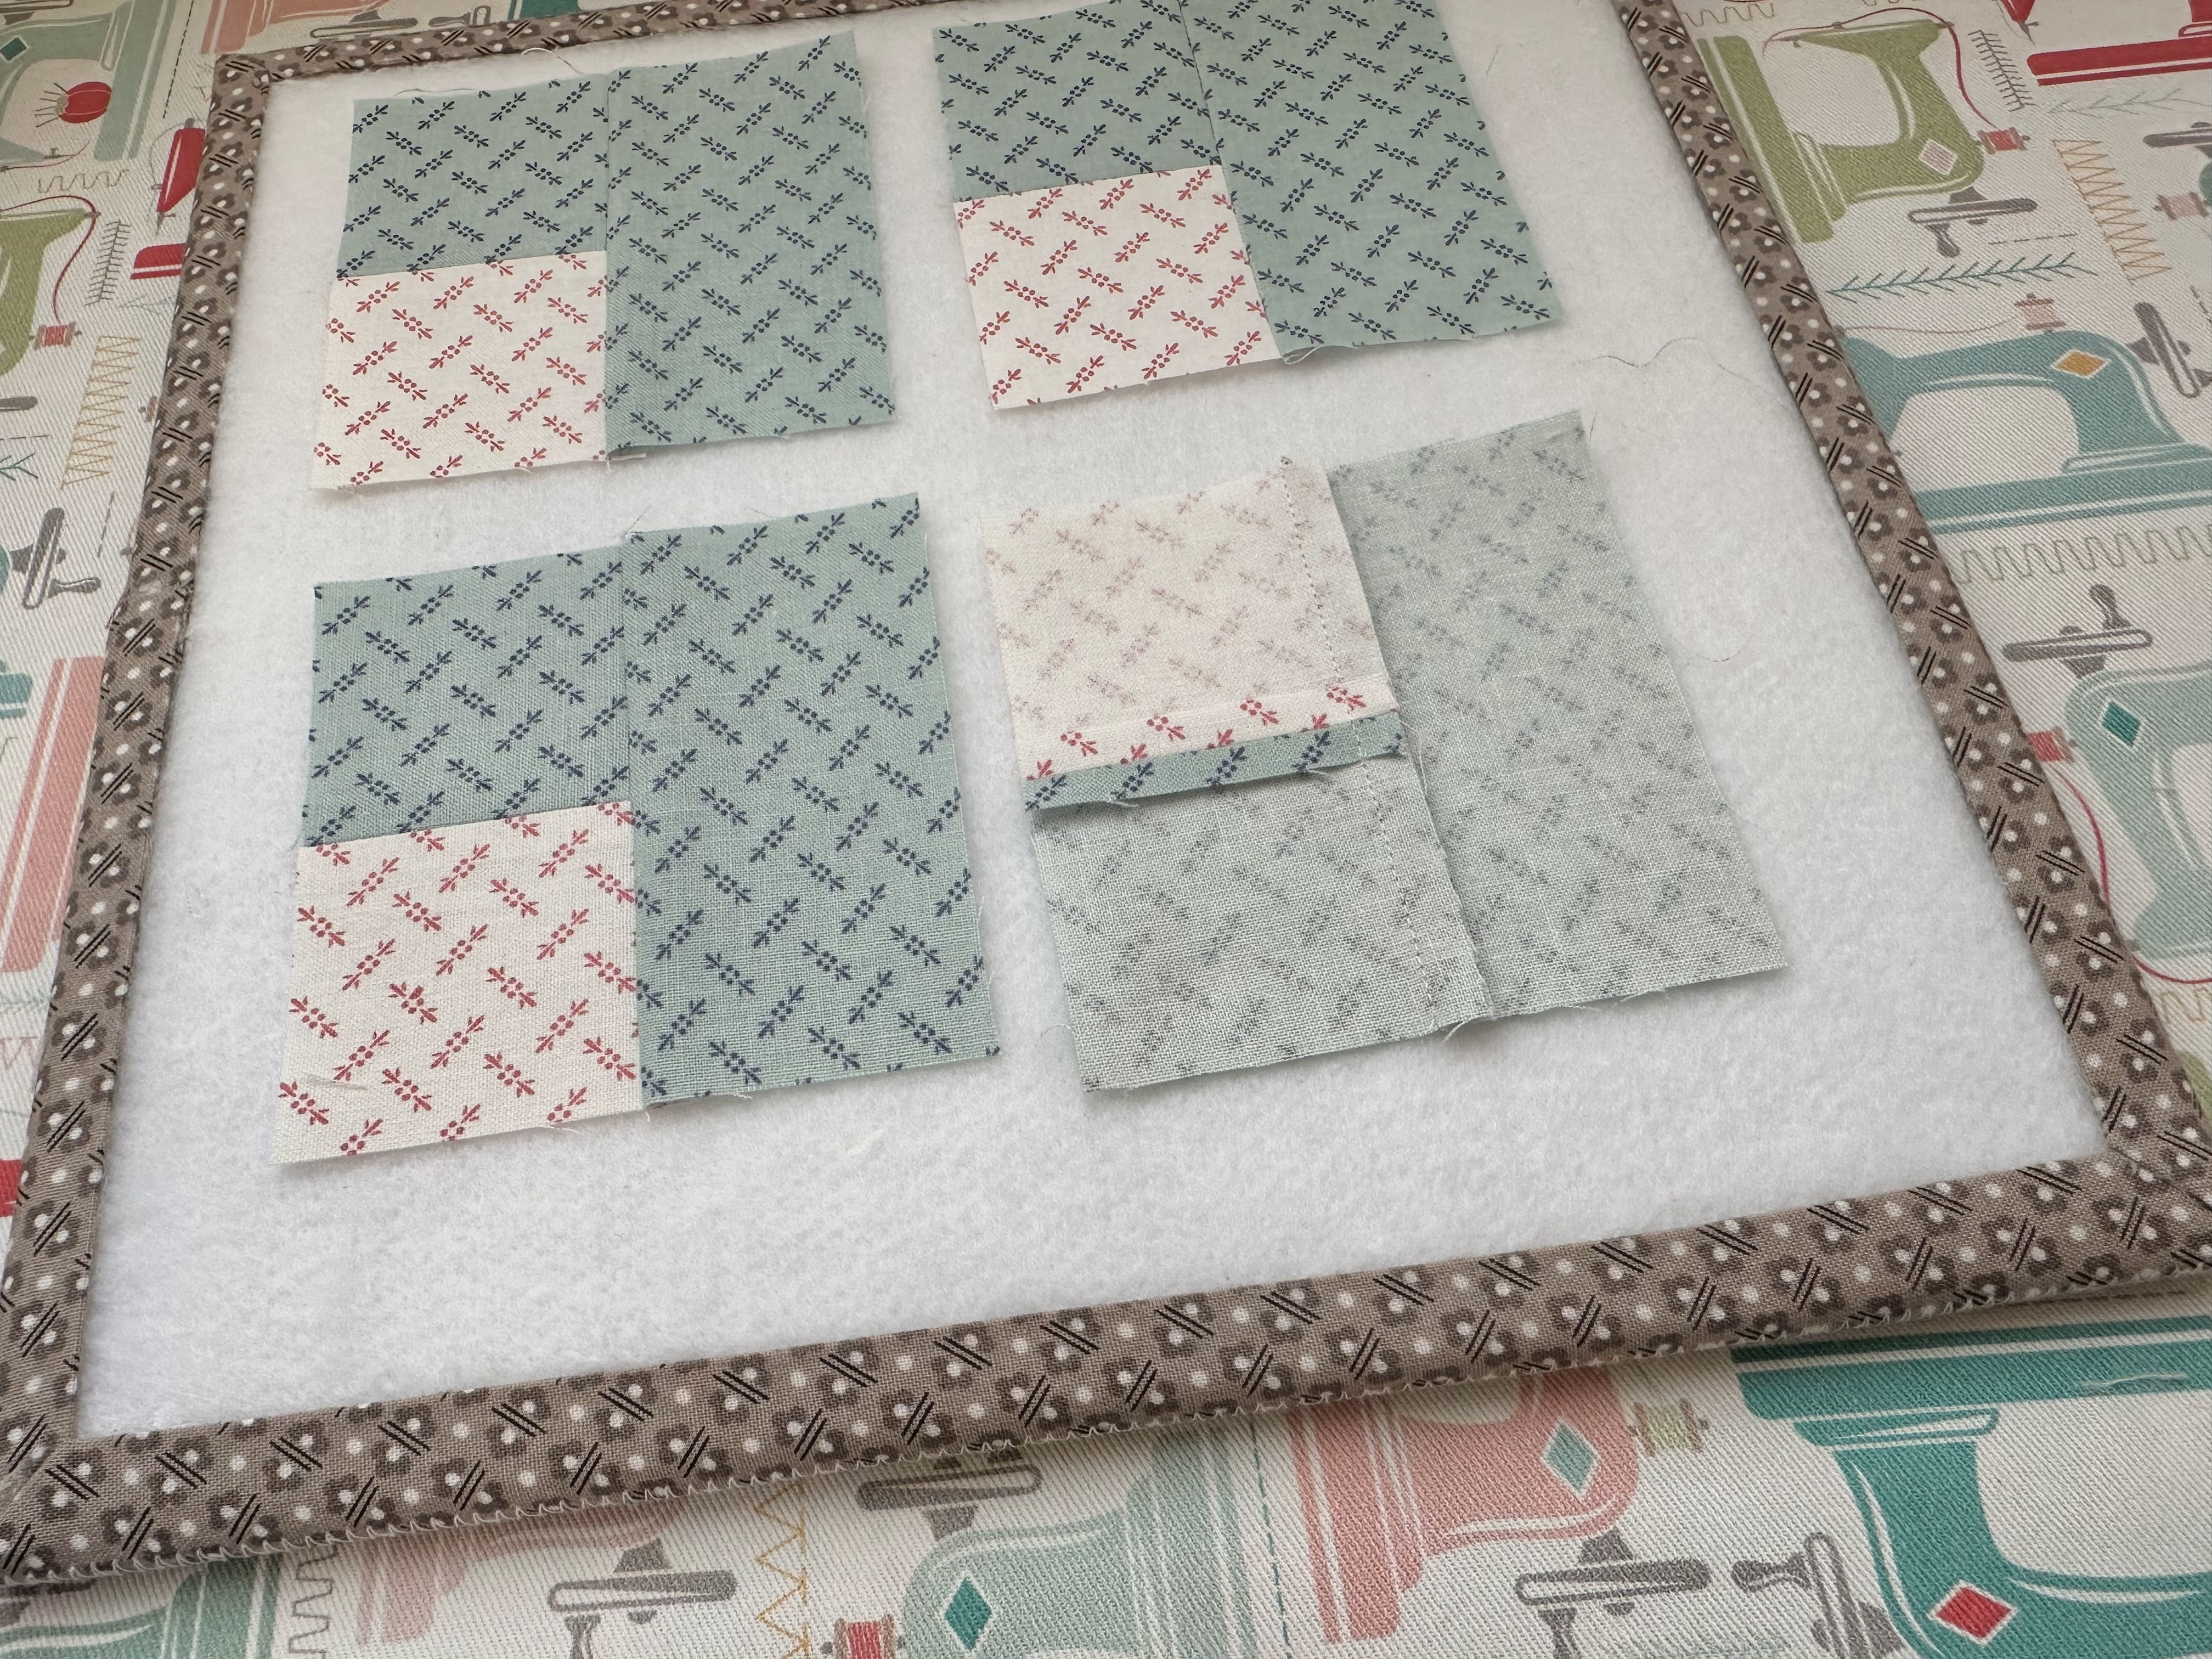
Here are all the fabric cuts for
Block 15 on my design board.
All cutting is in the guide but
I'll break it down for ONE block here:
From Background -
(A) Cut 12 - 2" x 2"
(B) Cut 8 - 1 1/2" x 1 1/2"
(C) Cut 1 - 2 1/2" x 2 1/2"
Top Print -
Cut 4 - 2 1/2" x 3 1/2"
Bottom Print -
Cut 4 - 2" x 3 1/2"
Cut 4 - 2" x 2"

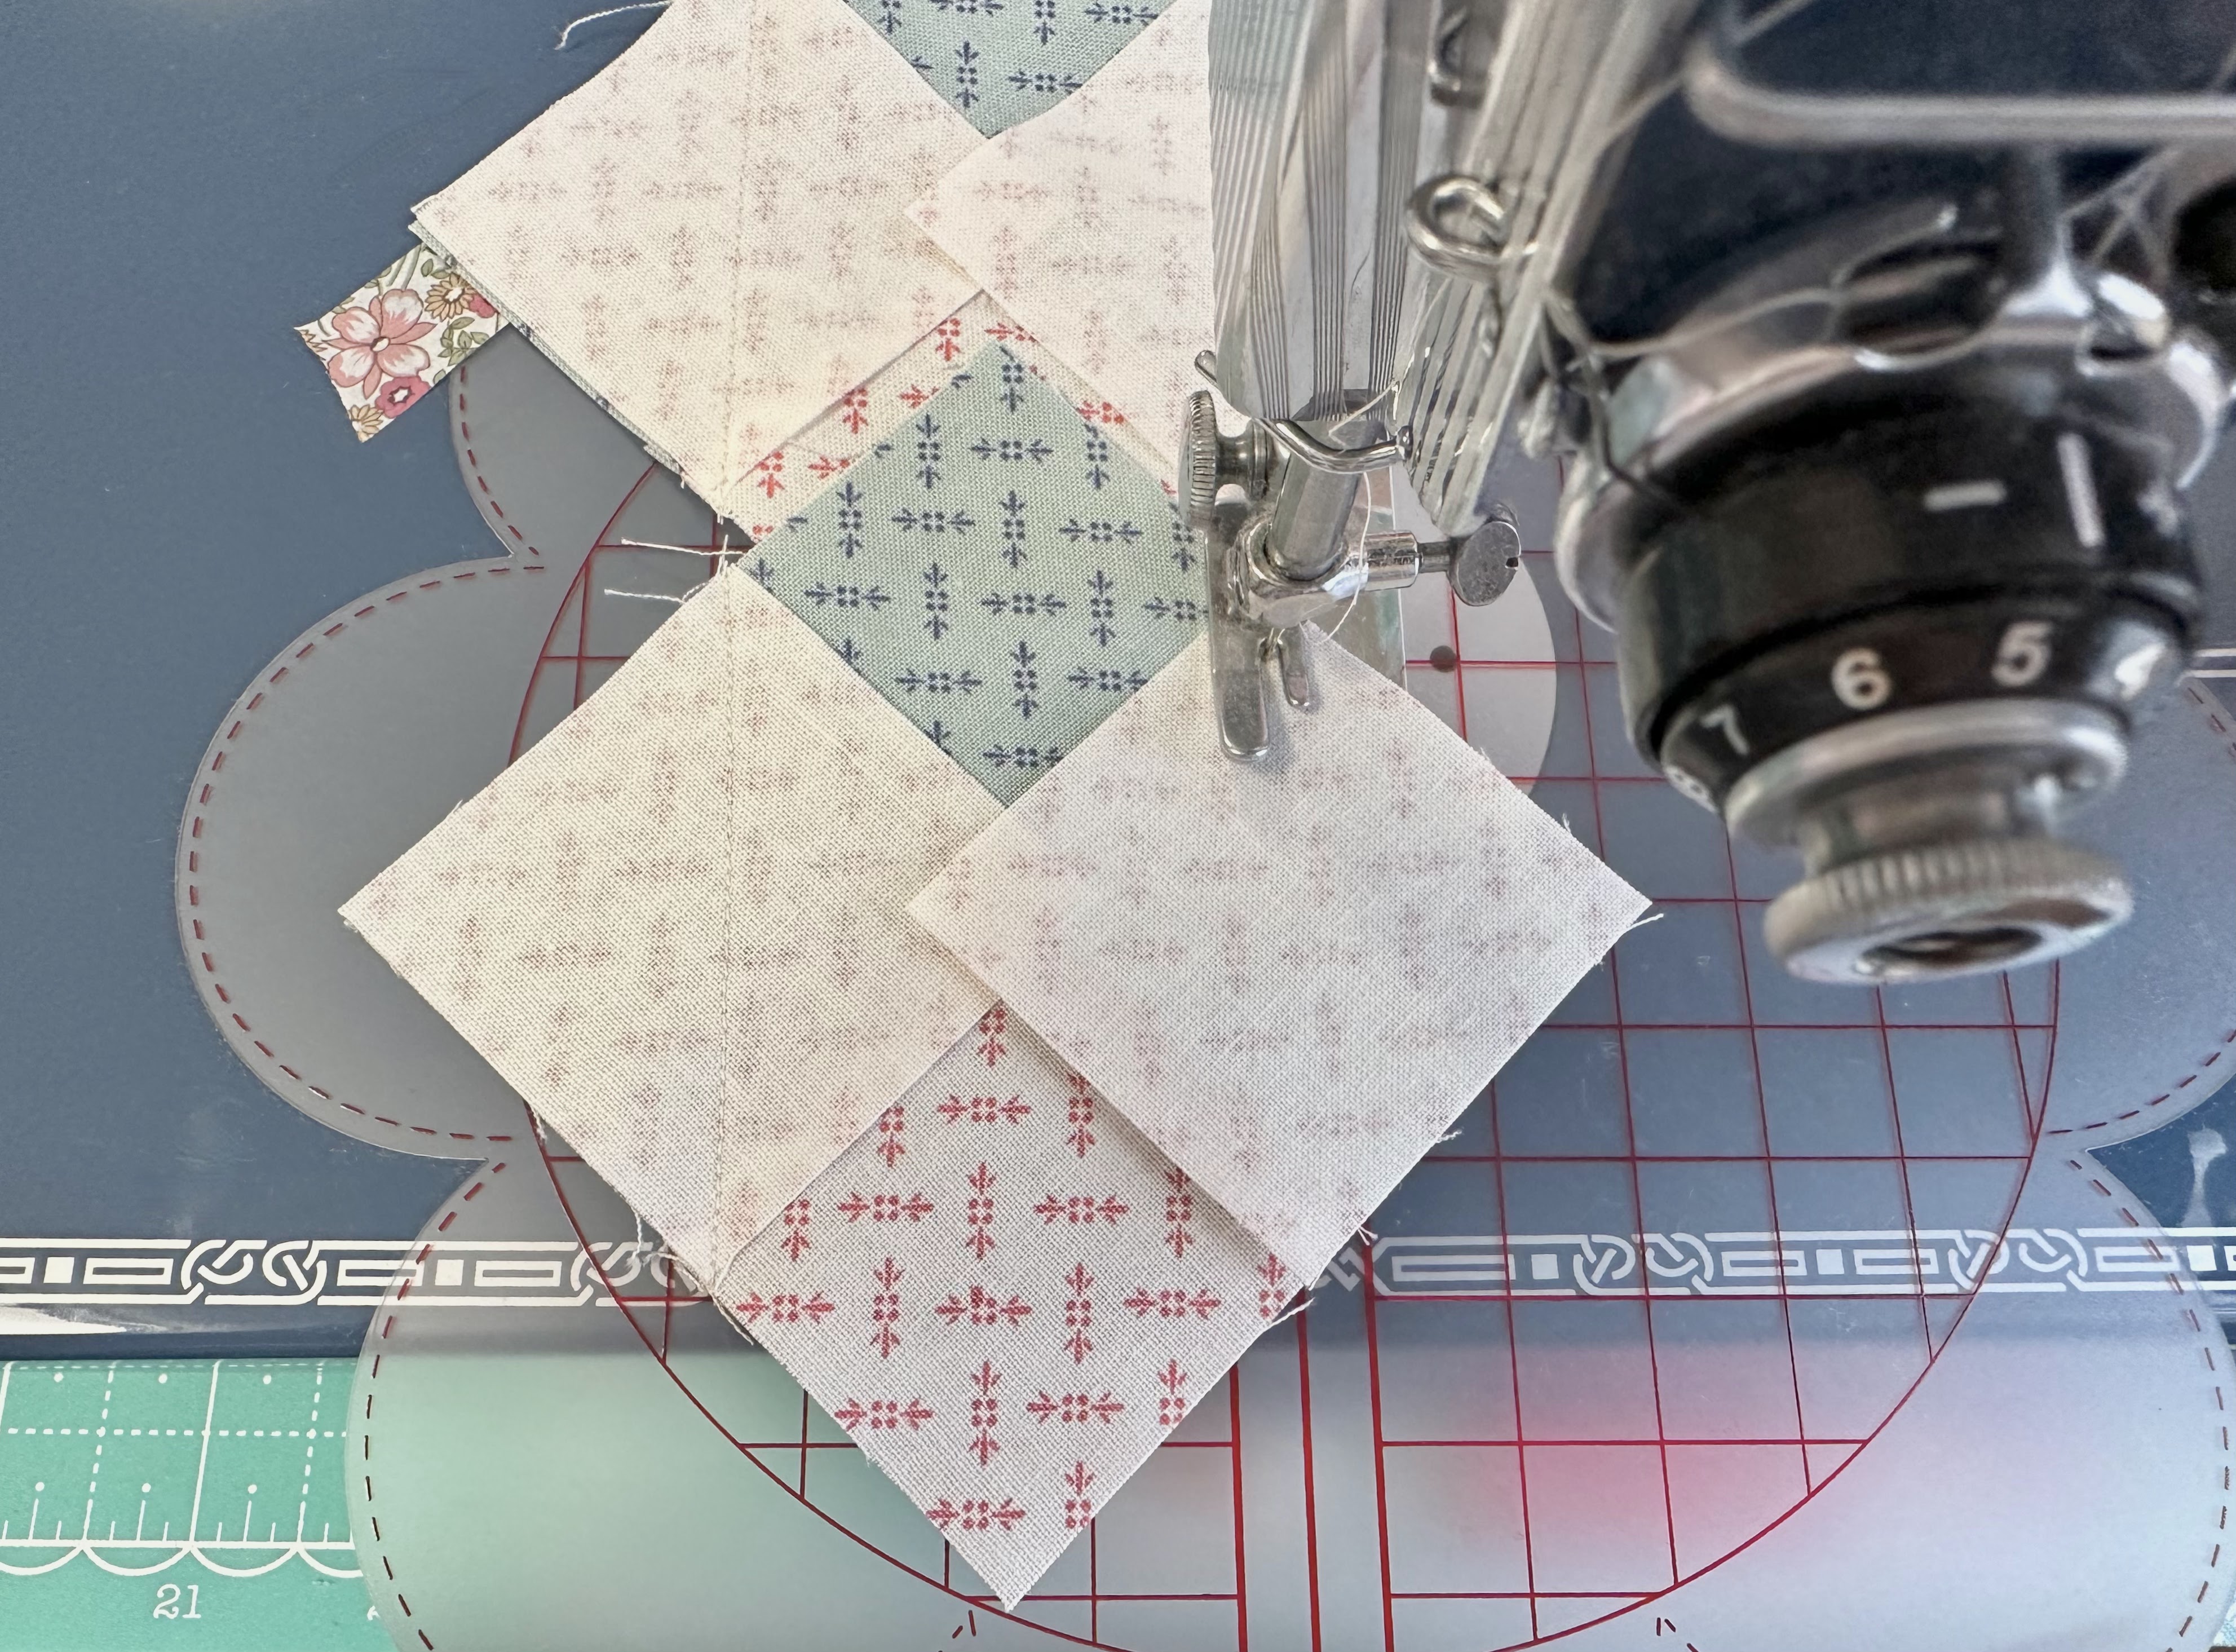
Start with the four 2" squares and
4 of the (A) background squares.

Sew them together like this.
Make sure that you are using an
accurate 1/4" seam allowance
throughout sewing this entire block.
Press your seams open.

Now add the rectangles
from the same print
onto the right side like this.
Make sure that the background square
in your previously sewn segments
are on the bottom...

Like this:)
Press these seam allowances
towards the rectangle.

Now it's time to add the
Easy Corner Triangles
using the remaining
(A) 2" background squares.

Place onto the right side corner
(lining everything up evenly) like this
and sew from corner to corner.
Use the center line on the
Seams Sew Easy Guide
or mark a line from corner to corner.
Now do the exact same thing
on the opposite side...

So it looks like this.

Trim off the excess leaving
an approximate 1/4" seam allowance.

Press toward the Easy Corner Triangles
that you have just added.
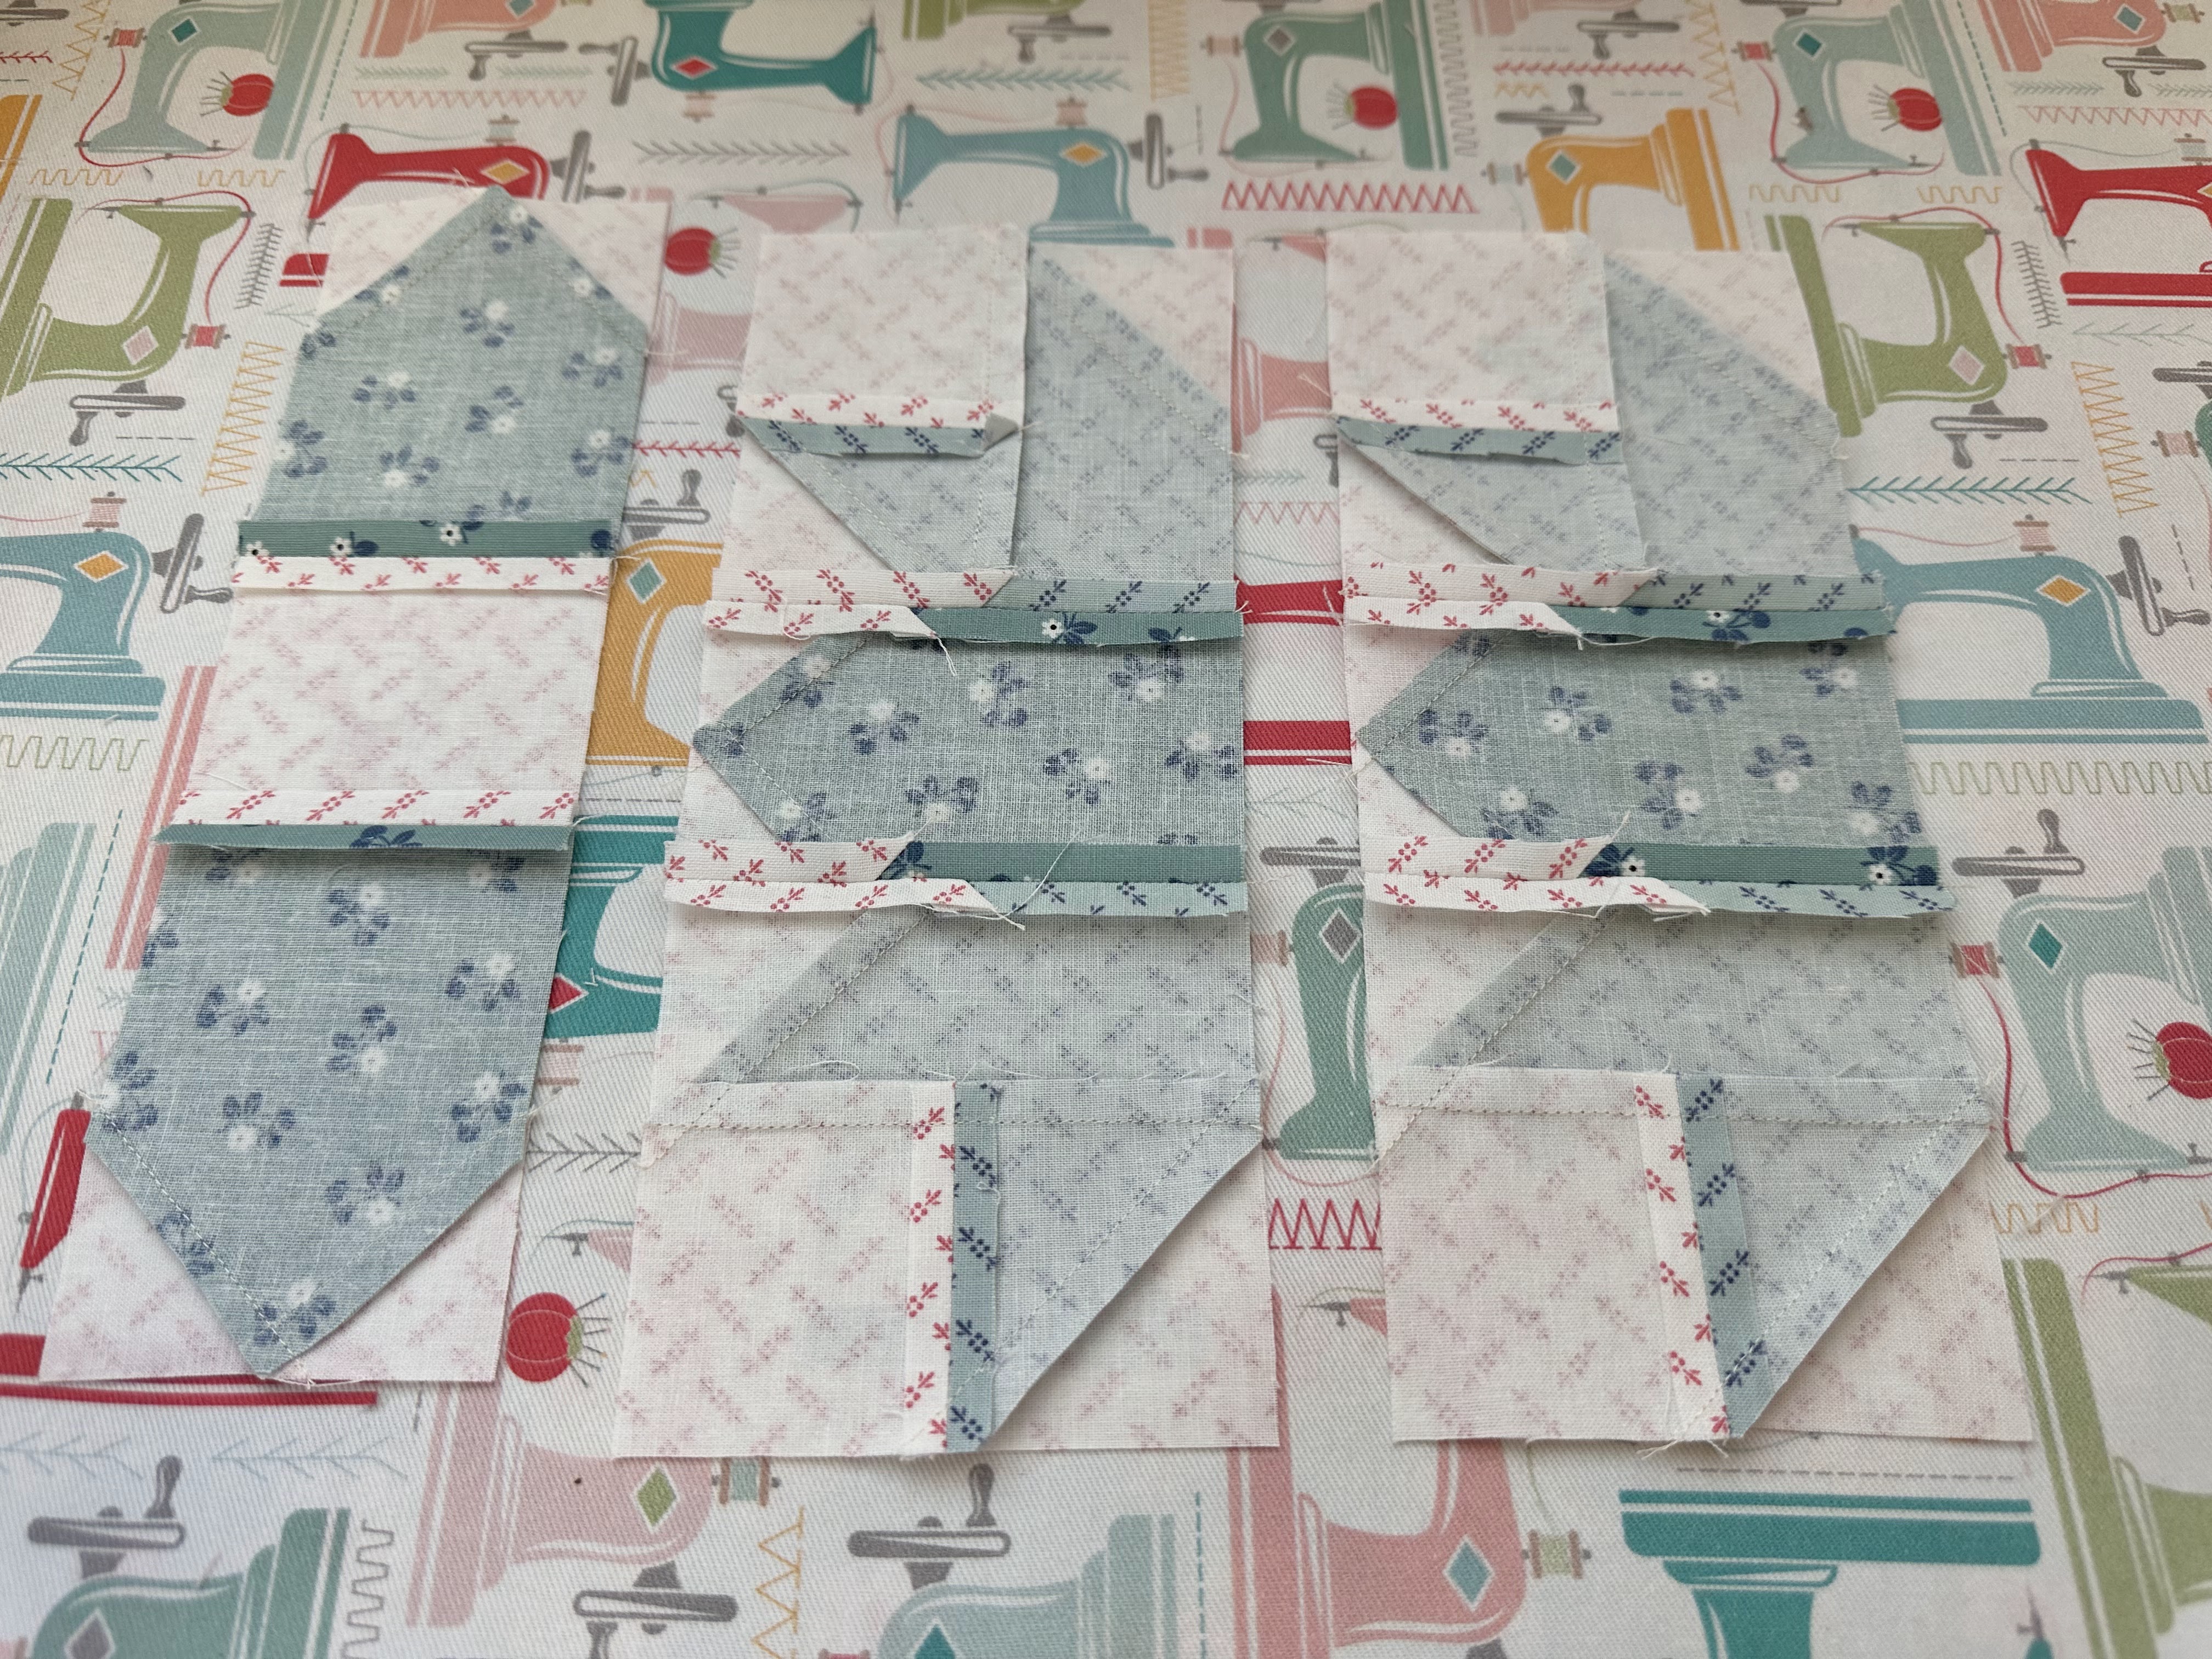
Your four segments should look like this
and should each measure
3 1/2" x 3 1/2"

Now you are going to add
Easy Corner Triangles onto the top
of these remaining 4 rectangles using the
(B) 1 1/2" background squares.

Sew one side first...

trim away excess...

And press towards the
Easy Corner Triangles.

Now you will be able to sew
the second Easy Corner Triangle
onto the other side...

Like this.
Press these in the same way.

Now all of the segments are complete...
you can lay your block out onto your
Design Board for sewing together.
Sew together like you would
sew together a 9 Patch...
which is first into 3 horizontal rows.
Press these seams open like this.

And now sew these three rows together.

I like to use my
Double Pretty Pins
like this... to match the seams
that need to line up.

Press these two seams open as well.
The seam roller and clappers both
really help to get your seams open flat...

like this:)
I think it's really important to have
any pieced block lie as flat as possible...
not only for accuracy but also especially
when you are going to applique
on top like you will be on these.

Now it's time to
glue baste the center circle...
but first let me show you
how I sewed the circles
and we will get back to this:)

I simply place each traced circle
onto a fabric square...both with
right sides up and sew directly
onto my traced circle line...

Trim leaving an approximate
1/4" seam allowance...
cut an "X" in the interfacing...
turn...shape and press.
If you have never done my
Sew Simple Shapes Applique
method before now...
save this part until you watch my
week one video in a few days:)

All of my circles are now ready to go!!

Okay...back to this:)
Your block needs to be on a Design Board
as you will be pinning directly into it.
Place a few dots of Sue Glue
onto the back of your circle.
Use a ruler to center your circle onto
the block and pin it into place....

Like this:)

After it dries for a few minutes...
remove the pins and place an
8 1/2" Trim-It Ruler onto your block.
This accomplishes two things:
One is to make sure that
the circle is centered...and if not
you can gently pull it off...
adjust it and re-glue.
Two is to make sure that your
pieced block measures 8 1/2" square
and if it's not ...trim it to 8 1/2"
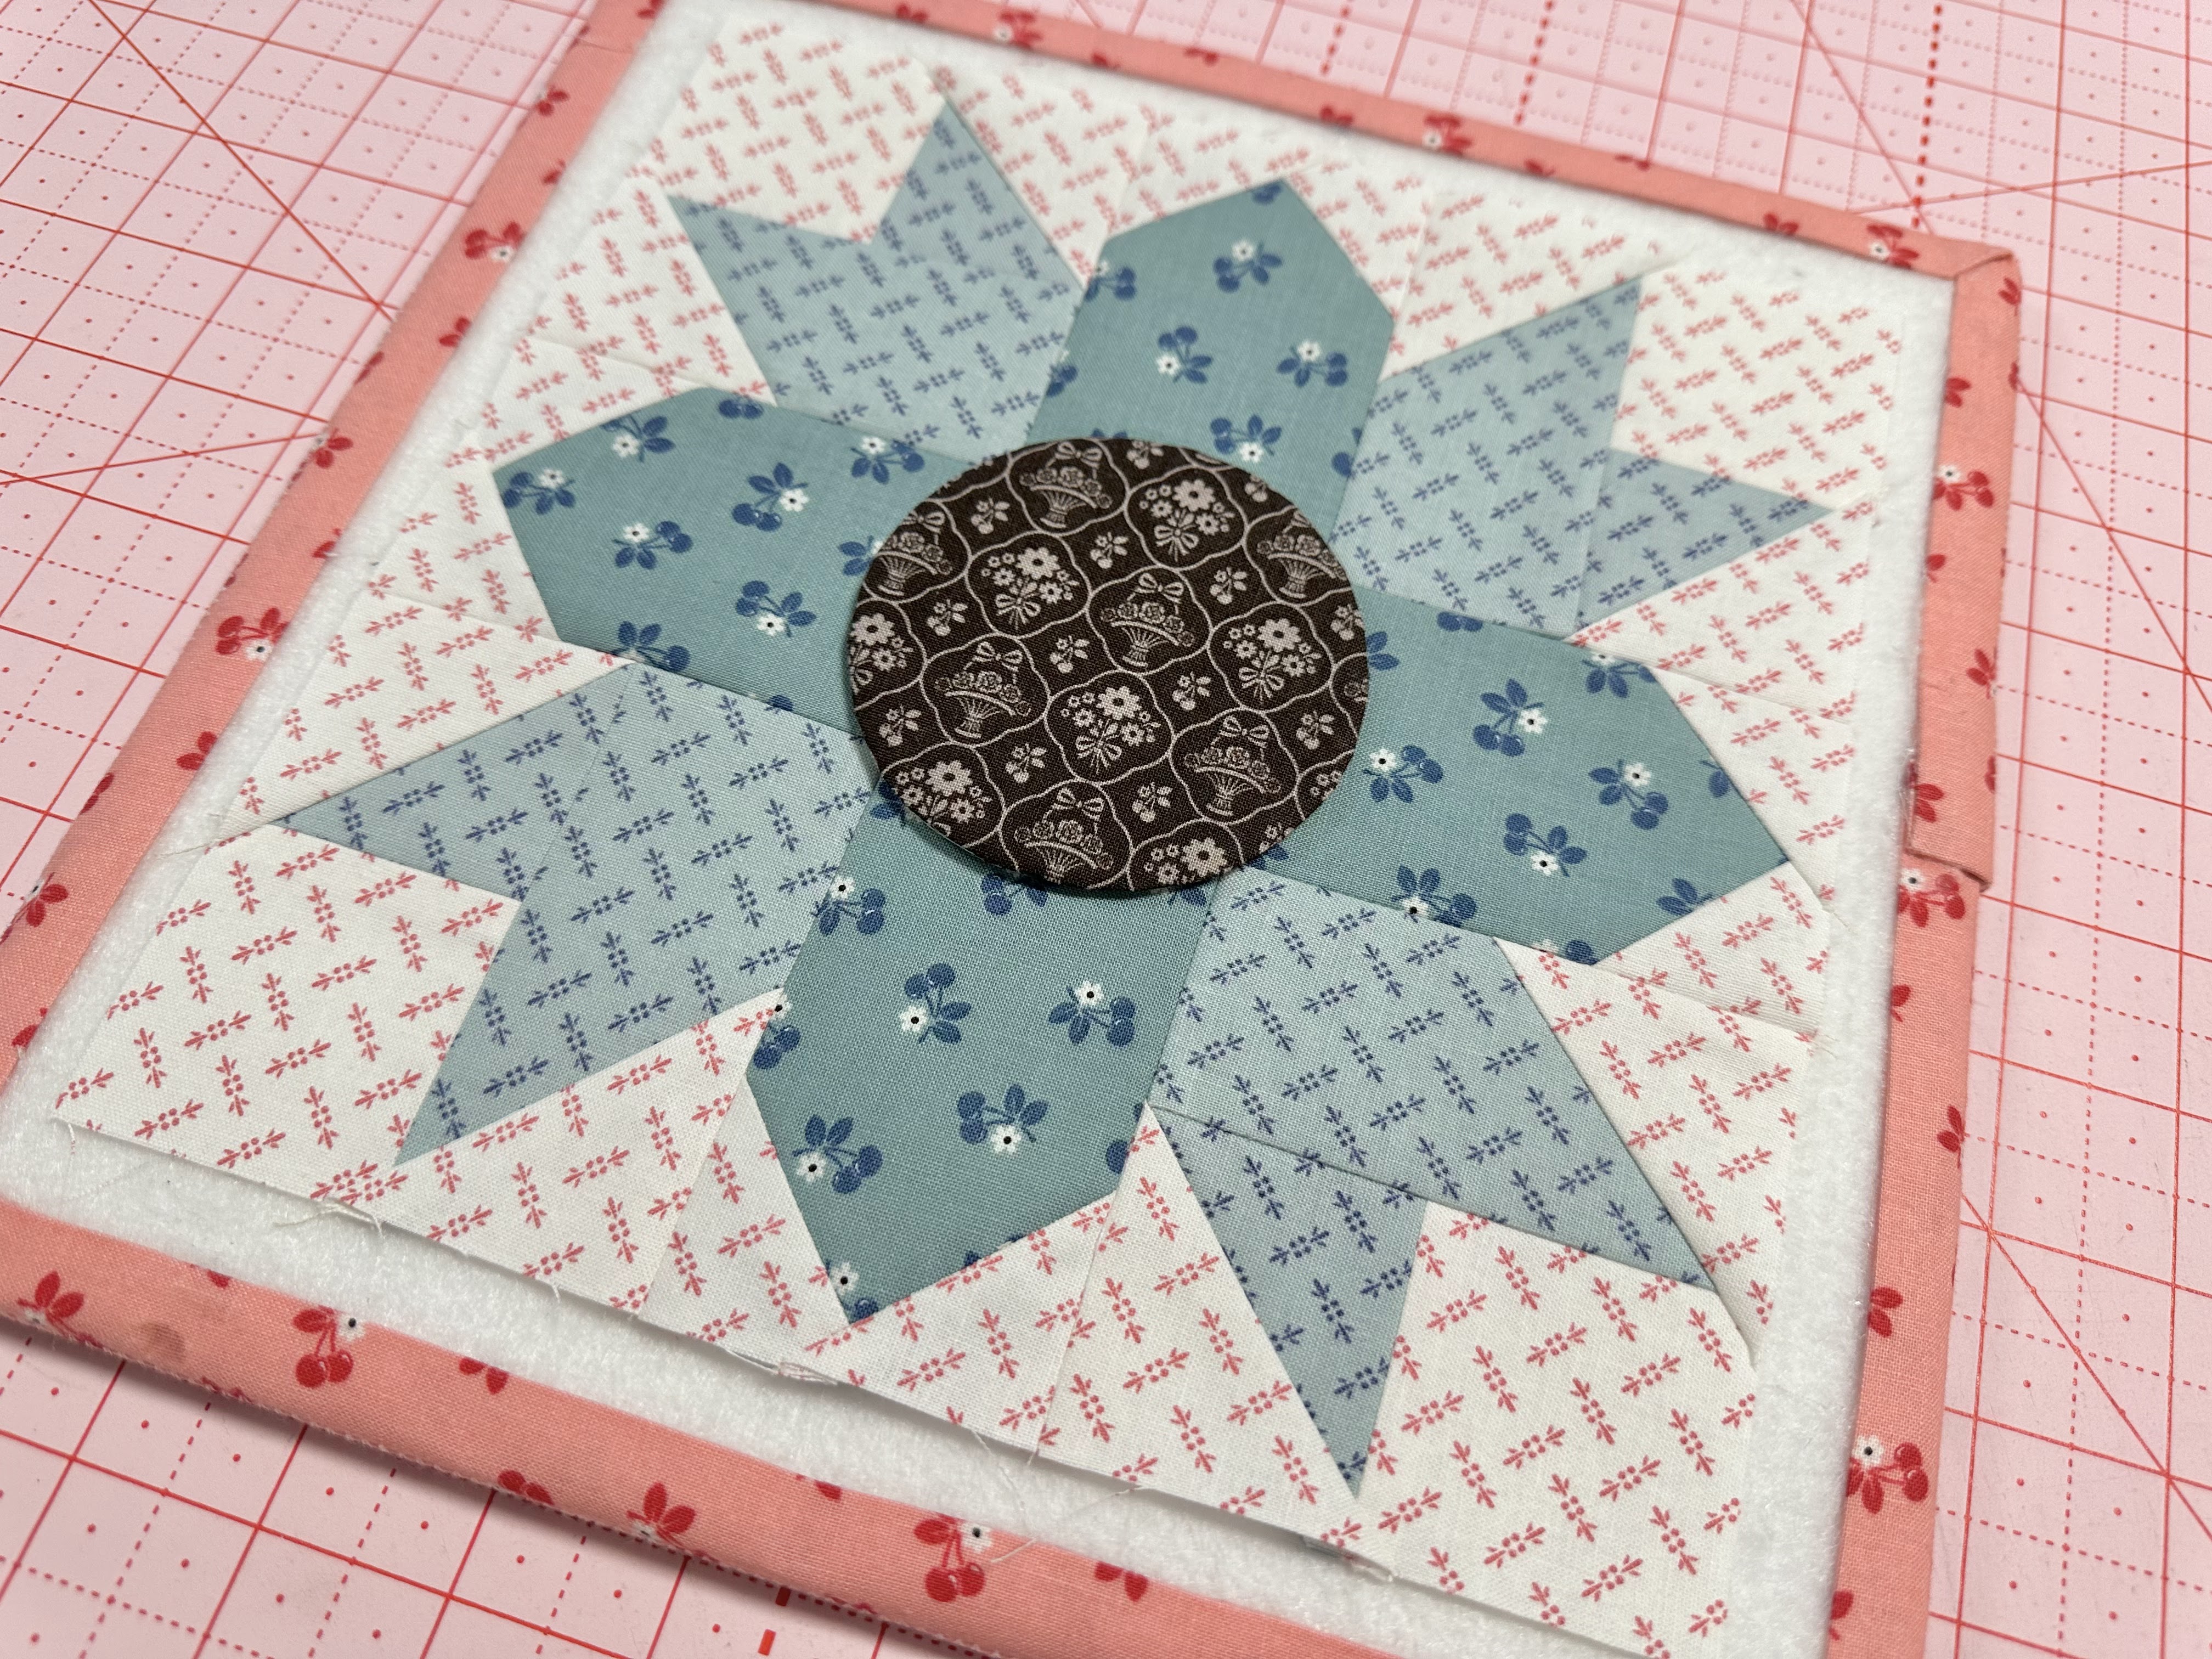
And here you go!!
It's so cute!!!
Just hand applique or machine applique
with matching thread before
sewing your blocks into the quilt.

I kept sewing mine until I had 10 left...
I'll work on these here and there
over the next few weeks
and get them all sewn!

Here's my 13 blocks again...I love them!
I hope that you do too
and that you can relax and have fun
while cutting and sewing your
Calico Star Flower Blocks together.
Remember that it's not a race
and this sew along will last 19 weeks!
Hopefully that will give you time
to get them all sewn by the end:)

I will meet you right back here on
Monday, January 30th
for Week One of the
Calico Garden Sew Along!
xx
Lori

11 comments:
Thank you for the sew a longs ! Getting started today !!!
I’ve been busy cutting all the material out. I’m not going to start these stars until finished. I really want to but am really trying to be a little more organized. Than you so much for the generous amount of material I’m this quilt.
I am so excited to start this project. Got my kit today from Fat Quarter Shop. Hopefully over the weekend I will be able to start. Still working on Prairie Meadow too.🤷🤦🥰
I'm so excited for this quilt! Still waiting for my kit to arrive....xx
Can’t wait for my kit to arrive. It has been shipped. 🥰
Can’t wait for my kit to arrive🥰
Can’t wait to start sewing tomorrow. I’ve done lots of cutting today but not even close to finishing. Will work on cutting the rest of the week. The kit is so organized. Love it.
The cutting guide was so helpful and organized and BRILLIANT to have a snapshot of each of the fabrics. Without this I might have given up as the number of fabrics was a bit overwhelming.
I just finished cutting out all of the Calico star blocks and pieced the blue one (#17) to get the hang of it. The instructions and photographs were simply EXCEPTIONAL!
Hoping I will get a bit more efficient - and so very grateful for the pace and instruction in this quilt along. Thank you Lori and team!
Madge Buus-Frank
Question:
Does the brown circle center for the starblock flower get stitched down?
THX in advance for your guidance.
Madge Buus-Frank
I am delighted with your work! too beautiful!
Hi Lori busy cutting & sewing star blocks.I’m half way through the star blocks. Can’t wait to start the flower block I’m kinda behind. However, seeing your tutorials keeps me motivated , I look forward to watching them all. I really appreciate the fact that when I have a questions u r always there to answer & guide me along my quilting path! Thx so much, CFong
Post a Comment