

Hello Autumn Lovers...
and welcome to week four of the
Autumn Love Sew Along!
***NOTE***
If you are just joining us
and want to read all of the
blog posts about this sew along...
just look to the right sidebar
here on my blog and scroll down
until you see the photos
from each and every post
and click on them.
They are linked within and
will take you directly
to read that post!
Take note that you must be
viewing the full web version
of the blog to see the sidebar
and not the shortcut version
that shows up on your phone:)

Today's tutorials are
all about the pieced blocks!
The diagrams for these blocks
are on pages 2 and 3 of the guide.
The first tutorial is for the
4" Stars that go around the house block:)

We will be making 28 of
these little cuties and
I'm going to show you how
to make one right now:)

I grabbed my design boards
that have all of the
pieces cut on using the guide.
I used 2 small design boards
for these blocks!

For one block you will need:
4 rectangles "A" from the background
4 squares "D" from the background
and 1 square "C" and squares
"B" from the print.

WE will be making
4 flying geese for each block.
There are several ways to make
flying geese and for these blocks
we will be using my
ECT (easy corner triangle) method.
Grab the 4 "A" rectangles and
the 8 "B" squares and
go to your machine:)

Lay the square onto the rectangle
with right sides together and
edges lined up perfectly like this.
You can mark a line from
point to point diagonally
on the back of your squares
or you can simply use the center line
of my Seams Sew Easy to guide you....
that's what I do because I'd rather
just sew instead of draw lines:)

Sew from corner to corner...
paying attention which direction on the diagonal that you are sewing.
I chain piece mine like this....
it saves time and thread!
Trim off the excess leaving a
scant 1/4" seam and press
towards the outer triangle.

Now add another ECT to the other side
in the exact same way.
Again...pay attention to the direction
that you are sewing to get the
required flying goose shape.

Chain piece and trim off the excess...
and press towards the ECT.

You now have 4 flying geese
that should measure 1 1/2" x 2 1/2"
at this point.
Lay the block out onto your design board.

Begin sewing it together
into 3 rows like this.

And then sew those 3 rows together
and you have a star!

This is how I pressed my 4" Stars:)
Sometimes when making this block
I press my seams open...
but because there is sashing in-between
the blocks when sewing
them into the quilt...
I thought pressing this way would be fine.
You can press yours open
if you would like because
you're the BOSS of your own quilt!

After piecing I like to give my stars
a good "PRESS"...
not ironing back and forth...
and then lay them directly onto
my design board and then top it
with a ruler and something heavy
on top of ruler until it cools down.
This really helps my blocks to lie flat!

YaY and super cute!
Use the 4 1/2" Trim-It Ruler
to trim up your block.

Because we need 28 of these blocks...
I will be making 4 each week
and they will be completed by week 10!
You can divide yours up that way too...
or do them all at once...
however best your time allows:)

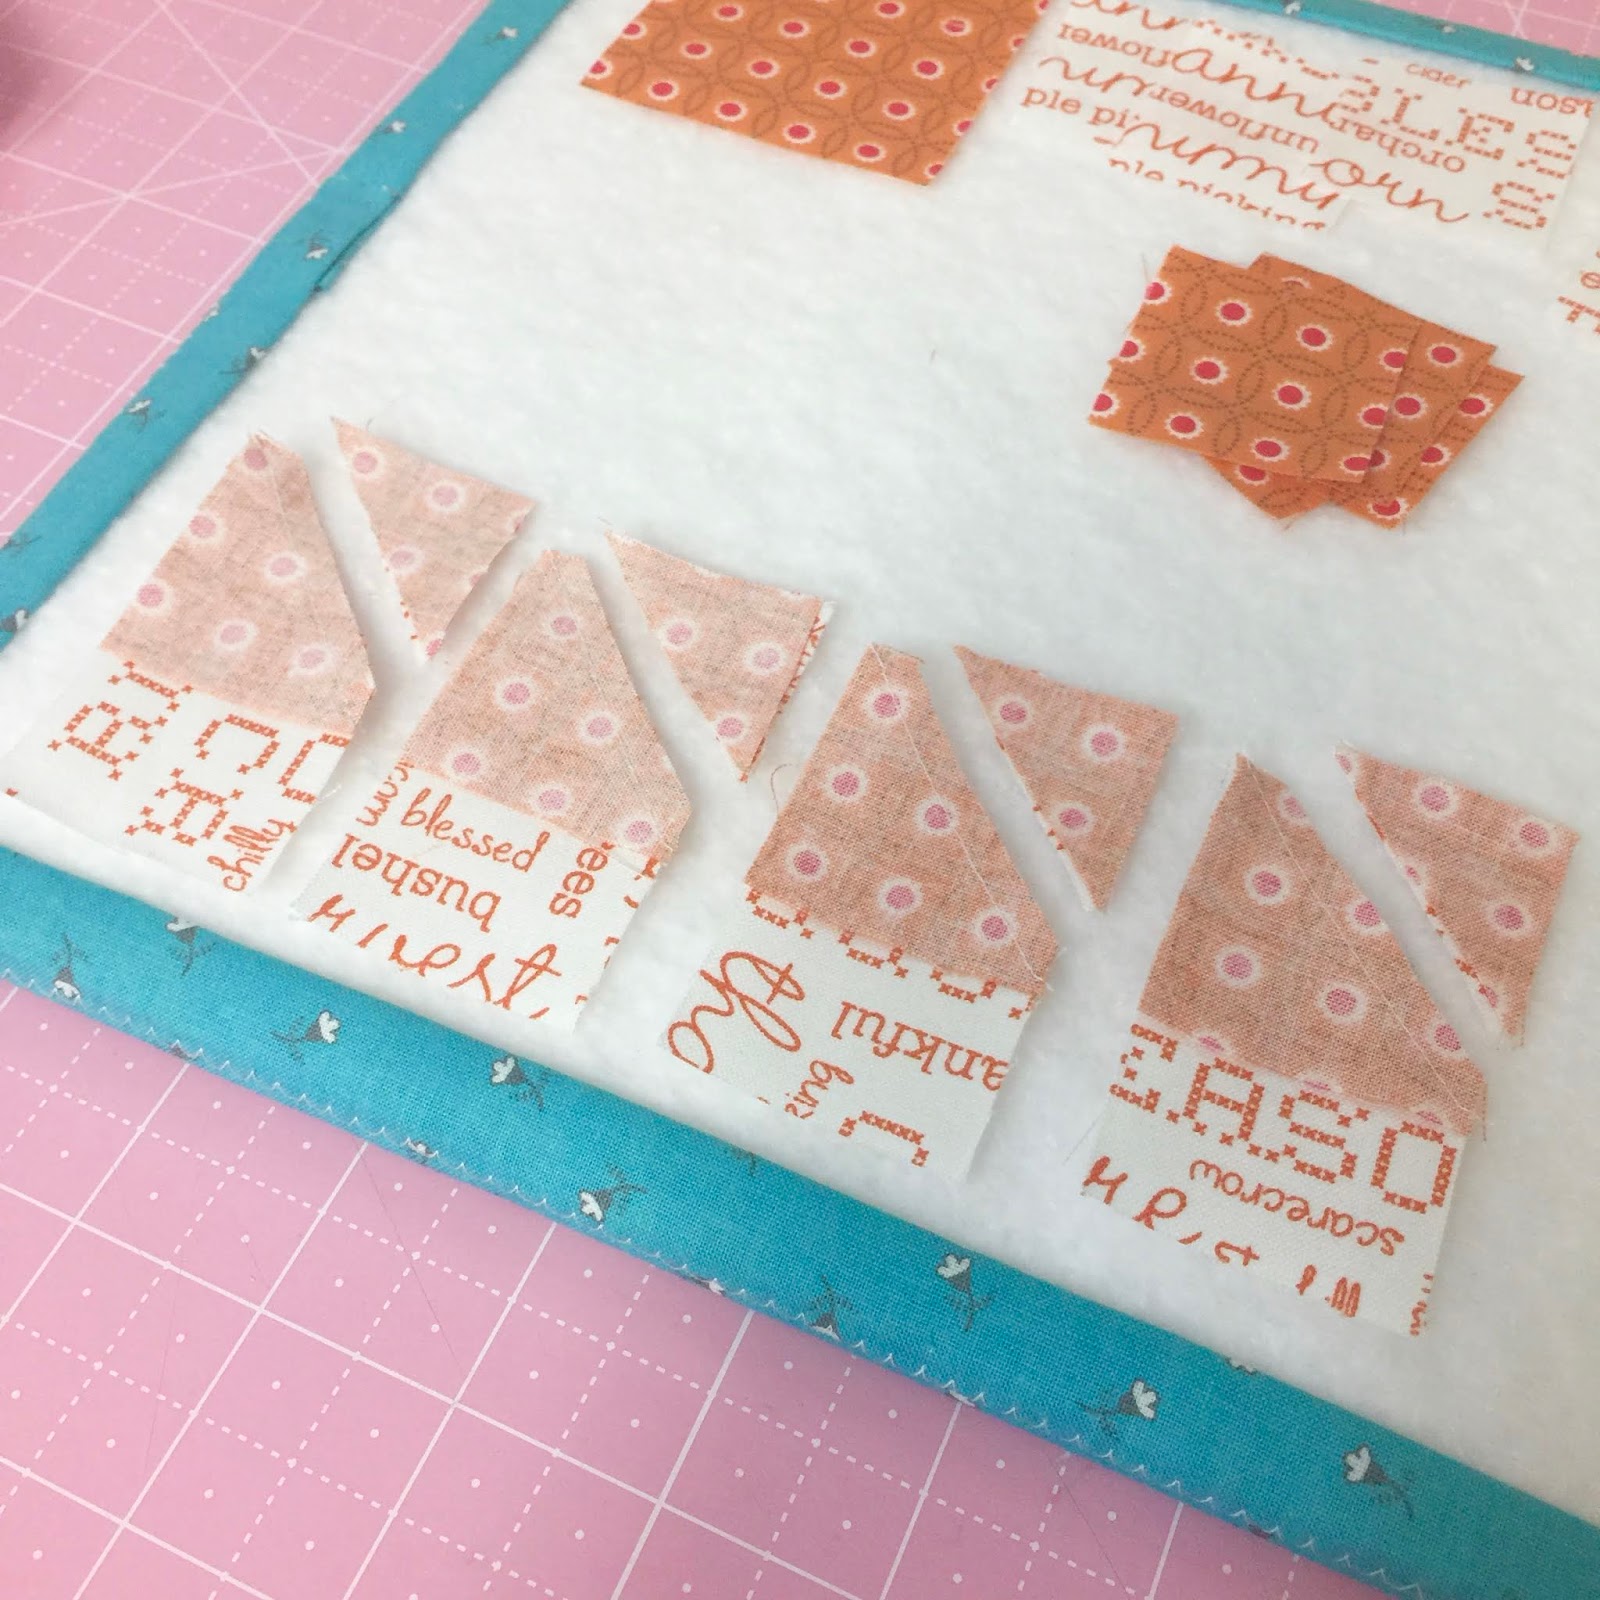
Next block tutorial:
Harvest Star

We will be making 4 blocks for the quilt:)
The following photos are
the fabric combos for each block.


I'll just be showing you how
to make one Harvest Star:)
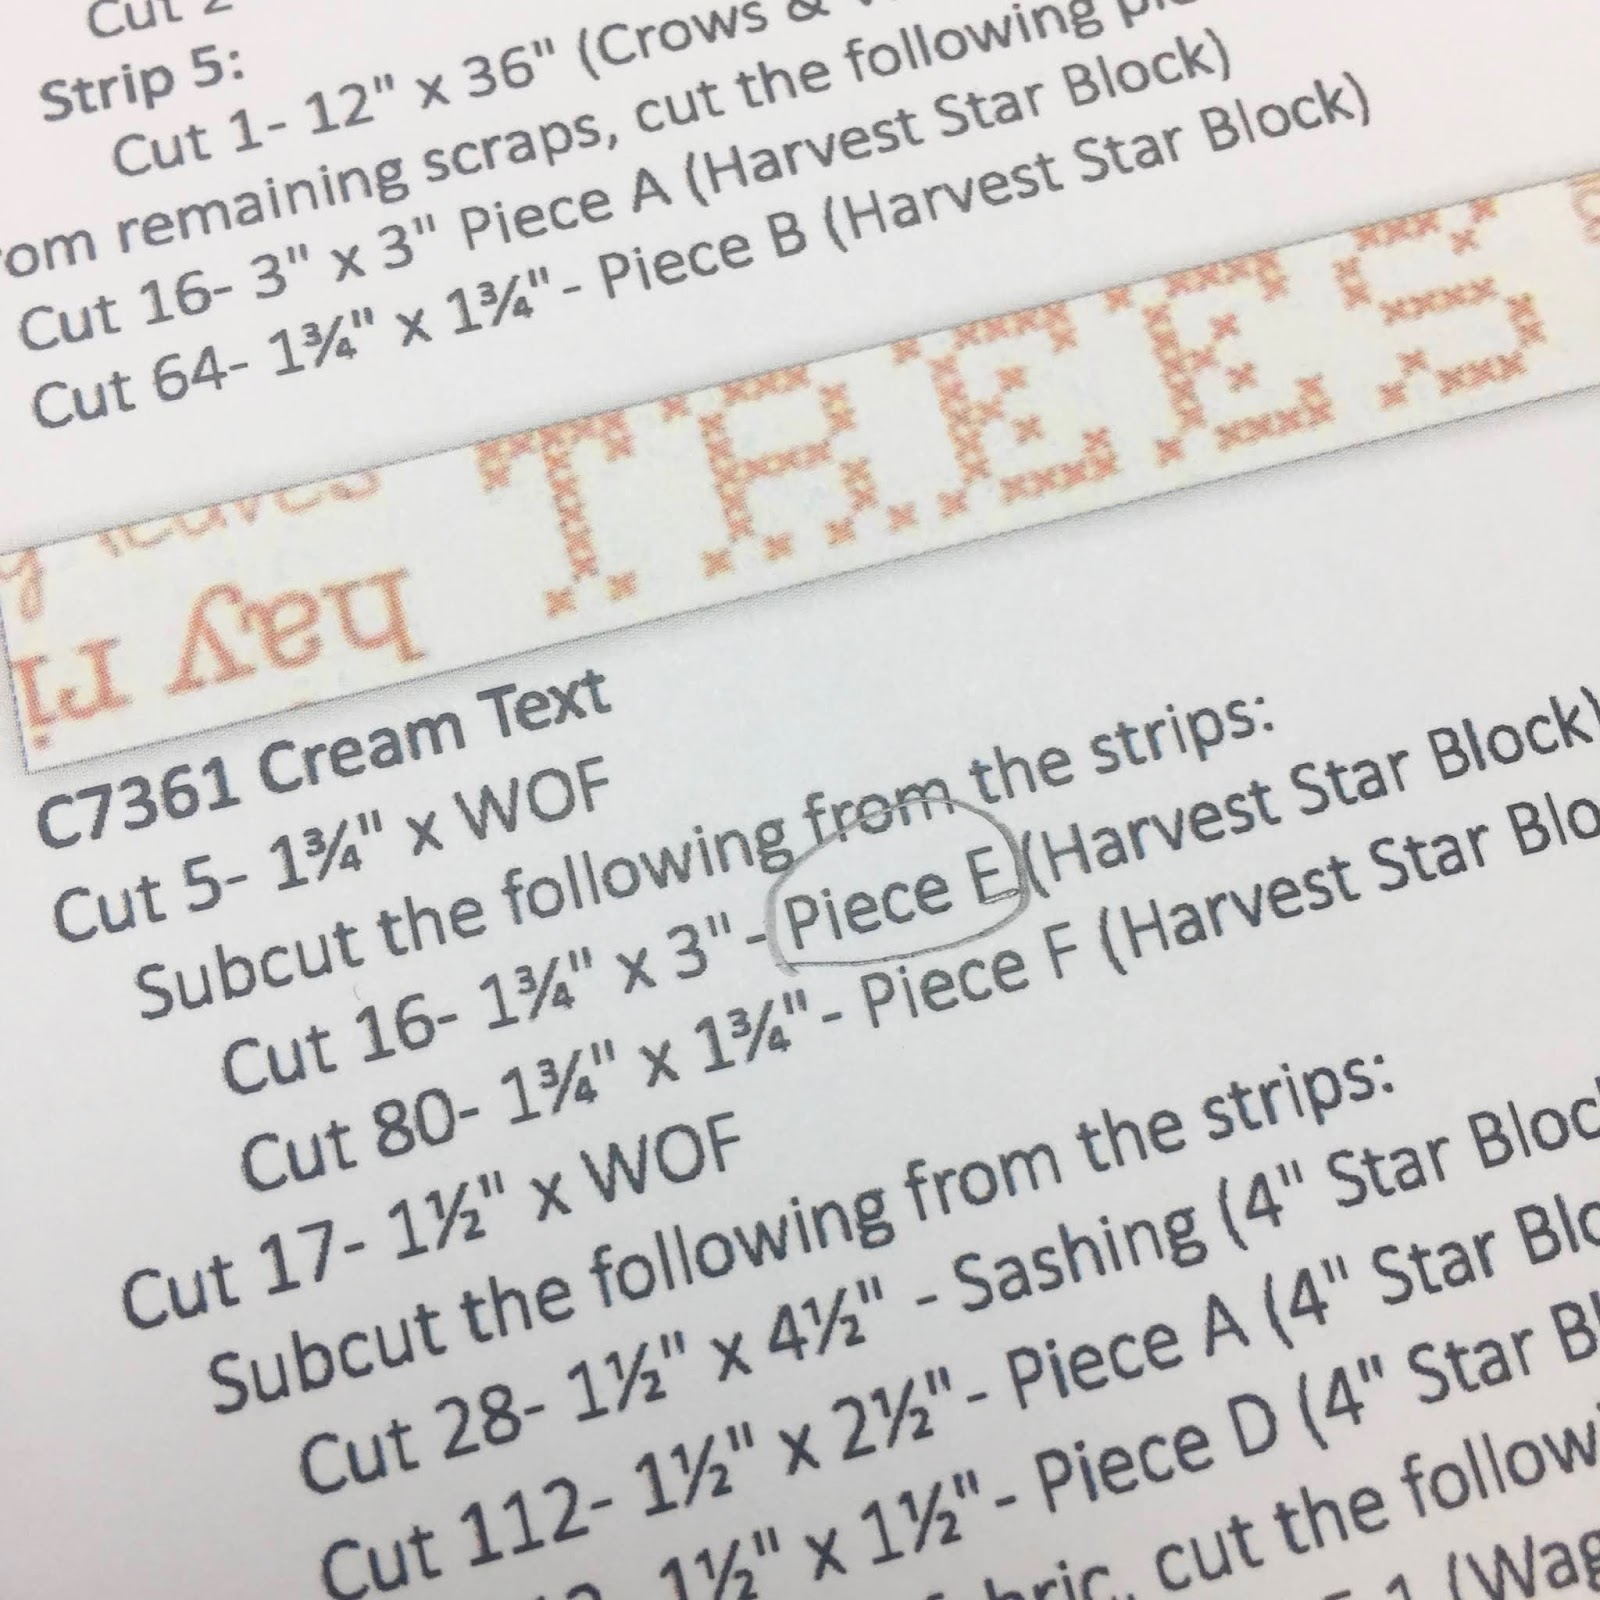
***Note***
I noticed that in the
Cream Text fabric cutting
that there were two pieces labeled "F"
for the Harvest Star Blocks.
Don't worry!...
it makes no difference in the cutting...
but just letting you know that the
1 3/4" x 3" are "E" and not "F"
Another note to take before beginning
this block is that I pressed
ALL of my seams open because there are
a lot of places where seams
need to meet up on the diagonal.
Okay...let's begin!

We will be doing this block by
breaking it down into sections.
The first section is the center star
of the block and it consists of
pieces "C" "D" "E" and "F"
The star is sewn in the exact same way
as the 4" Stars.
Only difference is the size...
this star should measure 5 1/2" square
before you sew the other
Harvest Star pieces around it:)

Make 4 of these corner units with
pieces "A" and "H"...
Use my Easy Corner Triangle Method
just like in the 4" Stars.
Use this method throughout the
rest of the pieces for this block.

Use pieces "B" "I" and "F"
to make these 8 sections.
The 4 on the left are the same and the
4 on the right are the same.
Pay close attention to the direction
you are sewing the easy corner triangles
so that you end up with correct angles:)

Use pieces "B" "G" and "F"
and sew these 8 units:)
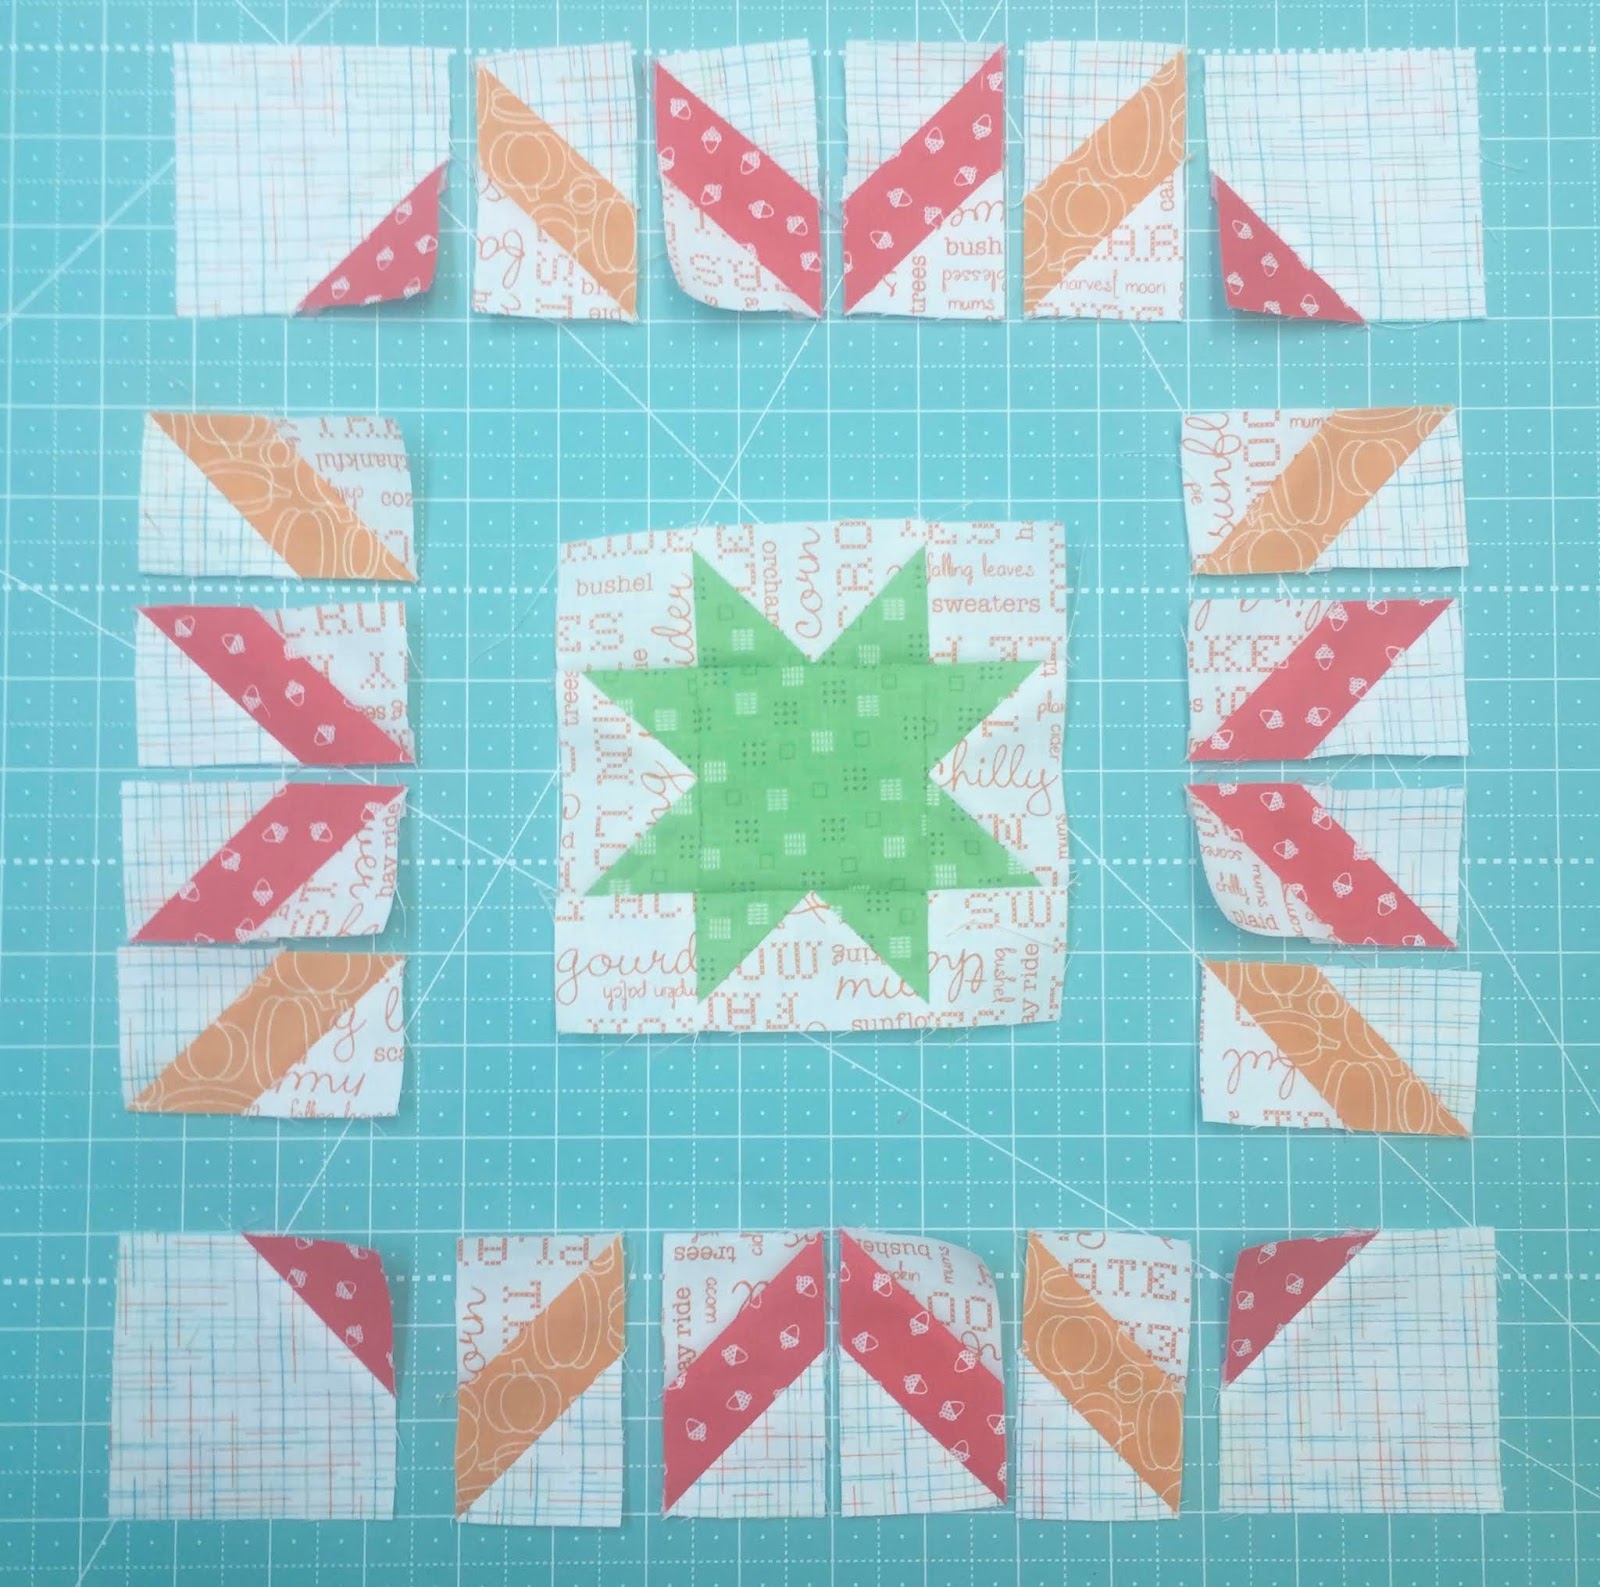
Lay your block out onto your
large design board like this.
I placed mine on my cutting board
so that you can see the pieces clearly.
Join the sections together...

Until you have 3 rows like this....

Then sew the rows together!

Here is the back of my block:)
I press my seams flat just like
I showed you with the 4" Stars...
I use my 10 1/2" Trim-It Ruler
and lay something heavy on top.
When it cools down I use the ruler
to trim it up if needed.

Now you can make the remaining three
Harvest Star Blocks
throughout the sew along
as your time allows:)

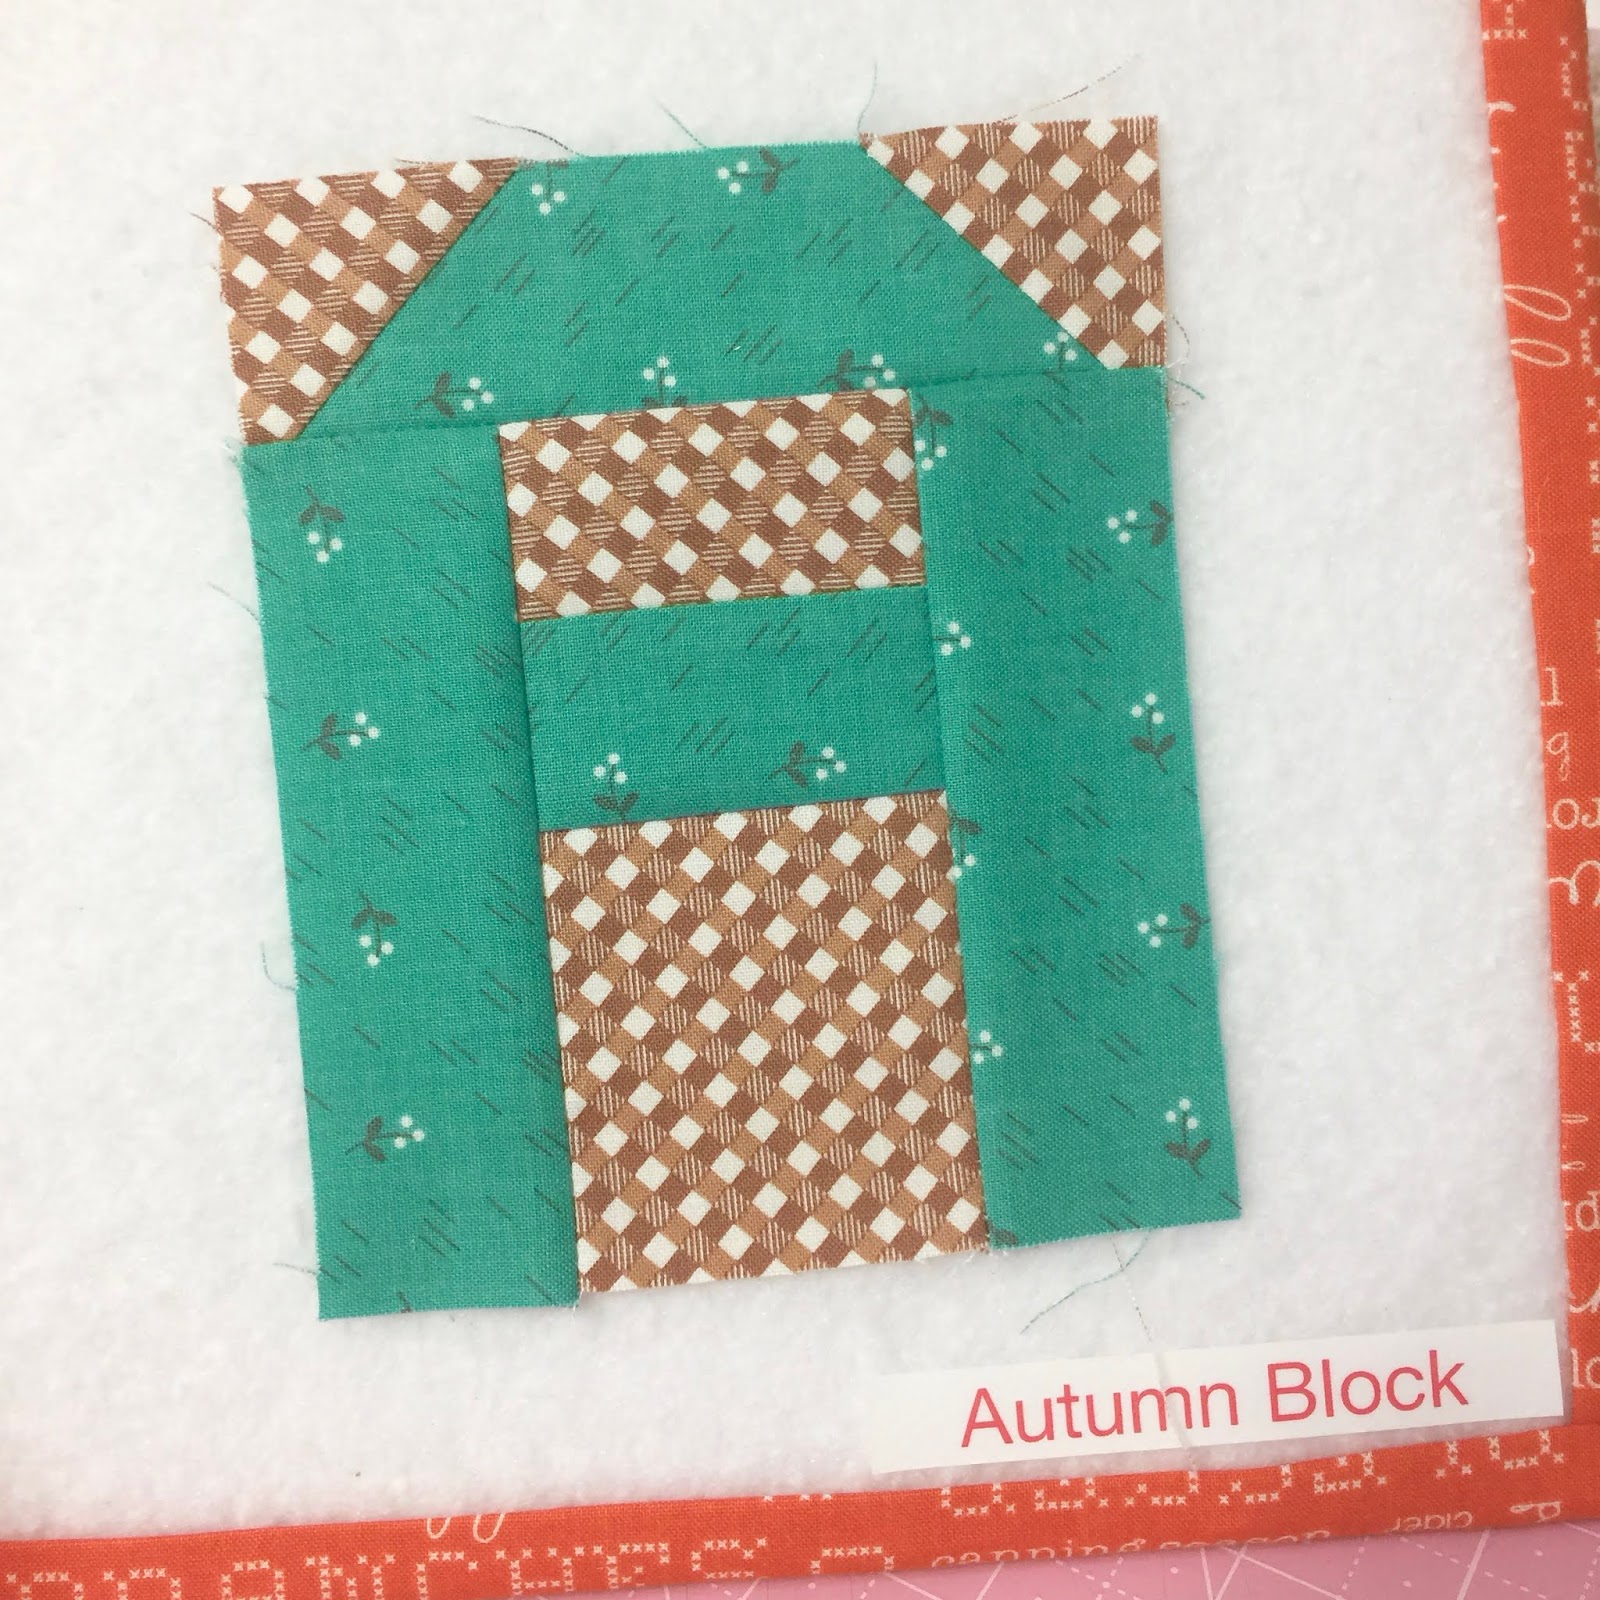
Okay now for the Autumn Block...
the pieced letters that go underneath the house block:)

Don't forget the F-19 Heart
for the letter "M" block.
These letters are super easy!
Simply do each easy corner triangle first and then sew all of the pieces together.
The diagram of each block
is on page 2 of the sew along.


Letter "A"
At this point it should measure
4 1/2" x 5 1/2" BEFORE
sewing it into the block.


Make two letter "U"
They should each measure
3 1/2" x 5 1/2" BEFORE
sewing them into the block.


Letter "T"
It should measure
3 1/2" x 5 1/2" BEFORE
it goes into the block:)


Letter "M"
It should measure
5 1/2" tall x 6 1/2" wide BEFORE
sewing it into the block.

Sew the heart:)

Clip the cleavage
in the top like this.

Turn and shape and press!

Glue baste your heart for applique:)


Letter "N"
should measure 4" x 5 1/2" BEFORE
sewing it into the block.

You should have cut
7 - 1" x 5 1/2" sashings
for in-between and ends of letters
and also
2 - 1" x 26 1/2"
for the top and the bottom.
Lay the letters and the sashings
like this
and then sew the short sashings
and letters
together first and then
the top and bottom last.

Like this!
I pressed towards the sashings.
It should measure
6 1/2" x 26 1/2"
BEFORE you sew it into the quilt:)

Yippee and WHEW!
That was a super long post!
Hang in there...
you are doing an awesome job.
These pieced blocks so far tutorials
are now finished and the only
remaining pieced block
is the house...
which we will do on week 9:)
Can I just say again how fun it is
to see everyone's blocks posted onto
We are all so impressed with
everyone's creativity and
sew love everyones blocks!!!...
Whether they are exactly the same
as mine or your neighbor's or
are unique and have a variation
or two is no matter:)
As you know...
I like to say
"you are the boss of your own quilt"
The most important thing
is to relax and enjoy every step
of this beautiful wonderful
imperfect or imperfect
journey of quilting!
I'll meet you right here
next week for week 5...
and we will make the Scarecrow Block:)
xx
Lori

No comments:
Post a Comment