

"Kindness and Generosity"

Welcome to week four of the
PRIM SEW ALONG!

We are making the
PRIM QUILT
72" x 90"


And my newest fabric collection
PRIM
to make the quilt:)
I have already posted the
post which details all of the supplies
for the sew along and how it works.
I have also given the link there
for the free PDF Download
of the Sew Along Guide
to read that post.

So far we have made
"PATRIOTISM and INDUSTRY"
for the first week blog post

"JOY and CONTENTMENT"
for that blog post

"PEACE and PLENTY"
for last week's post

This week we will be making
"KINDNESS and GENEROSITY"

The PRIM Sew Simple Shapes
needed for this week's block:
1 - K10
1 - K12
1 - K13
1 - K14
1 - K15
1 - K25
1 - K26
2 - K27
1 - K41
1 - K44
1 - K45
1 - K46
2 - K51
2 - K57
Prepared straight/bias strips
for this block:
*1 /2" Birdhouse Post - cut 7 1/2" long
*1/4" bird legs - cut two 2" long
*1/4" Hat Brim - (it was cut on bias but
it's used straight)
it should measure 3 1/2" long
after pressing both ends under
*1/4" Flower Stems - cut two 4" long and
press a slight curve in each
*1/4" Suspenders - cut two - 4 1/2" long

You will need to sew
these pieces together before
you sew the shape for the arms.
Press the seams open to reduce bulk.
Use the shortest dashed line on the
K-27 shape to mark on the interfacing.

Do the same thing for the hat/head combo....
sew together first and press seam open.
Use the line on the K26 shape
to mark the interfacing
just Like I showed you
in the block one video.

Sew the birdhouse roof to the
birdhouse
before sewing the K-41
just like the previous two above.

Press the piece for the shirt print
in half to find the center.
Use the Sue Glue and baste the
1/4" straight bias strips
for the suspenders onto the shirt
1 1/4" apart
(5/8" away from the pressed
center fold on each side)

Use the K-25 SSShape and
mark the lines dividing the
feet...pants and shirt onto the interfacing.
Sew the fabrics for the shirt...
pants and feet together
using an accurate 1/4" seam allowance
before sewing the shape.
Press seams open:)

You know the drill by now!
Same thing goes for the flowers
in this block...using SSShape K57

Last one!
Sew the beak fabric to
the bird fabric first
and mark line onto interfacing.

Here is what all of my pieces
that need to be sewn together first
looked like after
sewing and before trimming.

All of the appliqués on the
cutting mat above
are the ones that have cleavage areas
and inner curves to clip before turning.
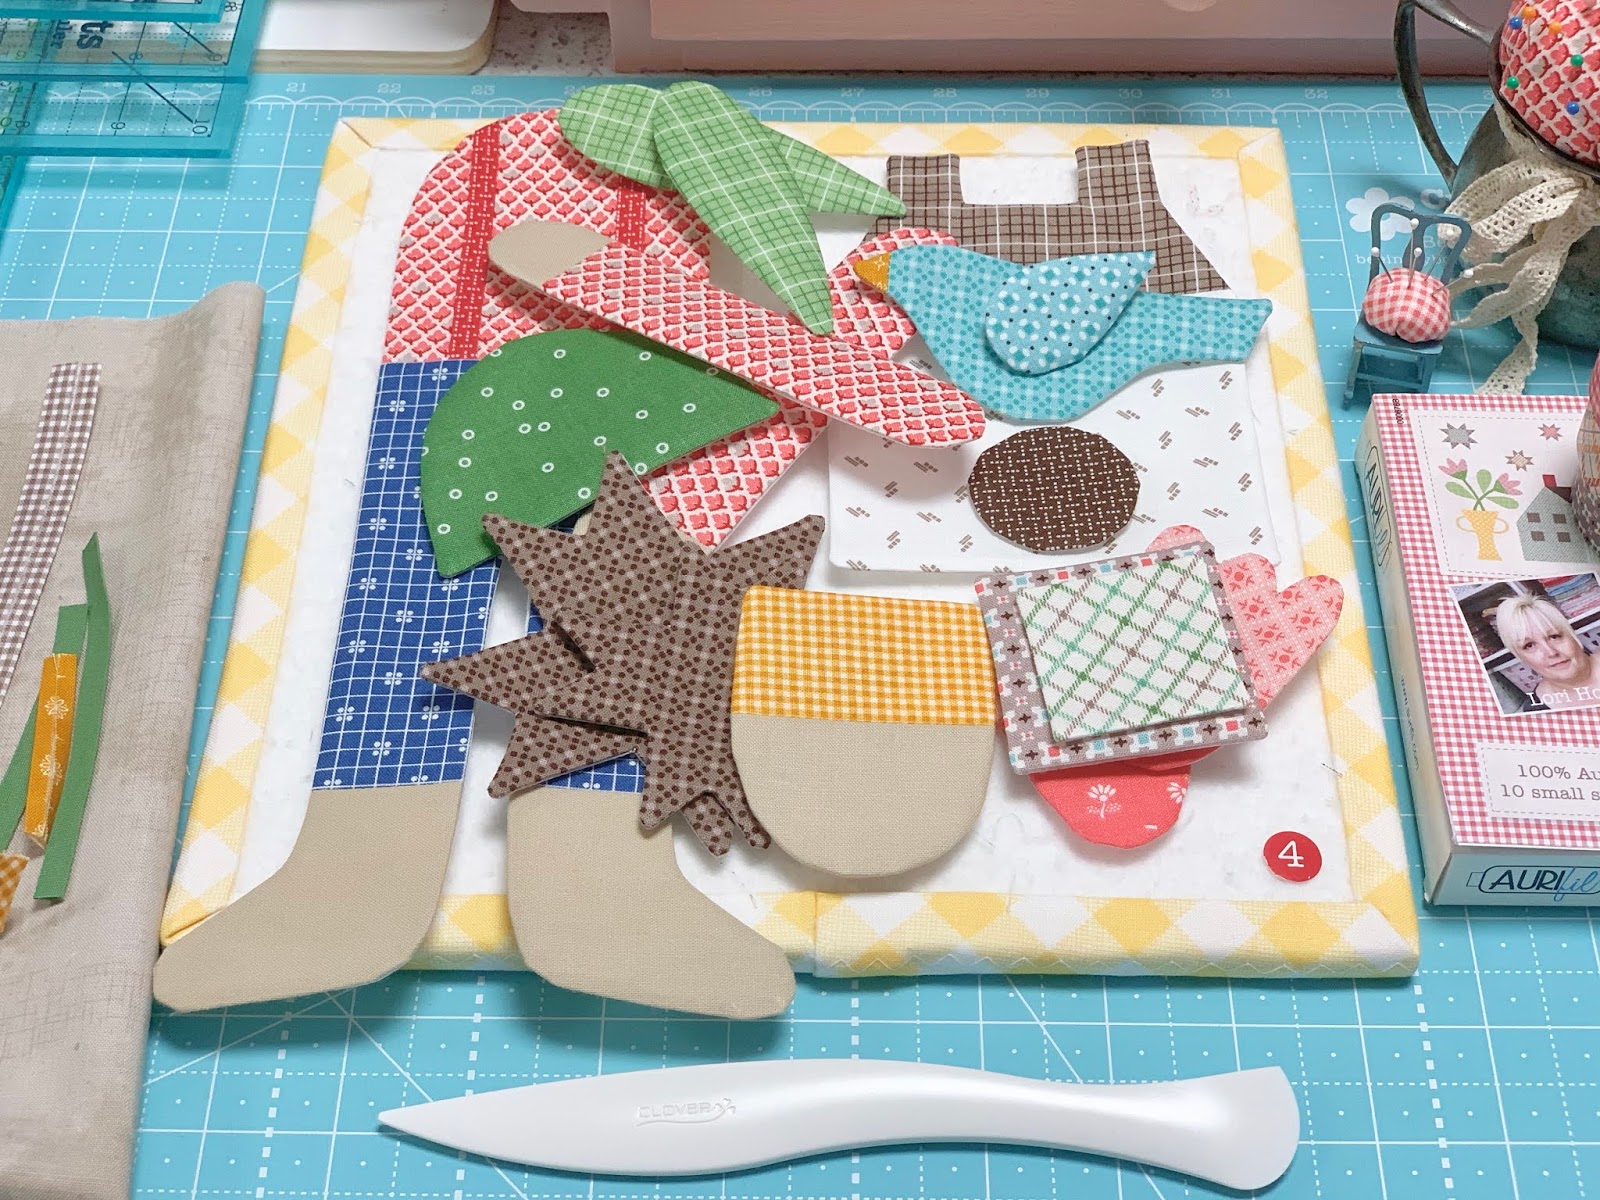
All of these lovely pieces
will become block four!

I made the eyes with two
french knots
and I added a blush on this
gentleman:)
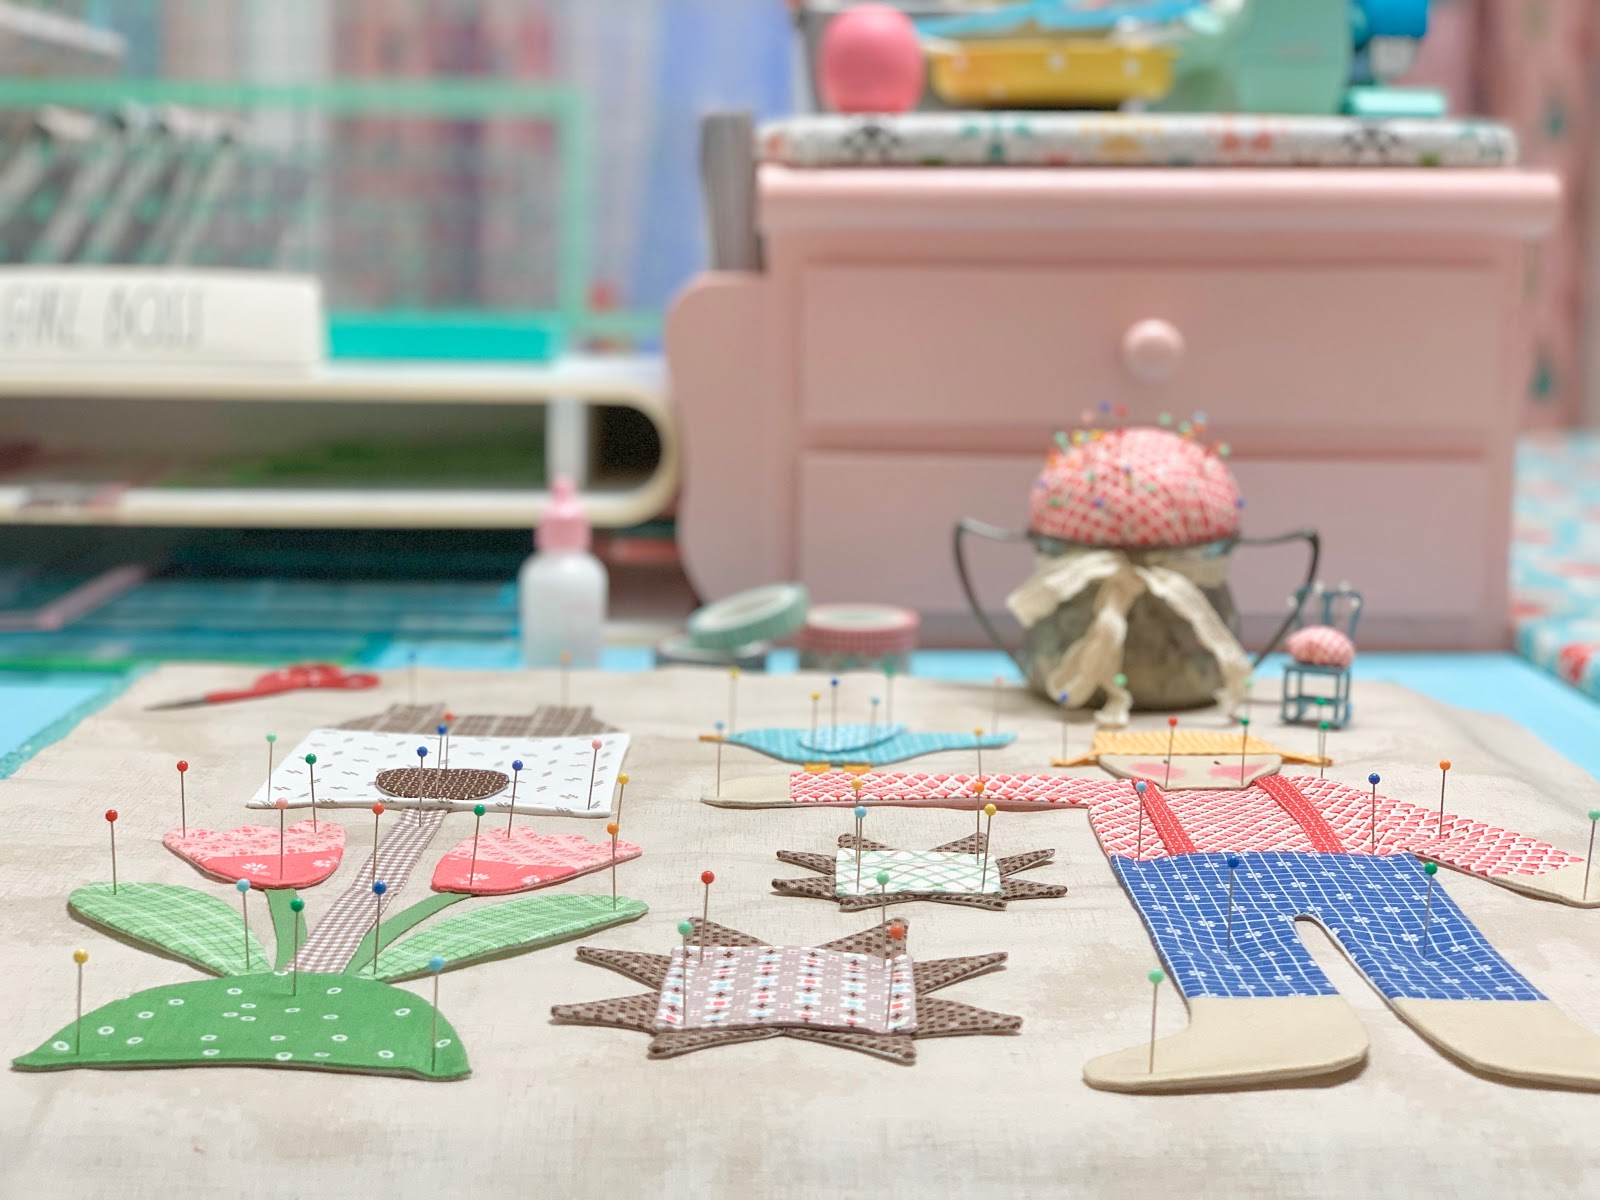
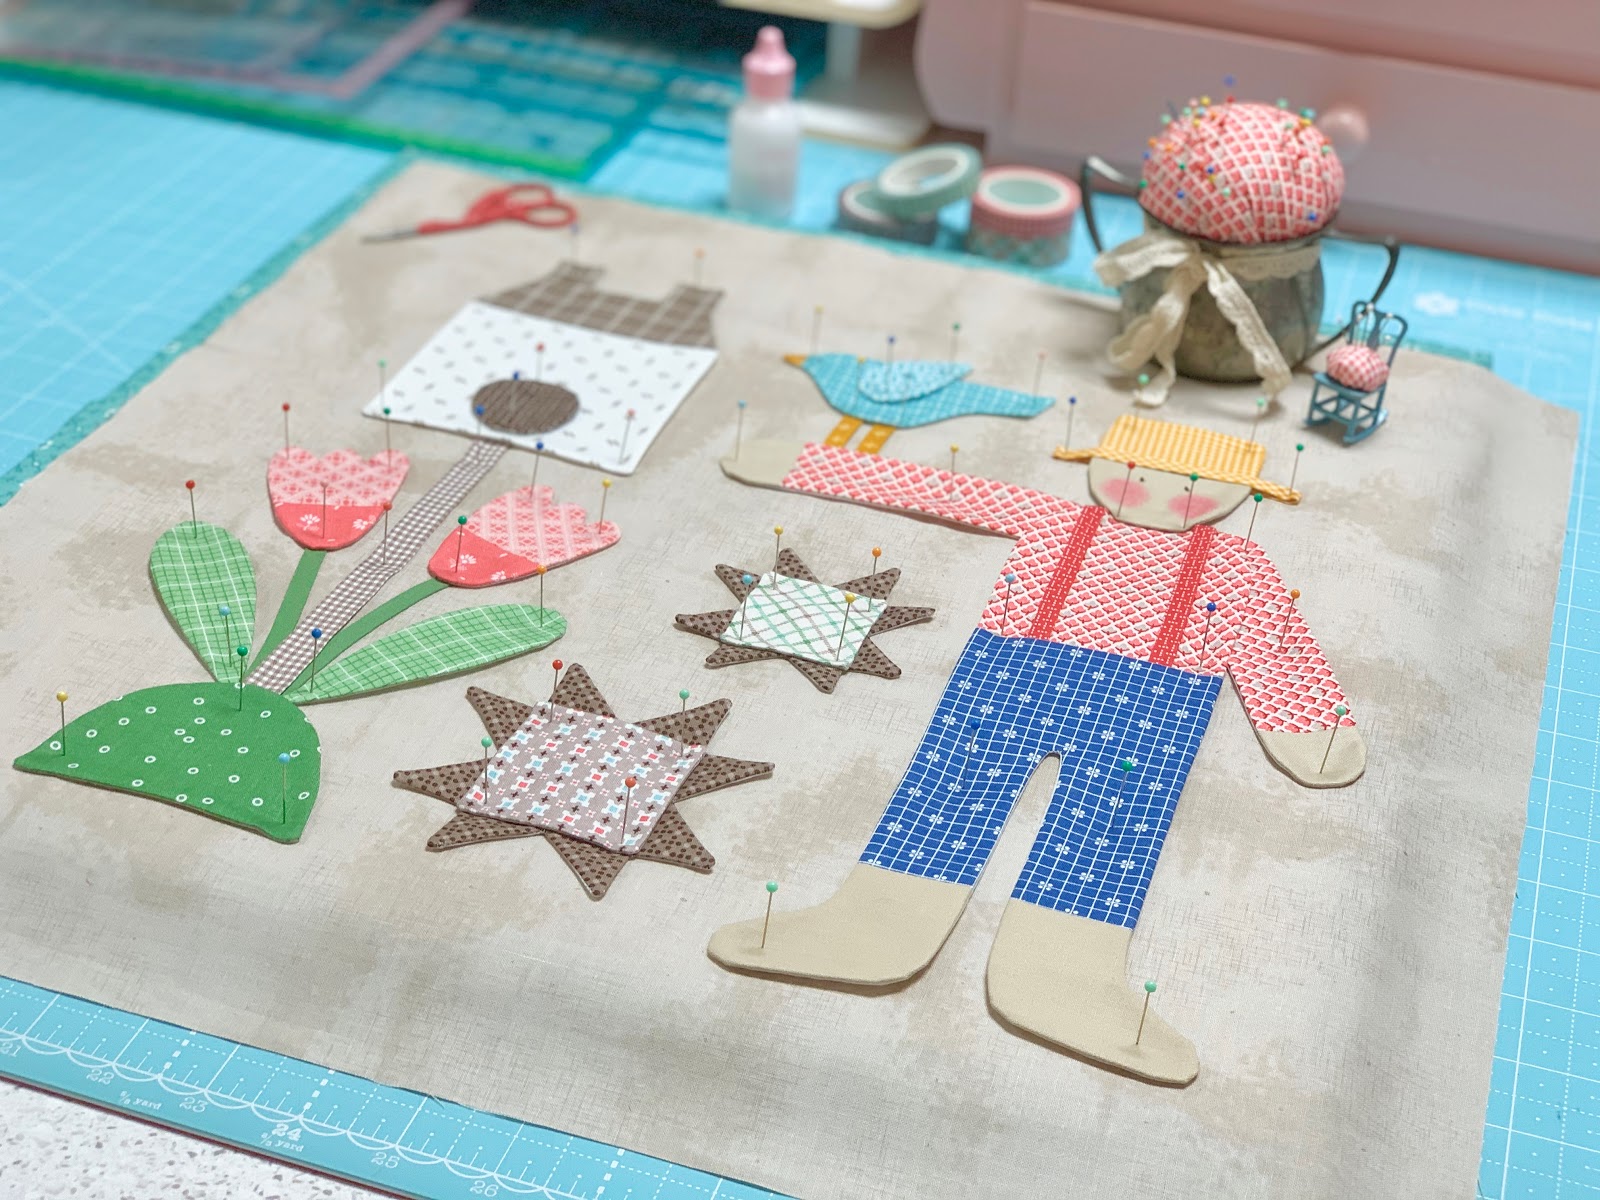
Time for pinning!
Use the 16 1/2" Trim -It Ruler
for placement before using the
Sue Glue and removing the pins.

Here comes all of the pictures
of my block
with the ruler on top
so that it may help you with placement:


Glue is dried and it's
all ready for appliqué:)

After applique...
pressed and trimmed
to 16 1/2" square with the ruler:)

Isn't this Prim gentleman sweet?
He takes care of the birds
and tends the orchards and gardens.

I hope you enjoyed my tutorial on the
Prim Corner Stars
that I posted last Friday
on my YouTube Channel
In the video I've labeled
the cut pieces A through G.
You can see my cutting
for the block in the photo above.
if you haven't watched it yet:)

All of the cutting for each star
is of course
in the Sew Along Guide...
and in the video I show you
how to sew the block together!

You will need 4 Corner Stars
for the quilt border...
Each should measure 10 1/2" square
BEFORE you sew it into the border.

I'm making several of the
Prim Stars
like the one I did in the video using the
shirtings print for the background...
I'll be making a table topper!!
This Friday on my channel
is the tutorial for the
PRIM Steps Block

I'll be right back here next week
for the next block tutorial
for our Prim Quilt...
"Beauty and Simplicity"
Chat with you later!
xx
Lori

No comments:
Post a Comment