

"TOPIARY HOUSE BLOCK"

Welcome to week one
and the second tutorial of the
"HOME TOWN"
Sew Along!
Do you have all of your "tools"
together for building a house today?

Together we are making the
Home Town Quilt
75" x 84"

The quilt is made with my fabric
collection called Home Town:)
I hope that you all have all
received your
fabric kits by now...
and that we are all ready to begin!!
If you still need one ...
just do a quick google search for
"Home Town Quilt Kit"
to find shops who still have some left.
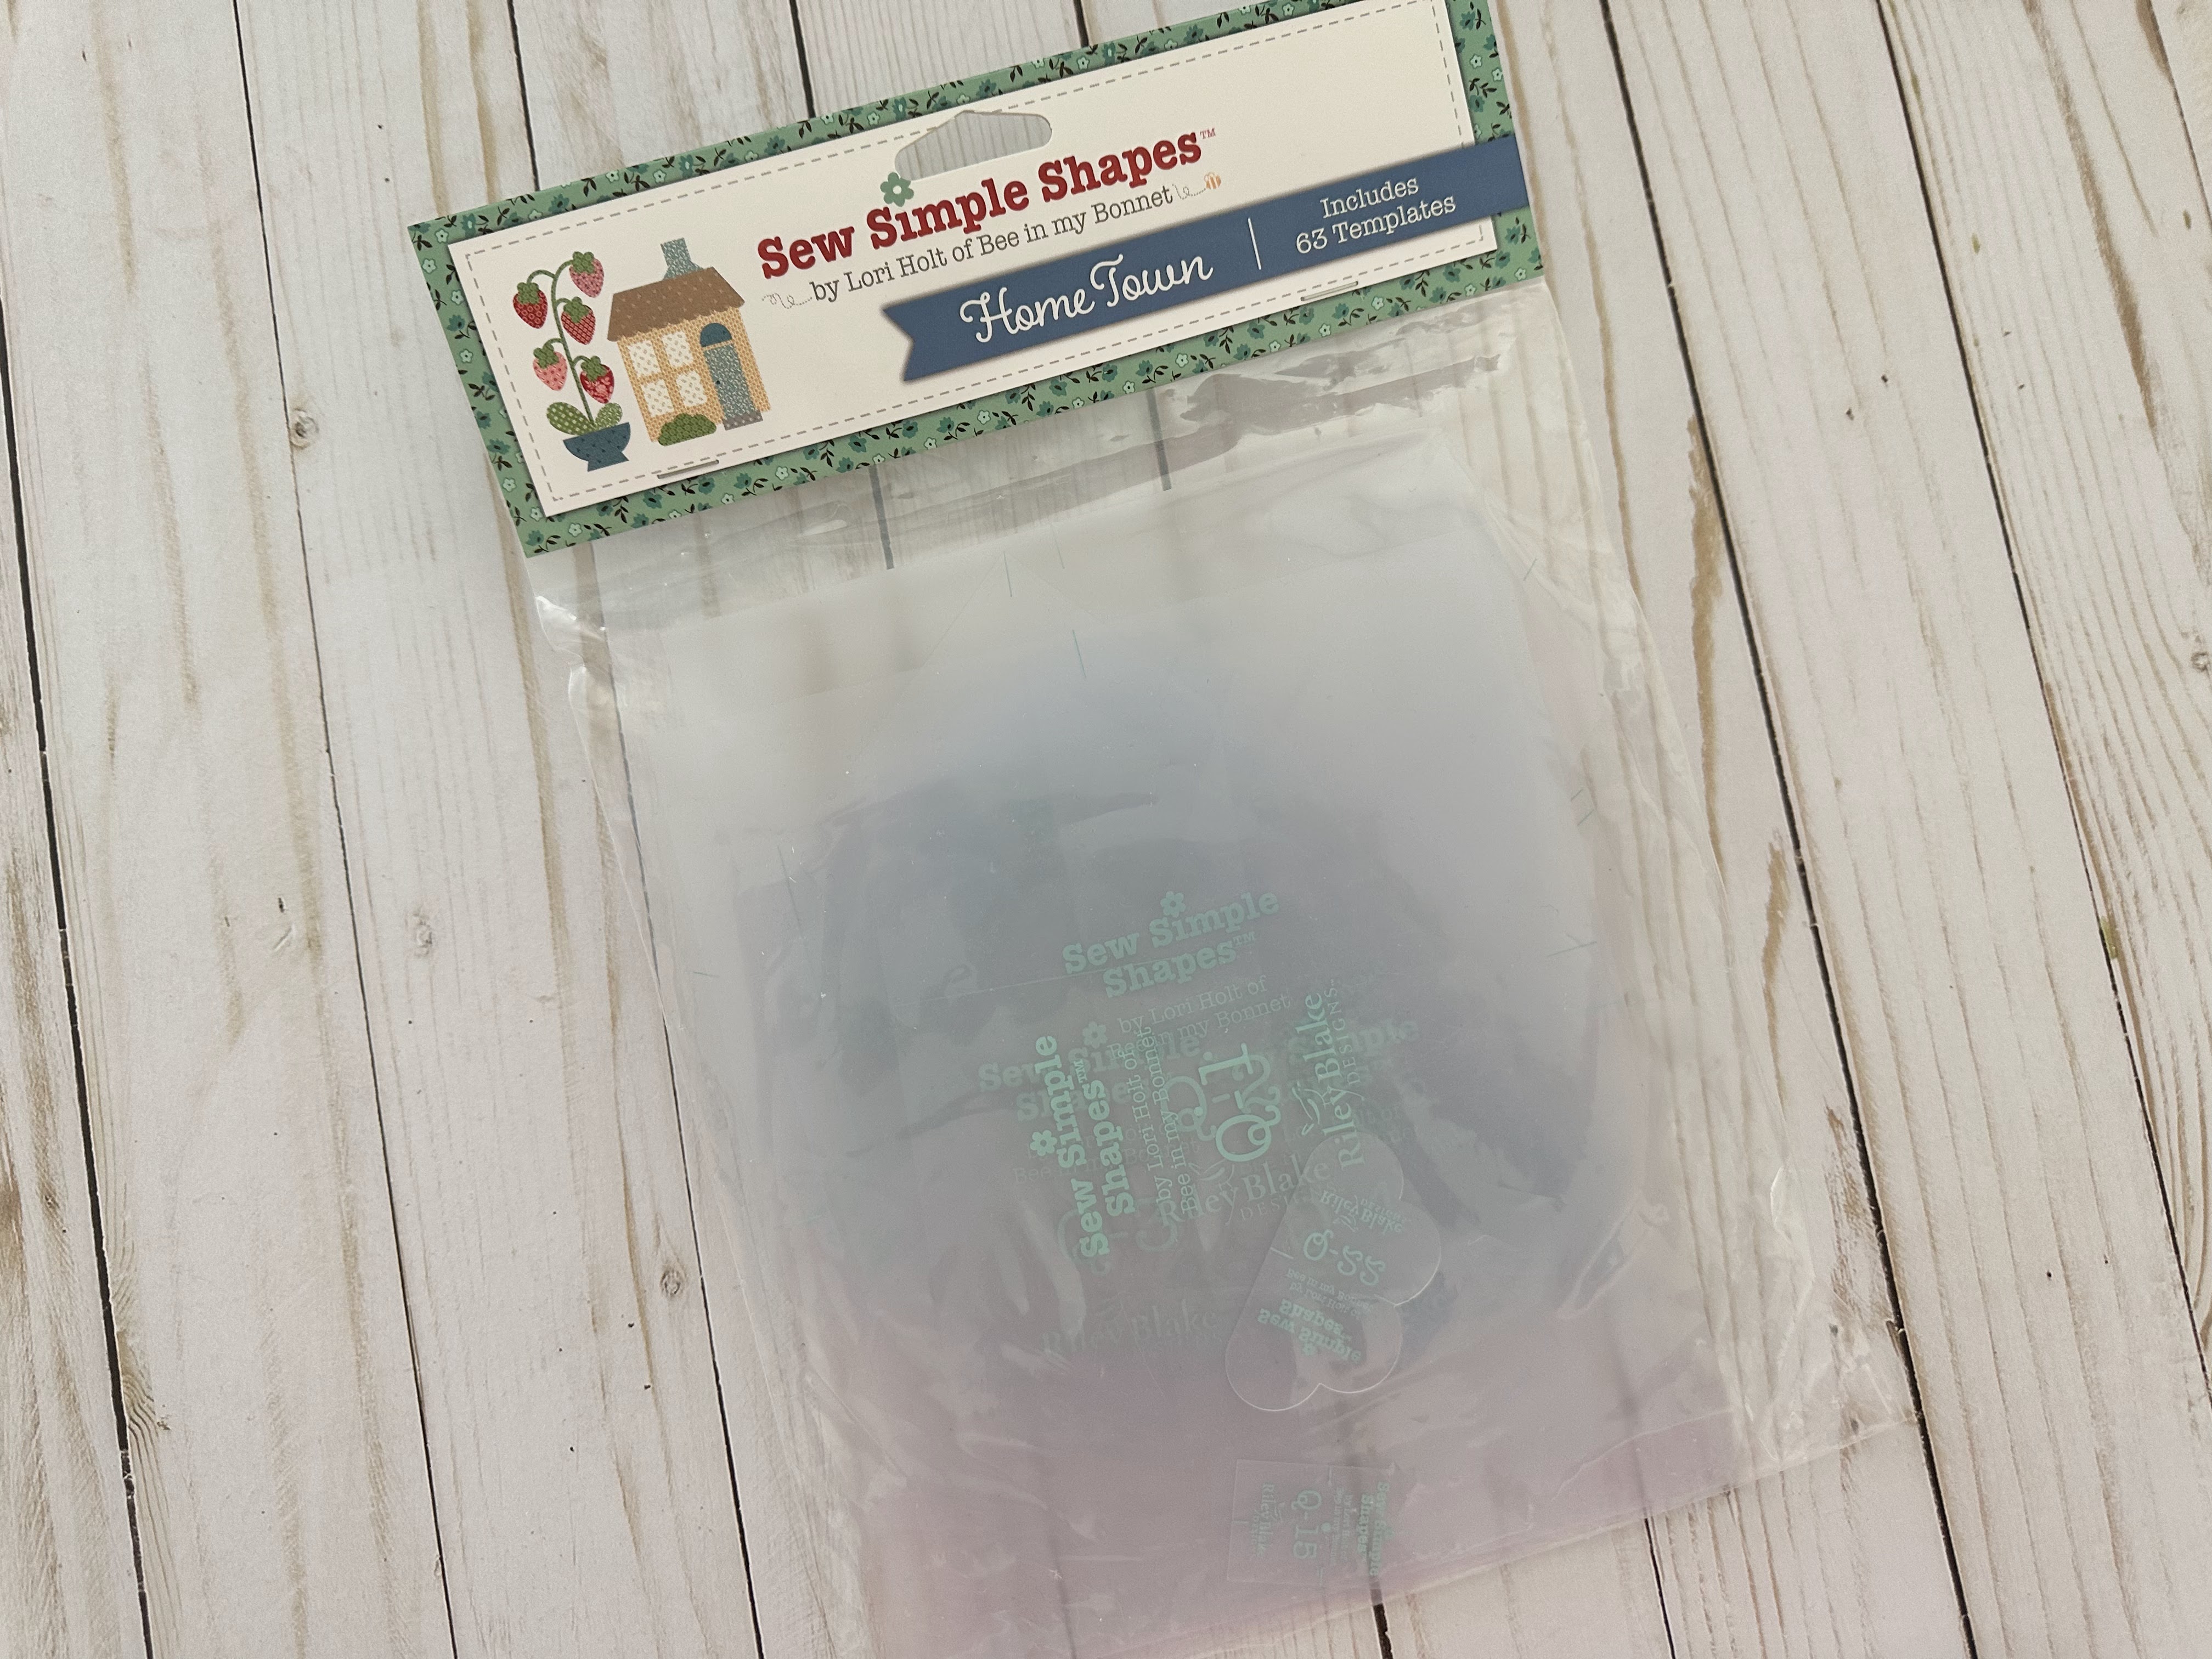

We are also using the
Home Town
Sew Simple Shapes
I have already posted the
post which details all of the supplies
for the sew along and how it works.
I have also given the link there
for the free PDF Download
of the Sew Along Guide
to download the sew along guide
if you have not downloaded yet.

As per usual for the first block in my
Sew Simple Shape Sew Alongs
that FIRST tutorial is a video.
Because I now have my own
I have posted the
Flag House Block
Tutorial there.
to visit my channel and watch the
tutorial and I hope that you love it!
Pretty please leave me a comment
over there and let me know:)
to read my blog post
about the Flag House
that I did on Monday:)
If you like what you see
and my other videos there...
click on subscribe and click on the
bell to be notified whenever
I post another tutorial:)

that I showed you
how to make in my video:)
Today we are building the
Topiary House!!

Here is a list of the
Home Town
Sew Simple Shapes
needed for this block:
1 - Q-1
1 - Q-7
1 - Q-10
1 - Q-14
5 - Q-15
2 - Q-17
2 - Q-33
2 - Q-34
2 - Q-35
2 - Q-61
You will need prepared
1/4" straight bias strips:
*2 - for the tree trunks - 7" long
*2 - for the planter tops -
they should be about 2 3/4"long
after pressing both ends under.
*1 - for rooftop rail fence - 5"long
*2 - for chimney tops - 1 1/2" long
after both ends are pressed under.
*7 - for rooftop fence pickets - 1 1/2"
after pressing one end under
You will need a 1" prepared
straight bias strip for the front porch.
Press both ends under and
it should now measure 3" long after.
Cut your background
14" x 16"
and sew it to the 3 1/2" x 16" grass
pressing the seams open.
Now press in half for centering
the house when pinning and glue basting:)

Let's start construction!

First you will need to sew the
top and bottom planter fabrics together
before you sew the Q-61 SSS.
Use a 1/4" seam allowance
and press the seams open.

When you sew to the interfacing...
place the seam right onto
the center of the traced cleavage:)

Then sew and trim.
Guess what?
These are the only two shapes
in this block that need clipping!
The others are simply sewn and trimmed...

Then turned...shaped and pressed
as per usual:)
Now let's go build our house!

Okay...
I have several measurements
to show you as I took pictures
while doing the construction
of a few things before I
placed them onto my background
for pinning and glue basting.

The door and door topper
together measure about 5 3/4" tall.

The house and roof together
measure about 10 3/4" tall.

Measure up 3 3/4" from bottom of house
to place the bottom side windows.

Measure 1/2" in-between the
two windows and both should be
1/2" from side of house.

Center window is 1/2" up from the
door topper and top windows should be
even all the way across the top.

Just confirming 1/2" from side:)
P.S. Sunbonnet Sue is my
cute construction partner!

I centered and pre-glued the trims
onto the tops of chimneys and planters.

Okay now to place the house
onto the foundation!
The house is 1" down into the grass.

And pinned onto the center
pressed line of the background.

Measure up 2 1/4" from top of grass
and 1 3/4" away from the side of house
and pin down the 7"strips
for the tree trunks.

Both tree trunks are glued!

Center the planter with the trunk
and place the bottom of the planter
1/2" down from the top edge of grass.

Pin and Sue Glue!!

Place the bottom topiary circle
1/2" up from the top of the planter.

Next place the top topiary circle.
It should measure 10 3/4" from
top of circle to bottom of the planter:)

Now you can place the middle circle
by centering it right between
the top and bottom circles...
easy peasy!

Now it's time to pour the concrete
for the front porch step:)
Place it 2" inform side of house
and hanging 1/2" down
and centered on the door bottom.

Tuck the chimney right under
the top edge corner of roof
and measuring 1 1/2" tall.

Repeat for other side.
*Take note that I did not glue down
my roof or chimneys yet
so that I could tuck both the chimneys
and the rooftop fence underneath.

Measure up 3/8" from the
top of roof and place the rail.

Place the center picket right on the
pressed center fold of background.
Each picket should measure 1" tall...

And be about 1/4" apart.

Roof top fence is done:)
Now you can sit up there and
watch the parade during Town Days!

Now you can Sue Glue everything down
and then check your measurements
using the 14 1/2" Trim-It Ruler.
YaY!
My Topiary House is built...
with topiaries planted on each side
and ready for applique!!!!

Afterwards I'll press from the back and
trim down to 14 1/2" square:)


In my Home Town everyone took pride
in keeping a well tended garden.
Each house itself was very well
taken care of and it was a joy to
watch the seasons change in each yard.
It always made me so happy!
Many of the houses had been there
for generations and stayed
within the family...including my own
great grandparents and then
my great great grandparents houses
going back four generations.
Thus since the day I was born
began my love of old houses...
gardening...alll things vintage
and my own family heritage:)

Thanks so much for sewing with me today
and for joining me
for the very first week of the
Home Town Sew Along
I'll meet you right back here
on my blog next time for the
Pineapple House Block tutorial...
xx
Lori

5 comments:
Thank you so very much! All of your hard work and great kindness is truly appreciated 🩵
Excited about this wonderful project ! Love houses!👏🏻
Hi! Do you know when the pieced blocks will started to be posted on YouTube? Luving this SAL!!!
Whew. Got my second one glue down.
Pretty! This was an extremely wonderful post. Thanks for supplying this
info.
Post a Comment