"VINTAGE DAHLIA BLOCK"
Welcome to week four of the
"BEE VINTAGE"
Sew Along!
Join me here each week
when I will be doing 3 tutorials
on three blocks for the quilt.
Of course because we are all sewing
from all around the world
we all have different time zones...
But I will be posting each
Monday - Wednesday - Friday
right here on my blog
and you can follow my tutorials
any time during the week that
is convenient for you.
We are making the
Bee Vintage Sampler Quilt
71" x 84"
The quilt is made with my fabric
collection called Bee Vintage...
and a few other prints from my basics collections as well:)
I hope that you all have all
received your
fabric kits by now...
and that we are all ready to begin!!
If you still need one ...
just do a quick google search for
"Bee Vintage Quilt Kit"
to find shops who still have some left.
We are also using the
Bee Vintage
Sew Simple Shapes
I have already posted the
post which details all of the supplies
for the sew along and how it works.
I have also given the link there
for the free PDF Download
of the Sew Along Guide
to download the sew along guide
if you have not downloaded yet.
As per usual for the first block in my
Sew Simple Shape Sew Alongs
that FIRST tutorial is a video.
Because I now have my own
I have posted the
Vintage Strawberry Block
Tutorial there.
to visit my channel and watch the
tutorial and I hope that you love it!
for the tutorial on the
VINTAGE APPLE BLOCK
for the tutorial on the
VINTAGE CHERRIES BLOCK
for the tutorial on the
VINTAGE BUTTERFLY BLOCK
for the tutorial on the
VINTAGE MAPLE LEAF BLOCK
for the tutorial on the
VINTAGE SCOTTY DOG BLOCK
for the tutorial on the
VINTAGE UMBRELLA BLOCK
for the tutorial on the
VINTAGE FLOWER BLOCK
Last time we made the
VINTAGE TEAPOT BLOCK
for that tutorial:)
Today we are making a dahlia!!
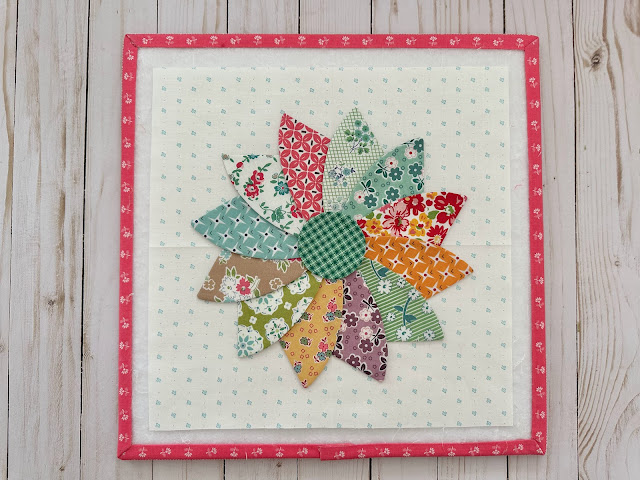
Here is my Vintage Dahlia Block
All cut...traced and ready to go!
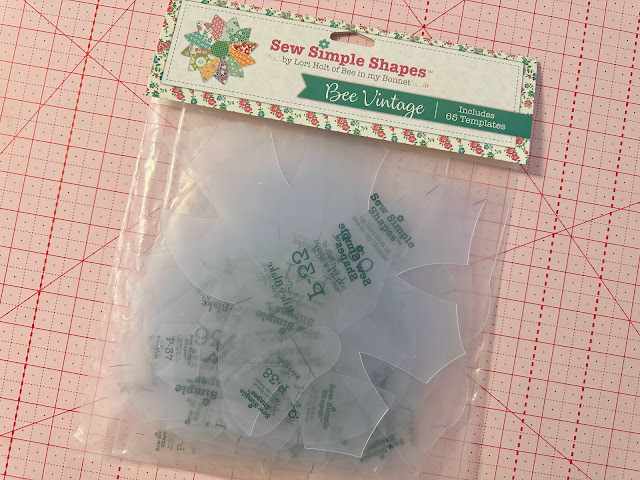
Here is a list of the
Bee Vintage
Sew Simple Shapes
needed for this block:
12 - P-13
1 - P-62
Cut your background
12" x 12"
and press it in half both ways
so that you have easier placement.
I've sewn and trimmed all my shapes
and guess what?
There is no clipping
needed on any of them:)
Simply turn...shape and press:)
Now let's go over to the worktable
and swirl them into a circle!
Okay...
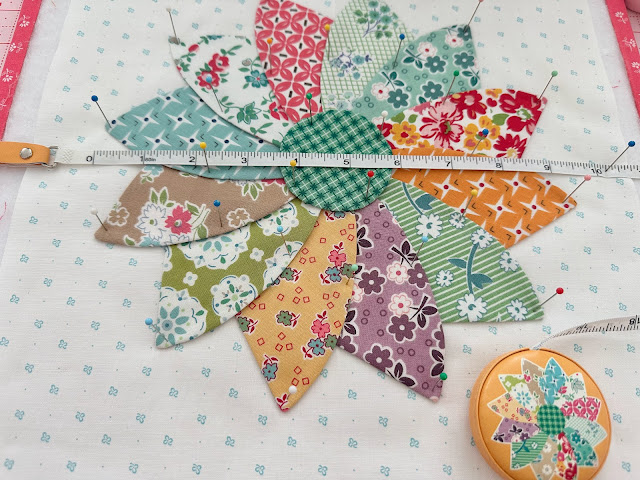
you are going to need your ruler
for sure to layout this block
because that will make it easy!
I started laying out each piece
starting at the top and going clockwise.
When I laid the last one down
I tucked it underneath the first one
for the swirling effect:)
Carefully look at the lines on the ruler
and it will help with placement.
Notice that I left the circle off
in this photo so that you could
easily see how the shapes
come together in the center.
Then I added the circle and used
the lines on the ruler to make sure
it was exactly in the center.
Your dahlia should be about
9 1/2" tall and wide:)
Pinned and glued!
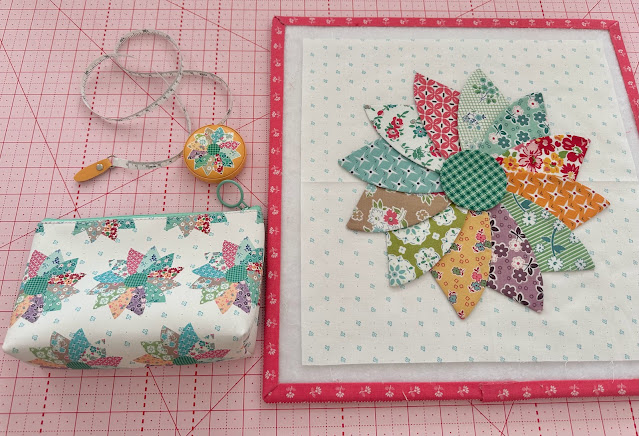
I noticed that I had all three of
these dahlia designs on my mat:)
Can you tell that I love this block?
Ready for applique...
Afterwards press from the back
and then trim to 10 1/2" square.
VINTAGE DAHLIA BLOCK
to print/view the high res photo
of the
VINTAGE DAHLIA QUILT
I think it makes a
perfect vintage scrap buster quilt!
Thanks so much for sewing with me today
and for joining me
for week four of the
Bee Vintage Sew Along
P.S. We are halfway finished
with our vintage blocks:)
YaY!!
I'll meet you right back here
on my blog next time for the
Vintage Spring Basket Block tutorial...
xx
Lori


No comments:
Post a Comment