"VINTAGE STRAWBERRY BLOCK"
Welcome to week one of the
"BEE VINTAGE"
Sew Along!
Join me here each week
when I will be doing 3 tutorials
on three blocks for the quilt.
Of course because we are all sewing
from all around the world
we all have different time zones...
But I will be posting each
Monday - Wednesday - Friday
right here on my blog
and you can follow my tutorials
any time during the week that
is convenient for you.
We are making the
Bee Vintage Sampler Quilt
71" x 84"
I've been getting ready for
when it was time to begin...
and now that time is here
and I'm going to have sew
much fun making this quilt with you!!
The quilt is made with my fabric
collection called Bee Vintage...
and a few other prints from my basics collections as well!
I hope that you all have all
received your
fabric kits by now...
and that we are all ready to begin!!
If you still need one ...
just do a quick google search for
"Bee Vintage Quilt Kit"
to find shops who still have some left.
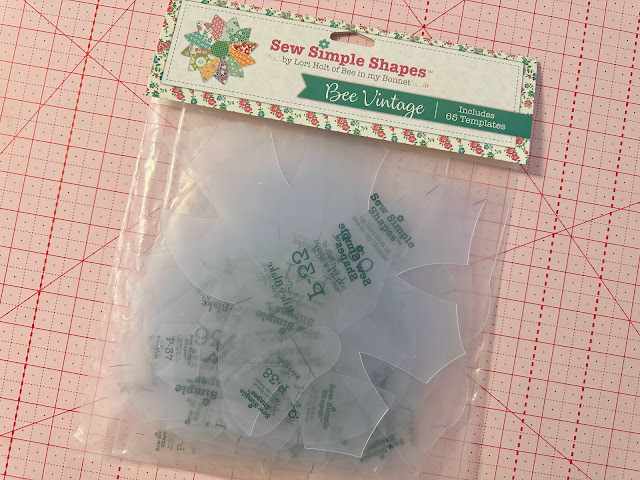
We are also using the
Bee Vintage
Sew Simple Shapes
I have already posted the
post which details all of the supplies
for the sew along and how it works.
I have also given the link there
for the free PDF Download
of the Sew Along Guide
to download the sew along guide
if you have not downloaded yet.
*A note about fabric prep before cutting:
Of course this is all personal preference
but I often get asked the same
two questions
so I thought I would answer them
here again for you.
1. Do you pre-wash your fabrics?
Answer - No...I don't.
I used to years ago
(I have been sewing for a long time lol)
but these days we have such
good quality fabrics available to us
that I don't find it necessary
to pre-wash and I've never had any
problems by not doing so.
2. How do you starch your fabric?
Answer - I lightly starch my fabrics
before I cut them for
piecing or for applique.
I use Mary Ellens Best Press
and mix it with a little water in my
spray bottle and spray my fabric
right before I iron it flat to cut it.
takes place during my ironing process
right before cutting.
And yes...
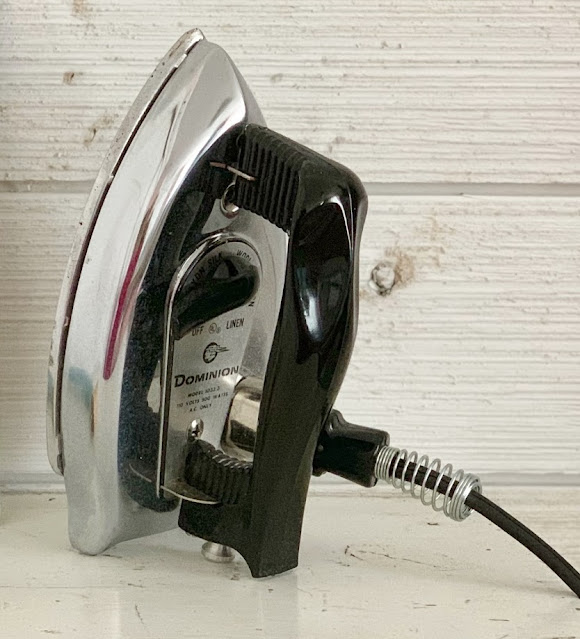
I always use vintage irons.
If you would like to know why and
how I find them and use them...
to watch my YouTube Video
where I tell you all about it!
As per usual for the first block in my
Sew Simple Shape Sew Alongs
that FIRST tutorial is a video.
Because I now have my own
I have posted the
Vintage Strawberry Block
Tutorial there.
to visit my channel and watch the
tutorial and I hope that you love it!
Pretty please leave me a comment
over there and let me know:)
If you like what you see
and my other videos there...
click on subscribe and click on the bell
to be notified whenever
I post another tutorial:)
that I showed you
how to make in my video:)
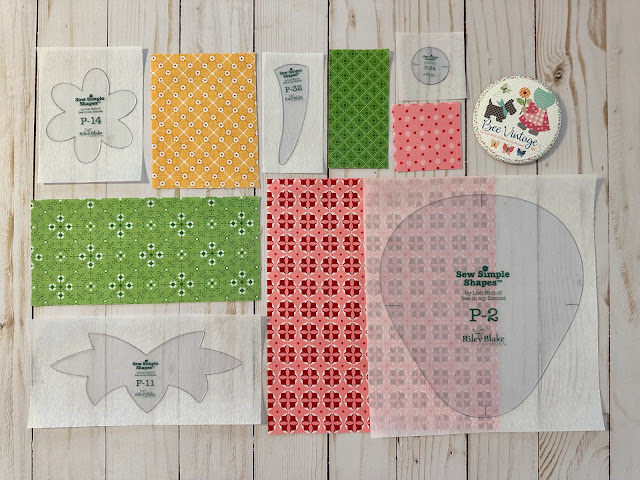
Here is a list of the
Bee Vintage
Sew Simple Shapes
needed for this block:
1 - P-2
1 - P-11
1 - P-14
1 - P-32
1 - P-64
I took a top shot photo of my
sewing table right before
we starting filming:)
Sew sweet!
My Vintage Strawberry
is now all ready for applique
and the extra one that I made
during filming will more than likely
become a pillow!
Vintage Strawberry Quilt
in my video but I wanted to remind you
that you can download a printable image
of this quilt to help you
with your fabric placement.
to download and/or you can also just
view it as you are sewing and
simply enlarge the photo on your screen
as large as you need it
to make sure of each print!
Thanks so much for sewing with me today
and for joining me
for the very first week of the
Bee Vintage Sew Along
Congratulations on
making your first block:)
YaY!
I'll meet you right back here
on my blog next time for the
Vintage Apple Block tutorial...
xx
Lori


4 comments:
You make it seem so easy! The strawberry went well, the other pieces not so much. I definitely need to practice more!! I love the look of my strawberry, so not giving up. Thank you for the really good tutorial!!
Thank you sooo much!!! I’m so glad I found this! Thank you for sharing your talent with us! And….being an awesome teacher! Hugs!
Thank you from Tennessee, excited for the next block
Never thought I would appliqué but love your method. My strawberry looks great. So excited to work on this.
Post a Comment