Showing posts with label Bee Vintage Sew Along. Show all posts

Friday, August 25, 2023

Bee Vintage Sew Along - The Big Finish!!


"THE BIG FINISH"


Welcome back to the 
"BEE VINTAGE"
Sew Along!
Each week I did tutorials
 for all 20 blocks for the quilt.


We made the 
Bee Vintage Sampler Quilt
71" x 84"


The quilt was made with my fabric
 collection called Bee Vintage...
and a few other prints from my basics collections as well:)

If you are just getting started and you
still need a fabric kit...
just do a quick google search for 
"Bee Vintage Quilt Kit"
to find shops who still have some left.


We used the
Bee Vintage
Sew Simple Shapes

I have posted the
 post which details all of the supplies
 for the sew along and how it worked.
I have also given the link there 
for the free PDF Download 
of the Sew Along Guide

to download the sew along guide
if you have not downloaded yet. 


As per usual for the first block in my 
Sew Simple Shape Sew Alongs
 that FIRST tutorial was a video.

Because I now have my own  
 I have posted the 
 Vintage Strawberry Block
Tutorial there.
to visit my channel and watch the 
tutorial and I hope that you love it!

to read my blog post too


for the tutorial on the
VINTAGE APPLE BLOCK


for the tutorial on the
VINTAGE CHERRIES BLOCK


for the tutorial on the 
VINTAGE BUTTERFLY BLOCK


for the tutorial on the
VINTAGE MAPLE LEAF BLOCK


for the tutorial on the
VINTAGE SCOTTY DOG BLOCK
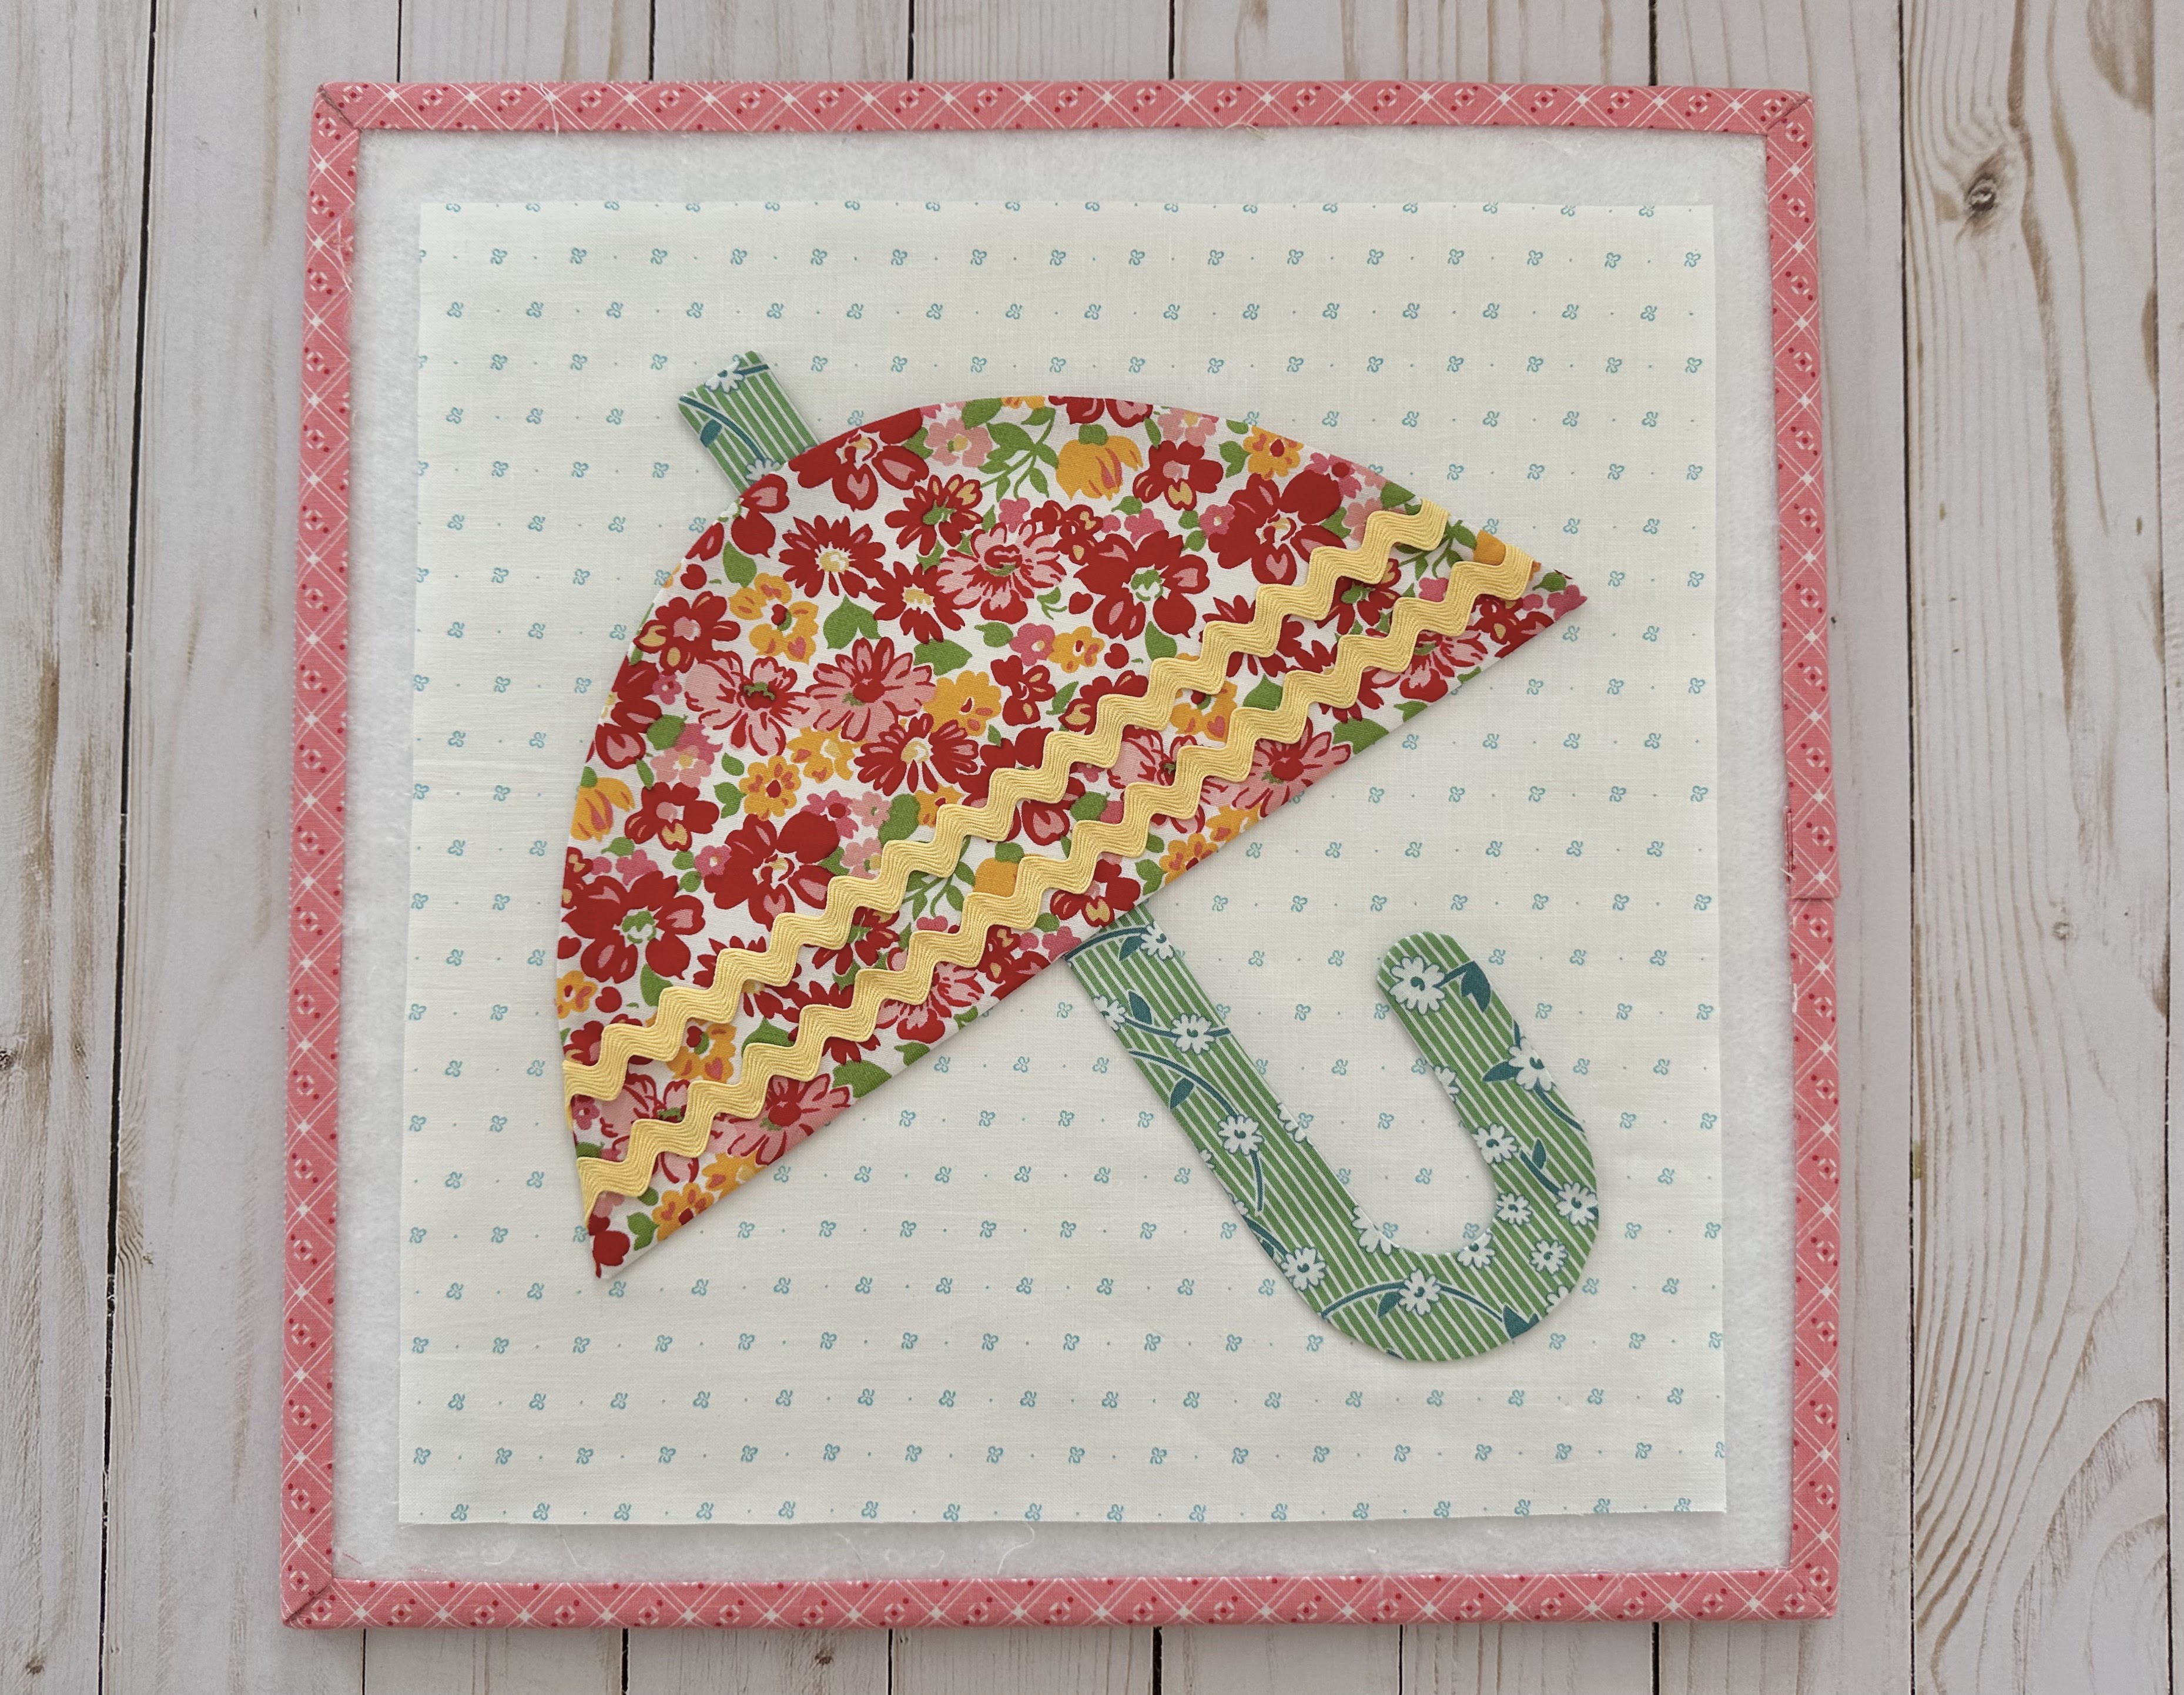

for the tutorial on the 
VINTAGE UMBRELLA BLOCK


for the tutorial on the 
VINTAGE FLOWER BLOCK


for the tutorial on the
VINTAGE TEAPOT BLOCK


for the tutorial on the 
VINTAGE DAHLIA BLOCK


CLICK HERE
for the tutorial on the
VINTAGE SPRING BASKET BLOCK


for the tutorial on the
VINTAGE COTTAGE BLOCK


for the tutorial on the
VINTAGE CORSAGE BLOCK

for the tutorial on the
VINTAGE SUNBONNET SUE BLOCK


for the tutorial on the
VINTAGE SONGBIRD BLOCK


for the tutorial on the 
VINTAGE TULIP POT BLOCK


 for the tutorial on the
VINTAGE OVERALL BILL BLOCK

 
for the tutorial for the 
VINTAGE PENNSYLVANIA DUTCH BLOCK


for the tutorial for the
VINTAGE KITTY BLOCK

for the tutorial for the
VINTAGE DAISY CHAIN BLOCK 


Today we are talking about
the big finish because we have
completed all of the blocks!!


I wanted to show you all of my blocks
 on the design wall in my sewing room.
They are all appliquéd and this is
right before I trimmed them up:)


 I trimmed all of them at the same time
and stacked them nice and neat on a
Bee in my Bonnet Design Board
so that the edges did not fray
before they were sewn into the quilt.


Here are a few of my blocks after trimming.
My blocks are machine appliquéd
just like I showed you in the video
 on my YouTube about my Sew Simple Shapes.
if you want to view it again.

Next I took some close ups of some
of my blocks with a side view...
 I thought that you might want to see what 
the machine applique looks like
up close and personal:)


I just had to take a quick photo
 of Bill and Sue together!!


When you are ready to sew your 
blocks together...
just follow the instructions 
in the sew along guide:)


Mine are now all sewn together
along with the sashing and cornerstones
 and borders added!!
Yes... it's a little bit wrinkled 
at this point but I'll soon take
care of that!!!

It is currently at the quilters!


Here is my quilt folded and ready to go 
to the quilters along with the 
Bee Vintage wideback...
Vintage Trim and my prepared binding.


I have a prototype of my 
Bee Binding Holders and so I used
the Marigold colored one to keep my
binding nice and tidy:)


They come in a set and in 
three of my happy colors...
Marigold - Coral - Sea Glass

Each one holds at least 12 yards 
of prepared binding and the set 
will be available this December:)


You may have noticed a few other blocks
 hanging out on my design wall!
These are from my upcoming 
HOME TOWN SEW ALONG


This is the Home Town Quilt 
that we will be making
using my latest fabric collection 
and my new 
Sew Simple Shapes Set...
both are called HOME TOWN


And here is your invite to join in!
It starts Monday, September 18th
and I'll be doing my BEE PREPARED Post
this coming Monday here on my blog.
I'm sew excited!

Thanks so much from the
 bottom of my heart for sewing your 
Bee Vintage Blocks with me 
 and for joining me for the 
Bee Vintage Sew Along

I'll meet you right back here
 in a bit when I start the next sew along! 

xx
Lori

Wednesday, August 23, 2023

Bee Vintage Sew Along - Week Seven - Vintage Daisy Chain Block!!


"VINTAGE DAISY CHAIN BLOCK"


Welcome back to week seven of the 
"BEE VINTAGE"
Sew Along!
Join me here each week 
when I will be doing 3 tutorials
 on three blocks for the quilt.

Of course because we are all sewing 
from all around the world  
we all have different time zones...
But I will be posting each 
Monday - Wednesday - Friday 
right here on my blog 
and you can follow my tutorials 
any time during the week that 
 is convenient for you.


We are making the 
Bee Vintage Sampler Quilt
71" x 84"


The quilt is made with my fabric
 collection called Bee Vintage...
and a few other prints from my basics collections as well:)

I hope that you all have all 
received your 
fabric kits by now...
 and that we are all ready to begin!!


If you still need one ...
just do a quick google search for 
"Bee Vintage Quilt Kit"
to find shops who still have some left.


We are also using the
Bee Vintage
Sew Simple Shapes

I have already posted the
 post which details all of the supplies
 for the sew along and how it works.
I have also given the link there 
for the free PDF Download 
of the Sew Along Guide

to download the sew along guide
if you have not downloaded yet. 


As per usual for the first block in my 
Sew Simple Shape Sew Alongs
 that FIRST tutorial is a video.

Because I now have my own  
 I have posted the 
 Vintage Strawberry Block
Tutorial there.
to visit my channel and watch the 
tutorial and I hope that you love it!

to read my blog post too


for the tutorial on the
VINTAGE APPLE BLOCK


for the tutorial on the
VINTAGE CHERRIES BLOCK


for the tutorial on the 
VINTAGE BUTTERFLY BLOCK


for the tutorial on the
VINTAGE MAPLE LEAF BLOCK


for the tutorial on the
VINTAGE SCOTTY DOG BLOCK


for the tutorial on the 
VINTAGE UMBRELLA BLOCK


for the tutorial on the 
VINTAGE FLOWER BLOCK


for the tutorial on the
VINTAGE TEAPOT BLOCK


for the tutorial on the 
VINTAGE DAHLIA BLOCK


CLICK HERE
for the tutorial on the
VINTAGE SPRING BASKET BLOCK


for the tutorial on the
VINTAGE COTTAGE BLOCK


for the tutorial on the
VINTAGE CORSAGE BLOCK

for the tutorial on the
VINTAGE SUNBONNET SUE BLOCK


for the tutorial on the
VINTAGE SONGBIRD BLOCK


for the tutorial on the 
VINTAGE TULIP POT BLOCK


 for the tutorial on the
VINTAGE OVERALL BILL BLOCK

 
for the tutorial for the 
VINTAGE PENNSYLVANIA DUTCH BLOCK


Last time we made the 
VINTAGE KITTY BLOCK
for that tutorial:)

Today we are making a daisy chain!!


Here is my Vintage Daisy Chain Block 
 All cut...traced and ready to go!

Here is a list of the
  Bee Vintage 
Sew Simple Shapes 
needed for this block:
4 - P-9 
12 - P-30
1 - P-58
1 - P-59
  4 - P-64  

Cut your background  
12" x 12"
and it will be very helpful to 
press it both ways side to side
and both ways diagonally.


After sewing and trimming up the
 seam allowances you will need to 
clip each cleavage area in the flowers. 


Pressed and ready to chain some daisies!


I used my 10 1/2" Trim-It Ruler
to place the two circles first 
and make sure that they were both 
centered correctly with-in the aqua window 
(aka the finished size of the block)

 I continued to use the ruler
to line things up as I placed 
the flowers and center of flowers next
 and then all of the leaves.
It was also 
VERY HELPFUL 
when placing them to use the 
pressed lines in my background 
as a guide. 


This measures about 9 3/4" 
wide both ways:)


Pinned and glued...


And now ready for applique:)


After you have appliquéd...
 press your block from the back 
and trim down to 
10 1/2" square to sew into the quilt.


VINTAGE DAISY CHAIN BLOCK


We have made the final 
two blocks for our quilt...
YaY!!!


Thanks so much for sewing your 
Vintage Kitty Block 
with me today and for joining me 
 for the last week of the 
Bee Vintage Sew Along

I'll meet you right back here
 next time for the 
BIG FINISH! 

xx
Lori

Related Posts with Thumbnails